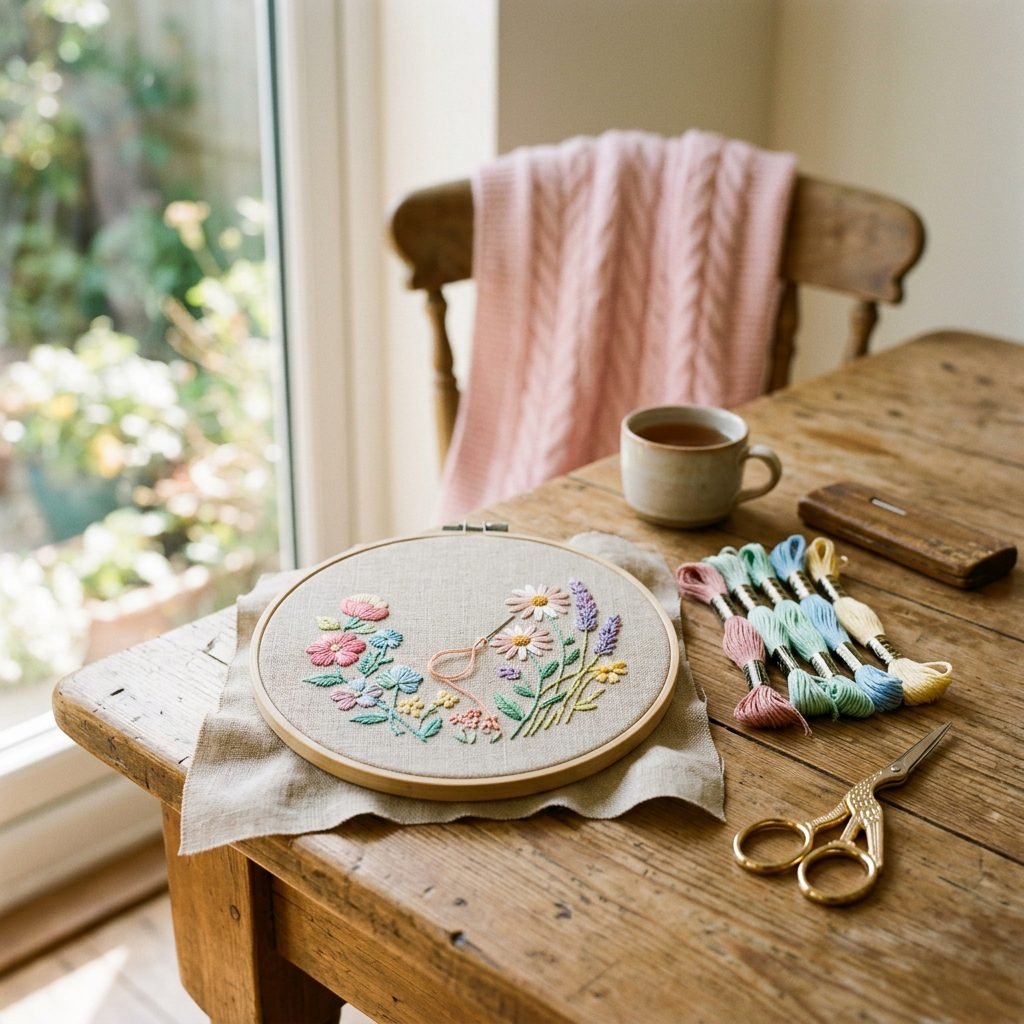
How to Sew an Embroidered Hoop Birth Announcement: Easy Pattern for Beginners
Welcome, mama. Whether you are currently in the thick of the nesting phase, looking for a meditative way to pass the time during those final weeks of pregnancy, or you are a dear friend searching for the most meaningful baby shower gift, you have found your way to the right place. There is something profoundly healing and grounding about the rhythmic movement of a needle and thread. As a doula, I often recommend creative outlets to help expectant mothers process the transition into parenthood. Creating an embroidered hoop birth announcement is more than just a DIY project; it is a labor of love that captures the magic of your baby’s arrival in a tangible, beautiful form.
In this guide, we will walk through every step of creating a professional-looking birth announcement, even if you have never picked up a needle before. We will focus on simple, elegant stitches that evoke a sense of timelessness. This isn’t about perfection—it’s about the intention and the story behind the piece. Let’s gather our supplies and begin this beautiful journey together.
Gathering Your Nesting Supplies: The Beginner’s Kit
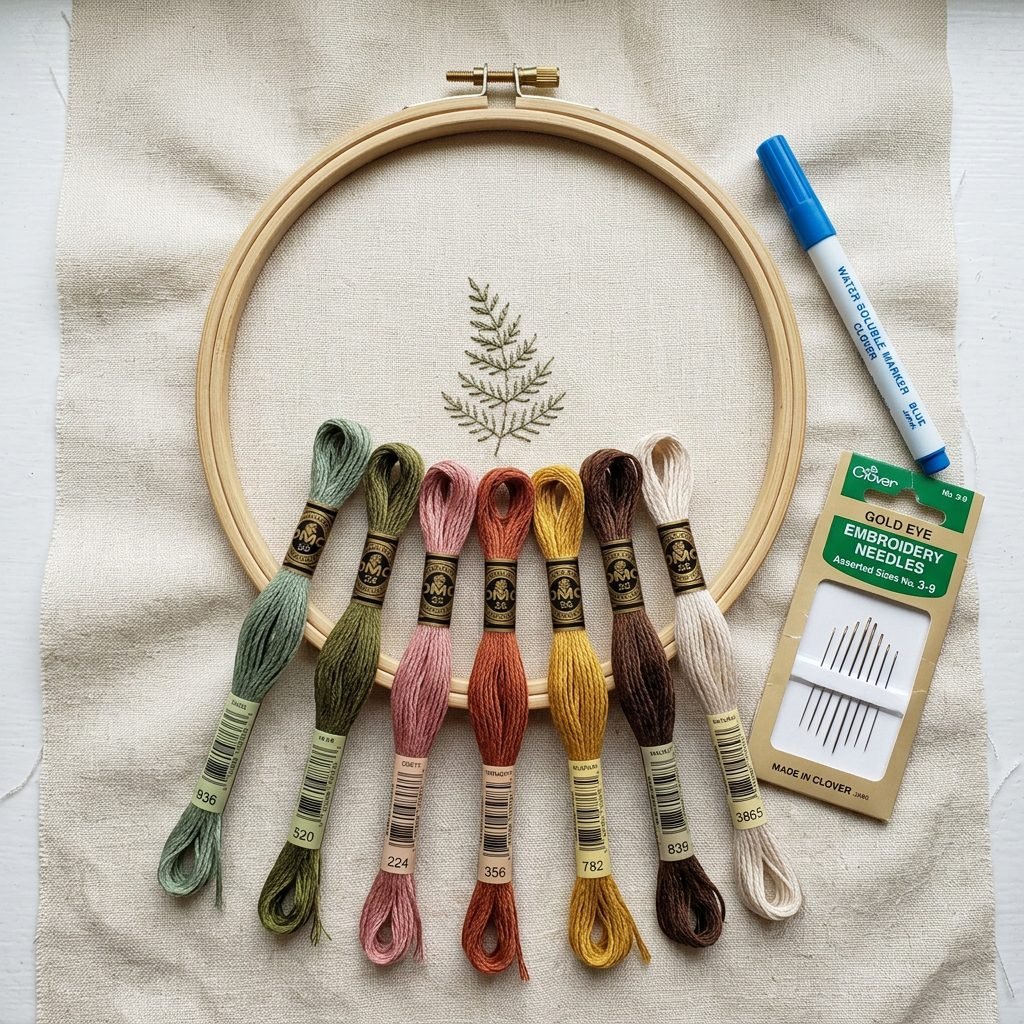
Before we dive into the stitches, we need to set up your creative sanctuary. Choosing the right materials is essential for a frustration-free experience. When selecting fabric, I always recommend 100% natural cotton or linen. These fabrics are breathable, easy to work with, and hold tension beautifully in a hoop. For embroidery floss, look for six-strand cotton thread, which allows you to adjust the thickness of your lines by splitting the strands.
| Material | Purpose | Estimated Cost |
|---|---|---|
| Wooden Embroidery Hoop (6 or 8 inch) | To hold the fabric taut while stitching. | $2 – $5 |
| Cotton or Linen Fabric | The canvas for your announcement. | $5 – $10 (per yard) |
| Embroidery Floss (DMC is a gold standard) | To create the design and text. | $0.60 per skein |
| Embroidery Needles (Size 5-10) | Specifically designed for floss. | $3 per pack |
| Water-Soluble Transfer Pen | To trace your pattern onto the fabric safely. | $5 |
Setting up your craft space is an act of self-care. Choose a spot with plenty of natural light, a comfortable chair that supports your back, and perhaps a warm cup of herbal tea.
Preparing Your Canvas: Transferring the Pattern with Ease
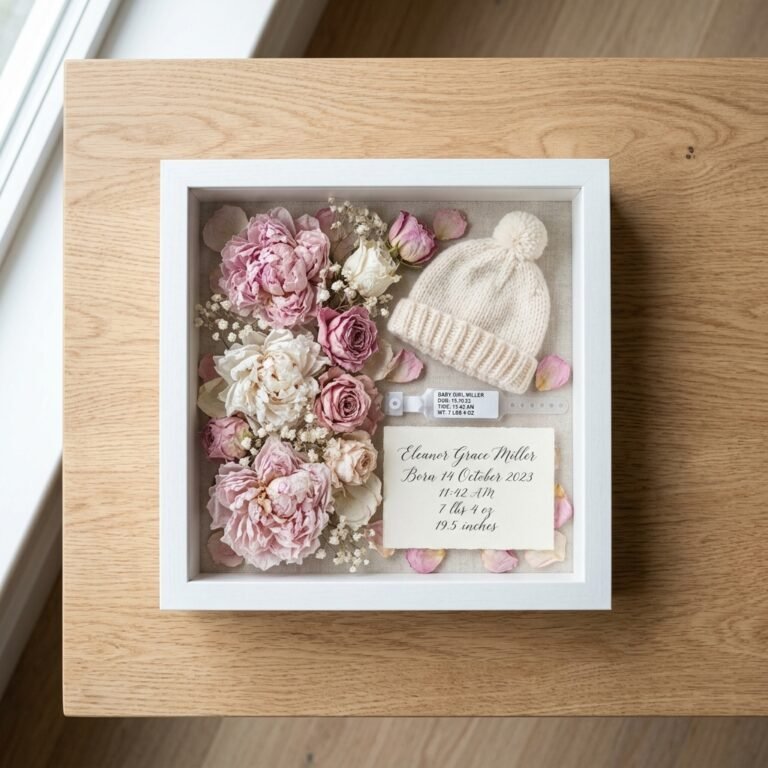
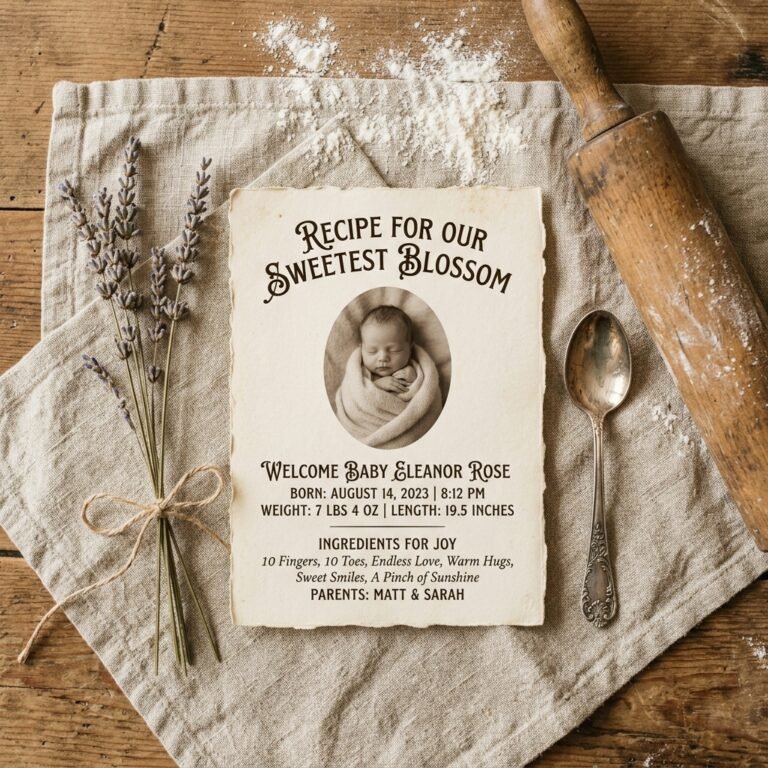
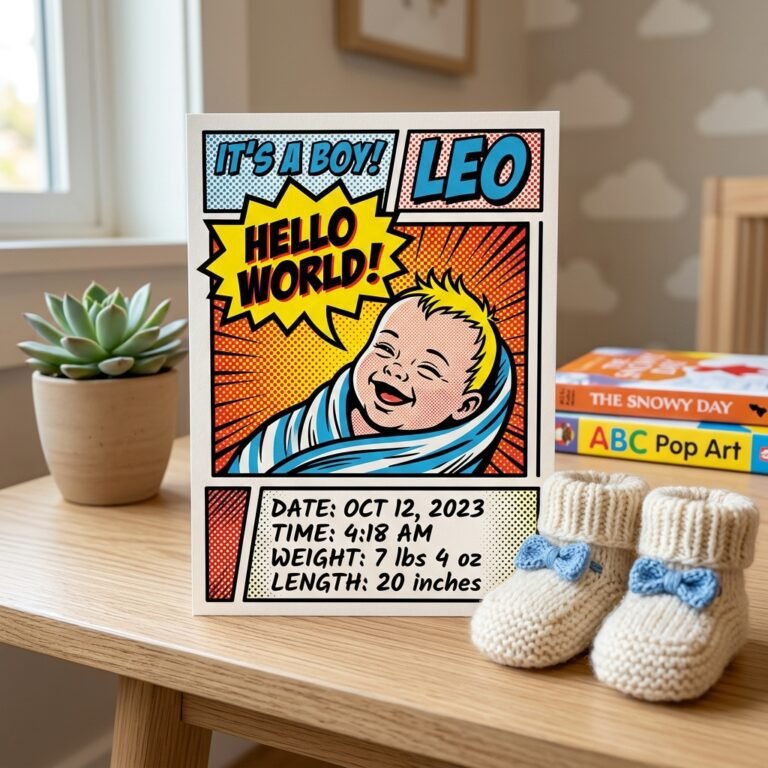
The secret to a beautiful birth announcement is a clear, easy-to-follow guide. Since we are creating a birth announcement, you will want to include the baby’s name, birth date, weight, and length. If the baby hasn’t arrived yet, you can stitch the decorative elements first and leave space for the specific details later.
Step-by-Step Pattern Transfer
- Design your layout: You can use a computer to type out the baby’s name in a font you love, then print it out. Or, hand-draw a simple floral wreath or celestial border.
- Iron your fabric: Ensure your fabric is crisp and wrinkle-free. Any creases left in now will be hard to remove once the stitching is done.
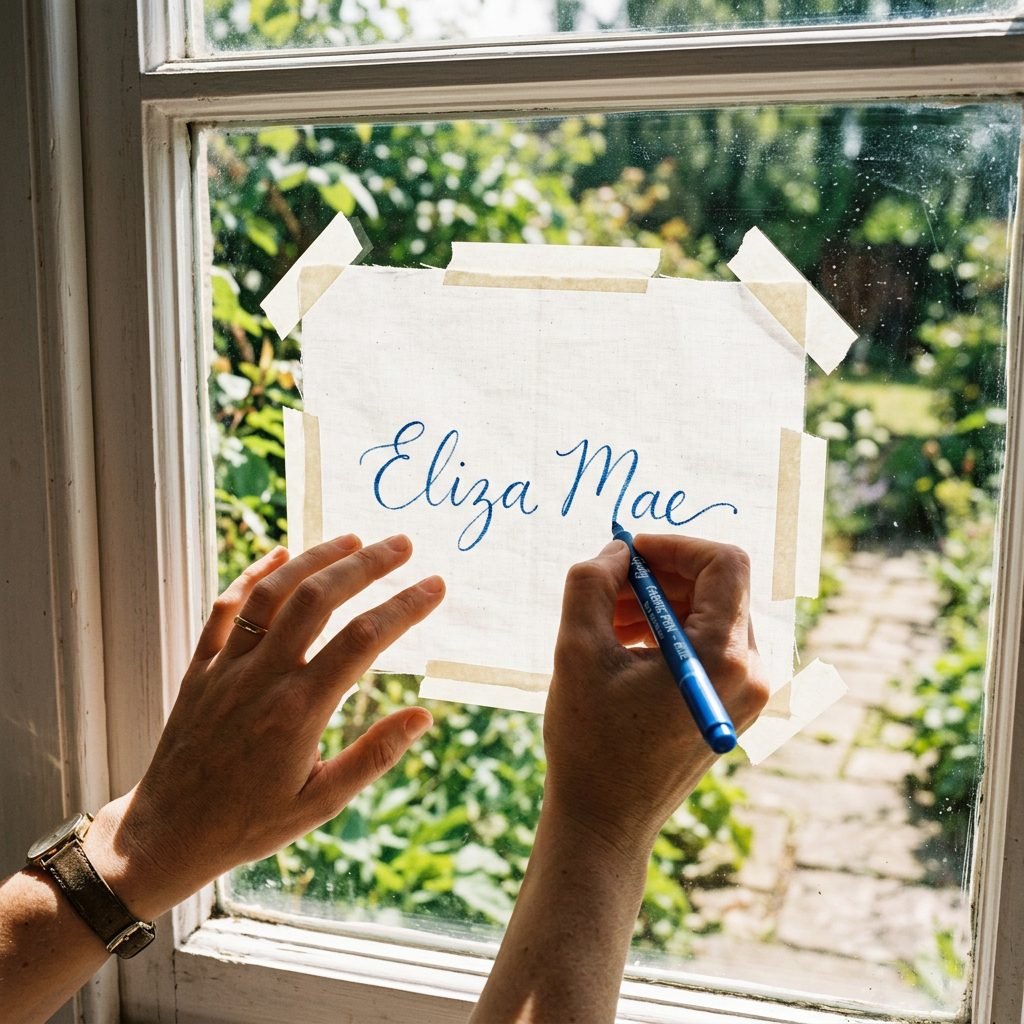
- The Light Box Method: If you don’t have a light box, use a bright window! Tape your paper pattern to the glass, then tape your fabric over it. The light will shine through, allowing you to trace the design onto the fabric with your water-soluble pen.
- Hoop it up: Loosen the screw on your embroidery hoop and separate the two rings. Place the fabric over the inner ring, then press the outer ring down over it. Tighten the screw while gently pulling the fabric edges until it is as tight as a drum.
The Heart of the Stitch: Three Easy Stitches for Beginners
You only need to master three basic stitches to create a stunning piece of art. These stitches are the building blocks of most embroidery patterns and are very forgiving for beginners.
1. The Backstitch (Perfect for Text)
The backstitch creates a solid, continuous line that is ideal for names and dates. To start, bring your needle up through the fabric from the back. Go forward one stitch length and push the needle down. Then, bring the needle up one stitch length ahead of the first stitch, and bring it back down into the same hole where the previous stitch ended.
2. The Satin Stitch (For Filling Shapes)
This stitch is used to fill in leaves or hearts with a smooth, solid color. Simply bring the needle up on one side of your shape and down directly across from it. Repeat this process, keeping your stitches very close together and parallel, until the entire area is covered in thread.
3. The French Knot (For Texture and Dots)
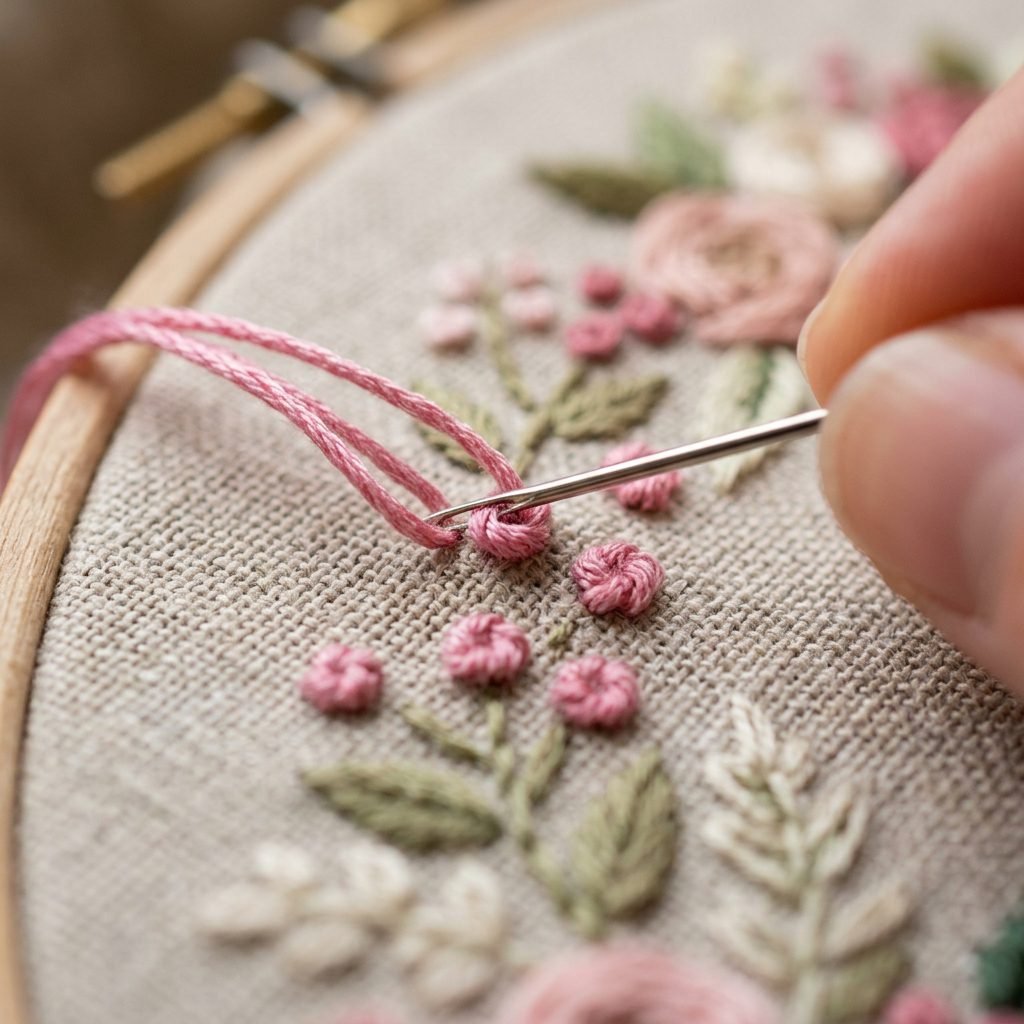
French knots add a lovely 3D effect, perfect for the center of flowers or as decorative accents. Bring the needle up through the fabric. Wrap the thread around the needle twice, then insert the needle back into the fabric very close to where it came up. Hold the thread tail taut as you pull the needle through to the back to secure the knot.
Remember, mama: your hands are creating a legacy. If a stitch looks ‘wonky,’ leave it. It adds character and reminds your child that this was made by their mother’s loving hands.
Personalizing the Details: Color Palettes and Themes
Choosing a color palette is where your personality—and the vibe of the nursery—really shines. As a maternal stylist, I recommend looking at the colors already present in the nursery. Are you going for a boho-earthy vibe with terracottas and sages? Or a classic-serene look with dusty blues and creams?
Design Inspiration Ideas
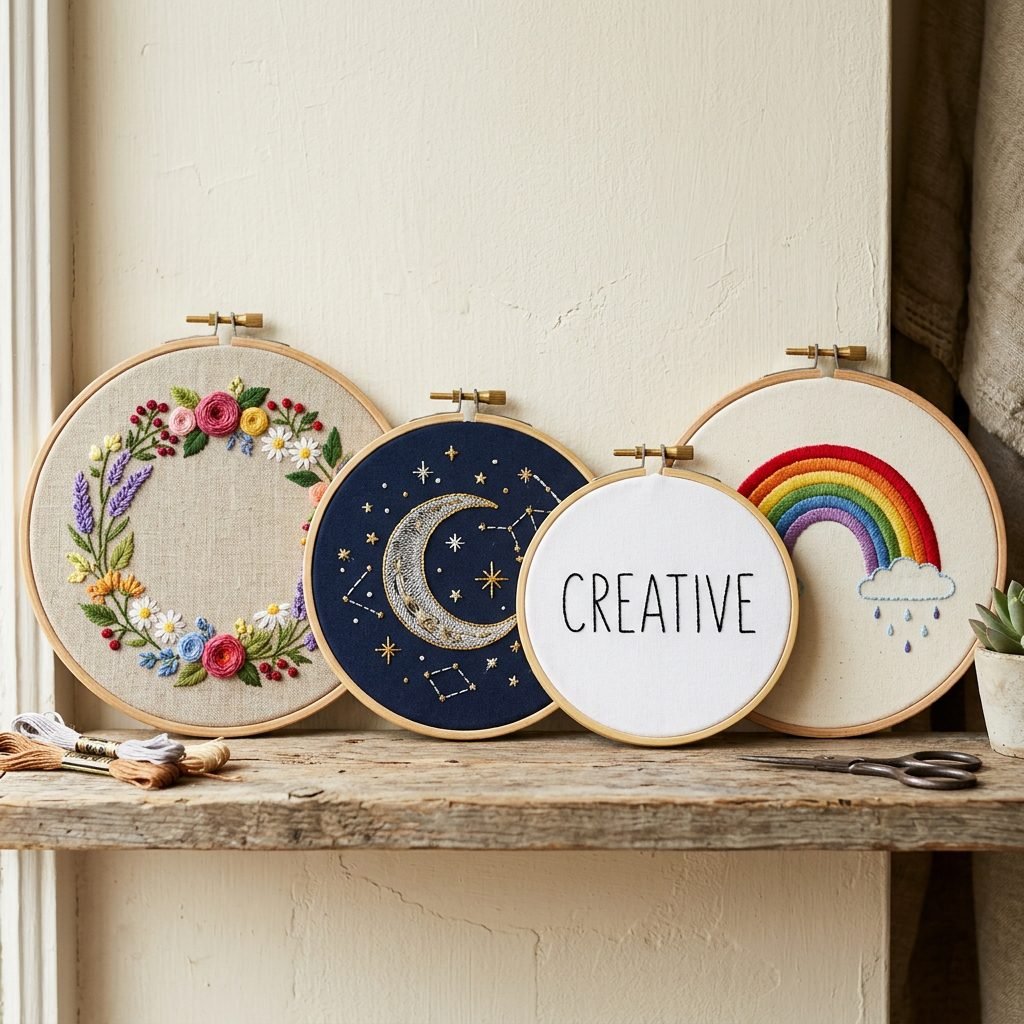
- Botanical Wreath: Stitch a circle of simple lavender sprigs or eucalyptus leaves around the baby’s name.
- Celestial Dreams: Use metallic gold thread for a crescent moon and tiny French knot stars.
- Minimalist Modern: Use a single dark gray thread for a clean, typewriter-style font on raw linen.
When stitching the numbers for weight and length, use a single strand of floss for a delicate, refined look. For the main name, you might use three or four strands to make it stand out as the focal point of the announcement.
Finishing Touches: Backing and Displaying Your Heirloom
Once the stitching is complete, you need to ‘close’ the back of the hoop to protect the threads and give it a polished look. This is a crucial step for ensuring the longevity of your announcement.
How to Close the Back
- Trim the excess fabric around the hoop, leaving about an inch of overhang.
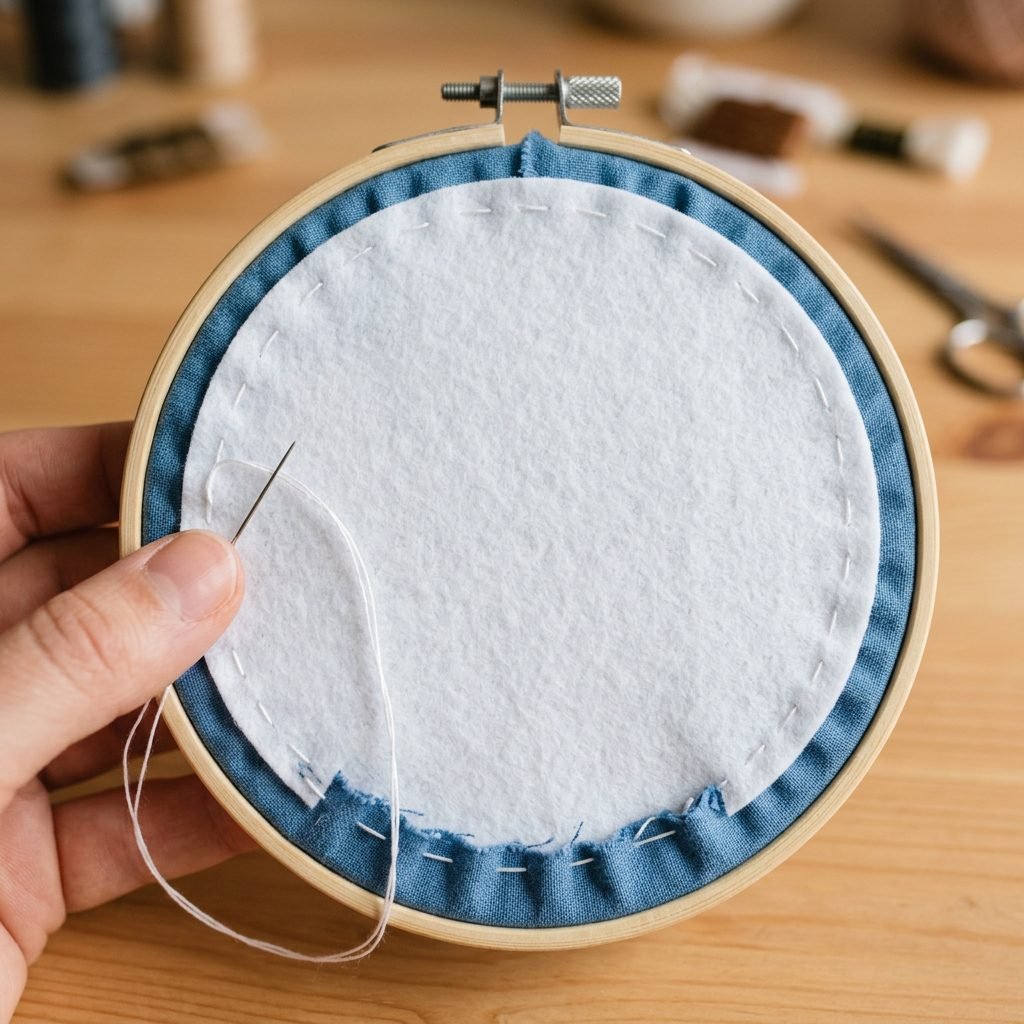
- Using a long piece of thread, sew a running stitch (a simple up-and-down motion) all the way around the fabric overhang.
- Pull the thread tight; the fabric will gather toward the center of the hoop. Knot it securely.
- Optional: Cut a circle of stiff felt the same size as your hoop and whip-stitch it to the back to hide the messy threads and protect the wall.
When it comes to styling, these hoops look beautiful as part of a gallery wall above a changing table (safely secured, of course!) or propped up on a nursery bookshelf next to a favorite childhood storybook.
Safety First: Nursery Placement and Care

As a doula and nursery organizer, safety is always my top priority. While these hoops are lightweight, they should still be handled with care. Never hang anything directly over a crib that could potentially fall or that a standing baby could reach and pull down. Instead, choose a wall that is out of reach but still visible from the rocking chair.
To care for your embroidery, keep it out of direct sunlight to prevent the colors from fading over the years. If it gets dusty, a gentle tap or a quick pass with a lint roller will keep it looking fresh. This is a piece that your child might one day take with them to their first apartment—a small piece of their beginning, hand-stitched by you.
| Dos | Don’ts |
|---|---|
| Use non-toxic, lead-free floss. | Don’t hang within baby’s reach. |
| Secure the screw tightly. | Don’t use glass covers (traps moisture). |
| Wash hands before stitching. | Don’t use permanent markers for tracing. |
Conclusion
Creating an embroidered hoop birth announcement is a slow, intentional process that mirrors the journey of motherhood itself. Each stitch represents a moment of anticipation, a prayer for your little one, and a celebration of their unique identity. Whether this is your first time crafting or you are a seasoned pro, the result is a priceless treasure that tells the story of ‘once upon a time, you arrived.’ Take a deep breath, mama, and enjoy the rhythm of the needle. You are creating something beautiful, both with your hands and with your life.