Easy DIY High-Contrast Baby Mobile Using Black and White Paper Plates
Welcome to the World of High-Contrast Wonder
Hello there, sweet mama. If you are currently in that beautiful, hazy ‘fourth trimester’ or nesting in preparation for your little one’s arrival, you’ve likely heard about the magic of black and white. As a doula and a fellow mom, I know that we want the absolute best for our babies’ development, but we also don’t want to spend a fortune on every ‘must-have’ toy. That is where the Easy DIY High-Contrast Baby Mobile Using Black and White Paper Plates comes in. It is a project that is as practical as it is powerful.
Did you know that at birth, a baby’s retina is not fully developed? They see the world in shades of gray, and their vision is quite blurry. High-contrast patterns—specifically black and white—stand out clearly in their visual field. This isn’t just about ‘cute’ decor; it’s about providing the neurological stimulation your baby needs to strengthen their optic nerve and encourage cognitive focus. Today, we are going to channel that nesting energy into a beautiful, functional piece of art for your nursery that costs less than a latte.
The Science of Sight: Why Black and White Matters

Understanding the Newborn Eye
In the first few months of life, your baby is a visual explorer. However, their equipment is still under construction. The fovea, the part of the eye responsible for sharp central vision, is still developing. This is why newborns often prefer looking at high-contrast edges and bold shapes rather than soft pastels. By providing these clear visual ‘targets,’ you are helping your baby’s brain learn how to organize visual information.
Developmental Benefits of High-Contrast Mobiles
- Visual Tracking: As the plates move gently in the air, your baby learns to follow the movement with their eyes, a precursor to reading and hand-eye coordination.
- Increased Focus: Studies show that babies spend more time looking at high-contrast patterns, which helps extend their attention span.
- Calming Effect: A baby who can clearly see and focus on an object is often a calmer baby. It gives them something to ‘study’ while they are in their crib or on their play mat.
| Age Range | Visual Milestone | Recommended Pattern |
|---|---|---|
| 0-4 Weeks | Fixed focus on objects 8-12 inches away | Large, bold circles and stripes |
| 1-2 Months | Beginning to track moving objects | Complex geometric shapes |
| 3-4 Months | Color perception begins (starting with red) | High-contrast with a pop of color |
“Your baby is not just looking; they are learning. Every bold line and sharp curve is a building block for their developing brain.”
Gathering Your Materials: The Budget Breakdown
Crafting with Intent and Economy
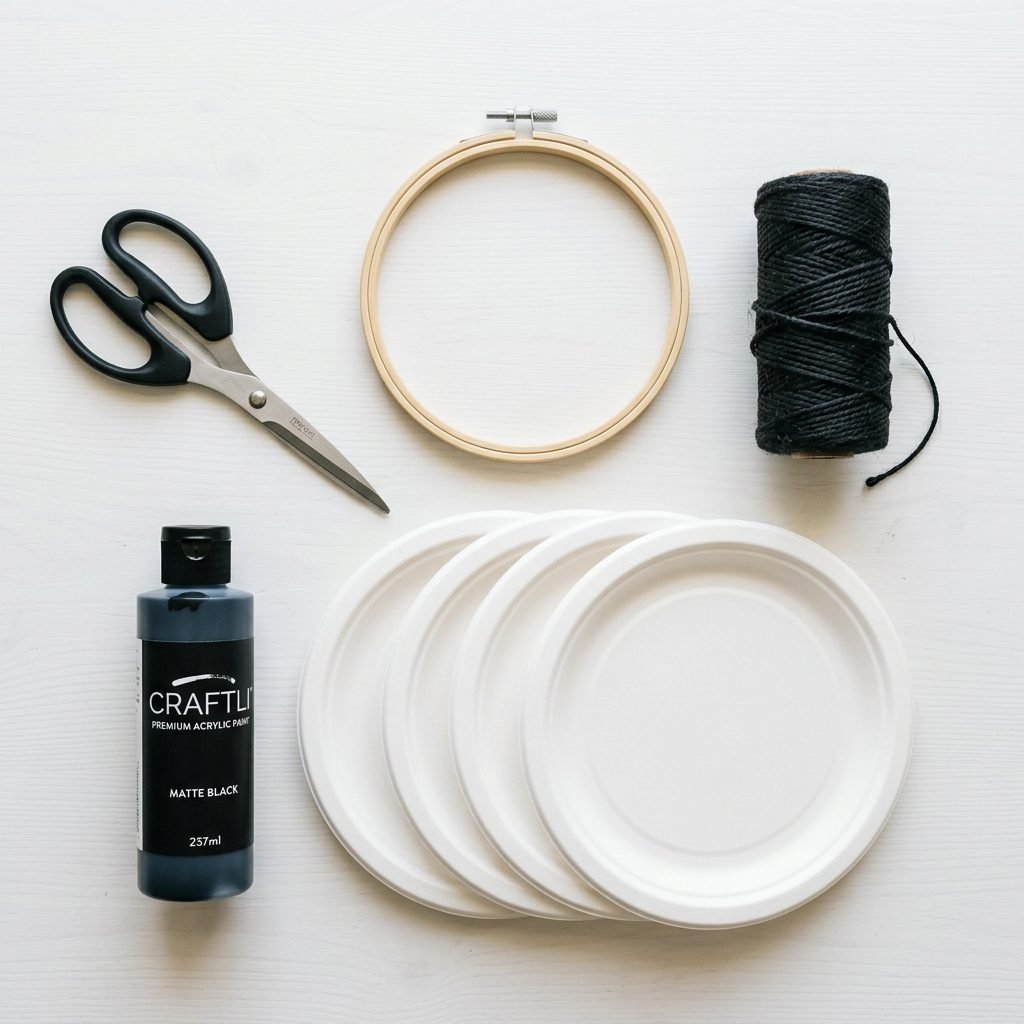
One of the reasons I love this project is its simplicity. You don’t need a degree in fine arts or a massive craft room. Most of these items are likely already in your pantry or can be picked up at a dollar store. When selecting your materials, always prioritize non-toxic and baby-safe options, especially if you have older siblings helping with the craft.
The Essential Supplies List
| Material | Purpose | Estimated Cost |
|---|---|---|
| Paper Plates | The base for your patterns (use heavy-duty if possible) | $1.00 – $3.00 |
| Black Acrylic Paint or Markers | Creating the high-contrast designs | $2.00 – $5.00 |
| Embroidery Hoop or Crossed Sticks | The frame for hanging the plates | $2.00 – $4.00 |
| Cotton String or Fishing Line | Suspending the plates from the frame | $1.00 – $2.00 |
| Hole Punch & Scissors | Basic assembly tools | $0.00 (Existing) |
Pro-Tip: If you use markers, ensure they are permanent and low-odor. If you choose paint, acrylic works best as it won’t warp the paper plates as much as watercolors might. For a truly ‘pro’ look, you can buy pre-colored black plates and use a white paint pen!
The Step-by-Step Blueprint: Creating Your Masterpiece
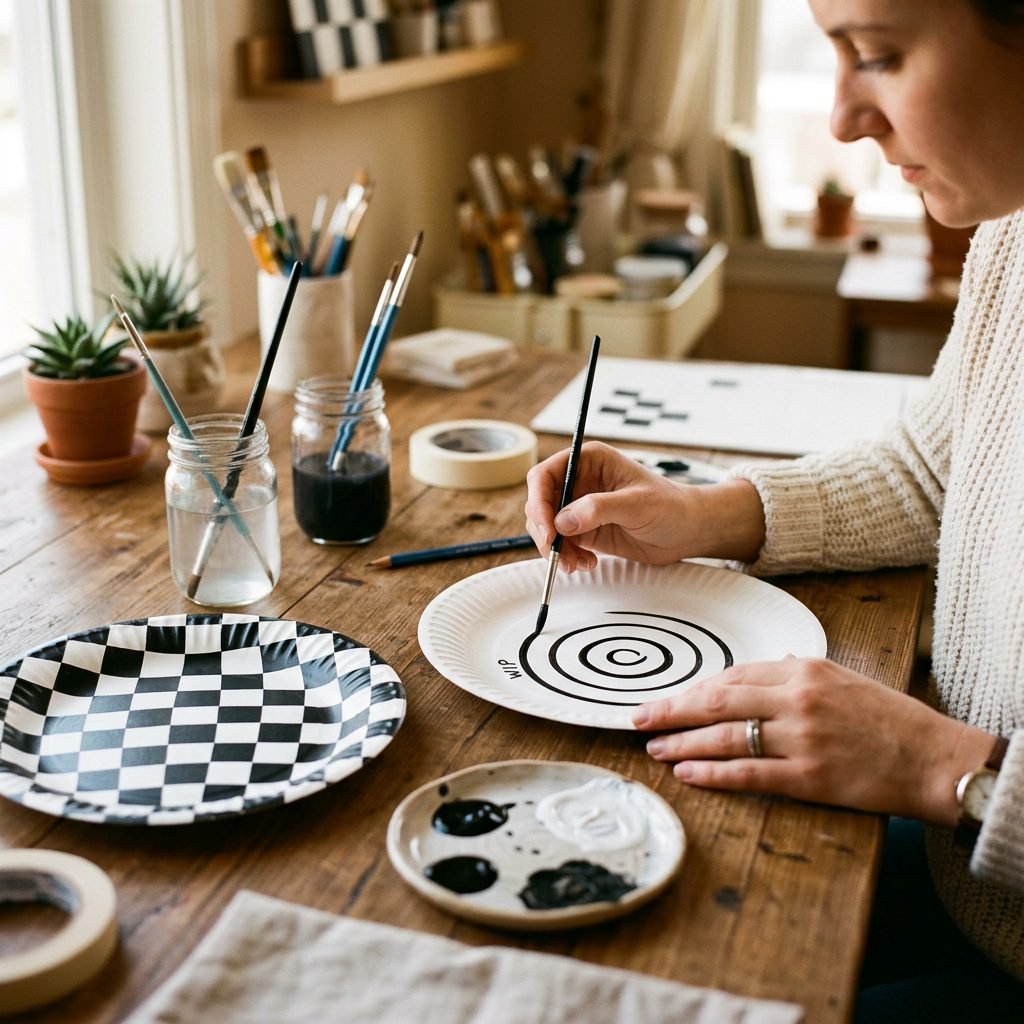
Let’s Get Crafty, Mama!
Follow these steps to create a mobile that is both aesthetically pleasing and developmentally stimulating. Don’t worry about being perfect; your baby will love the high-contrast movement regardless of whether your circles are perfectly round!
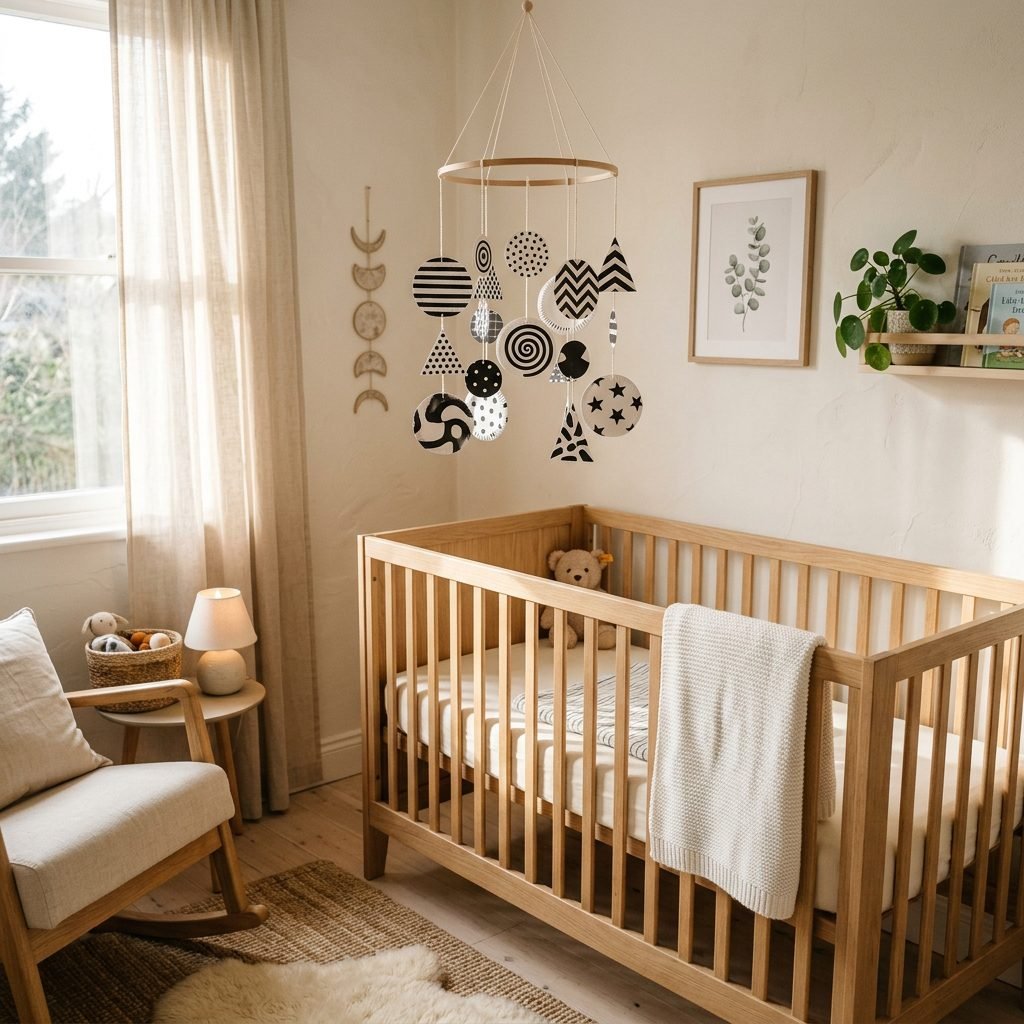
- Design Your Patterns: On 3 to 5 paper plates, draw bold patterns. Think spirals, checkerboards, large polka dots, and thick stripes. Use both sides of the plate so the baby has something to see even as the plate spins.
- Cut for Dimension: For a more ‘Montessori-style’ look, you can cut one plate into a spiral shape. Start at the edge and cut in a continuous circle toward the center. When hung, it will dangle down like a beautiful black-and-white snake.
- Punch and Prep: Use your hole punch to create a small hole at the top of each plate. If you are using the spiral design, punch the hole in the very center.
- Assemble the Frame: If using an embroidery hoop, use only the inner ring. If using sticks, lash them together in an ‘X’ shape using your string.
- String Them Up: Cut varying lengths of string (between 10 and 18 inches). Tie one end to the plate and the other to your frame. Balance is key! Adjust the placement of the strings on the hoop until the mobile hangs level.
- The Final Hang: Secure the mobile to the ceiling or a mobile arm. Ensure it is securely knotted.
“There is a special kind of magic in creating something with your own hands for your child. It’s a labor of love that they will appreciate every single day.”
Safety First: The Doula’s Guide to Placement
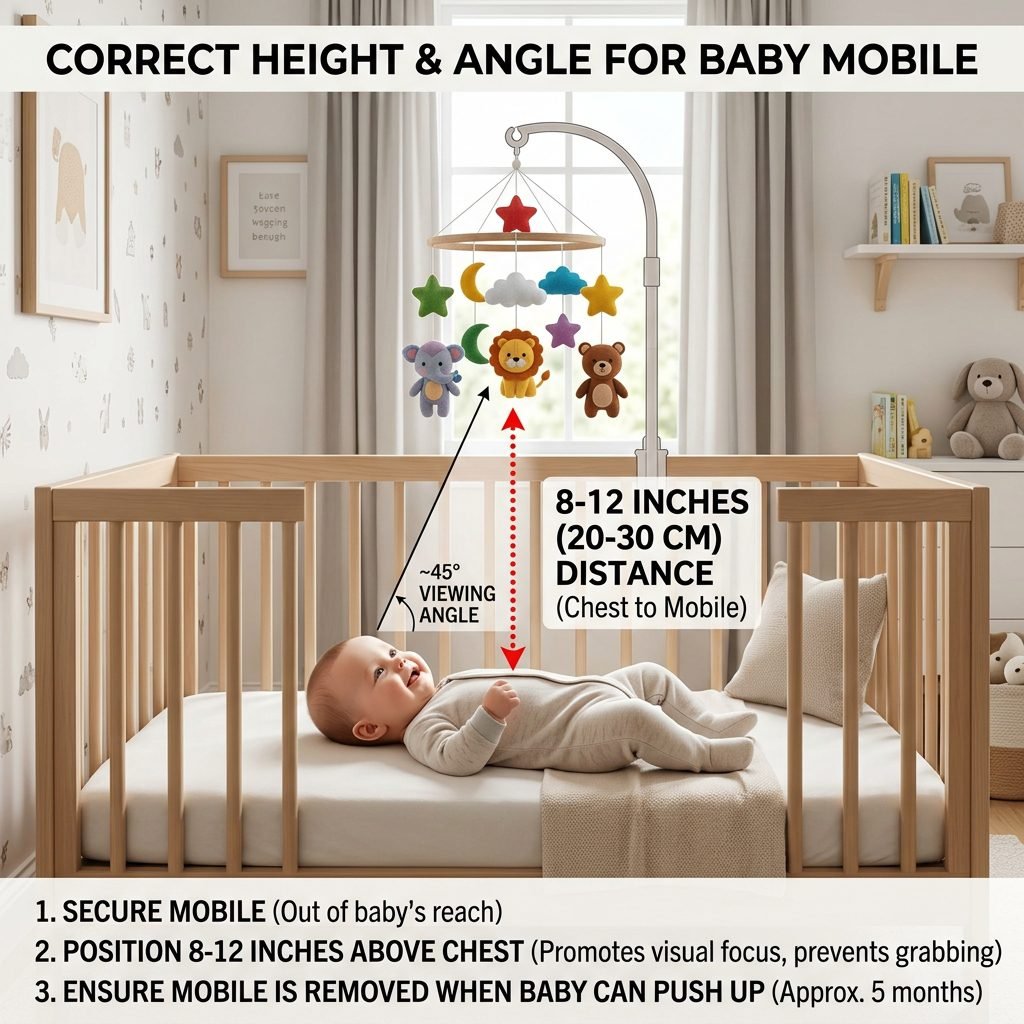
Protecting Your Little Explorer
As a doula, safety is my number one priority. While this mobile is lightweight, it still requires careful placement to ensure it remains a source of joy and not a hazard. Newborns grow faster than we think, and before you know it, they will be reaching and grabbing.
Crucial Safety Guidelines
- Height Matters: Hang the mobile approximately 8 to 12 inches above your baby’s chest level. This is the ‘sweet spot’ for their visual range. Never hang it directly over their face.
- Secure Fastening: Use a ceiling hook or a very sturdy mobile arm. Do not simply tape it to the wall or a shelf.
- The ‘Reach’ Test: As soon as your baby can push up on their hands and knees or reach the plates (typically around 3 to 5 months), it is time to move the mobile higher or remove it from the crib area entirely.
- No Loose Parts: Ensure all knots are double-tied and there are no small beads or buttons that could fall into the crib.
| Do’s | Don’ts |
|---|---|
| Hang at baby’s eye level (8-12 inches) | Hang directly over the baby’s face |
| Use non-toxic, scent-free materials | Use glitter or loose sequins |
| Check knots weekly for tightness | Leave strings long enough to tangle |
Sensory Play & Beyond: Maximizing the Mobile
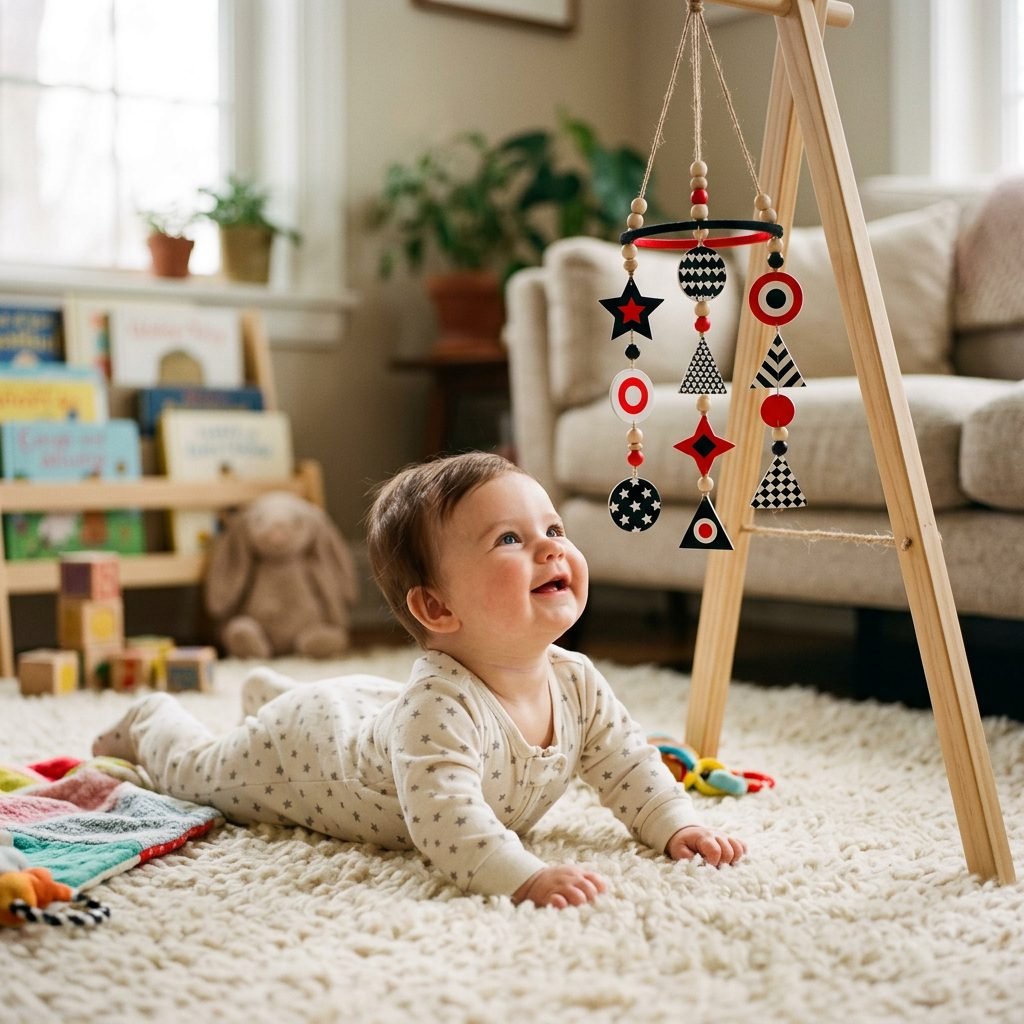
Beyond the Crib
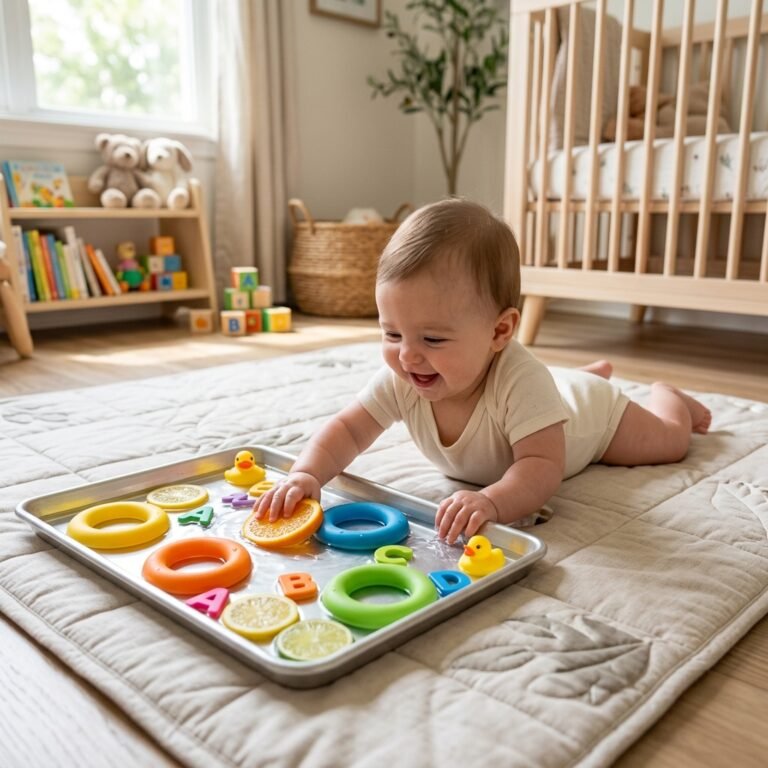
While the crib is a traditional spot for a mobile, consider making a second one for the ‘play zone.’ Tummy time can be challenging for some babies, and having a high-contrast mobile hanging nearby can be a wonderful distraction that encourages them to lift their heads.
Creative Variations
- The Nature Mobile: Use black and white photos of animals (pandas, zebras, penguins) pasted onto the plates.
- The Texture Mobile: Glue bits of black velvet or white lace to the plates to add a tactile element for when you are holding the baby near the mobile.
- The Seasonal Mobile: Use black and white snowflakes in the winter or simple flower silhouettes in the spring.
Remember, mama, you are your baby’s first and best teacher. Narrate what they are seeing! “Look at the black circle spinning, little one. It’s going round and round.” This combines visual stimulation with auditory language development, doubling the brain-boosting power of your DIY project.
Mindful Making: Crafting as Postpartum Self-Care

A Moment for You
In the whirlwind of diaper changes and sleepless nights, taking 20 minutes to sit down and focus on a simple craft can be incredibly grounding. I often recommend ‘active meditation’ to my postpartum clients. This isn’t just about the mobile; it’s about giving yourself permission to create.
Why Crafting Heals
The repetitive motion of drawing patterns or cutting spirals can lower cortisol levels. It allows your brain to shift from ‘survival mode’ into a creative flow state. If you are feeling overwhelmed, put on some soothing music, grab your paper plates, and just focus on the lines you are drawing. You are doing an amazing job, and this little mobile is a testament to your care and dedication.
“You cannot pour from an empty cup. Sometimes, a simple DIY project is exactly what you need to refill your spirit.”
Conclusion
A Beautiful Start for Your Little One
Creating an Easy DIY High-Contrast Baby Mobile Using Black and White Paper Plates is more than just a nursery project; it is a gift of development and a labor of love. By understanding how your baby sees the world, you are meeting them exactly where they are. This simple, elegant, and evidence-based tool will provide hours of fascination for your newborn and a sense of accomplishment for you.
So, mama, take a deep breath, grab those plates, and enjoy this creative journey. Your baby’s eyes—and brain—will thank you! Don’t forget to share your creations with our community; we love seeing how you customize these ideas for your own unique nursery style.