How to Make a DIY Ribbon Pull Toy Using an Empty Wipes Box
The Magic of Simple Play: Why Your Wipes Box is a Treasure Chest
Hello, sweet mama. If you are sitting there surrounded by half-empty coffee mugs, a mountain of laundry, and a growing stack of empty plastic wipes containers, I want you to take a deep breath and look at those boxes differently. As a doula and a fellow mom, I know that the most expensive toys often end up gathering dust while our babies find endless fascination in a crinkly water bottle or a simple cardboard box. There is a beautiful reason for this: babies are natural scientists, and they are hardwired to explore the textures, resistance, and cause-and-effect of the everyday world around them.
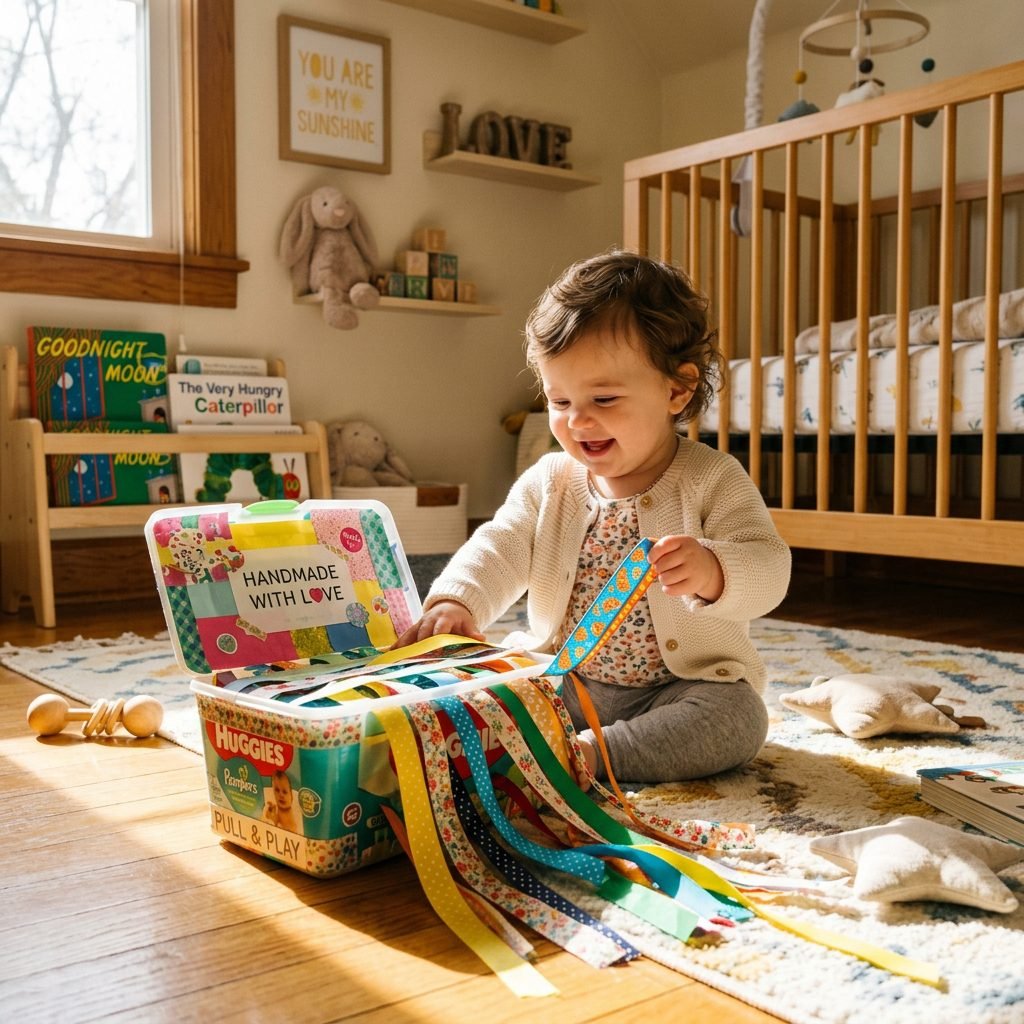
Today, we are going to channel that maternal creativity into a project that is as satisfying for you to make as it is for your baby to play with. We are transforming that humble plastic wipes box into a DIY Ribbon Pull Toy. This isn’t just a craft; it is a developmental tool designed to support fine motor skills, hand-eye coordination, and sensory processing. It is budget-friendly, sustainable, and a wonderful way to spend thirty minutes of your hard-earned nap time (or, let’s be real, that time when the baby is happily contained in the playpen). Let’s dive into how we can create something magical from the mundane.
Remember, mama: your baby doesn’t need a nursery full of high-tech gadgets. They need your love, your presence, and simple opportunities to discover the world through their own tiny, capable hands.
The Developmental Science: Why Pulling Matters
The Power of the Pincer Grasp and Proprioception
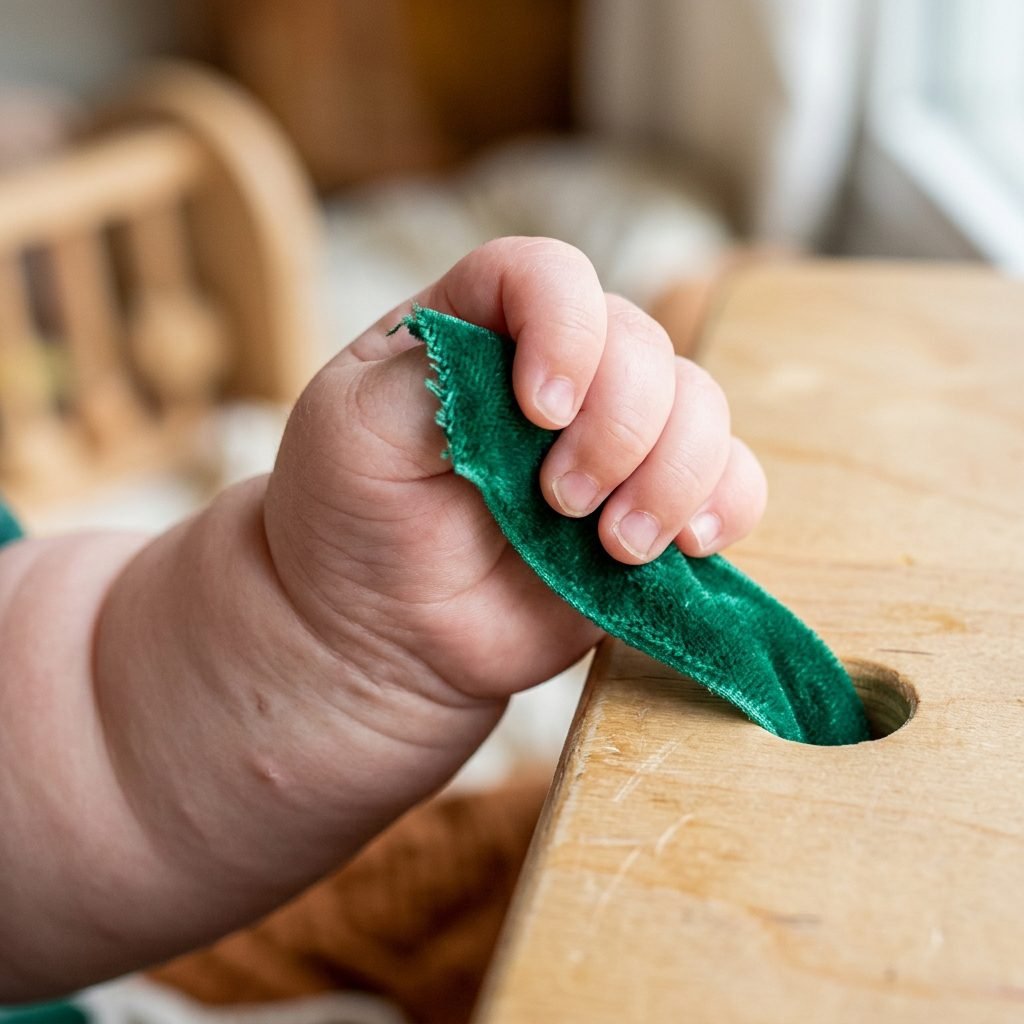
You might wonder why a baby can spend twenty minutes pulling a single ribbon out of a box. To us, it’s a simple motion; to them, it’s a complex neurological workout. Around the 6 to 9-month mark, babies begin developing the pincer grasp—the ability to pick up objects between the thumb and forefinger. This toy encourages that precise grip as they pinch the ends of the ribbons.
Furthermore, this toy provides excellent proprioceptive input. Proprioception is our body’s ability to sense its position and move through space. When your baby pulls a ribbon and feels the resistance of the knot against the plastic lid, they are learning how much force is required to achieve a result. This builds the foundation for everything from self-feeding to eventually holding a pencil. By using different textures of ribbon—satin, grosgrain, velvet, and ric-rac—you are also stimulating their tactile system, helping them process different physical sensations in a safe, controlled way.
Gathering Your Supplies: A Budget-Friendly Breakdown
What You’ll Need from Around the House
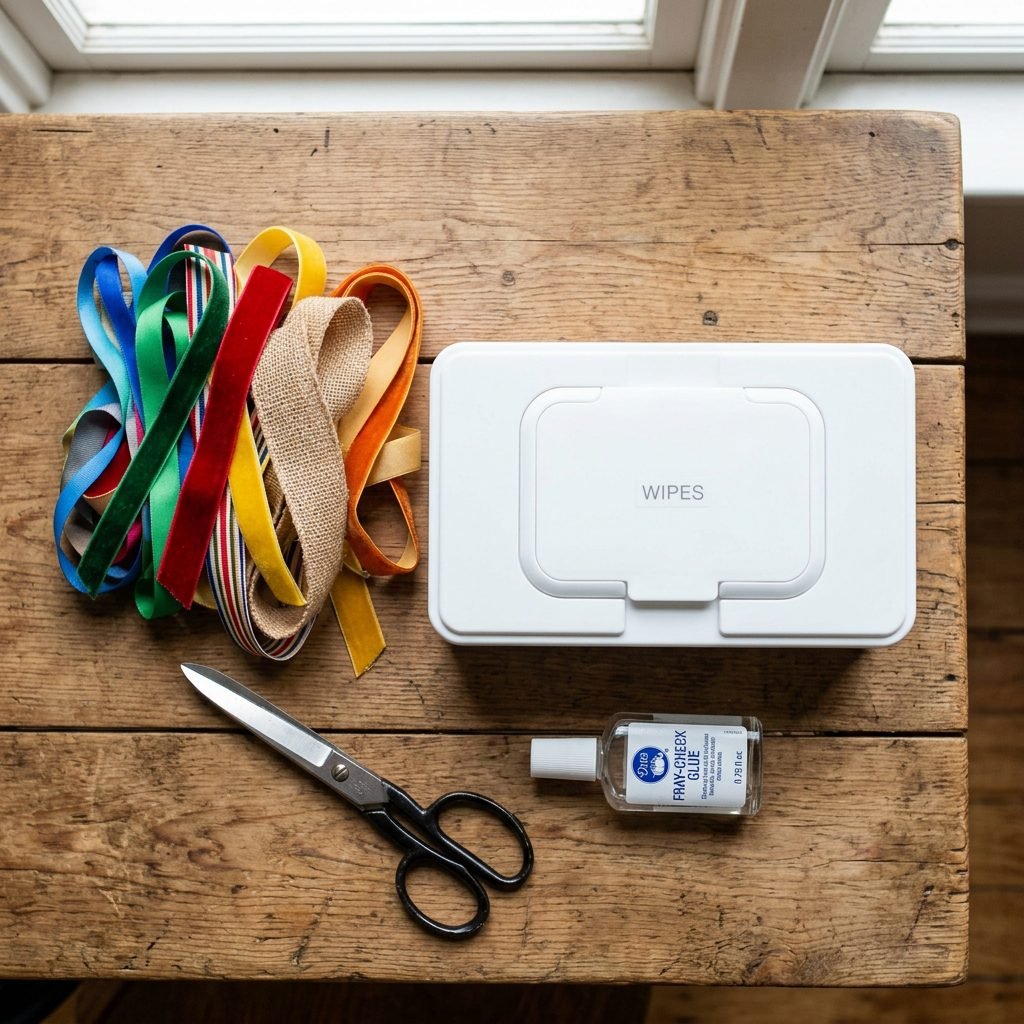
The beauty of this project is that you likely have 90% of these materials already. We want to focus on high-contrast colors and varied textures to maximize the sensory experience. Below is a breakdown of the materials and their estimated costs if you were to buy them new—though I always recommend raiding your sewing kit or gift wrap drawer first!
| Item | Purpose | Estimated Cost |
|---|---|---|
| Empty Wipes Box | The ‘engine’ of the toy | $0 (Upcycled) |
| Assorted Ribbons | Sensory textures and pulling action | $3 – $7 |
| Scissors | Cutting ribbons and lid slots | $0 (Household item) |
| Lighter or Fray Check | Sealing ribbon ends for safety | $1 – $2 |
| Non-Toxic Glue (Optional) | Securing fabric covers for aesthetics | $3 |
When selecting your ribbons, aim for a variety of widths. A 1-inch wide grosgrain ribbon provides a different resistance than a 1/4-inch satin ribbon. This variety keeps the baby engaged for longer as each ‘pull’ feels slightly different to their nervous system.
Step-by-Step Construction: Building Your Pull Toy
Creating a Durable and Engaging Toy
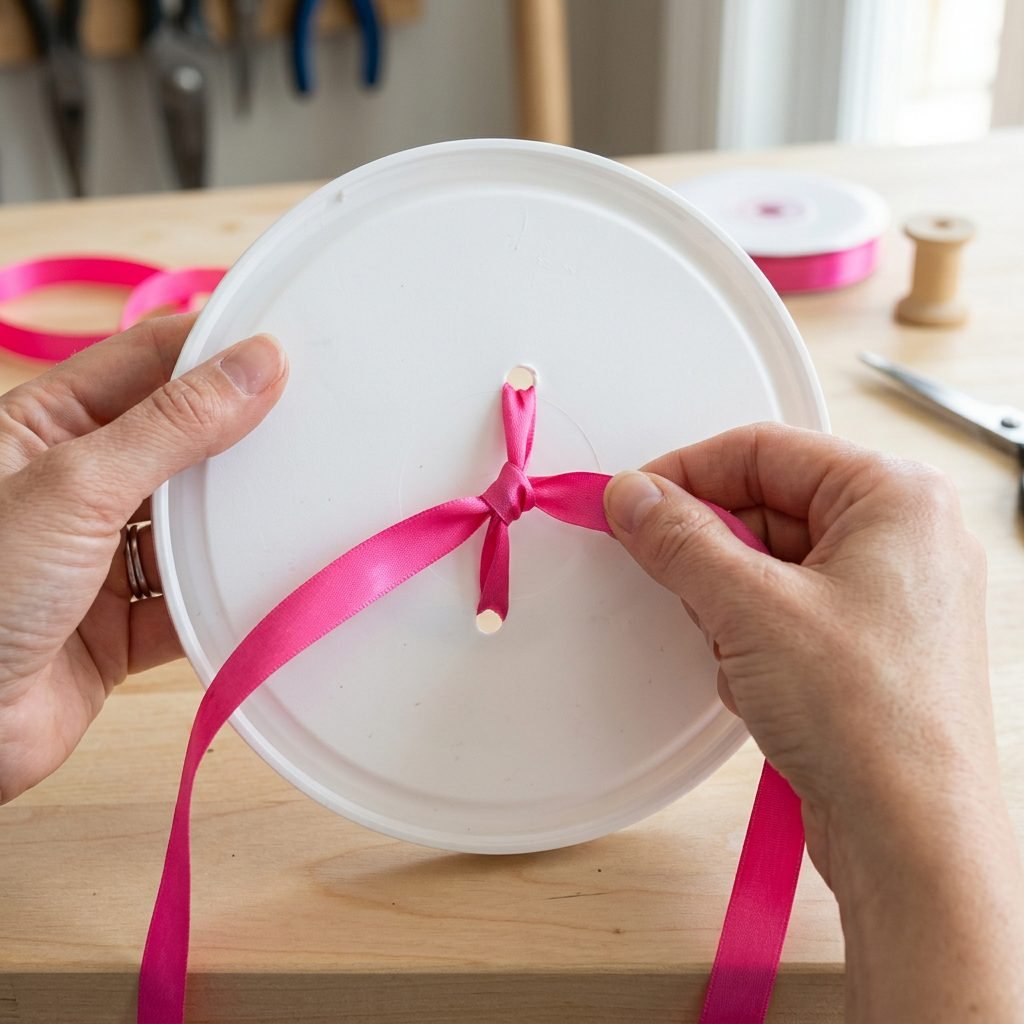
Follow these steps to ensure your toy is both functional and safe for those enthusiastic little tugs. We want the knots to be secure so that the ribbons don’t come all the way out, allowing for endless ‘resetting’ of the toy.
- Clean and Prep: Thoroughly wash the empty wipes box with warm, soapy water. Remove any lingering adhesive from the labels using a bit of olive oil or rubbing alcohol.
- Prepare the Ribbons: Cut your ribbons into lengths of approximately 12 to 14 inches. This is the ‘sweet spot’—long enough for a satisfying pull, but short enough to remain safe.
- Seal the Ends: Use a lighter to very briefly singe the ends of synthetic ribbons, or apply a drop of fray-check. This prevents the baby from pulling at loose threads and potentially ingesting them.
- Create the Slots: Most wipes boxes already have a central opening. If yours is too large, you can use a craft knife (carefully!) to create 3-4 smaller holes in the plastic lid. Ensure there are no sharp edges.
- The Knotting Technique: Thread a ribbon through a hole and tie a large, double-knot on the inside of the box. The knot must be significantly larger than the hole so it cannot be pulled through.
- The Outer Knot: Tie another knot on the end of the ribbon that stays outside the box. This gives the baby a ‘handle’ to grab onto.
Pro-Tip: If your baby is a ‘super-puller,’ consider tying two different ribbons together inside the box. When they pull the blue ribbon, the red one disappears inside! This teaches advanced cause-and-effect.
The Safety First Checklist: A Doula’s Heartfelt Reminder
Ensuring a Safe Play Environment
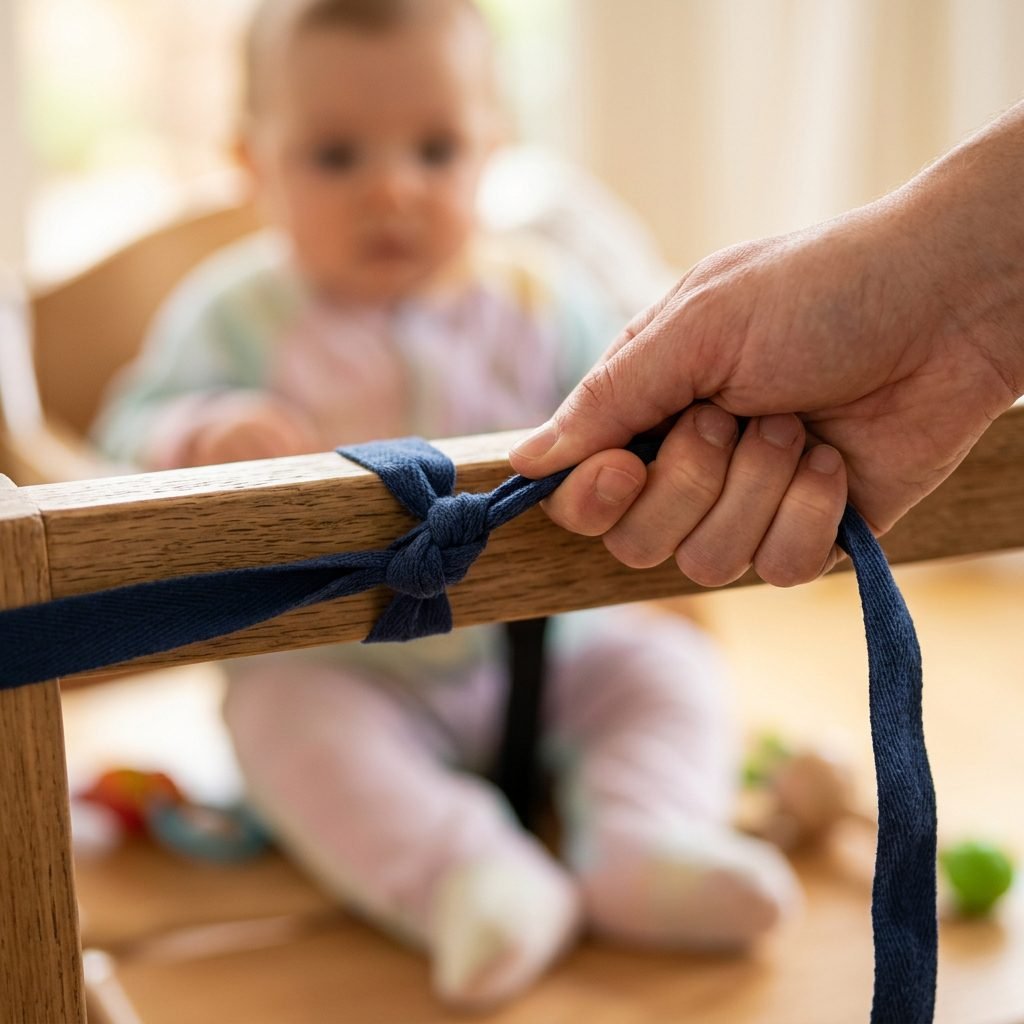
As a doula, safety is my primary language. While DIY toys are wonderful, they require a bit more vigilance than store-bought, lab-tested plastic. Because we are working with ribbons and small parts (knots), we must be diligent. Never leave your baby unattended with this toy. While the ribbons are knotted, a very determined baby or a loose thread can become a hazard.
- Check the Knots Daily: Before every play session, give each ribbon a firm tug yourself. Ensure the plastic hasn’t cracked and the knots are still secure.
- Length Limits: Keep ribbons under 12 inches to eliminate any risk of entanglement. If a ribbon looks too long, trim it and re-knot it immediately.
- Material Integrity: If you notice a ribbon is starting to shred or ‘pill’ from being chewed on (as all toys eventually are!), replace it with a fresh one.
- Non-Toxic Focus: If you choose to decorate the outside of the box with fabric or paper, ensure you use a child-safe, non-toxic adhesive.
By following these simple rules, you create a space where your baby can explore their boundaries safely while you enjoy a well-deserved moment of observation.
Styling and Customizing: Making it Nursery-Chic
Elevating the Aesthetic of Upcycled Play
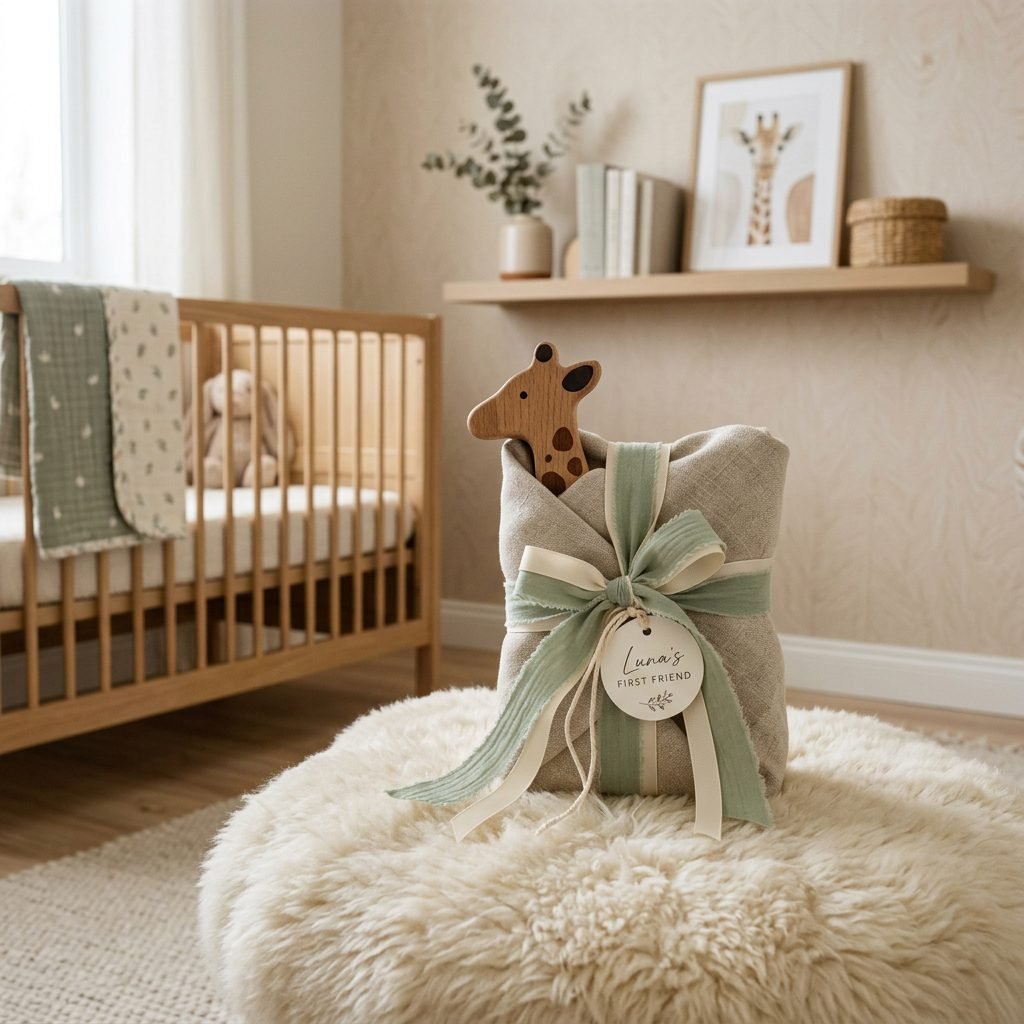
Just because it’s a wipes box doesn’t mean it can’t match your beautiful nursery aesthetic! If you love a boho-chic look, choose ribbons in muted earth tones like terracotta, sage, and cream. For a modern, high-contrast look (which is excellent for newborns’ developing vision), stick to black, white, and primary red.
| Theme | Ribbon Colors | Texture Suggestions |
|---|---|---|
| Boho Dream | Mustard, Dust Rose, Linen | Cotton cord, velvet, lace |
| High Contrast | Black, White, Bright Red | Satin, grosgrain, ric-rac |
| Ocean Explorer | Navy, Teal, Silver | Mesh, organza, smooth silk |
| Garden Party | Lavender, Mint, Peach | Floral print, pom-pom trim |
You can also wrap the box in a scrap of Oeko-Tex certified fabric or even a clean, old T-shirt. This softens the edges of the box and makes it feel like a high-end sensory toy you’d find in a boutique. Just ensure the fabric is glued down securely so no little fingers can peel it back.
Stages of Play: How to Use the Toy as Baby Grows
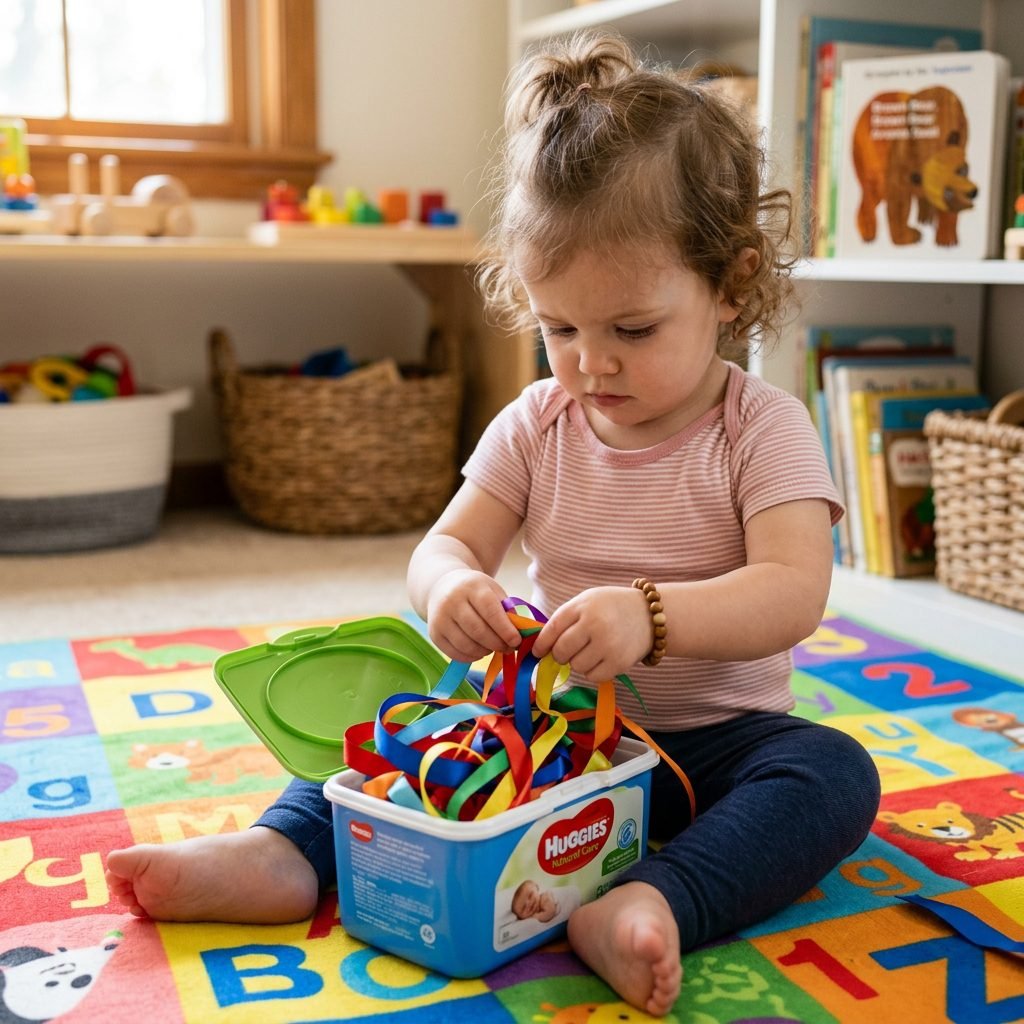
From Tummy Time to Toddlerhood
This toy is surprisingly versatile and can grow with your child through various milestones. Don’t put it away once they’ve mastered the initial pull! Here is how to adapt the play as they reach new heights of development:
- 3-5 Months (Tummy Time): Place the box just out of reach during tummy time. The bright ribbons will encourage them to lift their head and reach, strengthening their neck and core muscles.
- 6-9 Months (Sitting Up): This is the prime time for the pull toy. Place it between their legs while they are sitting. This encourages midline crossing—the ability to reach across the center of the body with their hands.
- 10-14 Months (The ‘Put-In’ Phase): At this age, babies become obsessed with putting things *into* containers. Open the lid and show them how to stuff the ribbons back inside. This is a different motor skill entirely and provides a new challenge.
- 18 Months+ (Color Recognition): You can start using the toy for early language skills. “Can you pull the yellow ribbon?” or “Find the soft ribbon!” This turns a motor toy into a cognitive game.
Conclusion
You Are Your Baby’s Best Teacher
Mama, I hope this project brings a little spark of joy to your day. In a world that tells us we need to buy the latest electronic gadget to ensure our children are ‘smart,’ remember that simple, tactile, and loving interaction is the true key to development. This DIY ribbon pull toy is a testament to your resourcefulness and your dedication to your little one’s growth. Every time they tug on a ribbon and look up at you with those wide, wondering eyes, know that you are building their brain and their bond with you. You’re doing an incredible job, one upcycled box at a time. Happy crafting!