Vintage Postcard Birth Announcements: How to Create a Nostalgic Baby Card
Choosing Your Era: Defining the Nostalgic Aesthetic
The Victorian Heirloom
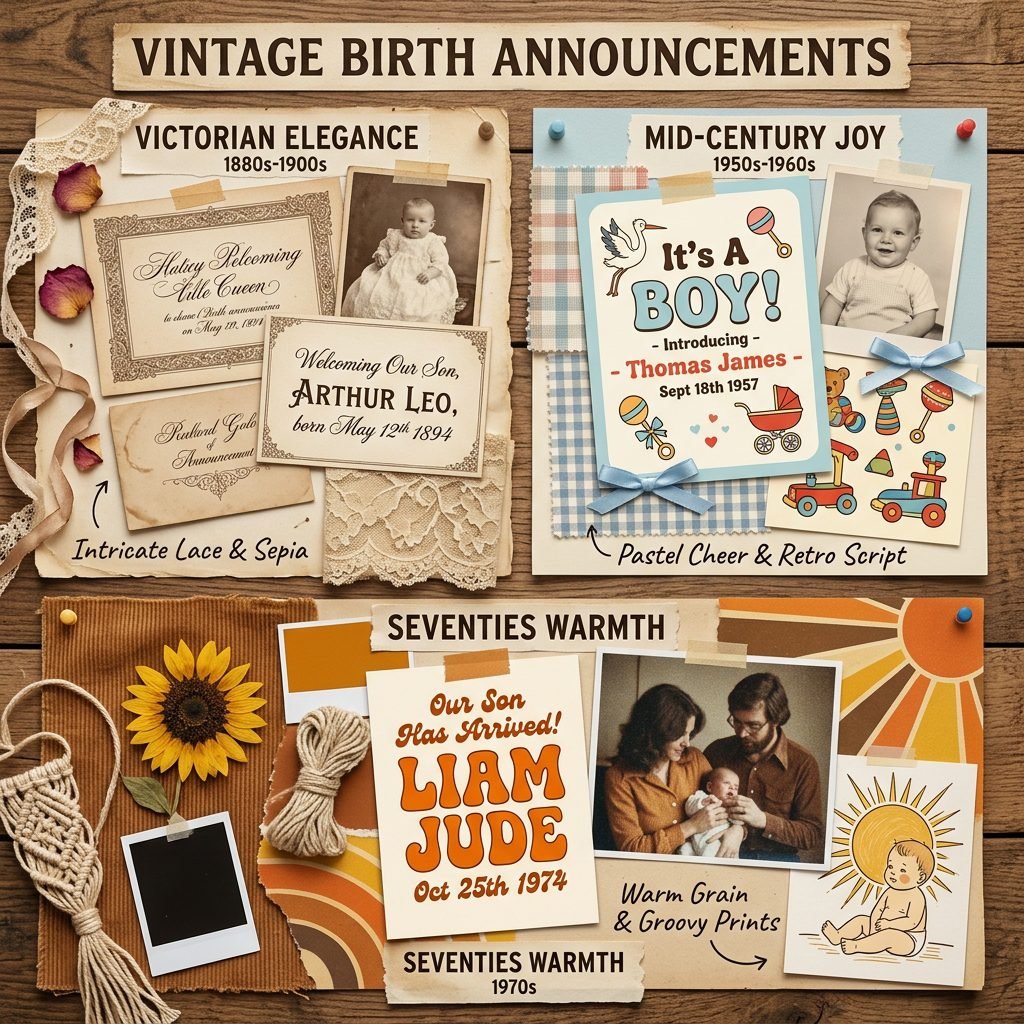
If you love lace, botanical illustrations, and ornate calligraphy, the Victorian style is for you. Think muted tones like sage green, dusty rose, and cream.
Mid-Century Modern Whimsy
For the mom who loves bold typography, geometric shapes, and a bit of ‘Mad Men’ flair, the 1950s and 60s offer a cheerful, structured look.
The Retro 70s Vibe
This is all about warm earth tones—mustard, terracotta, and avocado—with groovy, rounded fonts and a grainy, film-photo texture. Choosing an era helps narrow down your font choices and color palette, making the design process much less overwhelming for a tired brain.
Color Palette Inspiration
- Dusty Library: Navy, gold, and parchment.
- Wildflower Meadow: Mauve, moss, and soft buttercup.
- Classic Newsprint: Charcoal, eggshell, and a pop of red.
Gathering Your Supplies: The Practical Kit
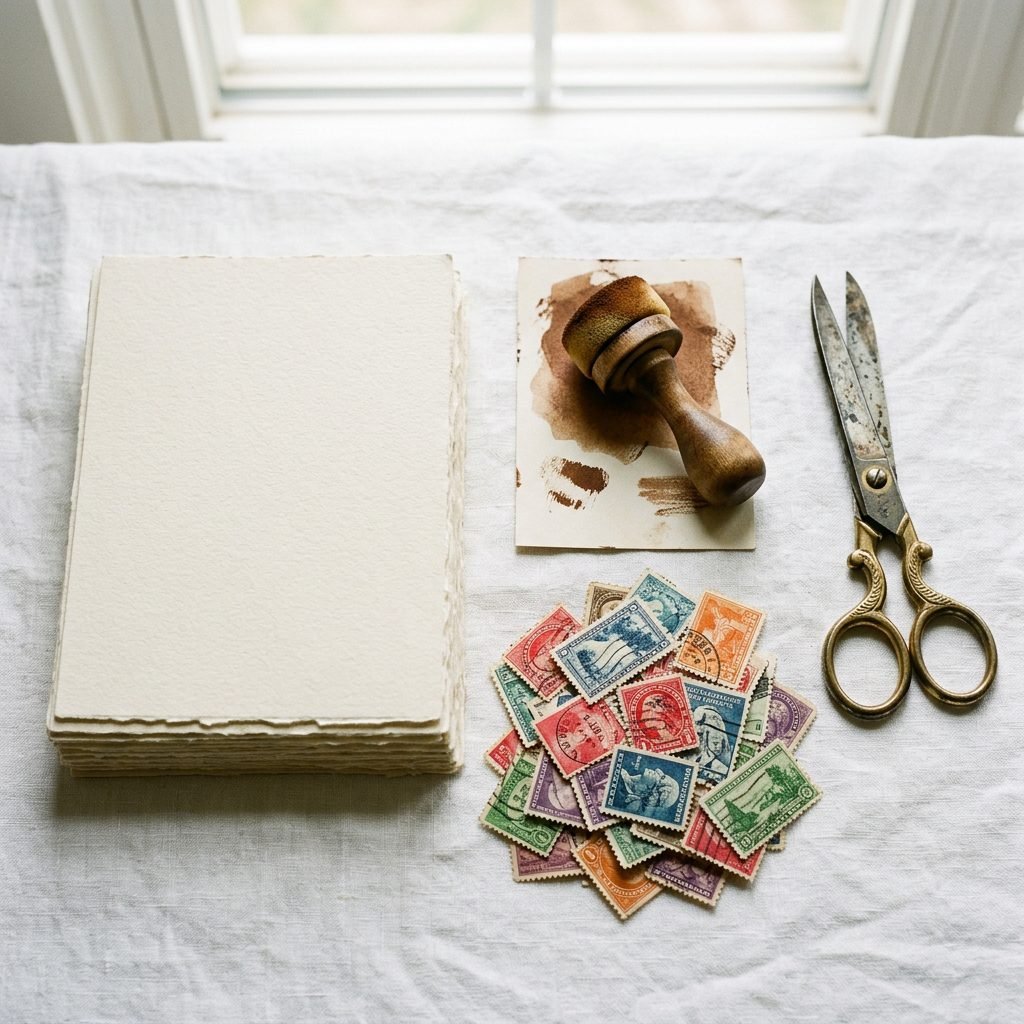
The Foundation: Cardstock and Texture
The weight of the paper is what makes a postcard feel authentic. You want something sturdy, at least 100lb or 300gsm.
Distressing Tools
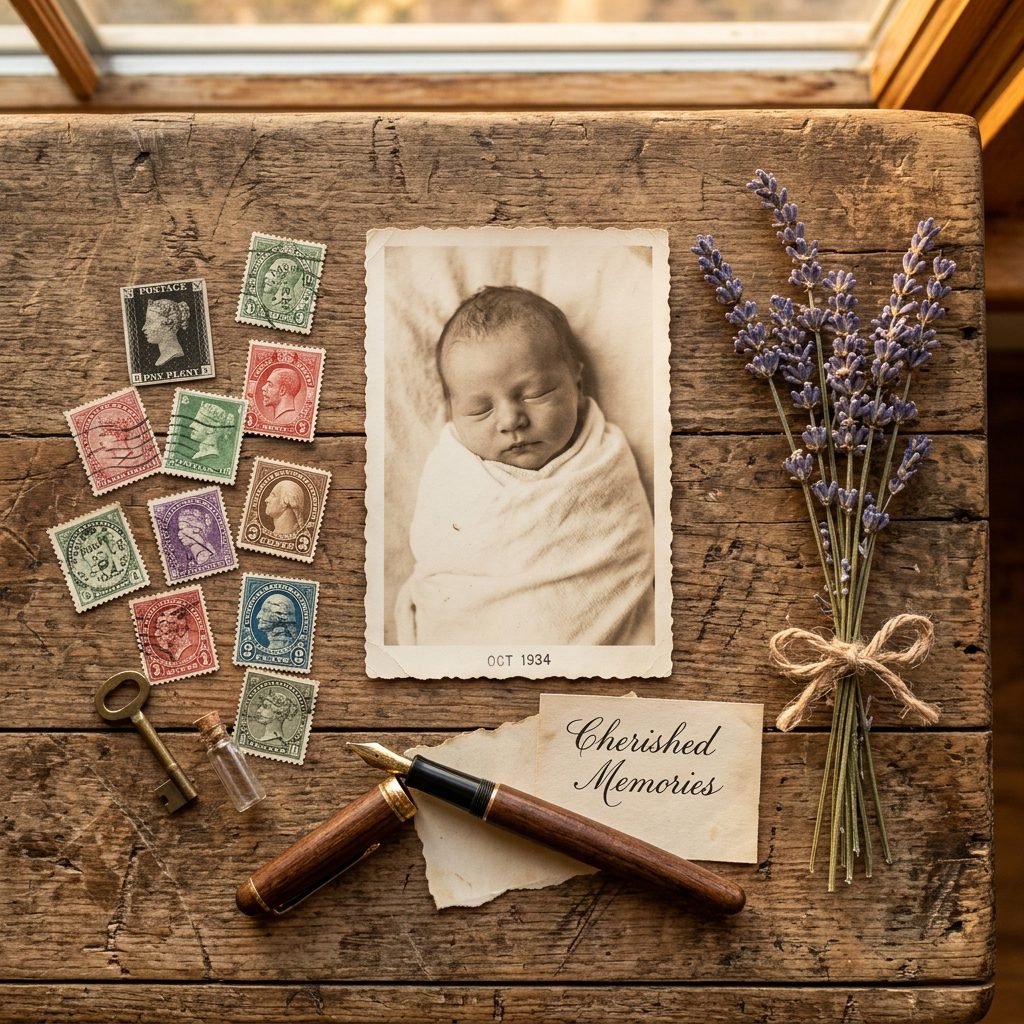
To get that ‘found in an attic’ look, you can use tea-staining techniques or distress ink pads around the edges.
Material Budget Breakdown
| Item | Description | Estimated Cost |
|---|---|---|
| Heavy Cardstock | Cream or Kraft paper, 50 sheets | $15.00 |
| Distress Ink | ‘Vintage Photo’ or ‘Tea Dye’ shades | $7.00 |
| Antique Stamps | Unused vintage postage sets | $12.00 |
| Corner Rounder | For that authentic postcard shape | $10.00 |
| Total | DIY Nostalgia Kit | $44.00 |
Pro-Tip: If you are in the thick of postpartum healing, don’t feel pressured to hand-cut every card. You can order pre-cut 4×6 or 5×7 cards and focus your energy on the creative distressing and writing.
The Step-by-Step Crafting Guide
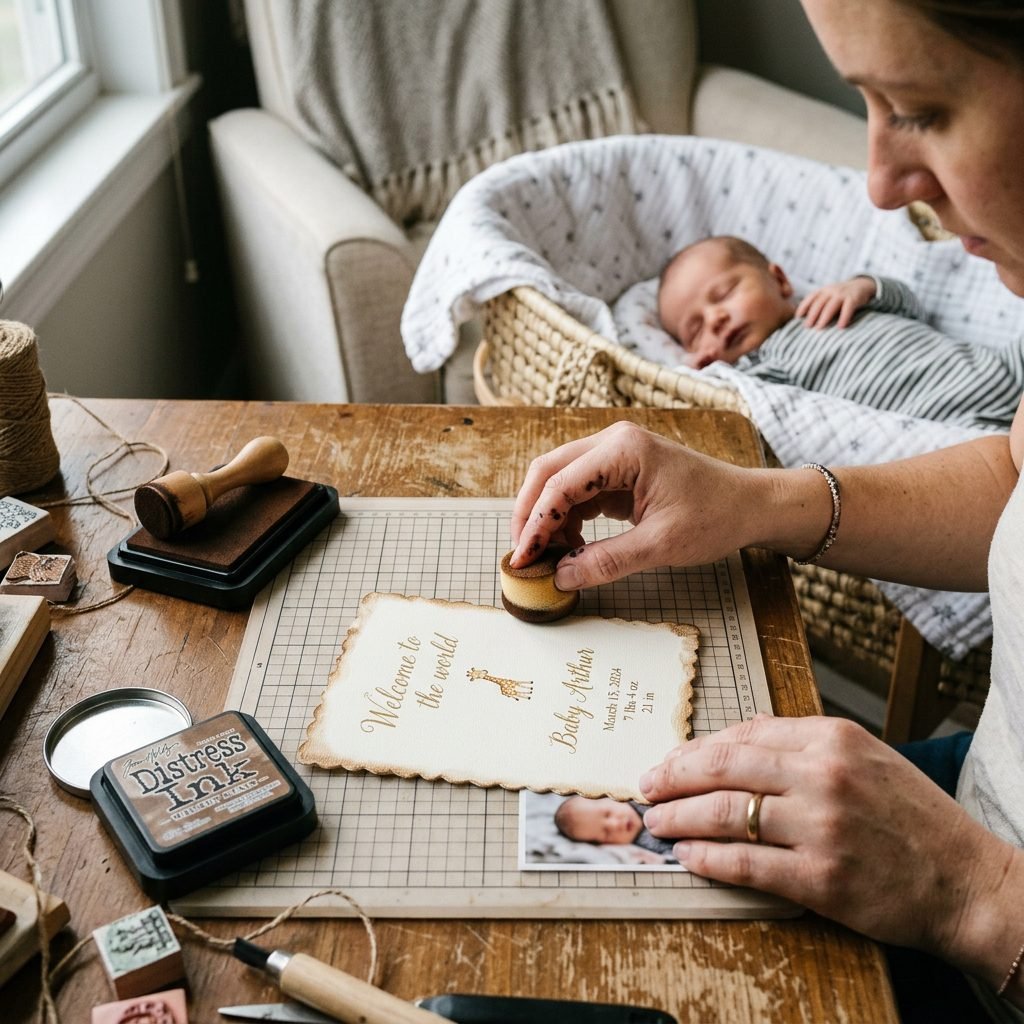
- Print Your Photo: Use a matte finish rather than glossy. It absorbs ink better and looks more historical.
- Round the Corners: Use a corner rounder punch on all four sides. This small detail immediately transforms a ‘photo’ into a ‘postcard’.
- Distress the Edges: Take your ink pad and lightly drag the sponge along the edges of the card. This mimics the natural wear and oils that accumulate on paper over decades.
- The Tea Stain (Optional): If you want a truly aged look, dip a tea bag in warm water and lightly dab the back of the card. Let it dry completely before writing.
- Apply the Stamps: Use a mix of one modern ‘Forever’ stamp (for the post office) and several low-denomination vintage stamps for aesthetic flair.
A Note on Postpartum Pacing
Listen to your body. If your back starts to ache or your eyes feel heavy, stop. This project should be a therapeutic outlet, not another chore on your to-do list. Set a timer for 20 minutes and see how you feel.
Capturing the Perfect ‘Vintage’ Newborn Portrait
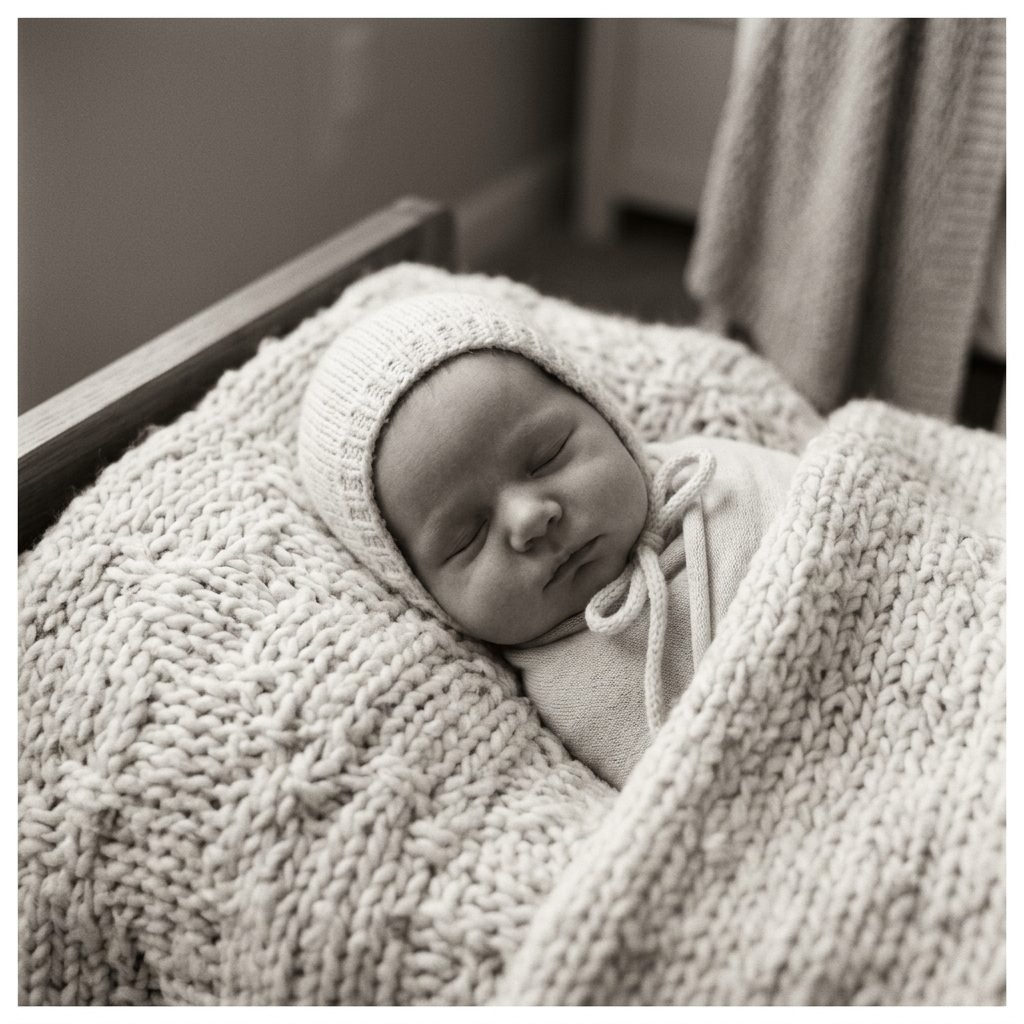
Lighting is Everything
Use soft, indirect natural light. Position your baby near a window with a sheer curtain to diffuse the sun.
Natural Textures
Wrap your little one in heirloom fabrics.
- Linen swaddles in oatmeal or slate.
- Hand-knit wool bonnets or booties.
- Wicker baskets or wooden crates lined with sheepskin.
Editing for Nostalgia
You don’t need fancy software. Most phone apps allow you to:
- Lower the Saturation: This removes the ‘neon’ tones of modern digital photos.
- Increase the Grain: Adds a film-like texture.
- Adjust the Temperature: Move the slider toward ‘warm’ for a golden, sun-drenched feel.
Wording and Typography: The Art of the Message
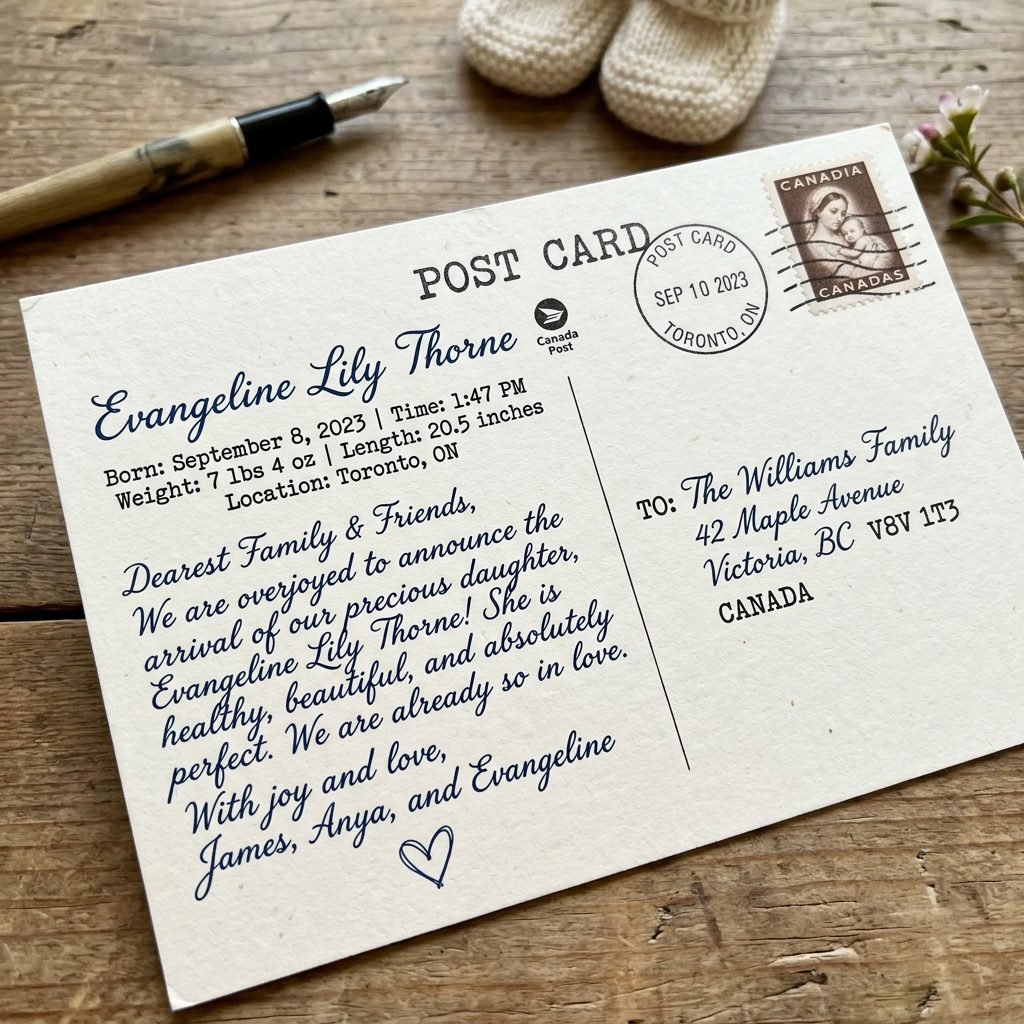
Classic Postcard Templates
“Greetings from the Nursery! We are thrilled to introduce [Baby Name], who arrived on [Date] at [Time]. Weighing [Weight] and measuring [Length]. Our hearts are full and our coffee is cold. With love, The [Last Name] Family.”
Typography Tips
Use a combination of two fonts: one ‘Script’ font for the baby’s name (to look like handwriting) and one ‘Typewriter’ or ‘Serif’ font for the details. This contrast creates a professional, curated look.
What to Include:
- Full Name: The star of the show.
- Birth Date: The day the world changed.
- Weight/Length: For those who love the stats.
- A Short Sentiment: Something like ‘A New Chapter Begins’ or ‘Heaven Sent’.
Mailing and Preservation: Sending Your Love
Postage Requirements
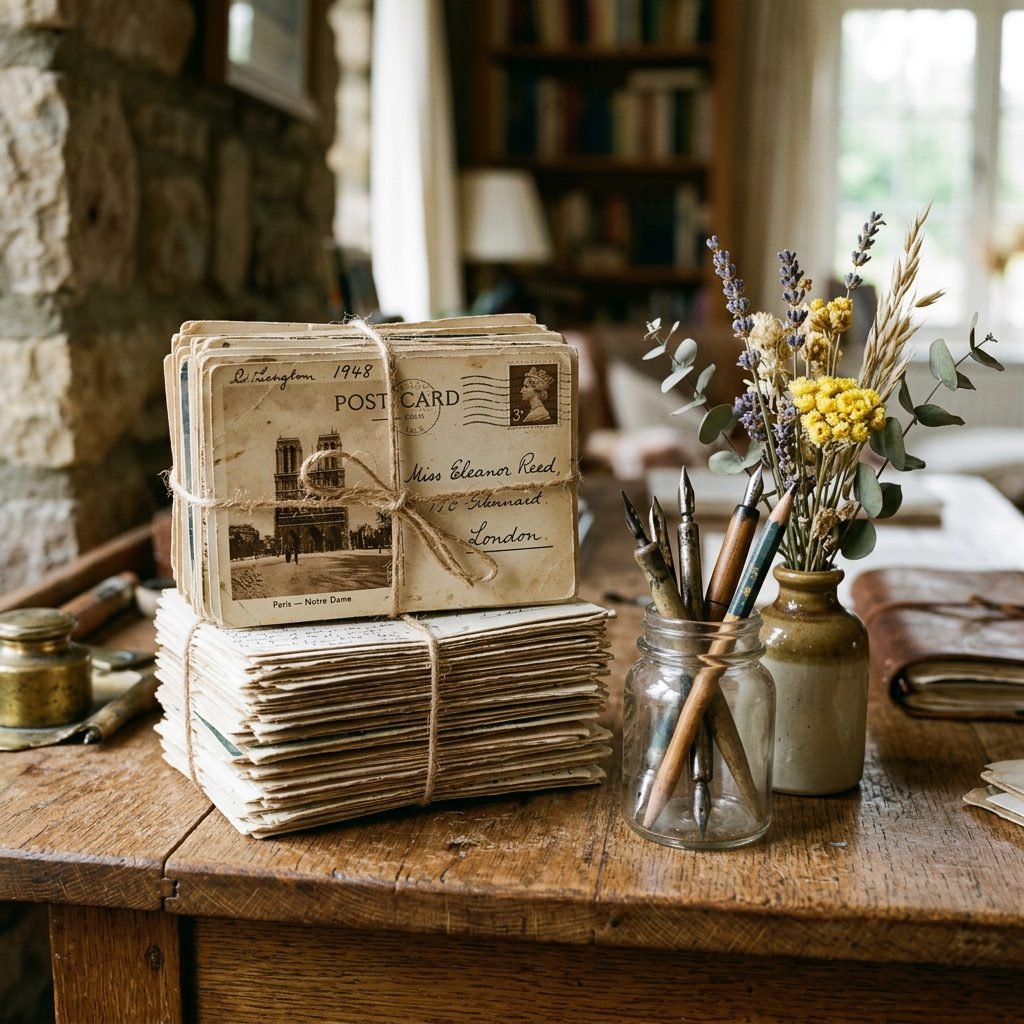
Standard postcards in the US must be at least 3.5 inches high x 5 inches long and no larger than 4.25 inches high x 6 inches long. If your DIY cards are larger, you will need a first-class letter stamp.
Protecting the Art
If you’ve used a lot of ink or embellishments, consider placing the postcard inside a clear vellum envelope. This protects the design from the post office’s sorting machines while still allowing the vintage aesthetic to shine through.
The Keepsake Box
Always make three extra copies. One for the baby’s memory book, one for your own bedside table, and one to be framed in the nursery.
“Ten years from now, when you find this card tucked into the pages of a favorite book, you won’t remember the sleepless nights as much as you’ll remember the magic of these first few weeks.”
Postpartum Self-Care While Crafting
The ‘Comfort First’ Setup
| Need | Solution | |
|---|---|---|
| Hydration | Keep a large bottle of water with a straw nearby. | |
| Posturing | Sit in a chair with lumbar support or use a bed desk. | |
| Snacking | One-handed snacks like almonds or energy balls. | |
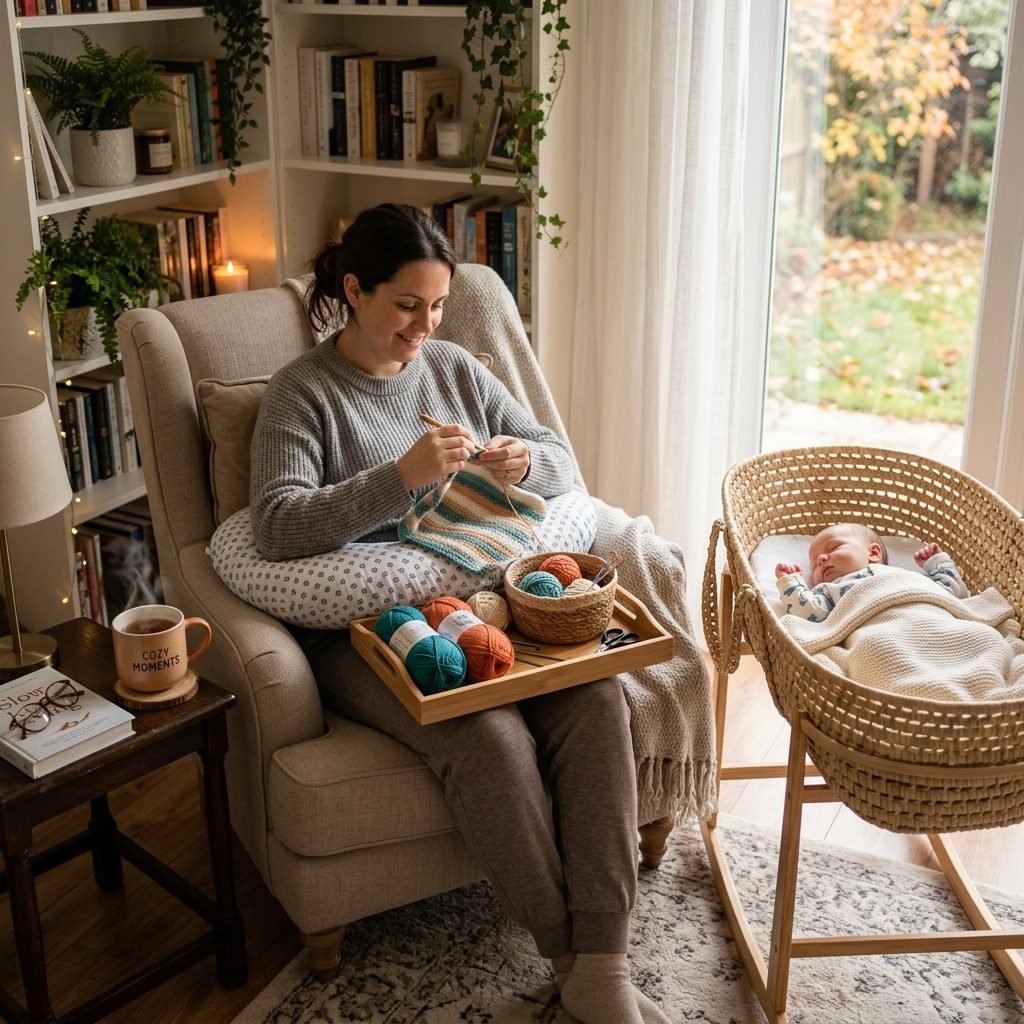
| Baby Proximity | Have baby in a nearby bouncer or wrap while you work. |
If you find yourself getting frustrated with a smudge of ink or a crooked stamp, take a deep breath. In the vintage world, ‘imperfections’ are called ‘character’. Your friends and family aren’t looking for a graphic design masterpiece; they are looking for a piece of your heart.