The Easiest Step-by-Step Tutorial to Sew Your Own Custom Cotton Crib Sheets
Oh, mama, I see you. Whether you are in that high-energy ‘nesting’ phase where every corner of the nursery needs to be perfect, or you are a seasoned pro looking to add a touch of handmade love to your home, there is something so deeply special about creating your baby’s environment with your own two hands. As a doula, I’ve sat in many nurseries, and I can tell you that the most peaceful spaces are the ones filled with intention. Sewing your own custom cotton crib sheets isn’t just about saving a few dollars—though that is a wonderful perk!—it’s about choosing the exact fabric that will touch your baby’s delicate skin and ensuring a fit so snug and safe that you can sleep (a little) easier. In this guide, we are going to walk through every single stitch together. I’ll be your guide, your cheerleader, and your technical expert, ensuring that by the end of this tutorial, you’ll have a professional-quality sheet that looks like it came from a high-end boutique. Let’s grab a cup of tea, find a comfortable seat, and start this beautiful project together.
Mama, you are creating a sanctuary for your little one. Every stitch is a prayer of love, and every fold is a promise of comfort. You’ve got this!
Choosing the Perfect Fabric: Safety, Softness, and Style
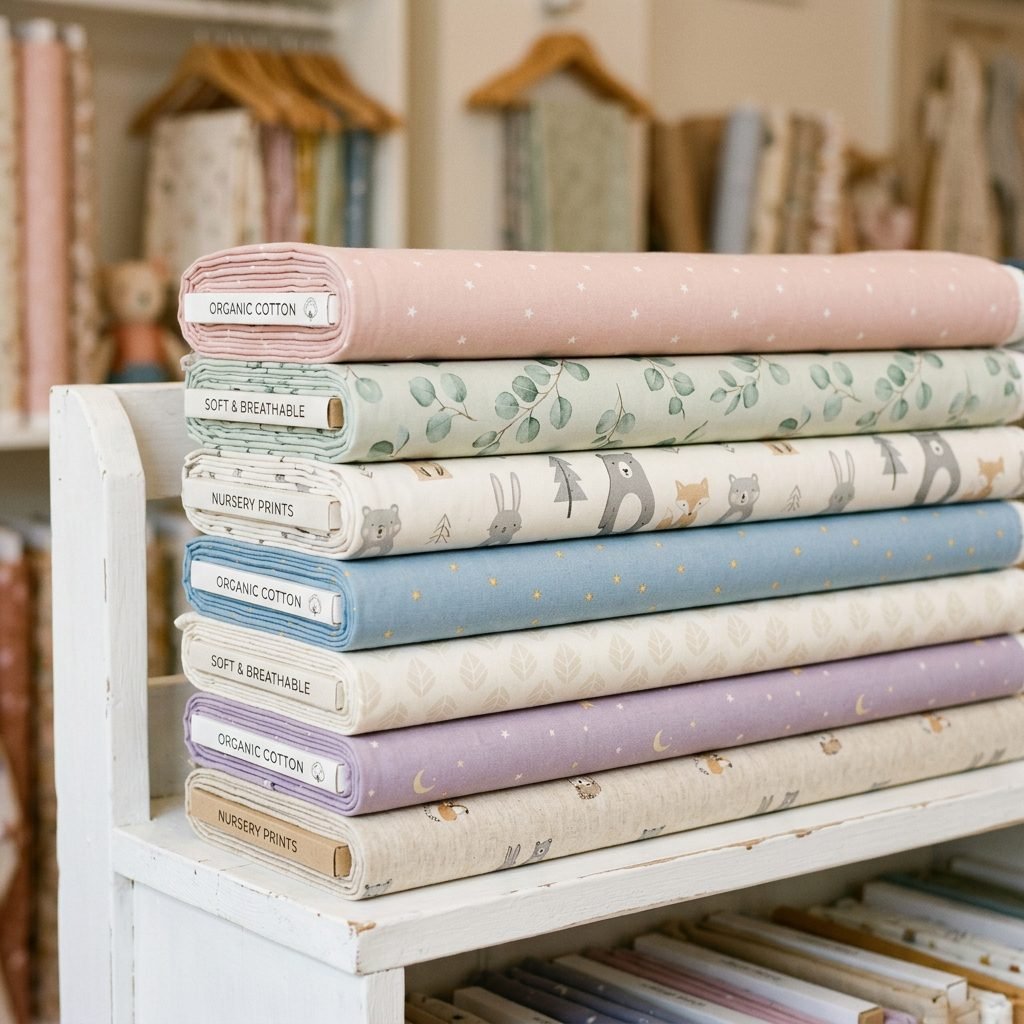
When it comes to your baby, the fabric you choose is the most important decision you’ll make in this process. Newborns have incredibly sensitive skin, and since they spend a significant portion of their first year sleeping (hopefully!), we want to ensure the material is breathable, non-toxic, and soft. I always recommend 100% Organic Cotton or Cotton Poplin. These materials are durable enough to withstand the frequent washing that comes with baby life, yet gentle enough for a brand-new human. Look for fabrics that are OEKO-TEX or GOTS certified; this ensures that no harmful chemicals were used in the manufacturing process.
Why Cotton is King for Cribs
- Breathability: Cotton allows air to circulate, which helps regulate your baby’s body temperature.
- Absorbency: It handles those inevitable leaks and spills better than synthetic blends.
- Durability: High-quality cotton gets softer with every wash, rather than pilling or thinning.
For a standard crib mattress, you will typically need 2 yards of 44/45-inch wide fabric. If you’ve found a gorgeous 54-inch or 60-inch home decor fabric, just ensure it is a soft cotton and not a heavy upholstery weight. Always, always pre-wash your fabric! Cotton shrinks, and the last thing we want is for your perfectly sewn sheet to be too small after the first laundry cycle.
The Ultimate Supply List & Budget Breakdown
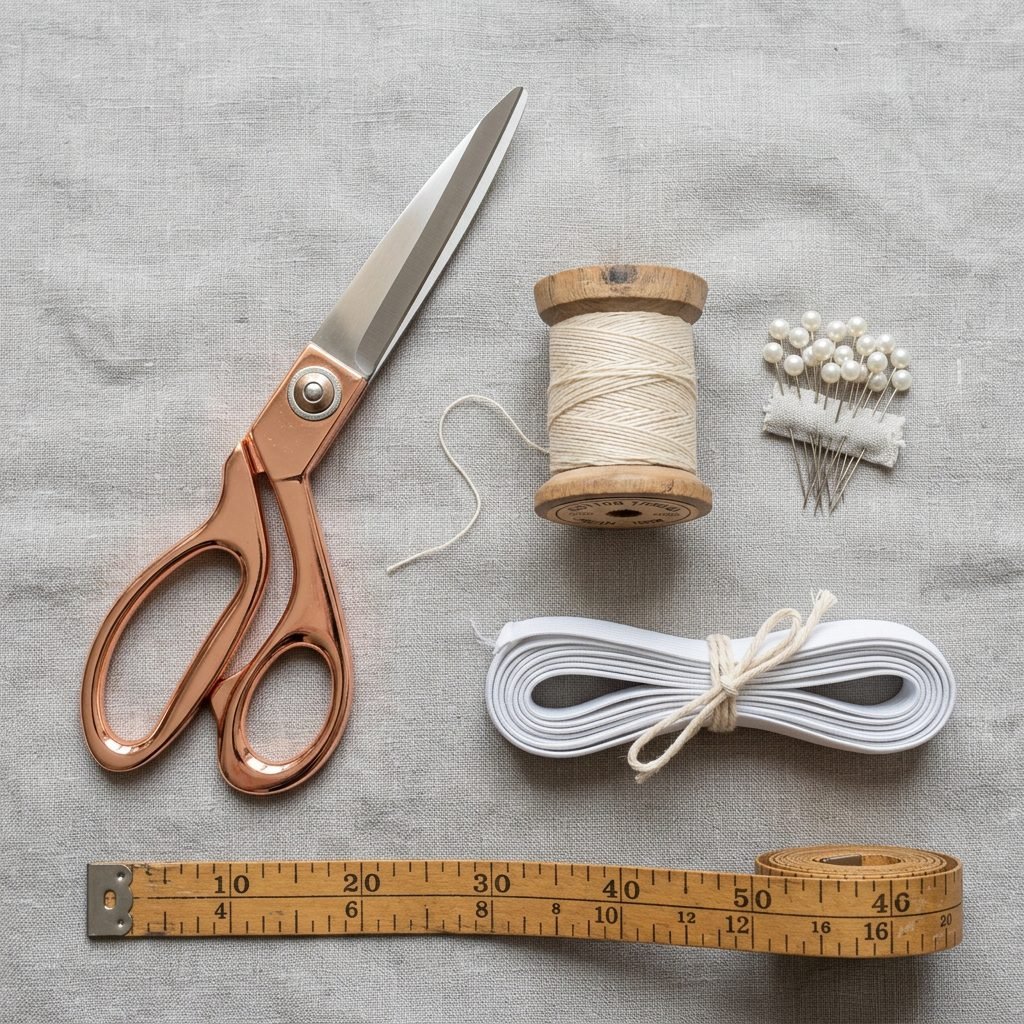
Before we dive into the sewing, let’s make sure your ‘making station’ is ready. You don’t need a high-tech studio for this; a simple kitchen table and a reliable sewing machine will do just fine. Here is exactly what you need to gather. I’ve broken it down by budget so you can see how much you’re saving compared to those $50 boutique sheets!
| Item | Purpose | Estimated Cost |
|---|---|---|
| 100% Cotton Fabric (2 Yards) | The main body of the sheet. | $14.00 – $24.00 |
| 1/4-inch Braided Elastic (2 Yards) | Provides the ‘grip’ for the mattress corners. | $2.00 – $3.00 |
| All-Purpose Polyester Thread | Ensures strong, durable seams. | $3.00 |
| Fabric Shears or Rotary Cutter | For clean, precise edges. | $0.00 (Owned) |
| Safety Pin or Bodkin | To thread the elastic through the casing. | $1.00 |
| Total Project Cost | Custom, High-Quality Sheet | $20.00 – $31.00 |
By doing this yourself, you are not only saving money but also ensuring that the elastic is of a higher quality than many mass-produced versions. Plus, you have the creative freedom to match your nursery’s exact color palette!
Mastering the Math: Cutting for a Perfect Snug Fit
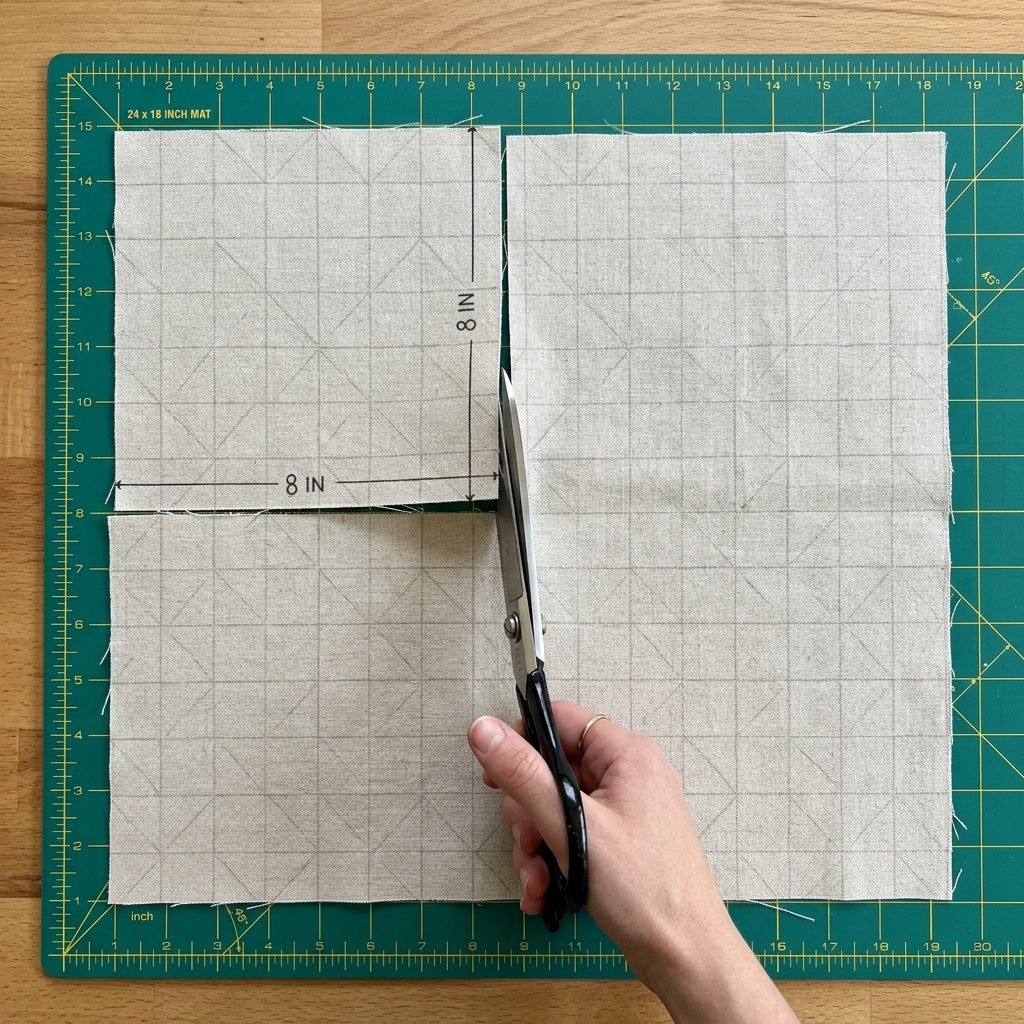
Safety is our absolute priority. A loose crib sheet is a safety hazard, so we are aiming for a ‘drum-tight’ fit. Standard US crib mattresses are approximately 28 inches wide, 52 inches long, and 5 to 6 inches deep. To account for the depth and the ‘tuck’ under the mattress, we need to cut our fabric to 45 inches wide by 69 inches long.
The Secret to the Corner: The 8-inch Square
To create the pocket that hugs the mattress corner, we use a simple but effective technique. Step 1: Fold your fabric into quarters (fold in half lengthwise, then half widthwise). Step 2: On the corner where all the ‘raw’ edges meet (not the folded edges!), cut out an 8-inch by 8-inch square. When you unfold your fabric, you will have a large rectangle with an 8-inch square missing from each of the four corners. This ‘cut-out’ is what allows us to sew the corners into a 3D shape that fits over the mattress. Don’t worry if it looks like a giant ‘+’ sign; that means you’ve done it perfectly!
The Step-by-Step Sewing Guide
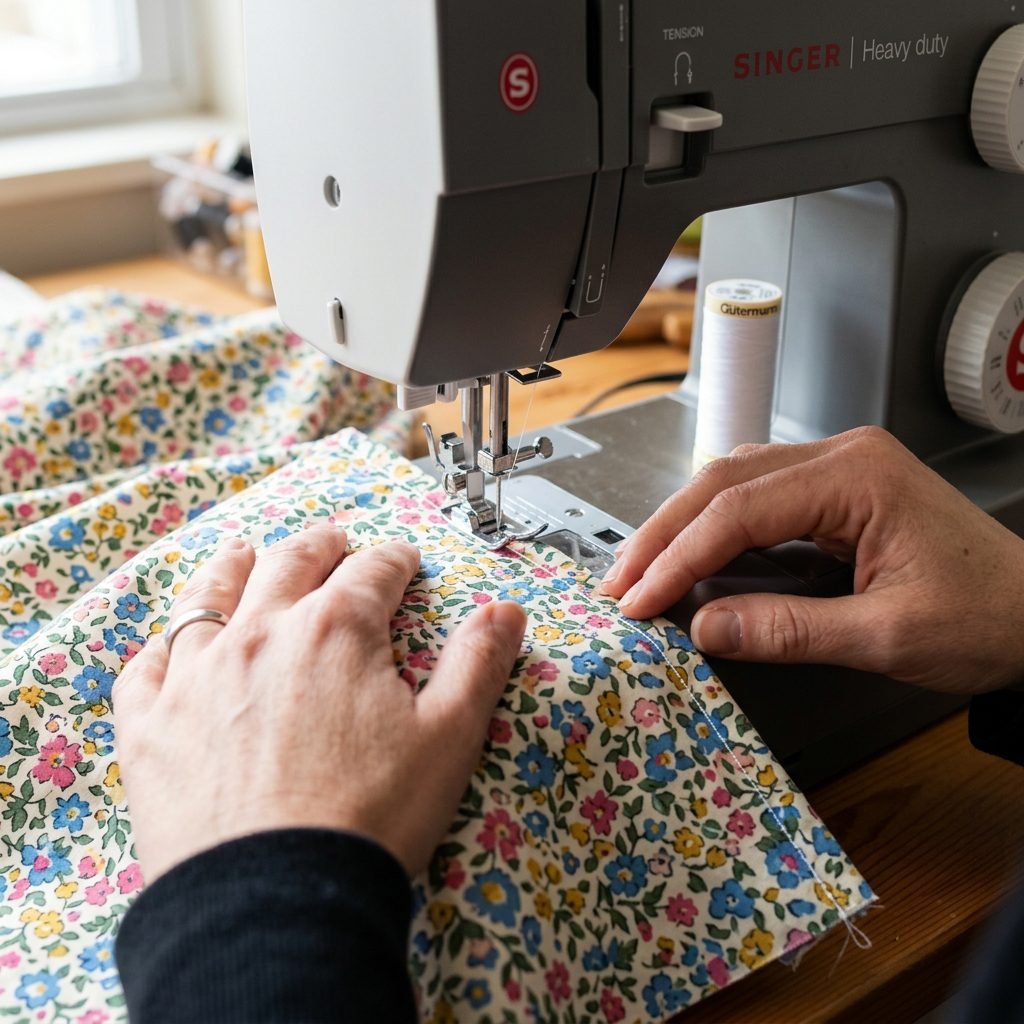
Now, let’s get that machine humming! If you’re a beginner, take it slow. We are going to use a French Seam for the corners. This isn’t just fancy; it’s practical. It encases the raw edges so they don’t fray in the wash, making your sheets last through multiple babies.
- Sew the Corners: Bring the two cut edges of one corner together with the wrong sides facing each other. Sew with a 1/4-inch seam allowance. Trim the seam to 1/8-inch, then turn the fabric so the right sides are together. Sew again with a 1/4-inch seam allowance. Repeat for all four corners. Now you have a ‘box’ shape!
- Create the Elastic Casing: Go around the entire bottom edge of the sheet. Fold the edge over by 1/4-inch and press with an iron. Fold it over again by 1/2-inch and press. This creates a clean ‘tunnel’ for our elastic.
- Sew the Casing: Stitch along the inner folded edge all the way around the sheet. CRITICAL: Leave a 1-2 inch opening near one of the corners to insert the elastic.
- Thread the Elastic: Attach a safety pin to one end of your 2 yards of elastic. Feed it through the opening and slide it all the way through the casing until it comes out the other side. Be careful not to lose the ‘tail’ of the elastic!
- Secure the Elastic: Overlap the two ends of the elastic by about an inch and sew them together using a zig-zag stitch (go back and forth several times for strength).
- Close the Gap: Tuck the elastic into the casing and sew the 1-2 inch opening closed.
Take a deep breath, mama. If your seam isn’t perfectly straight, nobody will know once it’s tucked under the mattress. Your effort is what matters.
Safety First: Ensuring a Snug and Secure Fit
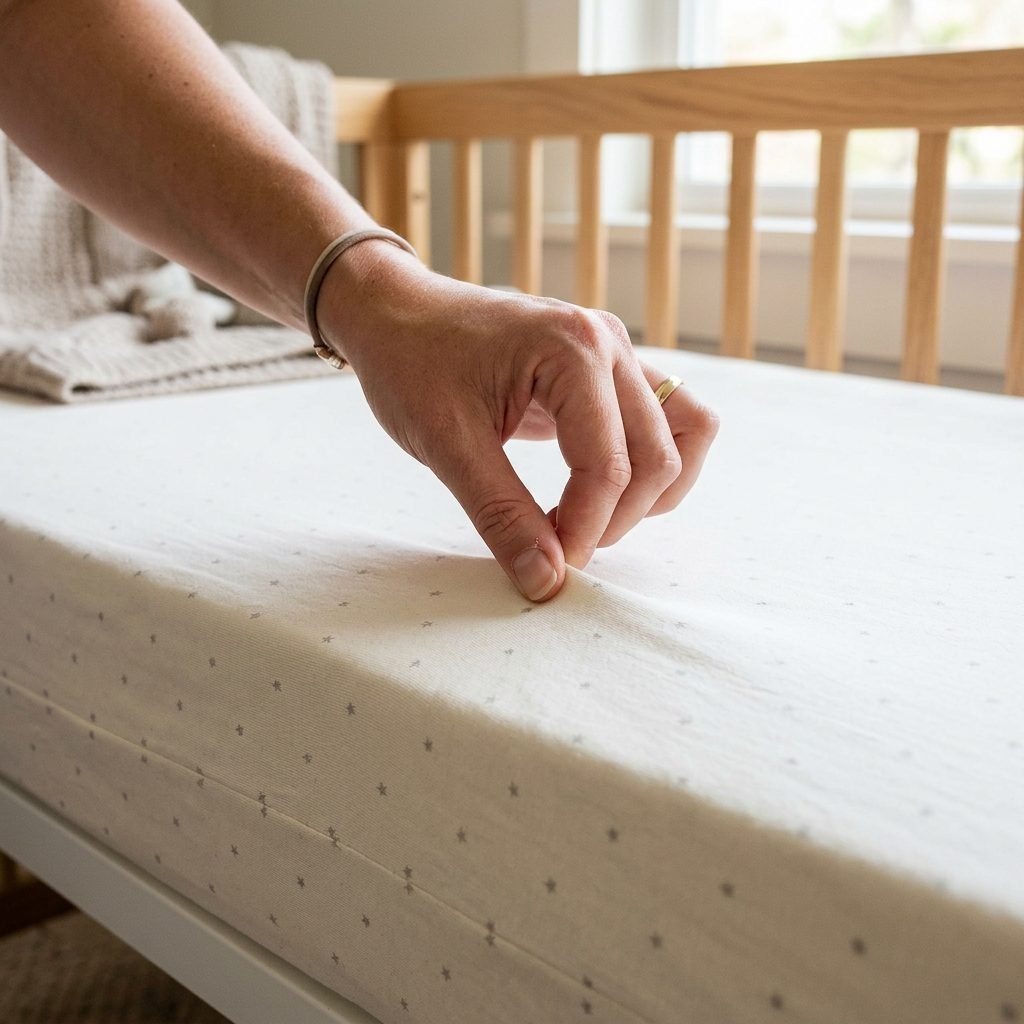
As a doula, I have to emphasize Safe Sleep. The American Academy of Pediatrics (AAP) recommends a firm, flat sleep surface with a tight-fitting sheet. When you place your handmade sheet on the mattress, it should be difficult to pull up.
The Two-Finger Test
Once your sheet is on the mattress, try to slide two fingers between the mattress and the crib frame. The mattress should fit snugly. Then, try to pinch the fabric in the center of the mattress. If you can lift a significant amount of fabric, your elastic needs to be tighter. A tight sheet prevents the fabric from bunching up, which is vital for reducing the risk of SIDS. Safety Checklist:
- No Loose Threads: Trim every single stray thread so they don’t wrap around tiny toes or fingers.
- Elastic Integrity: Check the elastic after every few washes to ensure it hasn’t snapped or lost its ‘snap.’
- Fabric Condition: If the fabric develops holes or significant thinning, it’s time to sew a new one!
Laundering and Longevity: Caring for Your Handiwork
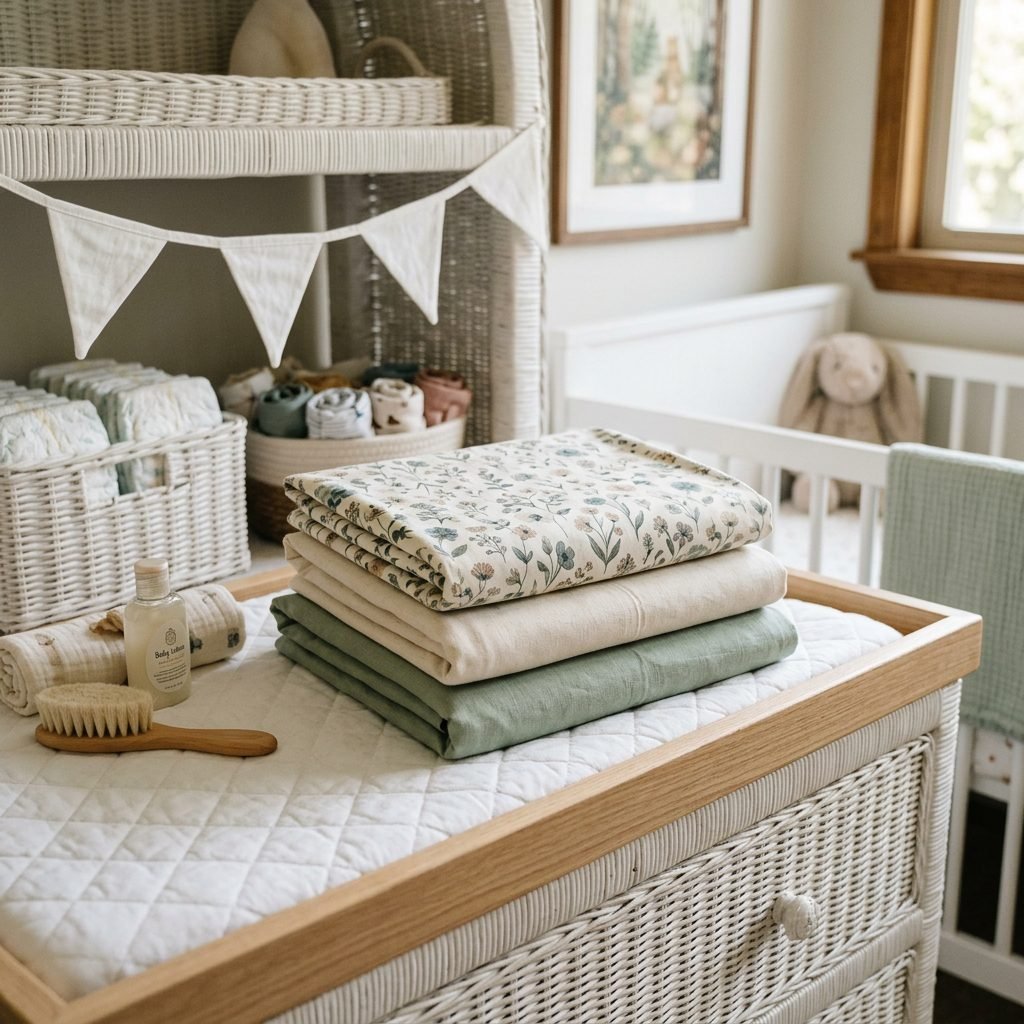
You’ve put so much love into these sheets; let’s make sure they stay beautiful! Because babies have skin that is thinner and more absorbent than ours, I recommend using a fragrance-free, plant-based detergent.
Wash Routine for Handmade Sheets
- First Wash: Wash in cold water with a cup of white vinegar to set the colors and soften the fibers.
- Routine Cleaning: Wash in warm water (to kill bacteria) and tumble dry on low. Avoid high heat, as it can degrade the elastic over time.
- Stain Removal: For those inevitable blowouts, a paste of baking soda and lemon juice works wonders without harsh chemicals.
Since you have the pattern down now, I suggest making at least three sheets. One for the crib, one for the laundry, and one for the ‘midnight emergency’ that every parent eventually faces!
Conclusion
There you have it, mama! You’ve just created a custom, boutique-quality crib sheet that is safer, softer, and more meaningful than anything you could buy off a shelf. Every time you lay your baby down to sleep, you can take a moment of pride knowing that the very first thing they touch is something you made with love. This project is more than just a sewing tutorial; it’s a beautiful step in your journey of motherhood. Whether your lines were straight or a little wiggly, you’ve provided comfort and safety for your little one. Happy nesting, and may these sheets bring many hours of peaceful sleep to both you and your baby! You are doing an incredible job.