How to Sew a DIY Quilted Cotton Muslin Play Mat That Is Modern & Chic
Welcome, sweet mama. If you are reading this, you are likely in that beautiful, nesting phase of pregnancy or perhaps navigating the tender early days of postpartum recovery, looking for a meaningful way to create a soft landing for your little one. There is something profoundly healing and grounding about working with your hands—the rhythmic hum of a sewing machine, the tactile softness of cotton muslin, and the vision of your baby eventually wiggling on a surface you crafted with love. In the world of modern nursery design, we often see mass-produced plastic mats that, while functional, don’t quite capture the organic, chic aesthetic we crave for our homes. That is why a DIY quilted cotton muslin play mat is the perfect solution. It is breathable, incredibly soft on delicate newborn skin, and serves as a stylish statement piece in any room.
As a doula, I often tell my clients that the environment we create for our babies is an extension of our care. A handmade play mat isn’t just a piece of fabric; it is the stage for your baby’s first milestones—their first head lift, their first roll, and their first curious reach.
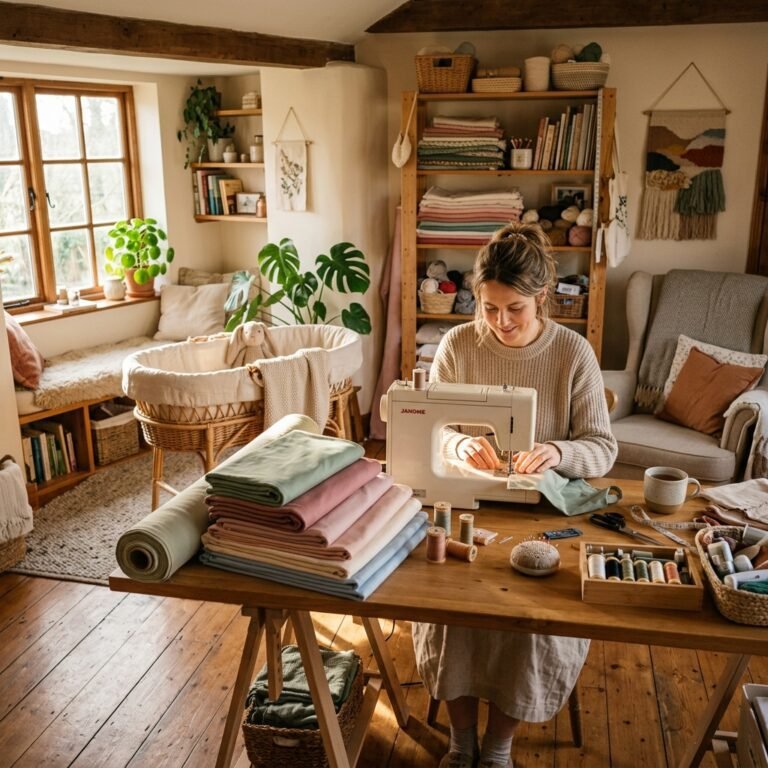
In this guide, we are going to walk through every single step of creating a high-quality, heirloom-style play mat. We will focus on non-toxic materials, modern quilting patterns like the minimalist grid, and the technical tips you need to handle the unique, crinkly texture of muslin. Whether you are a seasoned seamstress or a crafty mom picking up a needle for the first time, this project is designed to be approachable, therapeutic, and ultimately, a beautiful addition to your motherhood journey. Let’s gather our supplies and begin this labor of love together.
Why Cotton Muslin is the Gold Standard for Modern Baby Gear
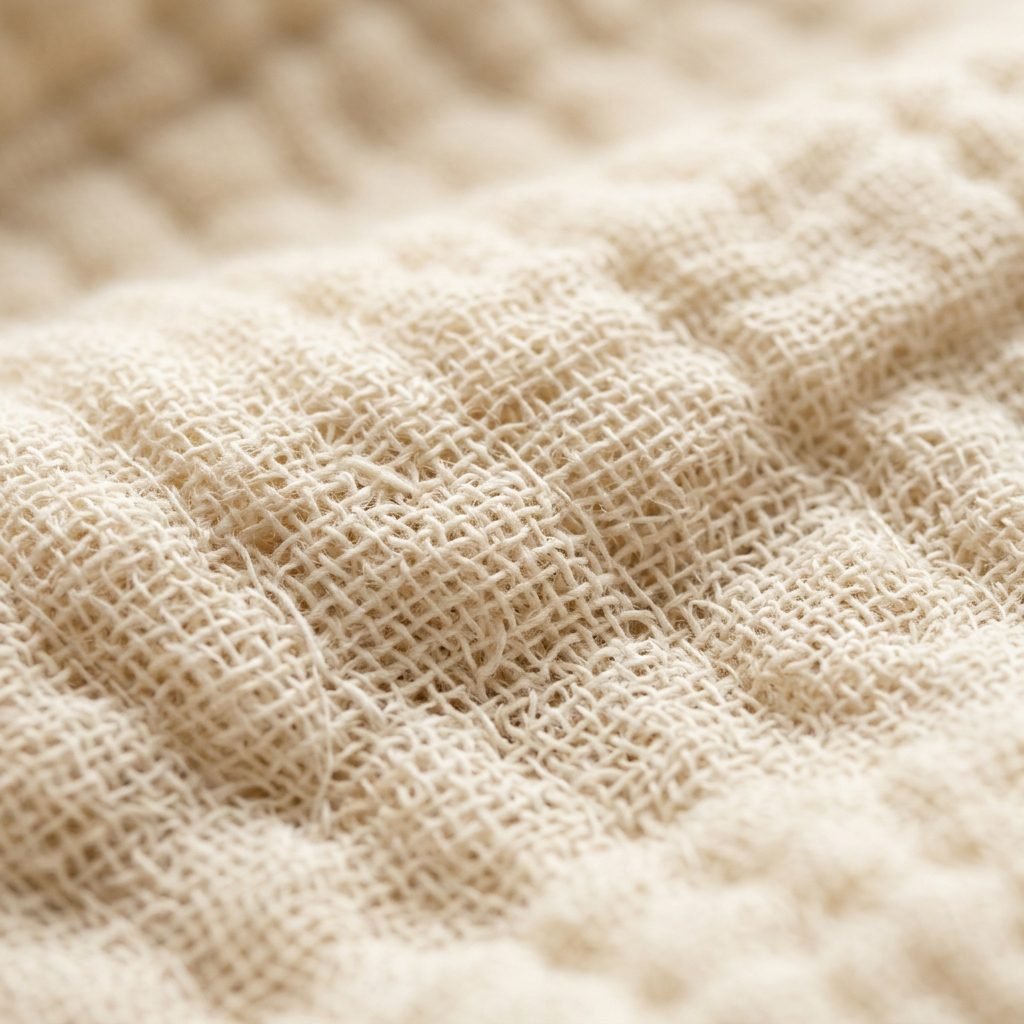
When choosing a fabric for a play mat, we have to look beyond just the color. We want to consider breathability, sensory input, and ease of care. Cotton muslin, specifically double or triple gauze, is a favorite among doulas and pediatric experts for several reasons. First, the open weave of muslin allows for excellent airflow. While your baby should always be supervised during tummy time, using natural fibers provides a more temperature-regulated environment compared to synthetic foam mats.
The Sensory Experience of Muslin
Babies explore the world through their skin. The unique ‘crinkle’ texture of quilted muslin provides a subtle sensory experience that is far more engaging than flat, printed polyester. As they press their tiny palms into the mat, they feel the soft ridges of the quilting and the gentle loft of the batting beneath. This tactile feedback is essential for proprioceptive development.
Durability and the ‘Crinkle’ Factor
One of the best things about muslin is that it actually gets softer with every wash. For a postpartum mom, ease of cleaning is non-negotiable. A quilted cotton mat can be tossed in the washing machine after a spit-up incident and come out looking even more ‘chic’ and textured than before. It embodies the Wabi-sabi philosophy—finding beauty in imperfection and use.
Gathering Your Supplies: The Modern Maker’s Checklist
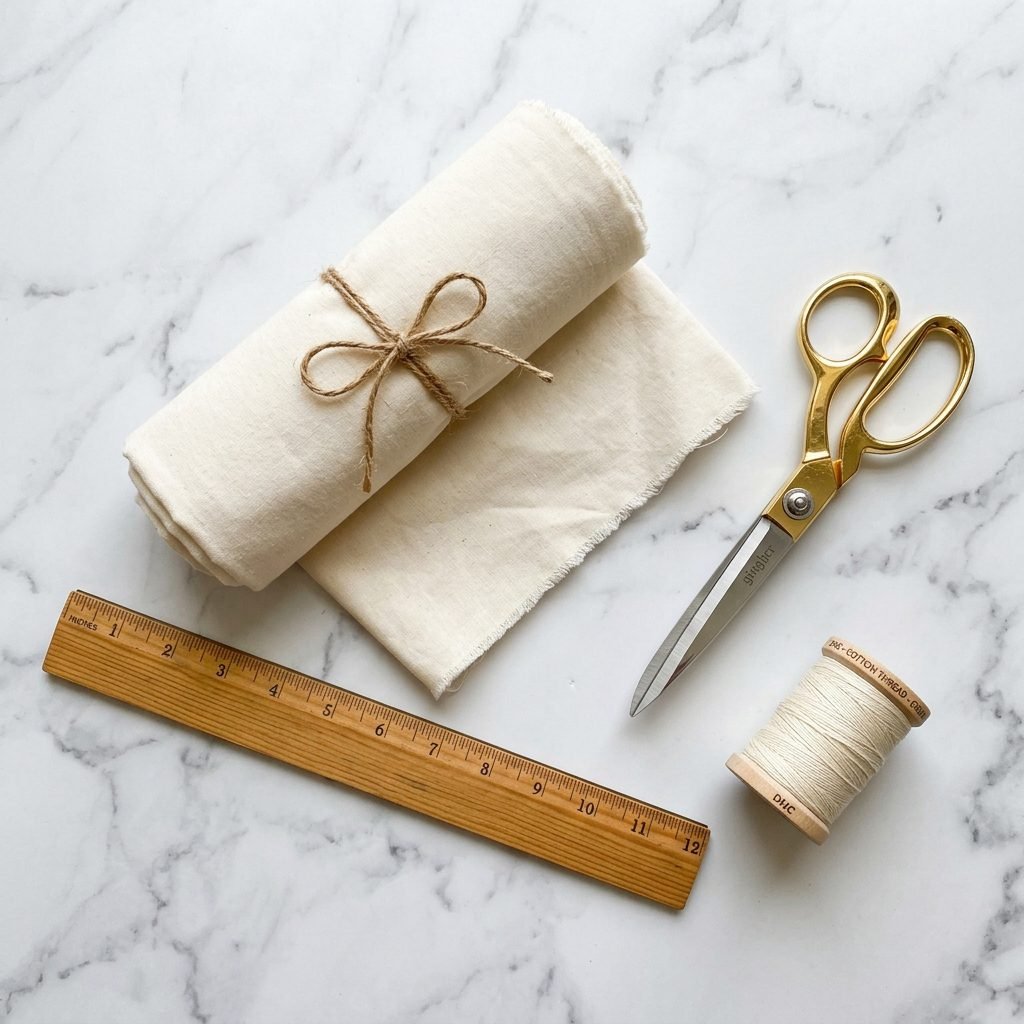
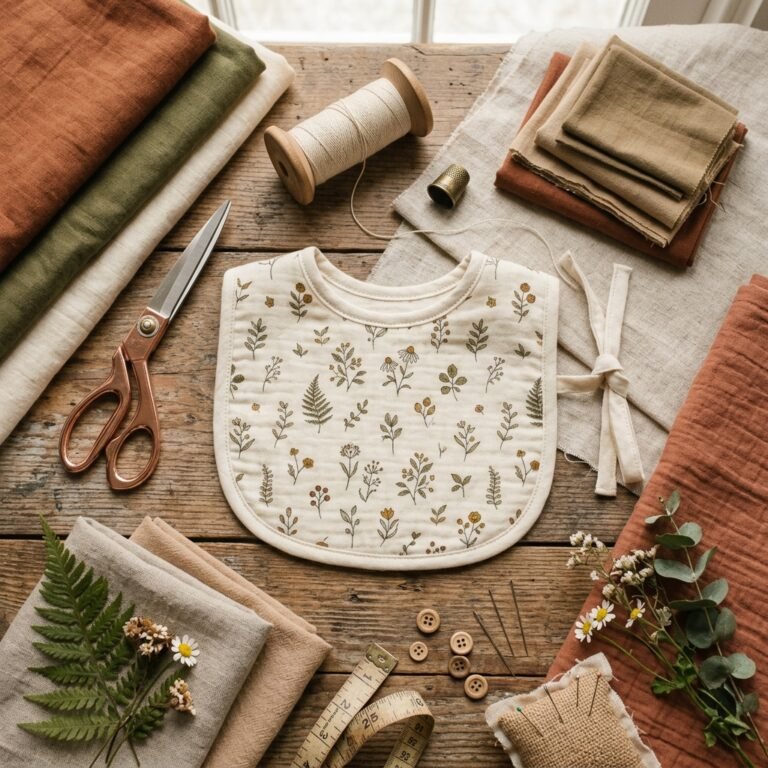
Before we start sewing, we need to ensure our materials are safe and high-quality. Since your baby’s face will be in direct contact with this mat, I always recommend sourcing OEKO-TEX certified cotton or organic muslin to ensure no harmful chemicals were used in the manufacturing process. Below is a breakdown of what you will need and the estimated investment for this project.
| Material/Tool | Estimated Cost | Why It Matters |
|---|---|---|
| Organic Cotton Muslin (3 yards) | $30 – $45 | The soft, breathable top and bottom layers. |
| 100% Cotton Batting (Low Loft) | $15 – $20 | Provides the ‘quilt’ feel without being a suffocation hazard. |
| Cotton Thread (Matching Color) | $5 | Natural fibers are stronger and safer for babies. |
| Walking Foot (Optional but Recommended) | $20 – $30 | Helps feed the thick layers through the machine evenly. |
| Rotary Cutter & Mat | $25 | Ensures perfectly straight lines for a modern look. |
| Curved Basting Pins | $8 | Holds the ‘sandwich’ together during quilting. |
When selecting your colors, think about modern neutrals. Tones like sage green, dusty terracotta, oatmeal, or a soft slate blue are timeless and photograph beautifully for those monthly milestone pictures. Avoid busy, ‘cartoonish’ prints if you want that high-end, designer feel. A solid color with a contrasting quilt thread can look incredibly sophisticated.
Preparing Your Fabric: The Secret to a Professional Finish
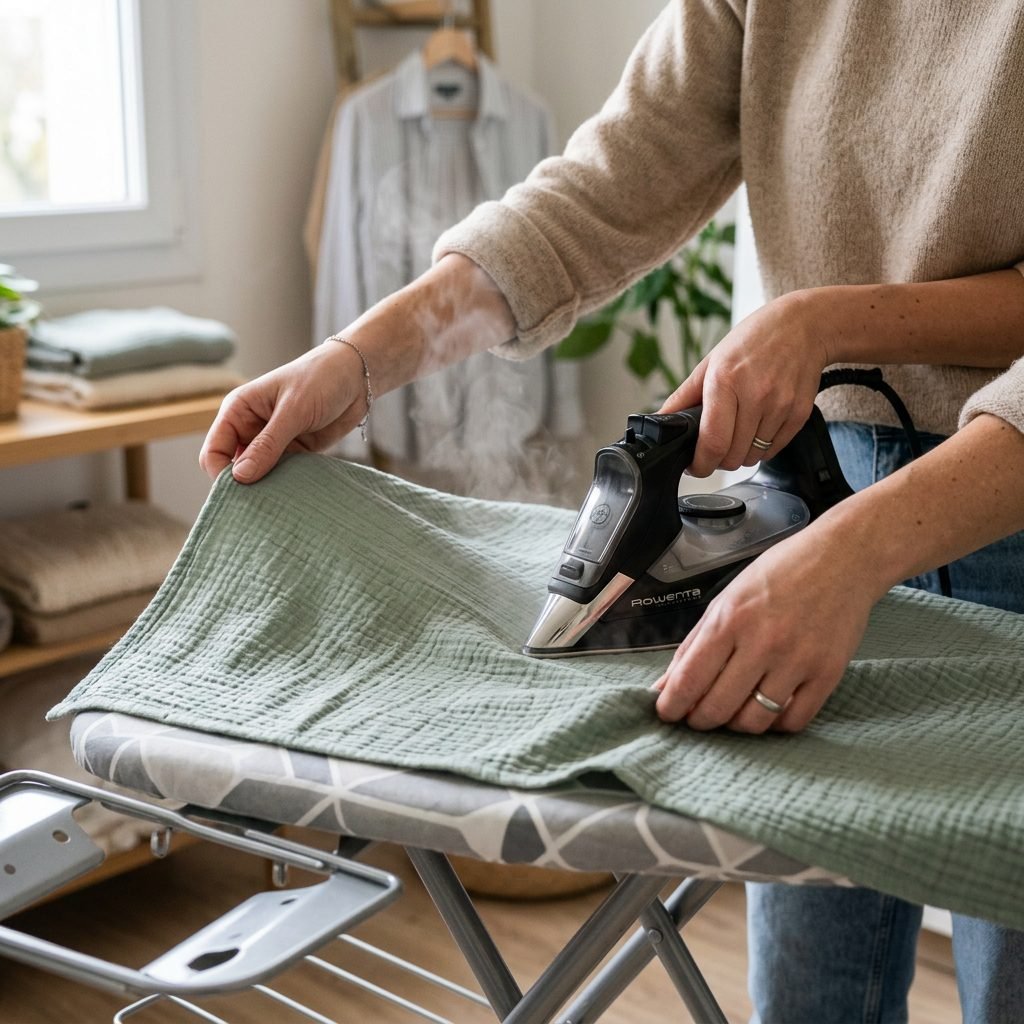
Mama, I know you’re excited to start, but do not skip this step! Cotton muslin is notorious for shrinking. If you sew your mat and then wash it, your beautiful quilting might warp or pull in ways you didn’t intend. Pre-washing is mandatory for this project.
- Wash on Warm: Use a gentle, baby-safe detergent to remove any factory residues.
- Dry on Low: This allows the muslin to achieve its natural ‘crinkle’ state before you cut it.
- Ironing: While we love the crinkle, you need a flat surface to cut accurately. Give the fabric a light steam iron so you can measure your squares or circles precisely.
Calculating Your Dimensions
A standard modern play mat is usually around 40 inches by 40 inches. This size is large enough for a rolling baby but small enough to be portable. When cutting your fabric, remember to include a 1/2 inch seam allowance. You will need two squares of muslin (top and bottom) and one or two layers of batting depending on how much cushion you desire. Pro-tip: If you want a more ‘luxe’ feel, double up on the batting, but ensure your sewing machine can handle the thickness.
The Step-by-Step Sewing Guide: Crafting Your Mat
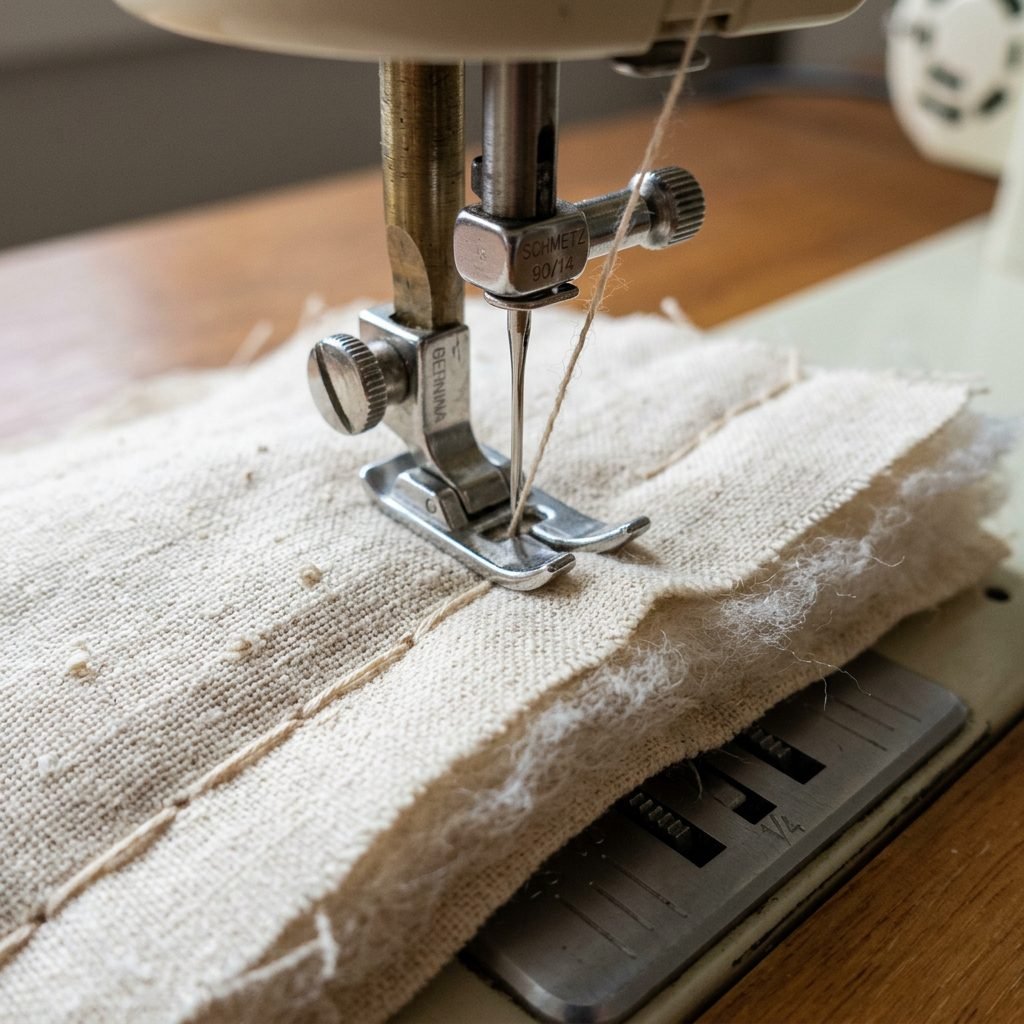
Now, let’s get into the heart of the project. We are going to use the ‘Sandwich Method’ to create our quilted mat. This is where the magic happens!
- Create the Sandwich: Lay your bottom muslin layer face down on a clean floor or large table. Place your batting on top, followed by your top muslin layer face up. Smooth out every wrinkle from the center outward.
- Baste Like a Pro: Use your curved safety pins to pin through all three layers every 4 to 5 inches. This prevents the fabric from shifting, which is the biggest challenge when sewing muslin.
- Mark Your Grid: For a modern look, use a disappearing fabric pen and a long ruler to mark a 4-inch grid pattern across the entire mat. This minimalist design is much more ‘chic’ than traditional floral quilting.
- The Quilting Process: Starting from the center and working your way out, sew along your marked lines. Using a walking foot is essential here; it moves the top and bottom layers at the same rate so you don’t get ‘puckering’ at the ends.
- Square Up the Edges: Once quilted, use your rotary cutter to trim the edges so everything is perfectly straight and even.
- Binding: You can create your own binding from the leftover muslin or use a coordinating bias tape. Sew the binding around the perimeter to seal the raw edges and give it a polished, professional look.
Take your time with the quilting. Think of each stitch as a wish for your baby. This slow, intentional process is a wonderful way to practice mindfulness during the busy third trimester.
Safety, Care, and Styling Your Chic Play Space
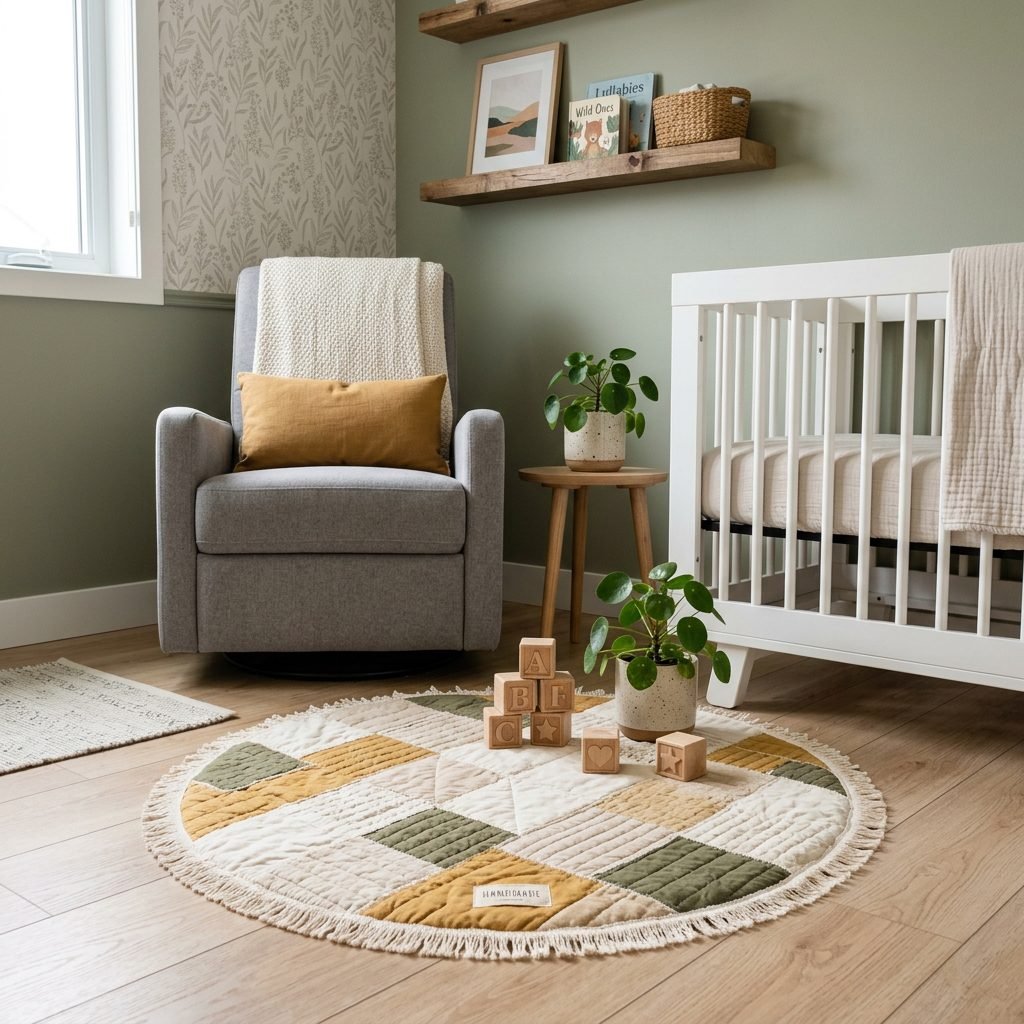
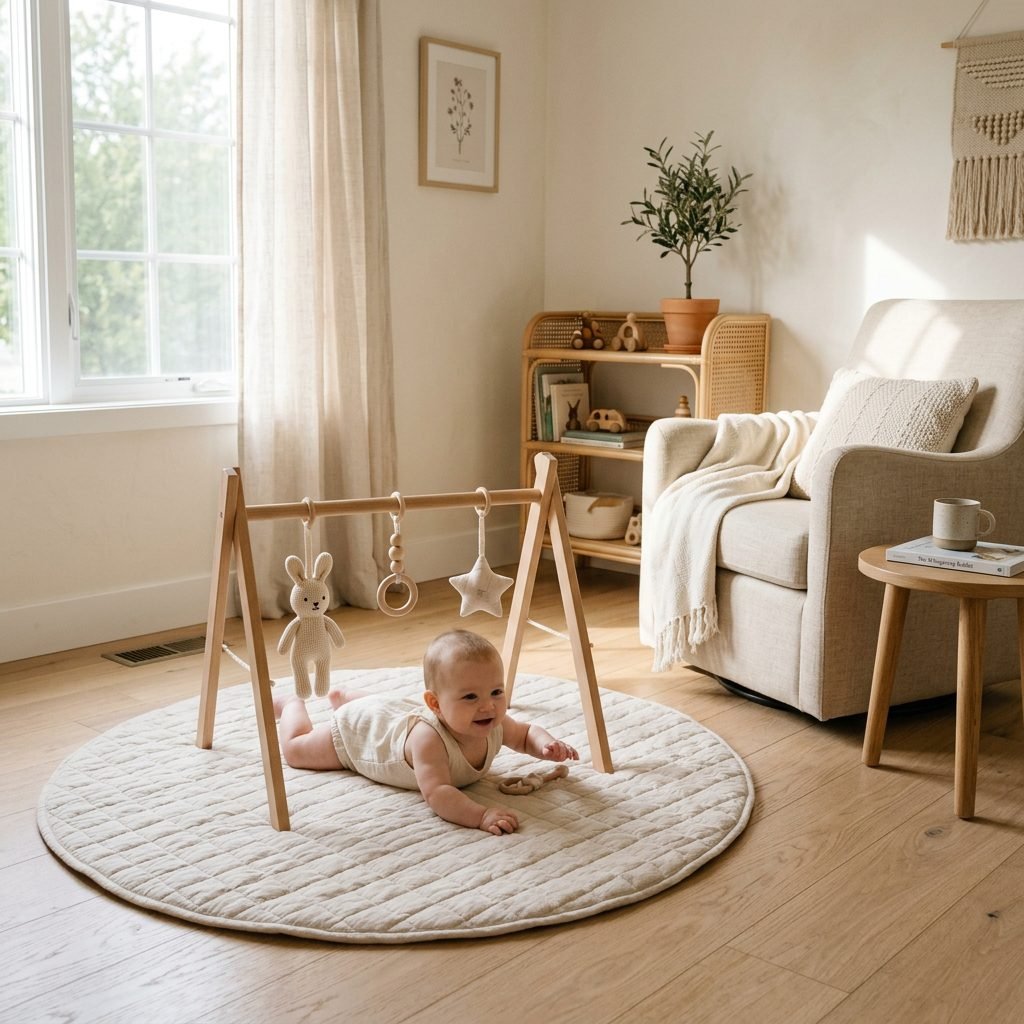
Once your mat is finished, it’s time to integrate it into your home. A modern play mat shouldn’t be something you want to hide when guests come over. Pair it with a minimalist wooden baby gym and a few high-contrast sensory toys to create a developmentally appropriate and aesthetically pleasing ‘Yes Space’ for your baby.
Maintenance and Longevity
To keep your mat looking its best, follow these care instructions:
- Spot clean minor spills immediately with a damp cloth.
- Machine wash on a delicate cycle with like colors.
- Avoid bleach, as it can break down the natural cotton fibers and irritate baby’s skin.
- Air dry when possible to preserve the loft of the batting, or tumble dry on the lowest heat setting.
A Note on Tummy Time Safety
As a doula-expert, I must remind you that while this mat is soft and wonderful, it is designed for active, supervised play. Always place the mat on a firm, flat surface like the floor. Never place the mat on a bed or sofa where a baby could roll off, and never use the mat as a sleep surface in a crib or bassinet. Safety and style go hand-in-hand!
Conclusion
Congratulations, mama! You have created a beautiful, functional piece of art that will serve as the backdrop for so many precious memories. This DIY quilted cotton muslin play mat is more than just a sewing project; it is a testament to your care and a reflection of your personal style. As your baby grows from those first sleepy tummy time sessions to sitting up and playing with blocks, this mat will be there, getting softer and more cherished with time. I hope this process has brought you a sense of peace and accomplishment. You are doing an incredible job preparing for your little one, and now you have the perfect, chic spot to welcome them into the world of play. Happy sewing!