How to Make Safe Edible Rainbow Spaghetti for Baby’s First Sensory Bin
Welcome to the beautifully messy, incredibly magical world of baby sensory play, mama! If you are a first-time mother, a seasoned parent looking for fresh ideas, or a loving doula helping a family navigate developmental milestones, you have probably heard the buzz about sensory bins. They are fantastic for cognitive growth, but there is always that one little catch: babies explore the world mouth-first. The moment you set down a beautiful bin of dyed rice or water beads, your little one’s first instinct is to take a giant bite. That is exactly why we are diving into the ultimate, stress-free solution today: taste-safe, edible rainbow spaghetti.
As a maternal wellness expert and pediatric sleep consultant, I hear from so many moms who want to encourage sensory play but are terrified of choking hazards and toxic materials. I completely understand that anxiety. Your baby is in the oral phase of development, which means mouthing objects is not just a quirky habit; it is a vital way their brain gathers information about texture, temperature, and shape. By creating an edible sensory bin, you are giving them the freedom to explore safely, and you are giving yourself the gift of peace of mind. Today, we are going to walk through everything you need to know to create a vibrant, squishy, entirely safe rainbow spaghetti bin. From boiling the noodles to natural dye alternatives, and even how to contain the inevitable mess in your stylish home, we have got you covered.
Why Sensory Play is a Developmental Powerhouse
The Magic of Tactile Exploration
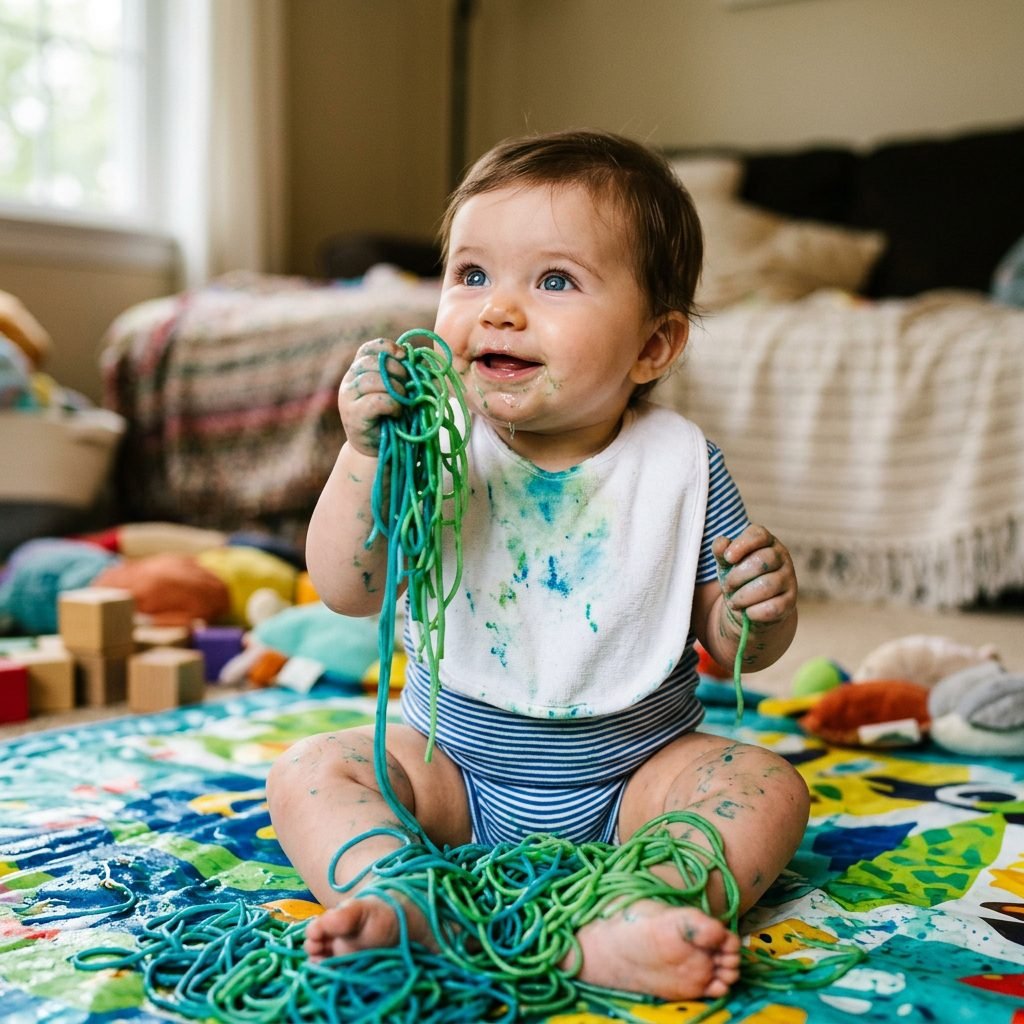
Before we get our hands dirty with food coloring and pasta, let us talk about why this matters. Sensory play is not just an aesthetic activity for beautiful photos; it is a critical pillar of early childhood development. When your baby squishes cold, slippery spaghetti between their fingers, their brain is firing on all cylinders. They are developing fine motor skills, practicing the pincer grasp, and learning about cause and effect. Sensory play builds nerve connections in the brain’s pathways, which leads to a child’s ability to complete more complex learning tasks down the road.
Understanding the Oral Phase
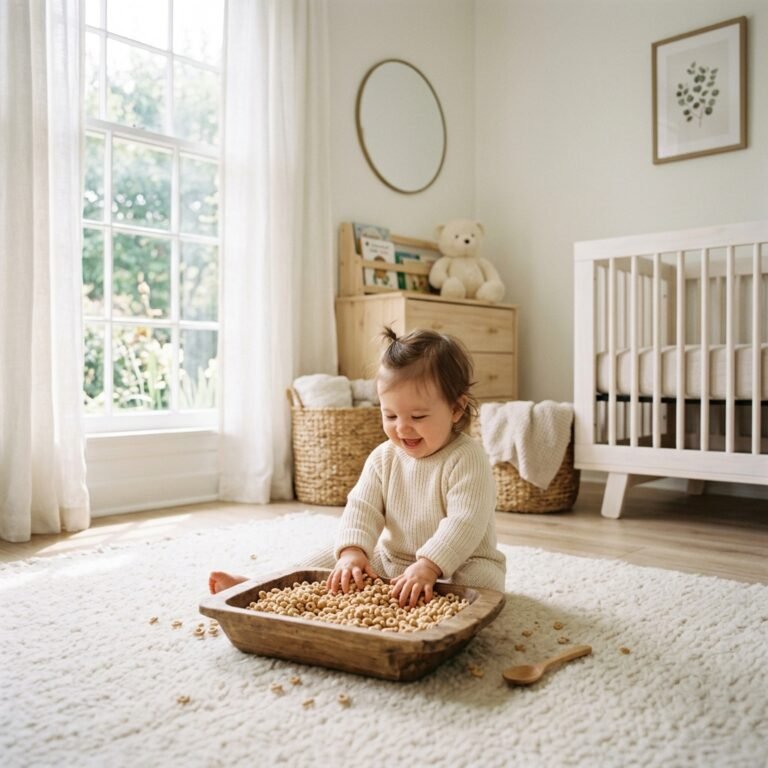
Between the ages of 4 and 18 months, babies are deeply entrenched in the oral phase. Their lips and tongues are incredibly sensitive, packed with nerve endings that provide far more information than their still-developing fingertips. When your baby puts a handful of rainbow spaghetti in their mouth, they are not necessarily hungry; they are asking questions: Is this safe? Is this hard or soft? Does it yield to pressure? By providing a taste-safe medium, you remove the word ‘no’ from their play environment.
“A ‘yes space’ is crucial for a baby’s confidence. When they can freely touch, taste, and explore without constant redirection, they become independent, curious learners.”
The Ultimate Taste-Safe Rainbow Spaghetti Recipe
Step-by-Step Guide to Vibrant Noodles
Making rainbow spaghetti is surprisingly simple, deeply rewarding, and a wonderful nap-time craft for moms. The goal here is to create noodles that are brightly colored, slightly oily so they don’t stick together in a massive clump, and completely safe if swallowed. Here is the foolproof method.
Instructions for Perfect Sensory Pasta
- Boil the Pasta: Cook one standard box of spaghetti noodles according to the package directions. You want them to be al dente or slightly overcooked for maximum squishiness, but not falling apart. Drain and rinse thoroughly with cold water to stop the cooking process.
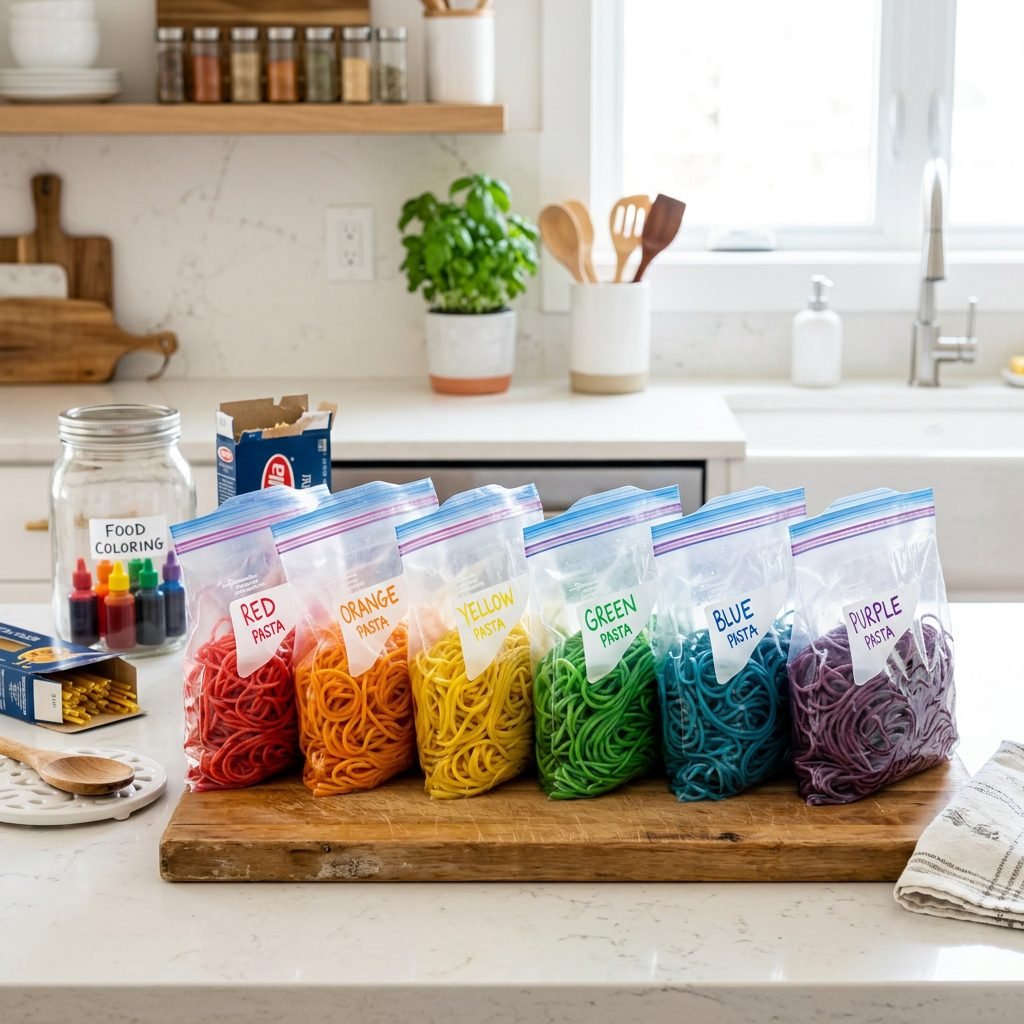
- Divide and Conquer: Divide the cooked, cooled spaghetti evenly into as many large ziplock bags as you have colors (typically 4 to 6 bags for a full rainbow).
- Add the Magic: Into each bag, add 2 tablespoons of warm water and 10-15 drops of liquid food coloring (or your natural dye alternative).
- Squish and Mix: Seal the bags tightly, ensuring there is no excess air. Now, gently massage the bags to distribute the color evenly across all the noodles. This is a great step to let an older toddler help with!
- Set the Color: Let the bags sit for about 10 to 15 minutes so the pasta can absorb the dye.
- Rinse Again (Crucial Step): One color at a time, dump the pasta into a colander and rinse it under cold water until the water runs completely clear. This prevents the dye from staining your baby’s hands (and your floors!).
- Oil and Toss: Toss the rinsed pasta with a small splash of olive oil, coconut oil, or avocado oil. This keeps the noodles slippery, shiny, and prevents them from drying out into a sticky block.
Budget Breakdown & Essential Materials
Affordable Magic for Your Little One
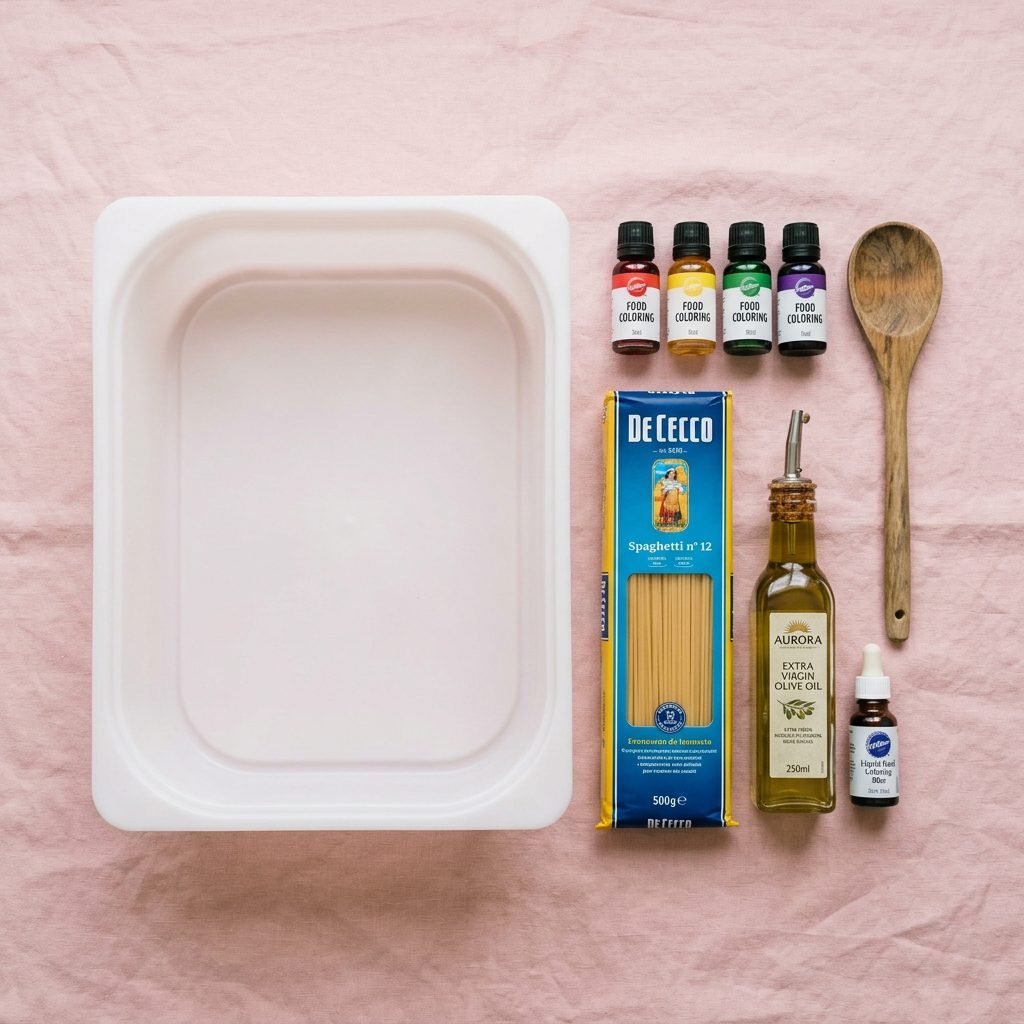
One of the best things about sensory play is that it does not require expensive, battery-operated toys. In fact, the most engaging activities are usually made from pantry staples you already have. Let us break down the materials you will need and the estimated cost. As a practical mama, you will love how budget-friendly this is.
| Material / Ingredient | Purpose in Sensory Bin | Estimated Cost | Taste-Safe Alternative / Note |
|---|---|---|---|
| 1 Box Spaghetti | The tactile base of the sensory bin | $1.50 | Gluten-free pasta works too! |
| Liquid Food Coloring | Creating the vibrant rainbow colors | $4.00 | See natural dye section below |
| Olive or Coconut Oil | Prevents sticking and adds shine | Pantry Staple | Avocado oil is great for allergies |
| Shallow Plastic Bin | Containing the spaghetti | $5.00 | A clean baking sheet works perfectly |
| Splash Mat / Old Sheet | Protecting your floors from mess | $0.00 (Use what you have) | An outdoor picnic blanket is ideal |
| Safe Kitchen Utensils | Encouraging fine motor scooping | Pantry Staple | Wooden spoons, silicone tongs, cups |
For less than the cost of a fancy coffee, you can create an experience that will keep your baby engaged for up to an hour—which, in baby time, is an absolute eternity!
Crunchy Mama Edition: DIY Natural Food Dyes
Ditching the Artificial Colors
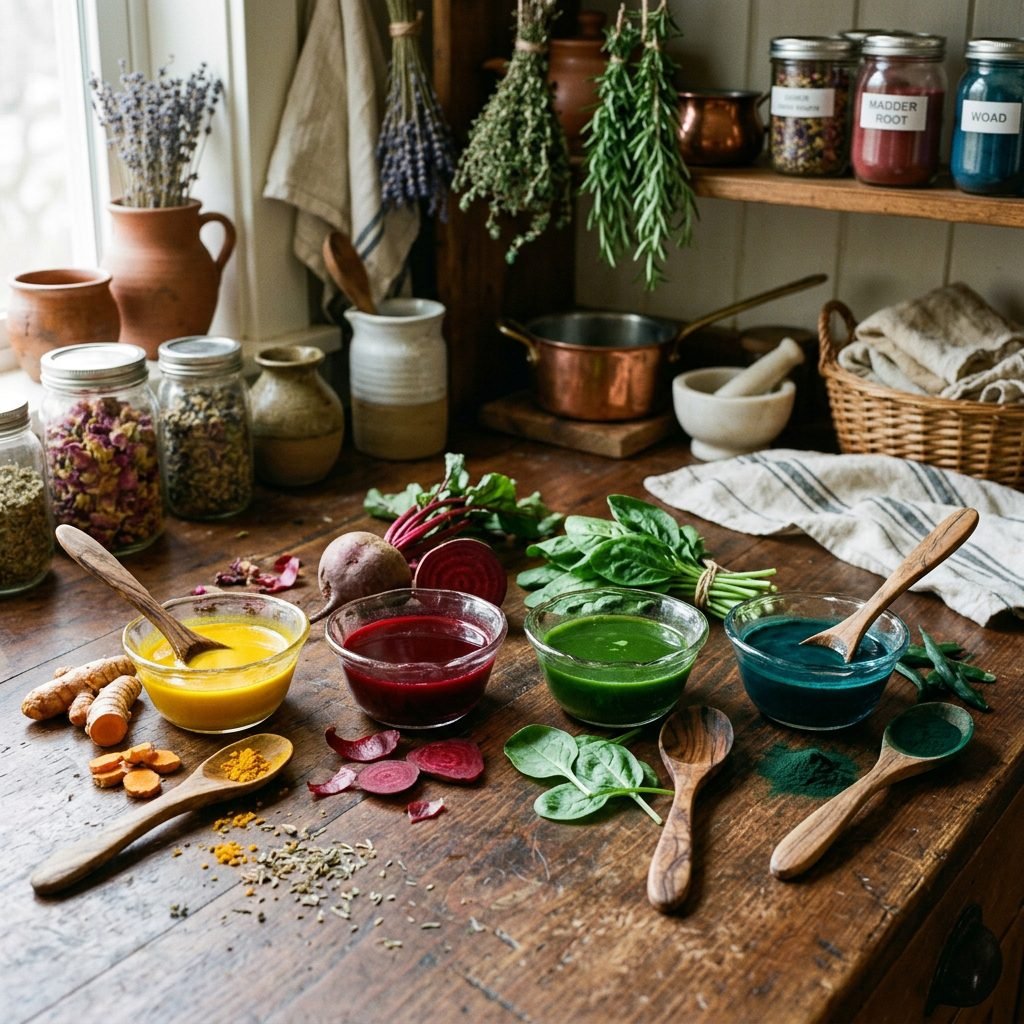
If you are a mother who prefers to keep artificial dyes out of your home, I completely support you! You can absolutely achieve stunning, earthy rainbow colors using ingredients straight from nature. While they might not be as neon-bright as artificial drops, they are gorgeous, entirely non-toxic, and offer their own subtle, interesting scents and flavors for the sensory experience.
Natural Dye Recipes
- Radiant Red/Pink: Use the juice from canned beets, or boil chopped fresh beets in a small amount of water until the water turns deep red. Strain and use the liquid.
- Sunny Yellow: Mix 1 teaspoon of ground turmeric into 3 tablespoons of warm water. Be careful, as turmeric can stain surfaces, but it creates a beautiful, vibrant yellow!
- Earthy Green: Blend a handful of fresh spinach with a little water, then strain the liquid through a fine mesh sieve or cheesecloth.
- Ocean Blue: Blue spirulina powder is a superfood that creates the most stunning, vibrant blue when mixed with a tiny splash of water. Alternatively, you can boil red cabbage and add a pinch of baking soda to the water to turn it blue!
- Deep Purple: Use 100% pure blueberry juice, or the water from boiling red cabbage (without the baking soda).
When using natural dyes, you may need to let the pasta soak in the bags a little longer (up to 30 minutes) to really absorb the hues. The rinsing step remains exactly the same!
Setting Up for Success: Contain the Mess, Keep the Fun
Embracing the Chaos with a Plan
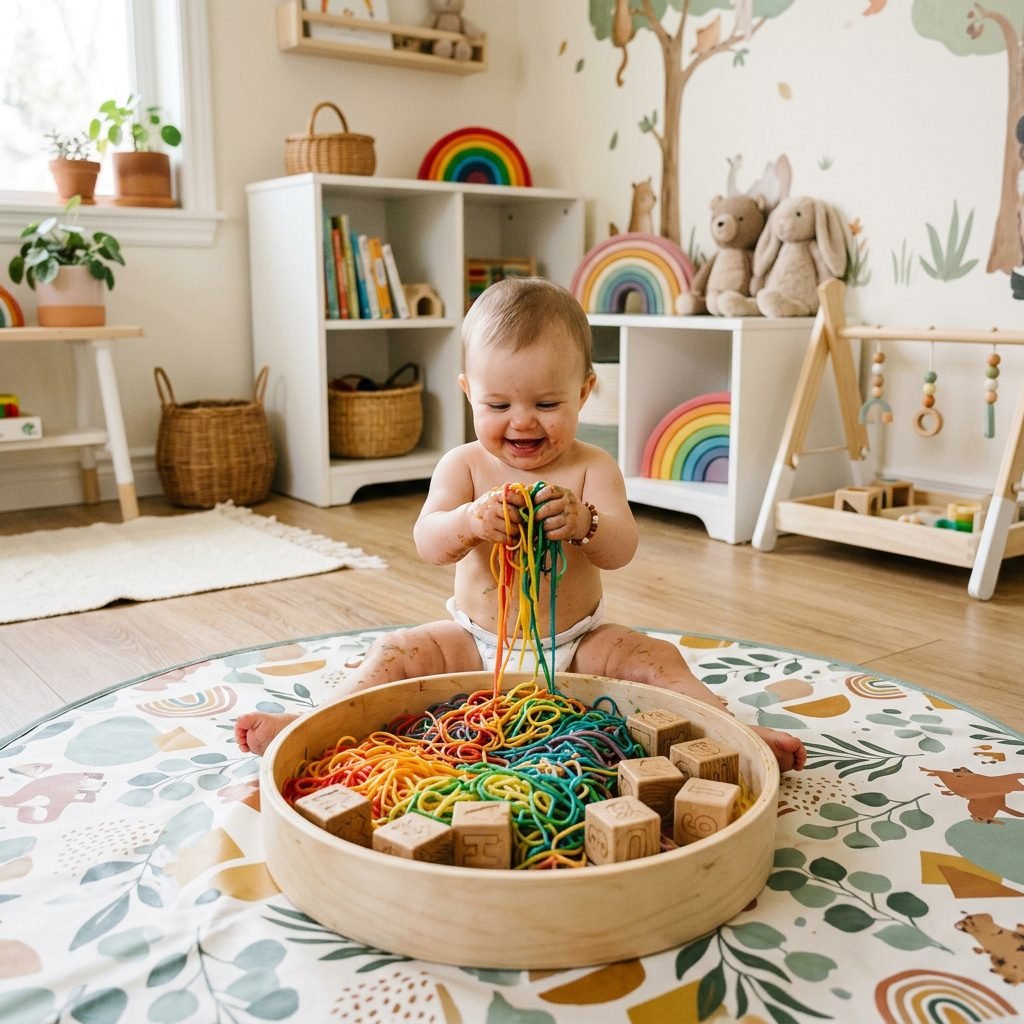
Let us be honest, sister. The word ‘messy’ can send a shiver down the spine of even the most relaxed mother. When you have spent hours organizing your nursery or cleaning your living room, the idea of rainbow spaghetti flying everywhere is daunting. But with a little strategic planning, you can contain the chaos and make cleanup a breeze.
Location, Location, Location
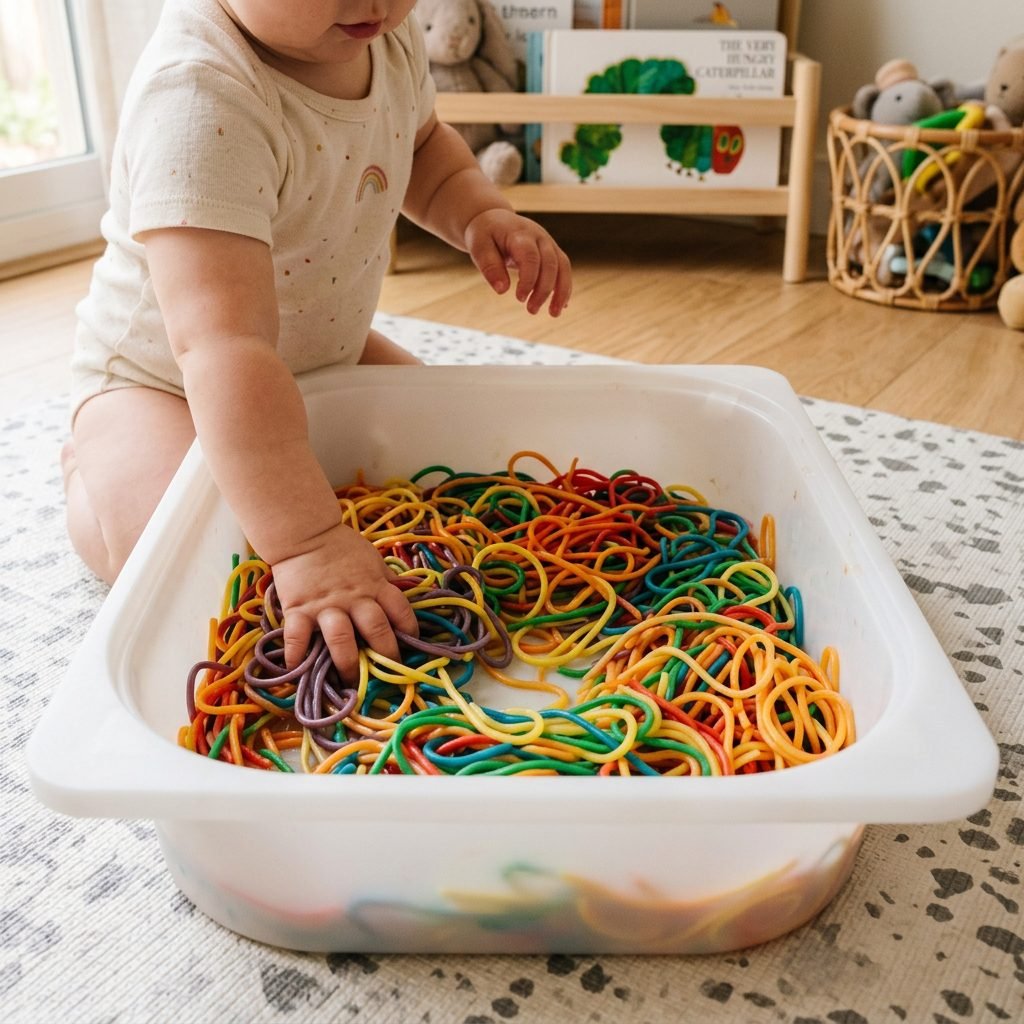
The easiest place to host a sensory bin is outside on the grass, where you can simply hose down the area (and the baby!) afterward. But if you are doing this indoors, you have two great options. The first is the High Chair Method. Strip your baby down to their diaper, place the spaghetti directly on the high chair tray, and let them go to town. The tray contains the bulk of the mess, and you can easily wipe them down.
The second option is the Floor Setup. Lay down a large waterproof splash mat, an old shower curtain, or a washable picnic blanket. Place a shallow, wide storage bin in the center.
“Pro-tip from a postpartum nurse: Transition straight from the sensory bin to the bathtub. Make the sensory play a pre-bath routine, so you aren’t stressing about sticky fingers on your clean furniture.”
Tools to Enhance the Play
Don’t just hand them the pasta! Hide large, safe items inside the spaghetti for them to ‘rescue.’ Large plastic rings, silicone teething toys, or big wooden blocks are perfect. Provide baby-safe utensils like a silicone spatula, a small plastic cup for filling and dumping, or chunky toddler tongs. These tools extend the life of the activity and challenge different motor skills.
Safety First: Supervision, Allergies, and the Oral Phase
Your Reassuring Guide to Safe Play
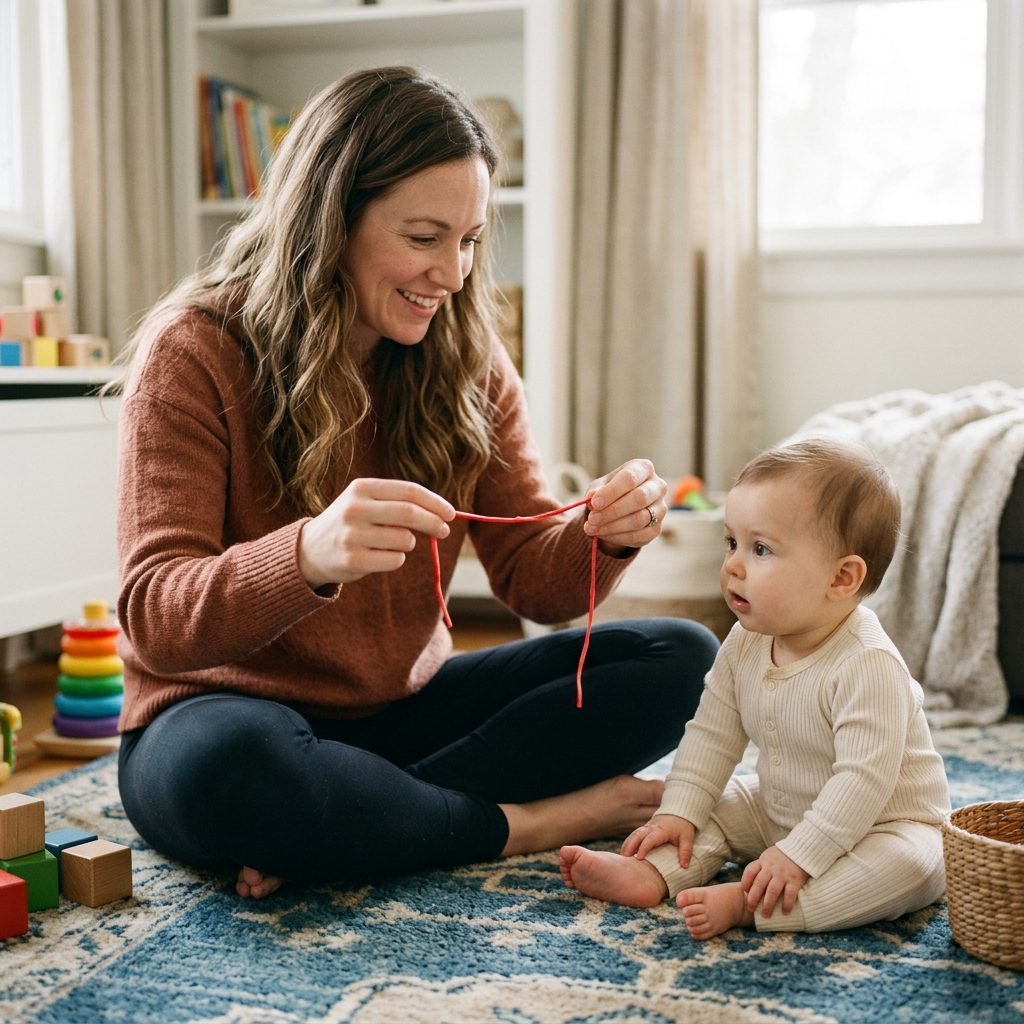
As a doula and maternal care expert, my top priority is always safety. While this sensory bin is edible and taste-safe, it is still an activity that requires 100% active, uninterrupted supervision. You should always be within arm’s reach while your baby is exploring.
Choking vs. Gagging
If your baby puts a noodle in their mouth, you might see them gag. It is vital to understand the difference between gagging and choking. Gagging is a natural, loud, and active reflex that pushes food forward; it is their body’s way of protecting the airway. Choking, on the other hand, is silent and terrifying. Because spaghetti is soft and slippery, it is generally very safe, but long noodles can sometimes cause a gag reflex. If you are nervous, you can easily chop the cooked spaghetti into shorter, 1-inch pieces before dyeing them! This provides the same tactile experience with zero stress about long strands.
Allergy Considerations
If your baby has a known wheat or gluten allergy, simply swap the traditional pasta for a rice-based, chickpea, or lentil pasta. The dyeing process works exactly the same way. Also, be mindful of the oils you use to prevent sticking. If there is a history of tree nut allergies in your family, avoid almond or walnut oils and stick to pure olive or avocado oil.
How to Interact Without Taking Over
It is tempting to show your baby exactly how to play with the spaghetti, but try to sit back and observe. Let them take the lead. If they are hesitant to touch the wet noodles, you can gently model the behavior by squishing it in your own hands and showing them a big smile. Say things like, ‘Wow, look how squishy this is! Do you feel the cold blue noodles?’ Narrating their play builds their vocabulary, even if they cannot speak back yet.
Conclusion
Embrace the rainbow, mama! Creating a taste-safe sensory bin is such a beautiful milestone to share with your baby. Yes, it might be a little messy, and yes, you might find a stray green noodle on your floor two days later, but the joy, the brain development, and the quiet moments of independent play are so worth it. Remember to take plenty of photos—these are the sweet, messy days of motherhood you will want to look back on. You are doing a wonderful job, and your little one is so lucky to have a mama who creates such magic for them.