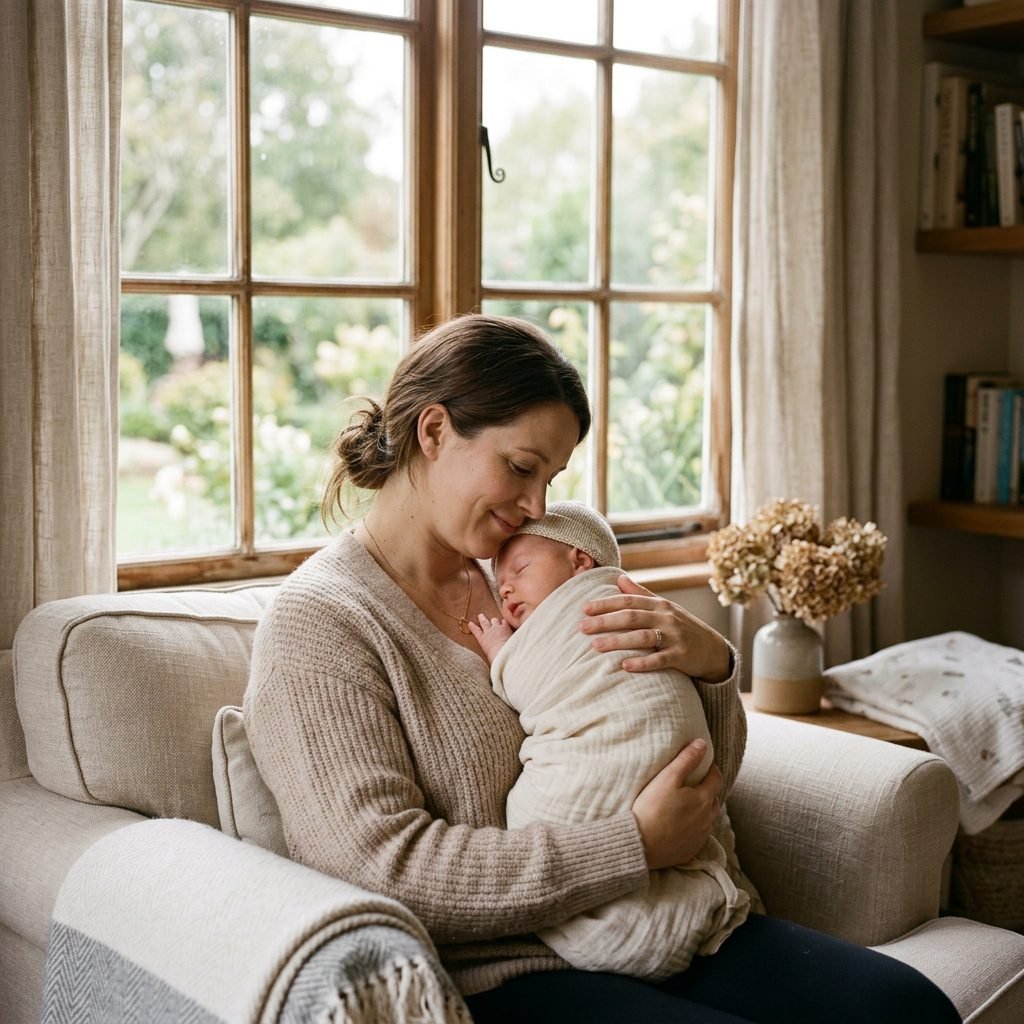
7 Natural Window Light Poses for DIY Newborn Lifestyle Photos in Parents’ Arms
Embracing the Golden Glow of Early Motherhood
Oh, mama, I see you. You are in that beautiful, hazy, exhausting ‘fourth trimester’ bubble where time seems to both stand still and move at warp speed. Your little one is changing every single day—those tiny fingernails, the way their hair swirls at the crown of their head, and that sweet, milky scent. I know you want to freeze these moments forever, but the thought of hiring a professional photographer, getting everyone dressed, and leaving the house feels like climbing Mount Everest right now.
As your sister-doula, I’m here to tell you a secret: you already have the most expensive studio equipment in the world right in your living room—natural light. You don’t need fancy flashes or backdrops. All you need is a window, your arms, and that precious babe. In this guide, I’m going to walk you through 7 gentle, soul-stirring poses that capture the raw beauty of your new life together, all while keeping baby safe and cozy in your embrace. Let’s take a deep breath, find a sunny spot, and create some magic.
Setting the Stage: The Doula’s Guide to a Stress-Free Shoot

Preparation is the Key to Peace
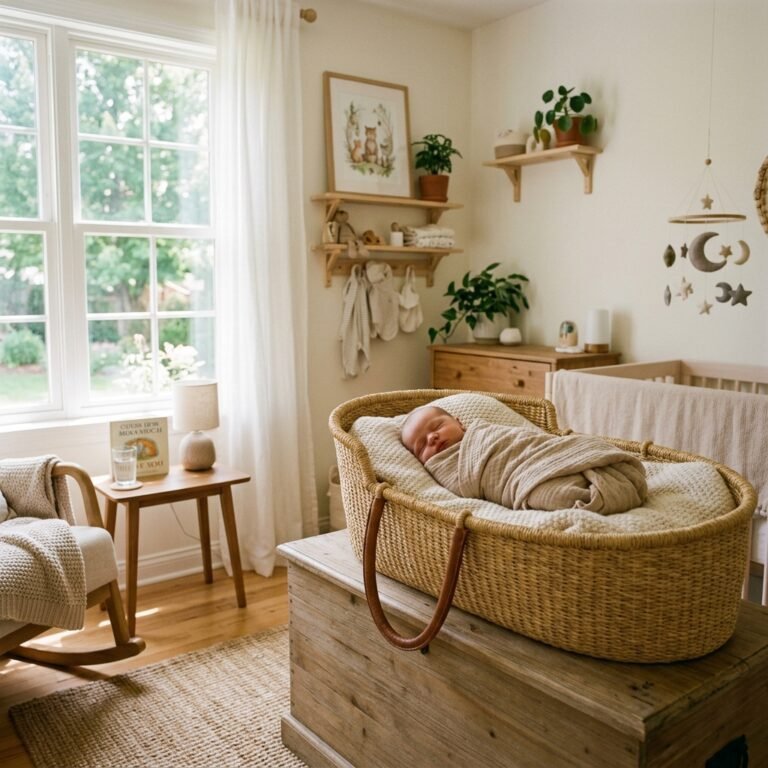
Before we dive into the poses, we need to make sure the ‘studio’ (a.k.a. your bedroom or nursery) is ready. A happy baby makes for a happy photo session. We want to aim for a ‘full tummy and a deep sleep’ state. Feed your little one about 20-30 minutes before you plan to start. If they fall into a milk coma, perfect! If they are wide awake and calm, that works too.
The Lighting Secret
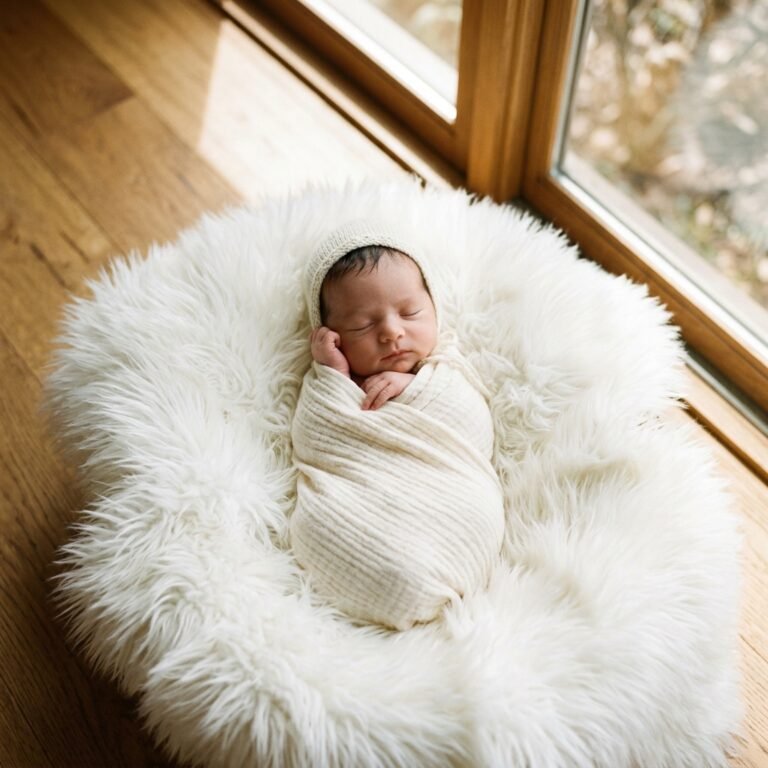
Not all windows are created equal. You are looking for indirect sunlight. This means a window where the sun isn’t shining directly onto the floor in a harsh square, but rather a soft, even glow. North-facing windows are the ‘holy grail’ for photographers because the light is consistent all day. If you have harsh light, simply hang a thin white bedsheet over the window to act as a giant softbox.
| Element | Ideal Condition | Why It Matters |
|---|---|---|
| Room Temperature | 75-80°F (24-27°C) | Keeps baby relaxed, especially if they are just in a diaper or thin swaddle. |
| Sound | White Noise | Mimics the womb and prevents them from startling at the camera click. |
| Clothing | Neutral Solids | Creams, tans, and soft grays don’t reflect weird colors onto baby’s skin. |
| Timing | 10:00 AM – 2:00 PM | When natural light is usually at its peak brightness without being too ‘golden’. |
Remember, mama: your baby’s safety is the only thing that matters. Never leave a baby unattended on a bed or chair, even for a second to check your phone. If you feel lightheaded or tired, stop and rest. These photos are for you, not for Instagram.
Pose 1: The Over-the-Shoulder Snuggle
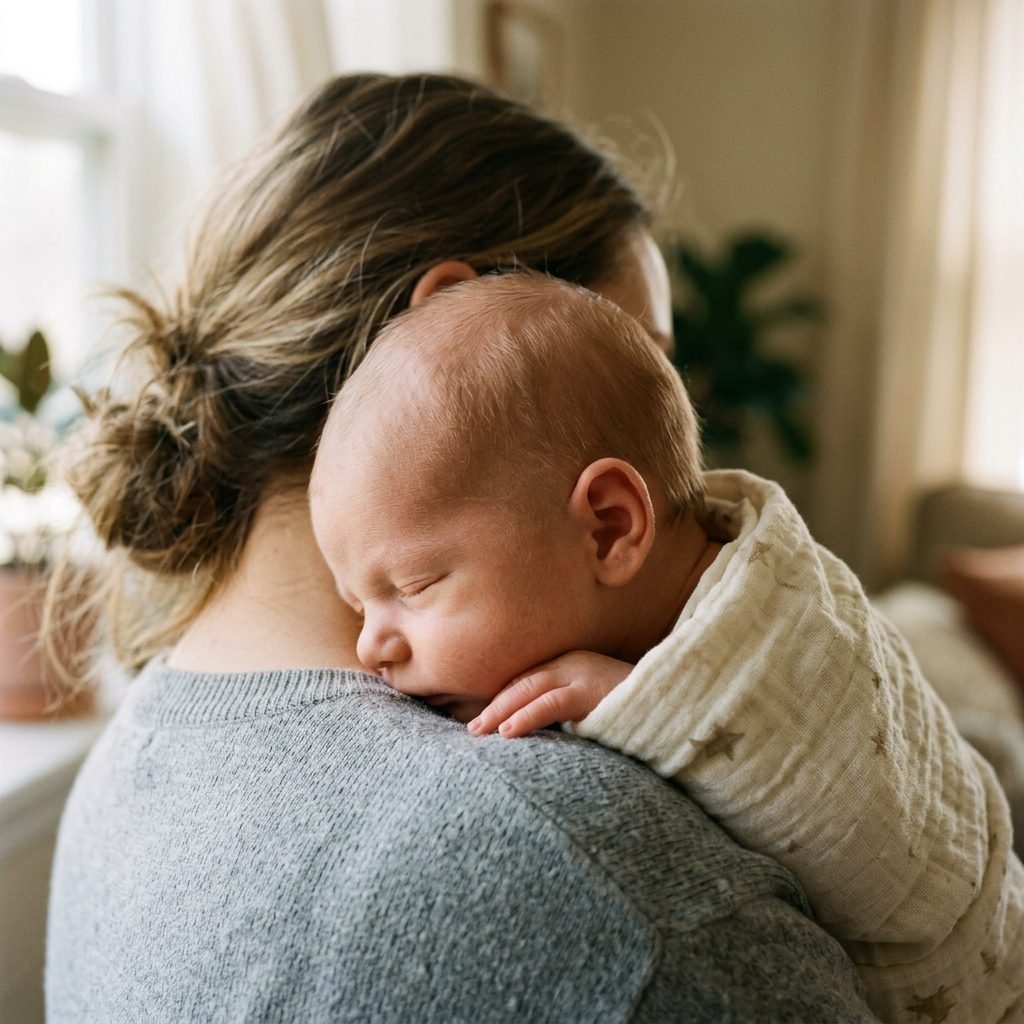
The Classic Connection
This is perhaps the most natural position for any new parent. It captures the scale of how tiny your baby is against your body and highlights the delicate curve of their back and the back of their head.
- Stand sideways to the window so the light hits your side and the baby’s side. This creates beautiful depth and shadows.
- Place baby over your shoulder, high enough so their head is resting just above your collarbone.
- Support their bottom with one hand and gently rest your other hand on their back.
- The Pro Tip: Have your partner or a friend stand slightly behind you and take the photo from over your other shoulder, focusing on the baby’s ear and profile.
This pose is wonderful because it hides the ‘tired eyes’ we all have in those first weeks while focusing entirely on the intimacy of the hold. It’s a favorite for doulas because it mimics the burping position, making the baby feel secure and grounded.
Pose 2: The Cradle Hold by the Glass
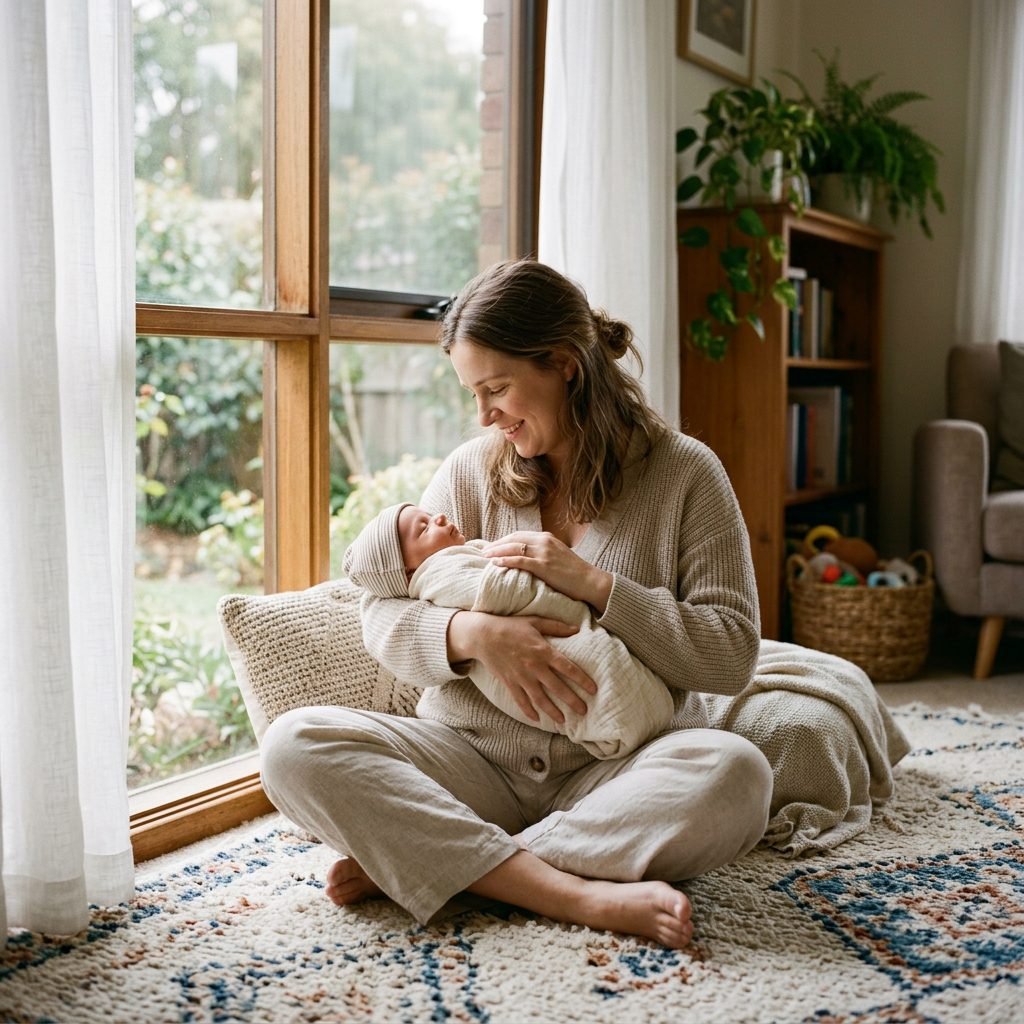
Illuminating the Face
This pose is all about those gorgeous newborn features—the eyelashes, the button nose, and the tiny pouty lips. By positioning the baby’s face toward the light, you fill their features with a soft, angelic glow.
- Sit on a chair or the floor right next to the window.
- Cradle baby in your arms, keeping their head closest to the window.
- Tilt their face slightly upward toward the glass. You want the light to ‘roll’ across their forehead and down to their chin.
- The Doula’s Secret: If the baby is fussy, gently sway back and forth while staying in the light. The movement often lulls them into that perfect ‘drowsy’ look.
Make sure your own body isn’t blocking the light. Think of yourself as a mirror reflecting the sun’s warmth onto your child. If you are using a smartphone, tap on the baby’s face on the screen to ensure the exposure is locked on their skin tone.
Pose 3: The Nose-to-Nose Nuzzle
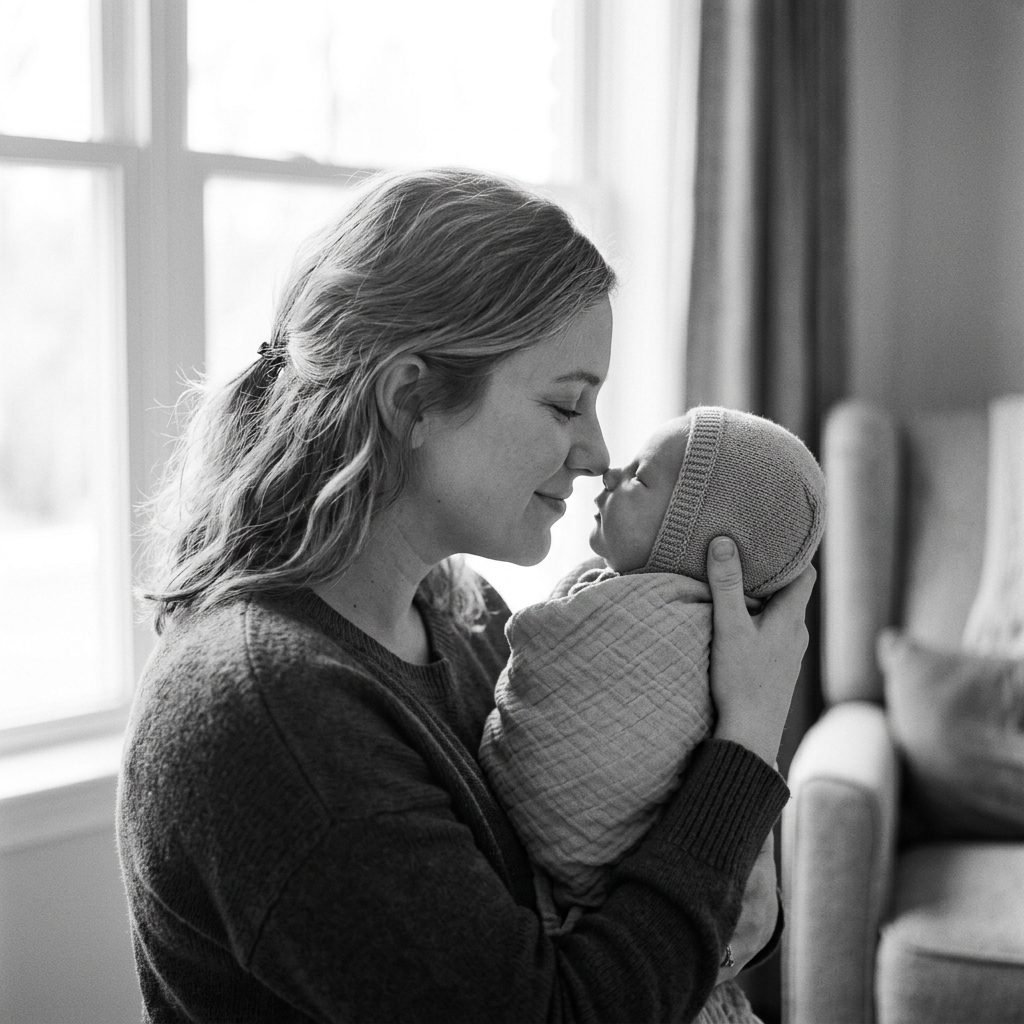
Capturing the Bond
This is the ‘heart-melter.’ It’s a pose that focuses on the interaction between you and your baby. It’s less about ‘looking at the camera’ and more about the spiritual connection of the fourth trimester.
- Hold baby upright against your chest, supporting their neck and bottom.
- Slowly bring your face toward theirs until your noses are almost touching.
- Close your eyes and take a deep breath. This relaxes your facial muscles and creates a look of pure peace.
- Have the photographer (or your tripod) positioned to the side to capture both of your profiles.
Affirmation: “I am the exact mother my baby needs. These moments of quiet connection are the foundation of our lifelong bond.”
In this pose, the window light should be coming from the side to highlight the bridge of your noses. It creates a silhouette-like effect that is incredibly artistic and timeless.
Pose 4: The ‘Look at Those Toes’ Detail Shot
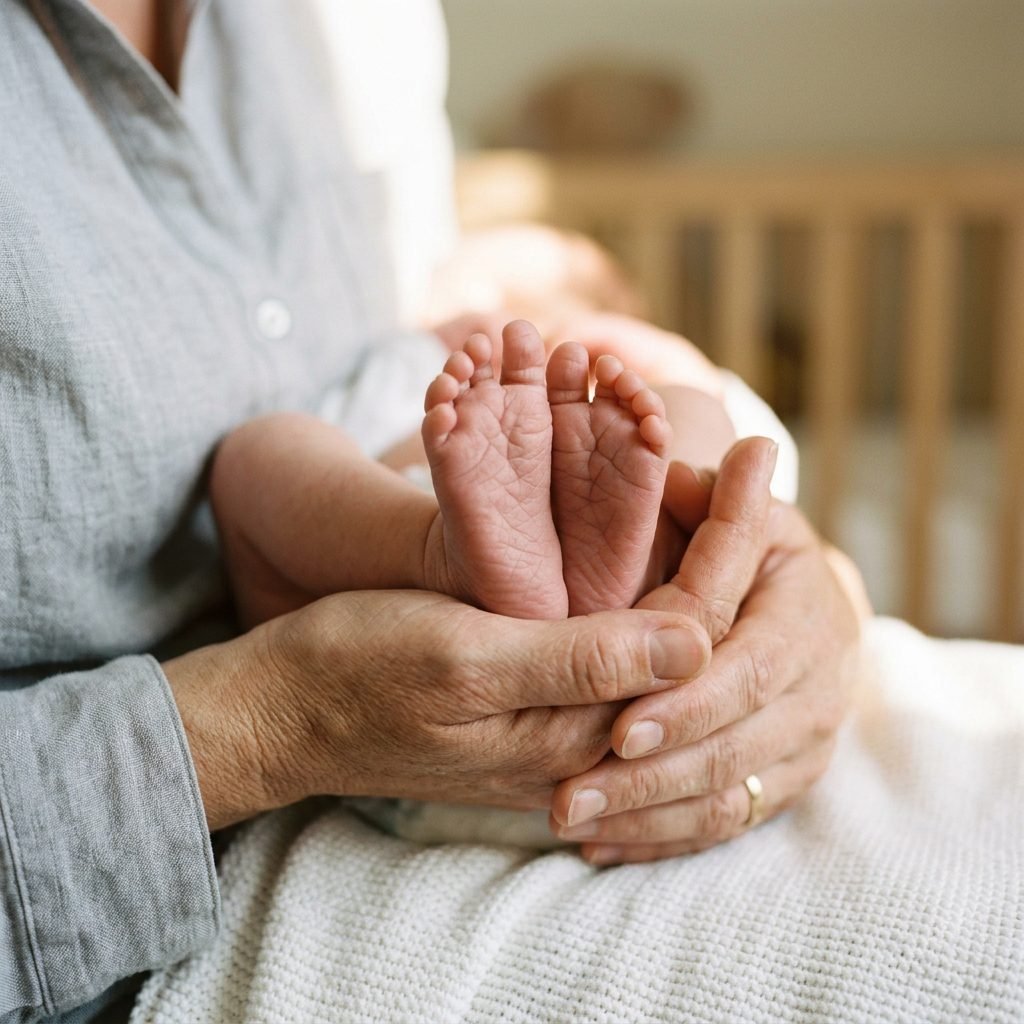
The Beauty in the Small Things
Newborns grow so fast that we often forget just how small their extremities were. This ‘pose’ is actually a series of detail shots while the baby is resting in your lap.
How to Execute:
- Sit with your back against a wall adjacent to the window.
- Lay baby on your lap, with their feet pointing toward the camera and their head toward your belly.
- Focus the camera specifically on the toes, the fingers, or the umbilical cord stump.
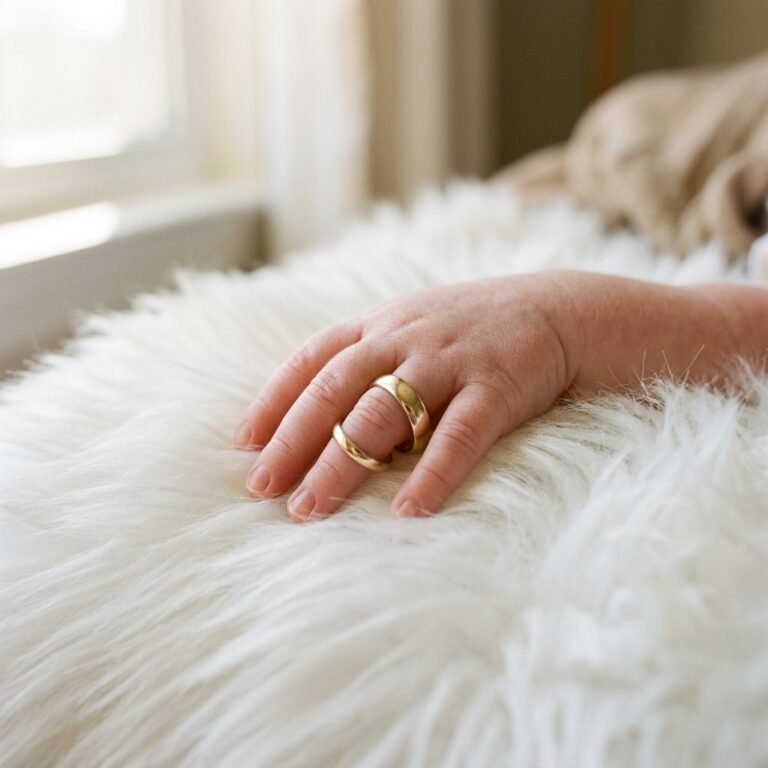
- Place your hand next to their foot to show the scale. Your wedding ring or a simple thumb next to their tiny foot tells a powerful story of growth.
| Detail to Capture | Best Angle | Styling Tip |
|---|---|---|
| Tiny Toes | Straight on | Keep feet bare; avoid socks for at least 30 minutes prior to prevent elastic marks. |
| Wrinkly Hands | Macro (Close-up) | Let them wrap one finger around yours. |
| Swirl of Hair | From above | Smooth down flyaways with a tiny bit of breastmilk or coconut oil. |
Pose 5: The Chest Sleep (The Heartbeat Pose)
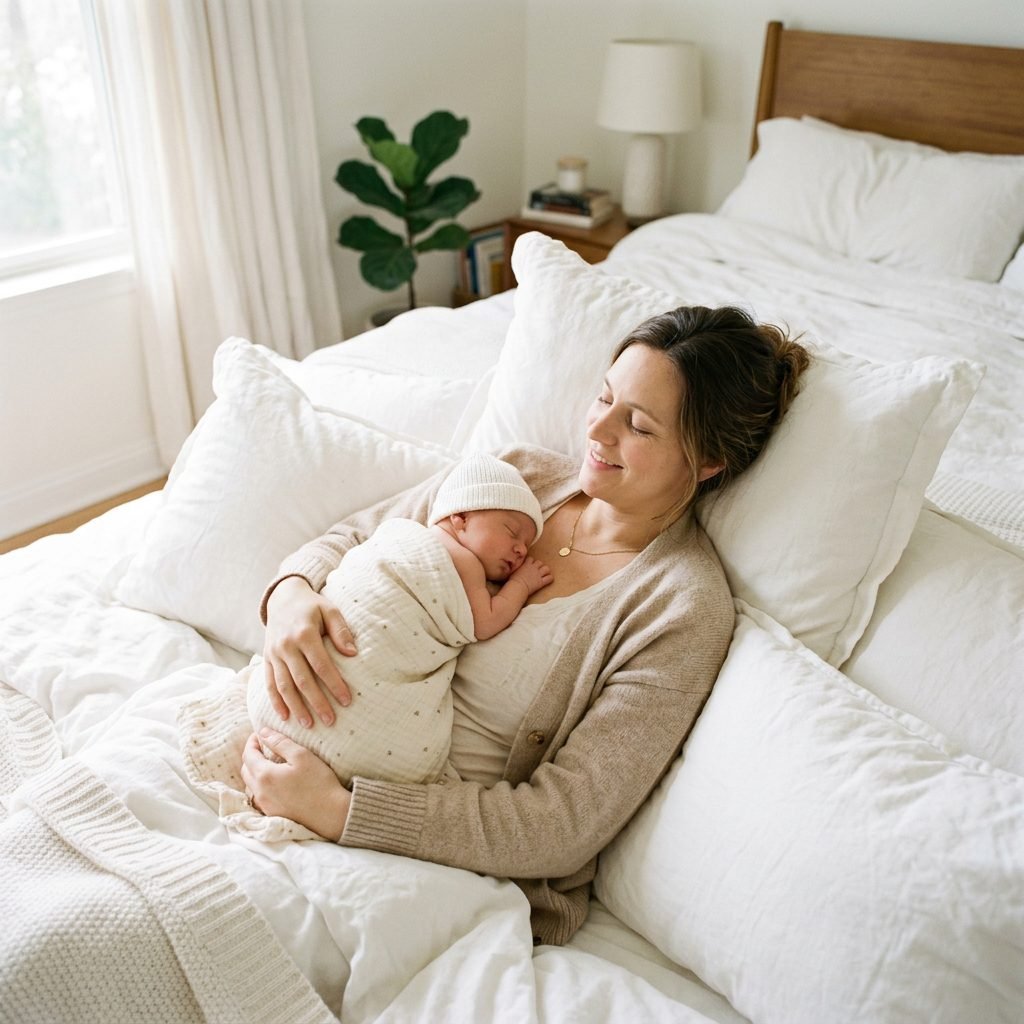
The Ultimate Comfort
This pose is where most newborns spend 90% of their time anyway! It’s the most ‘lifestyle’ of all the poses because it reflects the reality of postpartum life. It’s also the best way to get a shot of a sleeping baby who refuses to be put down.
- Recline slightly on a bed or sofa, propped up by pillows, facing the window.
- Lay baby flat on your chest, skin-to-skin if you’re comfortable, or in a simple diaper.
- Turn the baby’s head to the side so their cheek is flat against your heart.
- The camera should be positioned slightly above you, looking down at the baby’s peaceful face.
This angle is incredibly flattering for mamas because the downward light fills in under-eye circles. It emphasizes the ‘safe harbor’ your body provides for your child. Safety Note: Ensure the baby’s airway is always clear and their chin is not tucked tightly against their chest.
Pose 6: The Family Silhouette
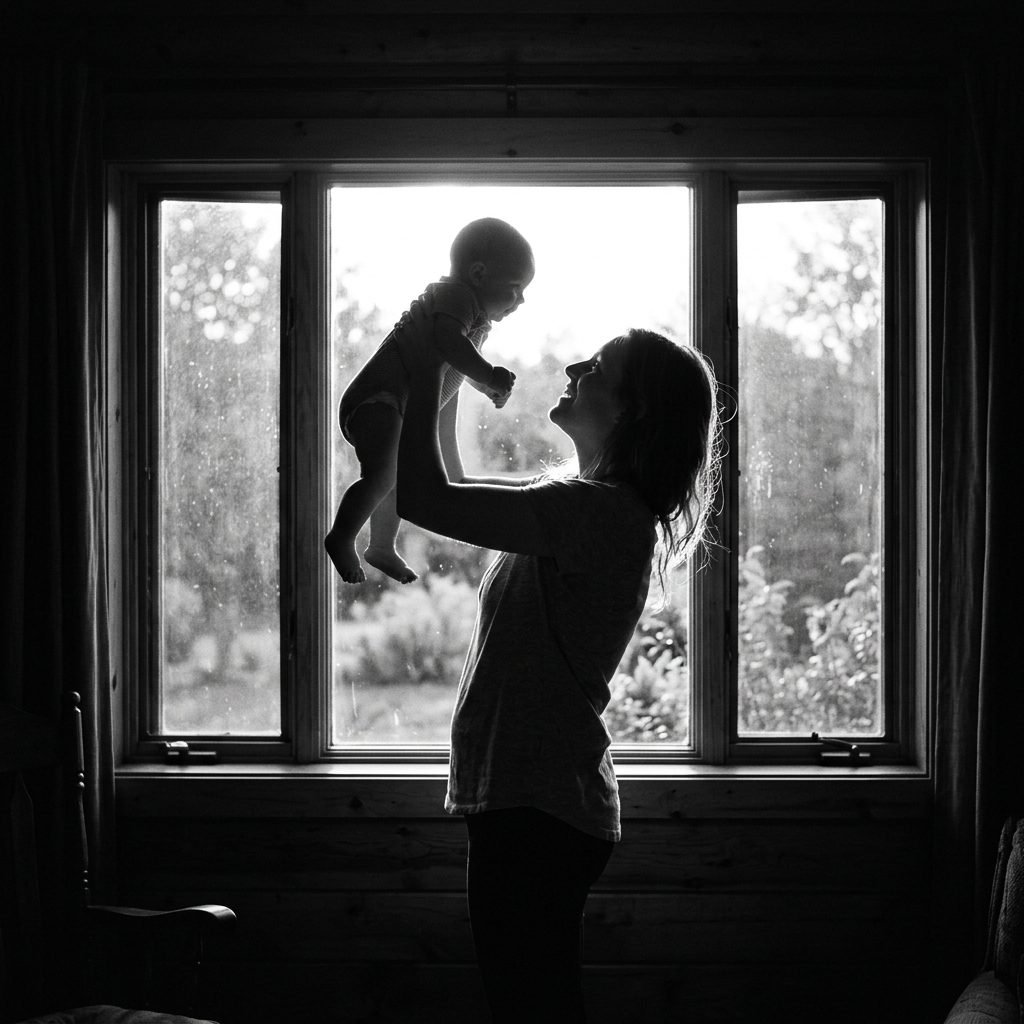
Drama and Mystery
If you’re feeling a bit self-conscious about postpartum bloating or ‘mask of pregnancy’ skin, the silhouette is your best friend. It’s high-fashion, moody, and focuses entirely on the shape of motherhood.
- Stand directly in front of the brightest window in your house.
- Hold baby close to your chest or out slightly in front of you (the ‘Lion King’ hold, but gentle!).
- The person taking the photo needs to turn off their flash and ‘expose’ for the light of the window, not for you. This will turn your bodies into dark, beautiful shapes against the bright background.
- The Styling Tip: Wear a form-fitting top or a dress that shows the curve of your body to make the silhouette distinct.
This pose works best during the ‘Golden Hour’ (the hour before sunset) when the light is most directional. It’s a stunning piece of art to hang in a nursery.
Pose 7: The Hand-in-Hand Connection
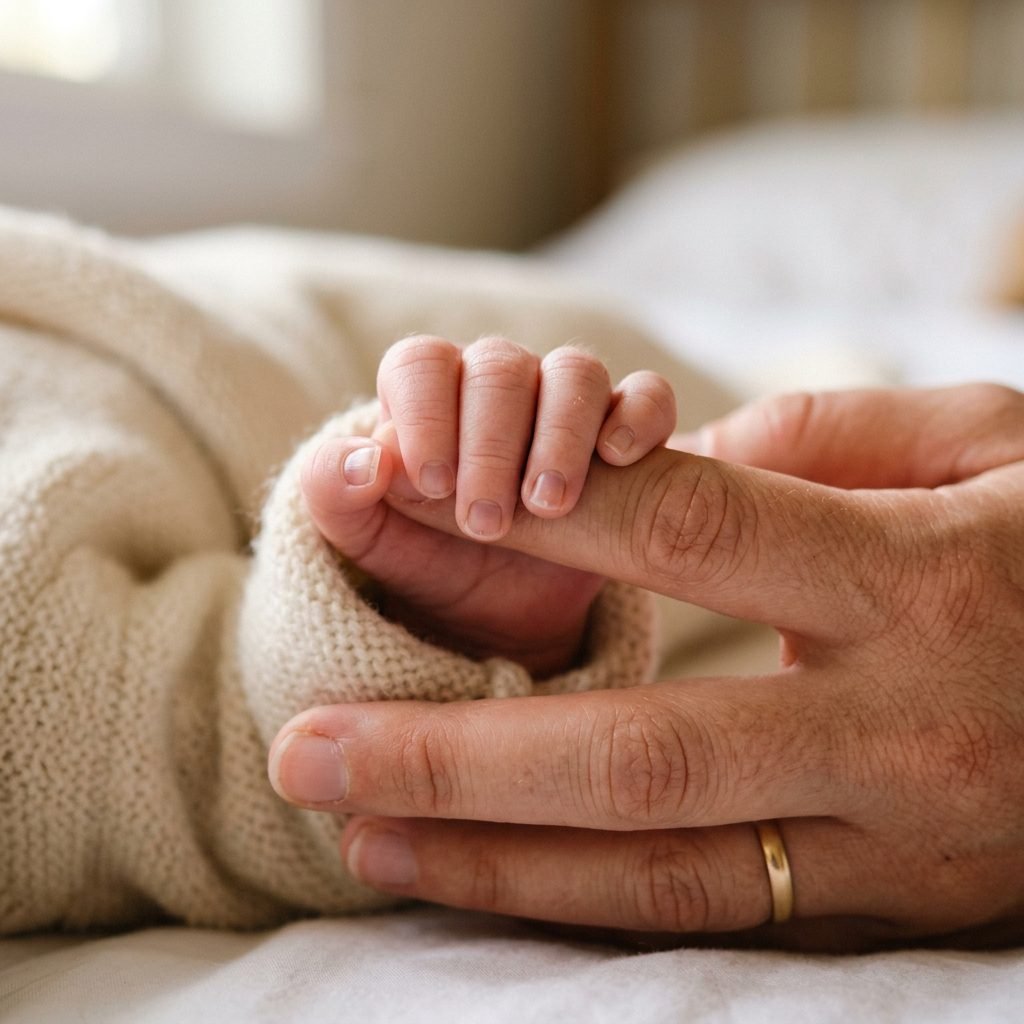
A Promise for the Future
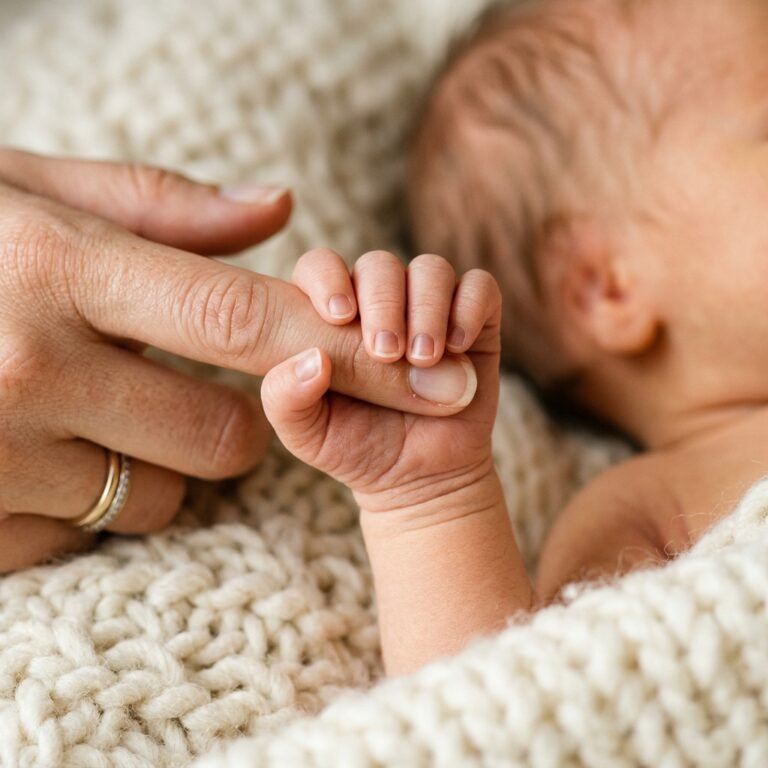
This final pose focuses on the hands. It symbolizes the guidance and protection you will provide for the rest of their life. It is simple, profound, and requires very little ‘posing’ effort.
- Sit in your favorite nursing chair by the window.
- Rest your hand palm-up on your knee.
- Place the baby’s hand inside yours. Often, newborns have a palmar grasp reflex and will naturally curl their tiny fingers around your pinky or thumb.
- Focus the camera on the contrast between your weathered, strong hand and their soft, new skin.
I love this shot because it’s a ‘low-energy’ pose. You can do this while you are actually nursing or resting. It’s the perfect way to end your DIY session on a calm, meditative note.
Technical Tips for the Non-Photographer Mama
Getting the Best Shot with Your Phone
You don’t need a DSLR to get professional results. Most modern smartphones have incredible cameras, but you need to know how to ‘talk’ to them. Here is a quick guide to mobile settings for newborn photos:
| Feature | Setting | Why? |
|---|---|---|
| Portrait Mode | ON | Creates that ‘blurry’ background (bokeh) that makes baby pop. |
| Flash | OFF | Artificial light is harsh and can startle the baby; window light is better. |
| Exposure Slider | Slide Down | If the window light is too bright, tap the screen and slide the ‘sun’ icon down to keep details in the whites. |
| Live Photo | ON | Allows you to pick the ‘key photo’ if baby wiggles or blinks during the shot. |
Editing with Love
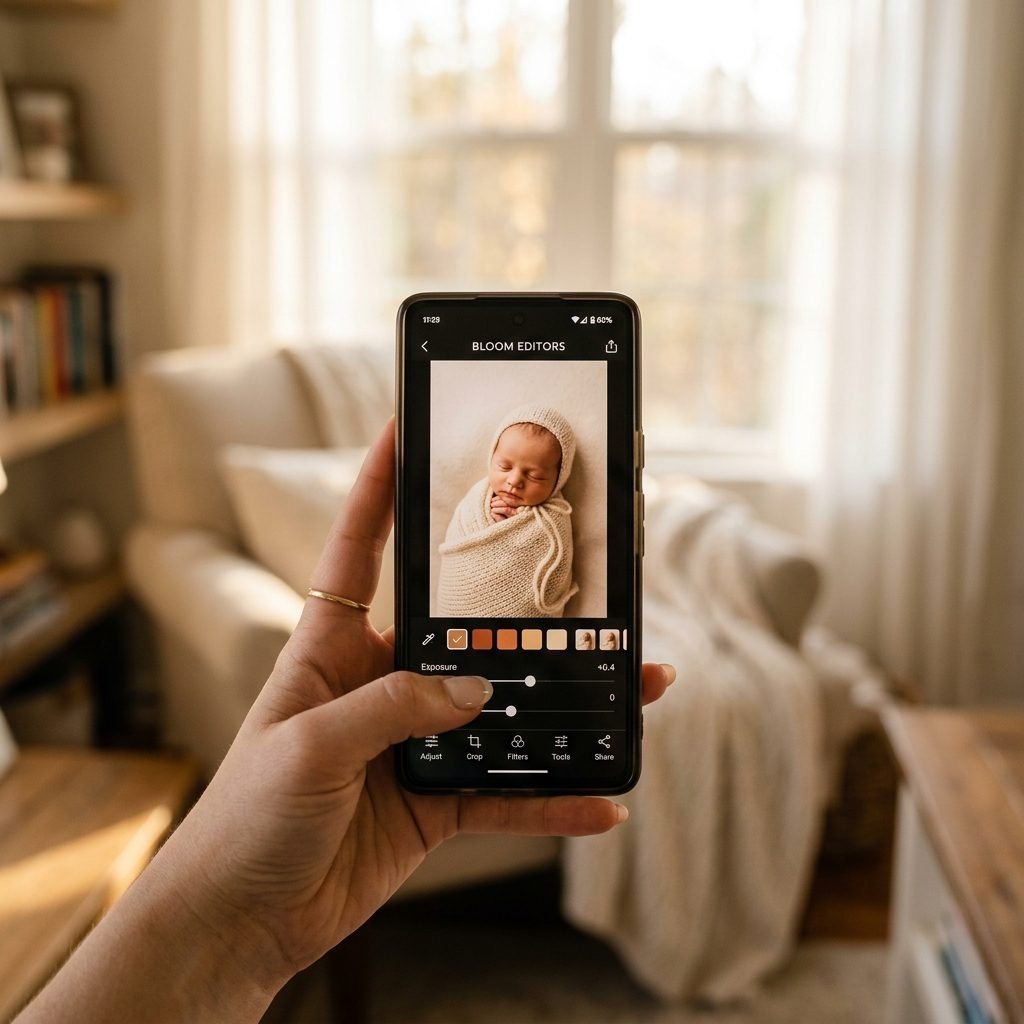
Once you’ve captured your 7 poses, don’t over-edit. Use a free app like Lightroom Mobile or Snapseed. A little bit of ‘Warmth’ and a touch of ‘Softening’ on the skin is all you need. Avoid heavy filters that change the natural color of your baby’s skin—you want to remember exactly how they looked in this moment.
Conclusion
You’ve Done It, Mama!
Capturing these 7 poses isn’t just about having pretty pictures for a baby book; it’s about honoring the transition you are making as a woman. You are a creator, a nurturer, and now, a family historian. Even if the baby cried, even if you have spit-up on your shirt, and even if the light wasn’t ‘perfect’—these photos will be treasures in twenty years. They represent the raw, unfiltered love of your first days together.
Take these photos, print them out, and hold them close. You are doing an incredible job, and these images are the proof of the magic you’ve brought into the world. Now, put the camera away, snuggle that baby, and maybe—just maybe—try to get a nap. You’ve earned it!