Step-by-Step Guide to Designing a Vintage Recipe Card Birth Announcement
Welcome to the Kitchen of Life, Mama
There is something undeniably magical about the smell of an old cookbook—the way the pages are yellowed at the edges and stained with the memories of a thousand family dinners. As a doula and a fellow mama, I know that bringing a new baby into the world is the ultimate ‘secret recipe.’ You’ve spent nine months simmering, preparing, and dreaming of this moment. Now that your little one has finally ‘finished baking,’ what better way to share the news than with a Vintage Recipe Card Birth Announcement? This aesthetic isn’t just about being trendy; it’s about honoring the lineage of women who came before us, who tucked their most precious secrets into wooden boxes. In this guide, we are going to walk through every step of creating a tactile, nostalgic keepsake that your friends and family will cherish far longer than a digital post. We’ll balance the creative spark with the practical realities of postpartum life, ensuring this project brings you joy without adding to your ‘mental load.’ Grab a cup of herbal tea, find a cozy spot to sit, and let’s start crafting this beautiful tribute to your newest family member.
The Philosophy of the ‘Secret Recipe’ Announcement
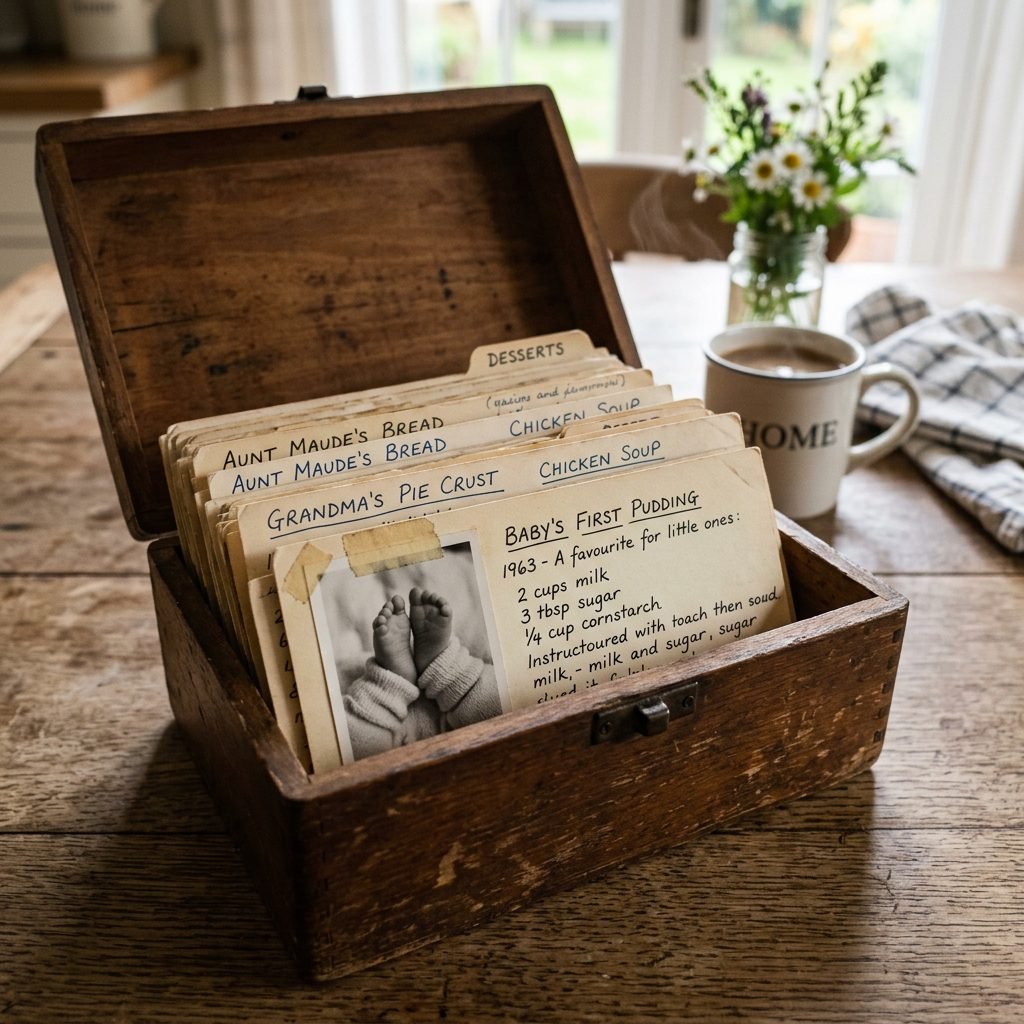
Why choose a recipe card theme? In our fast-paced, digital-first world, a physical card feels like a warm hug. It signals to your loved ones that this news is meant to be savored, not just scrolled past. The ‘recipe’ metaphor is incredibly versatile. You can frame your baby’s birth as the perfect blend of ‘Sugar, Spice, and Everything Nice,’ or perhaps a more modern take like ‘A Dash of Dad, a Pinch of Mom, and a Whole Lot of Grace.’ This style appeals to the nursery designer who loves a cottagecore aesthetic and the hostess who appreciates a well-curated theme. From a doula’s perspective, engaging in a creative project like this during the early weeks—if you feel up to it—can be a wonderful way to process your birth story. It allows you to take the raw data of the birth (the time, the weight, the date) and transform it into a piece of art.
A recipe for a perfect life: Two cups of love, a dash of grace, and one brand-new soul to light up the place.
Gathering Your Ingredients: Essential Supplies & Budget
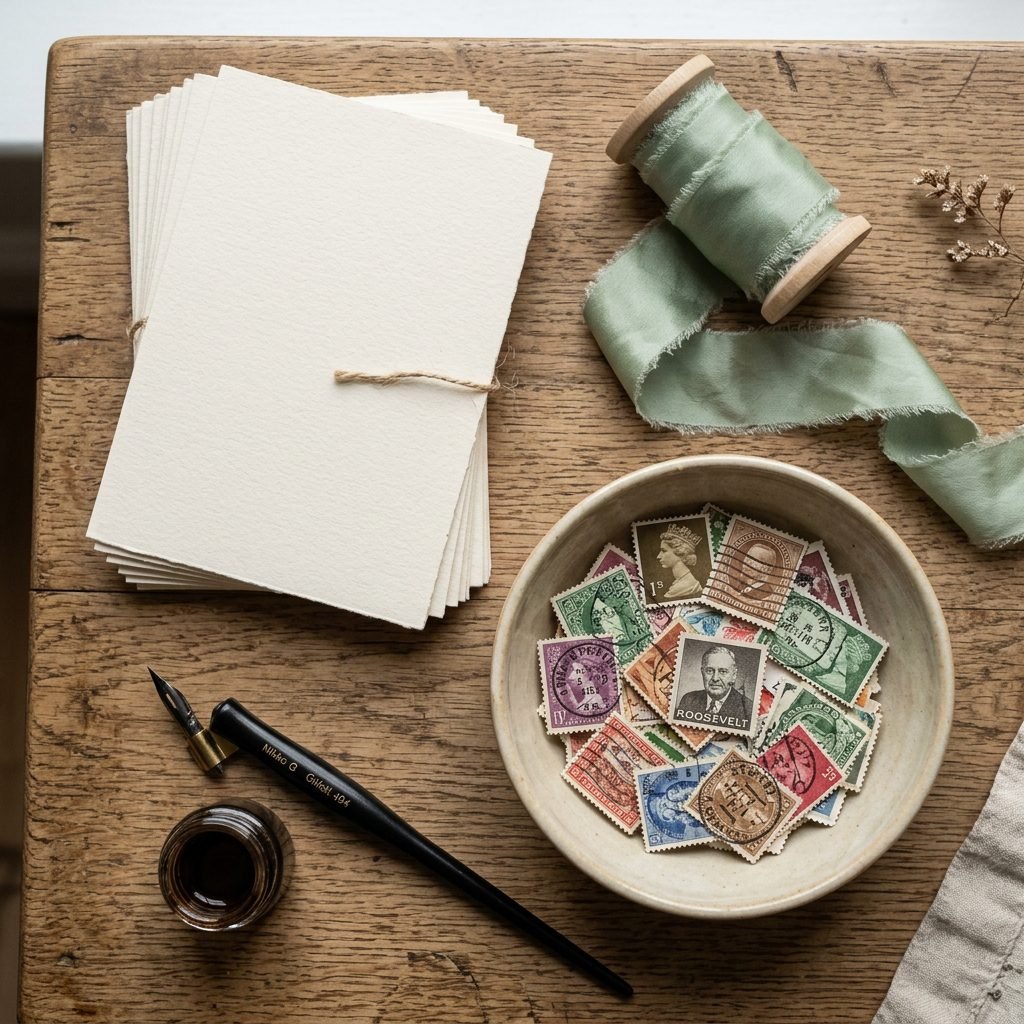
Selecting Your Base and Accents
Before we dive into the design, we need to gather our ‘ingredients.’ For a truly vintage feel, you want materials that have texture and weight. Avoid glossy photo paper; instead, opt for heavyweight cardstock (at least 80lb or 110lb) in shades of cream, oatmeal, or light kraft. These colors mimic the natural aging process of paper. You will also need archival-quality pens if you plan to hand-write any elements, as these won’t fade over time. To help you plan, I’ve put together a budget breakdown for a typical run of 50 announcements.
| Material Item | Estimated Cost (USD) | Pro Tip |
|---|---|---|
| Premium Cream Cardstock (50 sheets) | $15.00 | Look for ‘linen’ texture for extra luxury. |
| Vintage-Style Envelopes (A6 or A7) | $12.00 | Self-seal saves your tongue and time! |
| Newborn Photo Prints (Wallet size) | $10.00 | Matte finish looks more ‘vintage’ than glossy. |
| Baker’s Twine or Silk Ribbon | $8.00 | Use muted sage or dusty rose colors. |
| Vintage Postage Stamps | $25.00+ | Available on Etsy for a curated look. |
| Total Estimated Budget | $70.00 | Approx. $1.40 per card. |
Writing the ‘Method’: Crafting Your Baby’s Stats
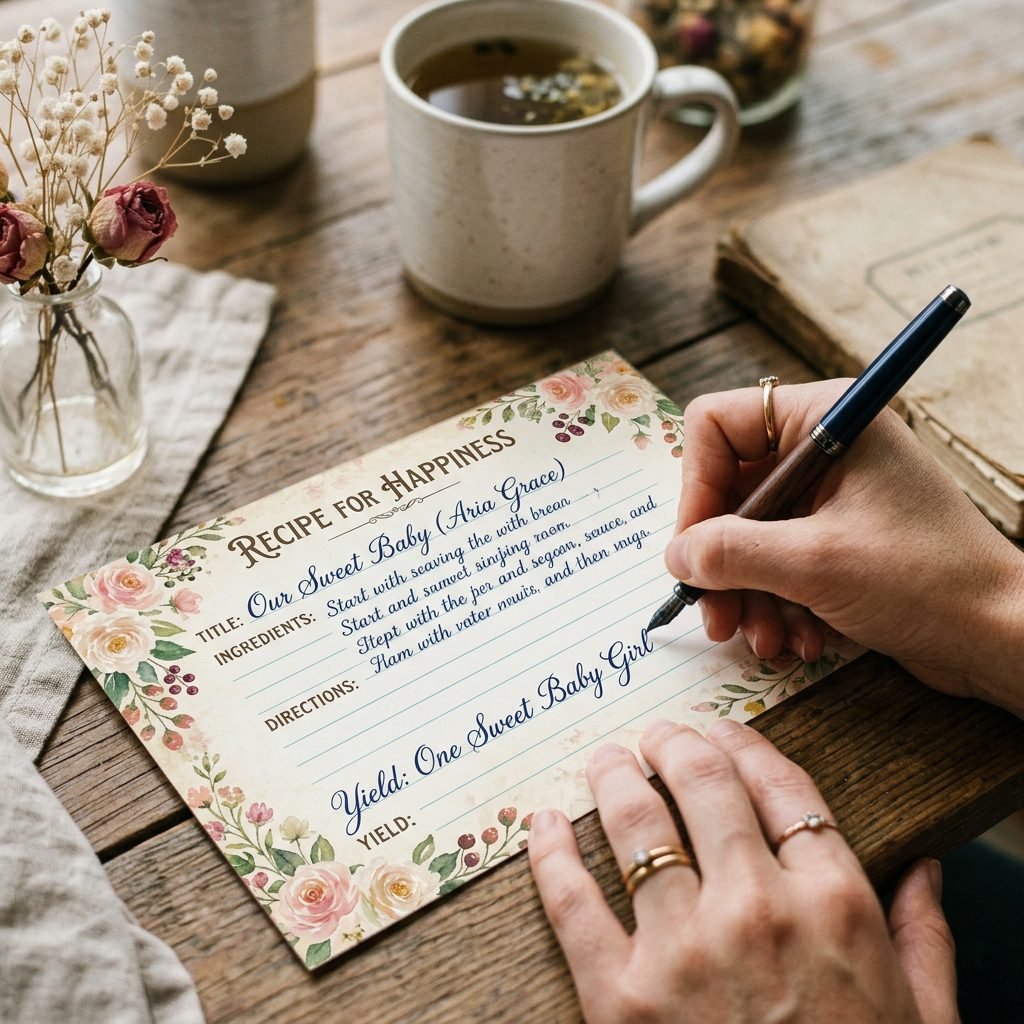
Turning Birth Data into Culinary Poetry
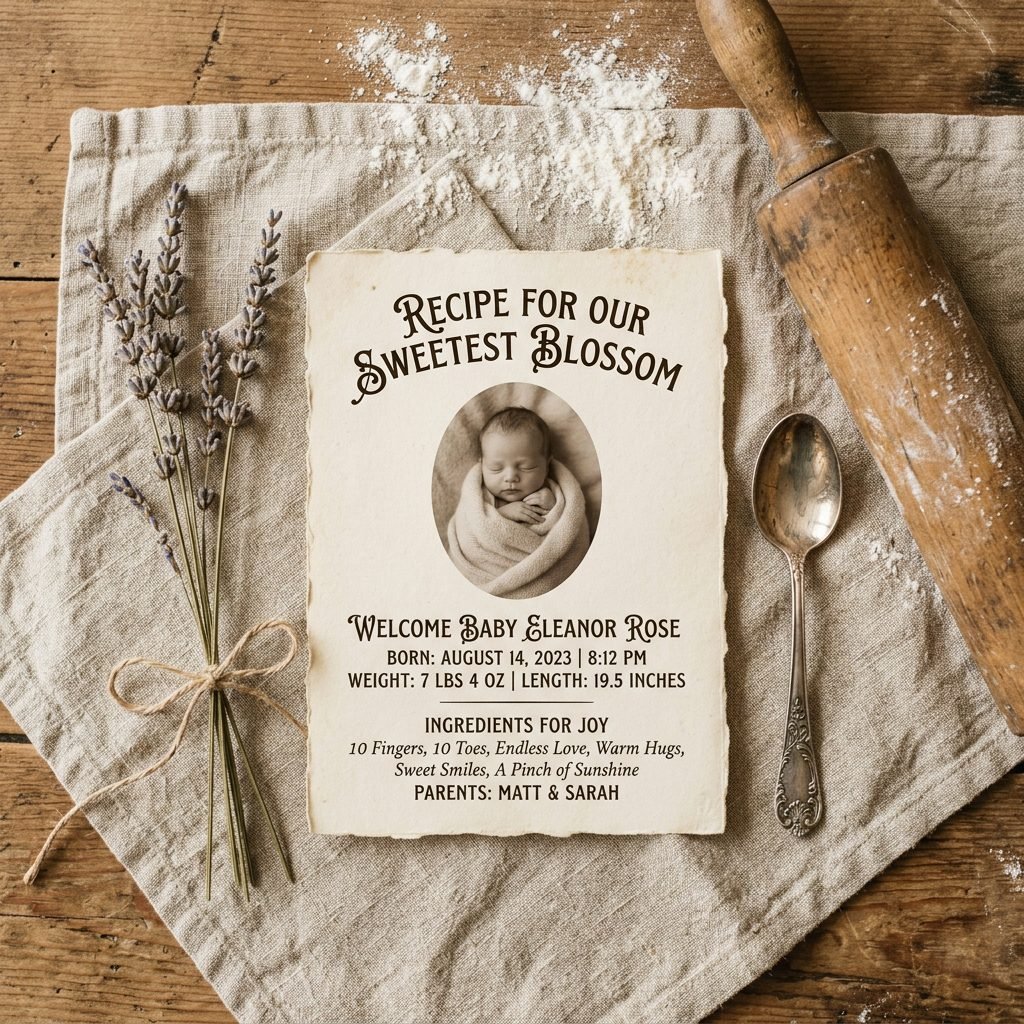
The charm of this announcement lies in the wording. Instead of a standard list of facts, we are going to use culinary terms to describe your baby’s arrival. This is where your inner crafty mom can really shine. Here is a template you can copy and adapt:
- Recipe Name: The [Last Name] Family’s Newest Ingredient
- Yield: One Beautiful [Boy/Girl/Baby]
- Prep Time: 9 Months (or 40 Weeks and 3 Days!)
- Cook Time: [Number of Hours] of Labor
- Serving Size: [Weight in lbs and oz]
- Dimensions: [Length in inches]
- Chef/Creator: [Parent Names]
Under the ‘Directions’ or ‘Method’ section, you can write a brief, sweet sentence about the ‘serving’ time (the birth time) and location. For example: ‘Served warm at 4:12 AM on October 12th at the Mercy Birth Center. Best enjoyed with snuggles and lullabies.’ This approach turns clinical data into a heartwarming narrative.
Step-by-Step Design Guide: Digital or Handmade
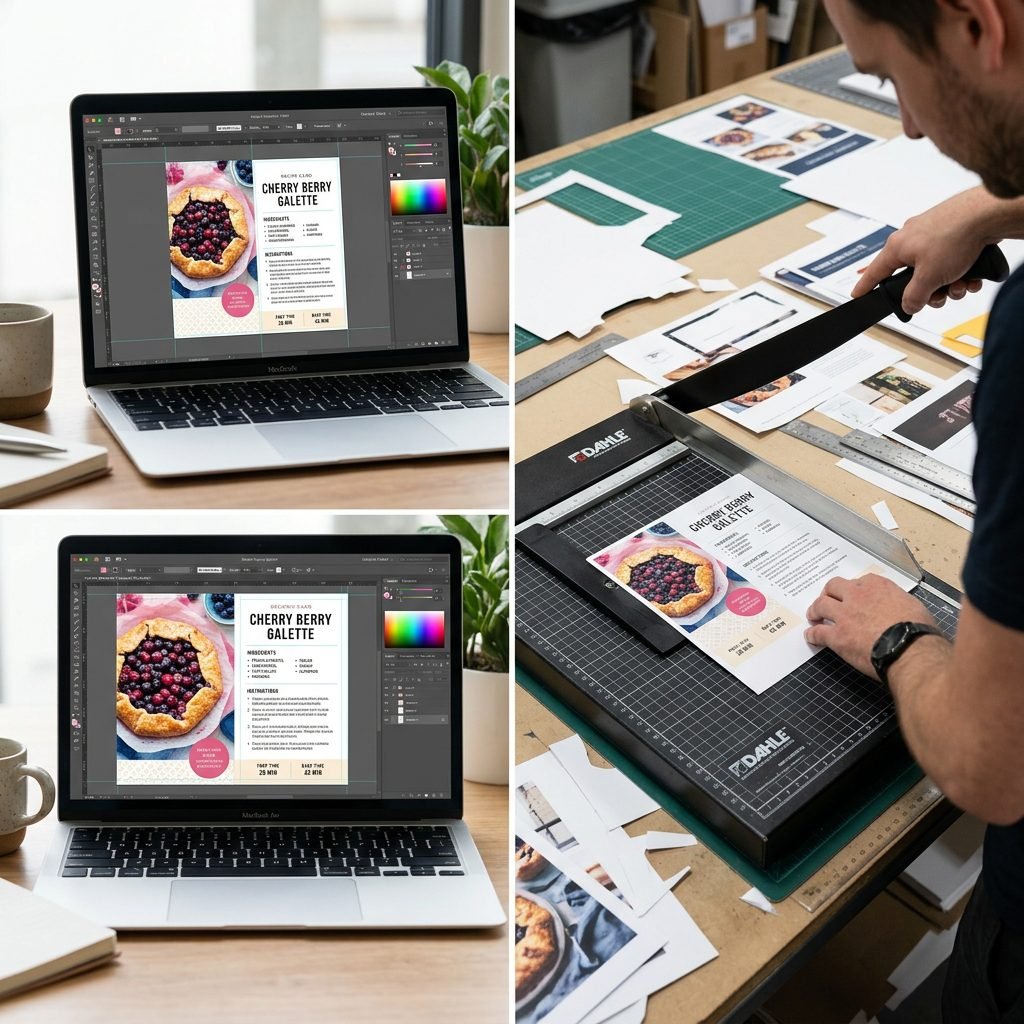
Choosing Your Path: Canva vs. Hand-Lettering
Depending on your energy levels—which I know are precious in the postpartum period—you can choose a digital design or a fully handmade approach. If you are a postpartum recovery mom, the digital route is often kinder to your body.
- Set Your Canvas: Open a design tool like Canva and set your dimensions to 4×6 inches (the standard recipe card size).
- Choose Your Background: Search for ‘vintage paper’ or ‘parchment’ textures. Set the transparency so it’s subtle.
- Add Grid Lines: Use thin horizontal lines to mimic the look of a traditional recipe card. This helps ground the text.
- Typography Matters: Use a combination of a classic typewriter font (like Courier or Special Elite) for the stats and a soft script font (like Mrs. Saint Delafield) for the baby’s name.
- Insert the Photo: Place your newborn’s photo in the corner. Apply a ‘Sepia’ or ‘Warm’ filter and lower the contrast slightly to make it look like a physical print from the 1970s.
- Print and Cut: Print on your heavy cardstock. If you have a paper trimmer, use it for crisp edges; if not, a ruler and X-Acto knife work wonders.
The Final Garnish: Assembly and Mailing
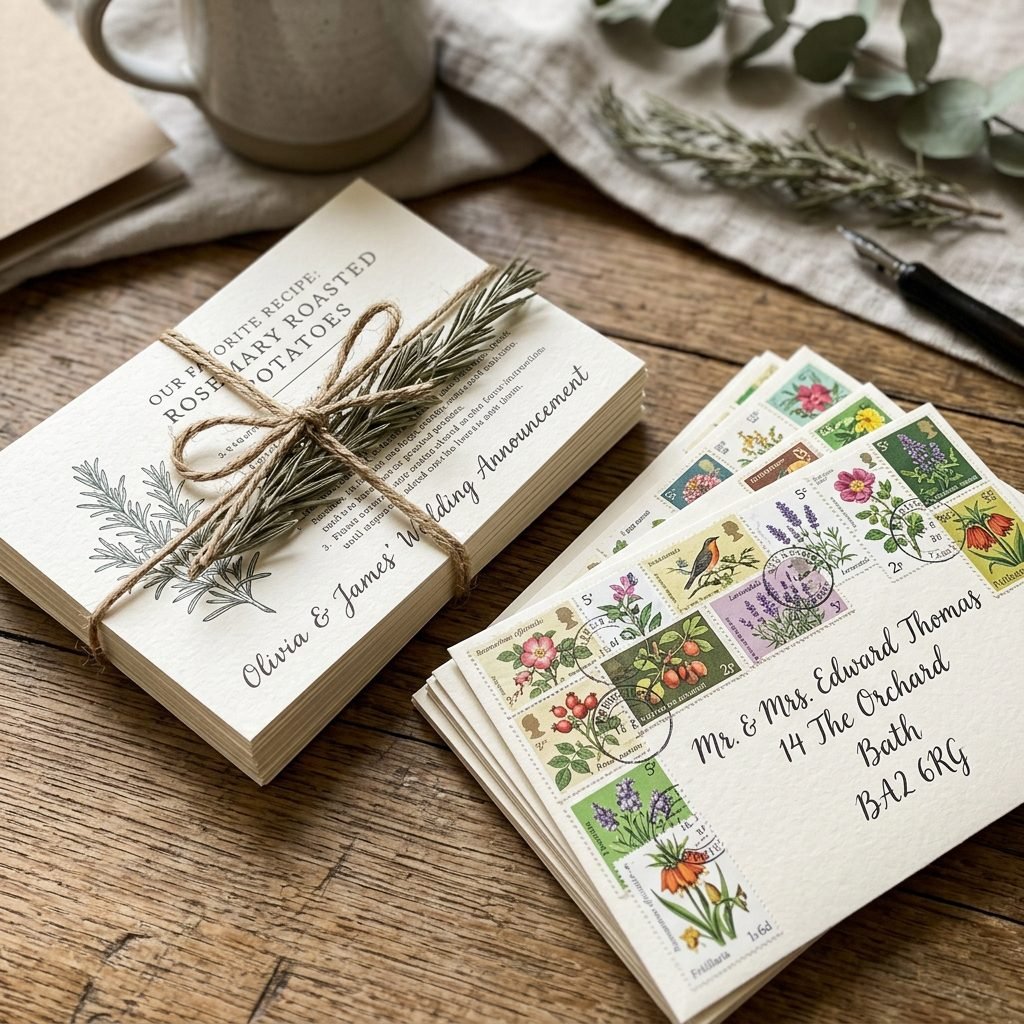
Adding the Tactile Details
Once your cards are printed, it’s time for the ‘final garnish.’ This is the part where the stylist in you gets to play. Adding a tactile element makes the card feel like a true heirloom. Consider these ideas:
- Corner Rounding: Use a corner rounder punch to soften the edges of the card. This immediately makes it look more professional and ‘vintage.’
- The Ribbon Tie: If you printed the photo separately, attach it to the card using a small gold paperclip or by punching two small holes and threading a thin silk ribbon through them.
- Scenting the Paper: (A doula’s secret!) Lightly mist a tissue with lavender or vanilla essential oil and leave it in the box with your envelopes for 24 hours. When your family opens the announcement, they’ll be greeted with a calming, sweet scent.
- Vintage Stamps: Don’t settle for standard flags. Use a ‘stamp collage’ on the envelope. You can find vintage, unused postage stamps that equal the current mailing rate. It makes the envelope look like a work of art before it’s even opened.
The Doula’s Note on Creative Pacing
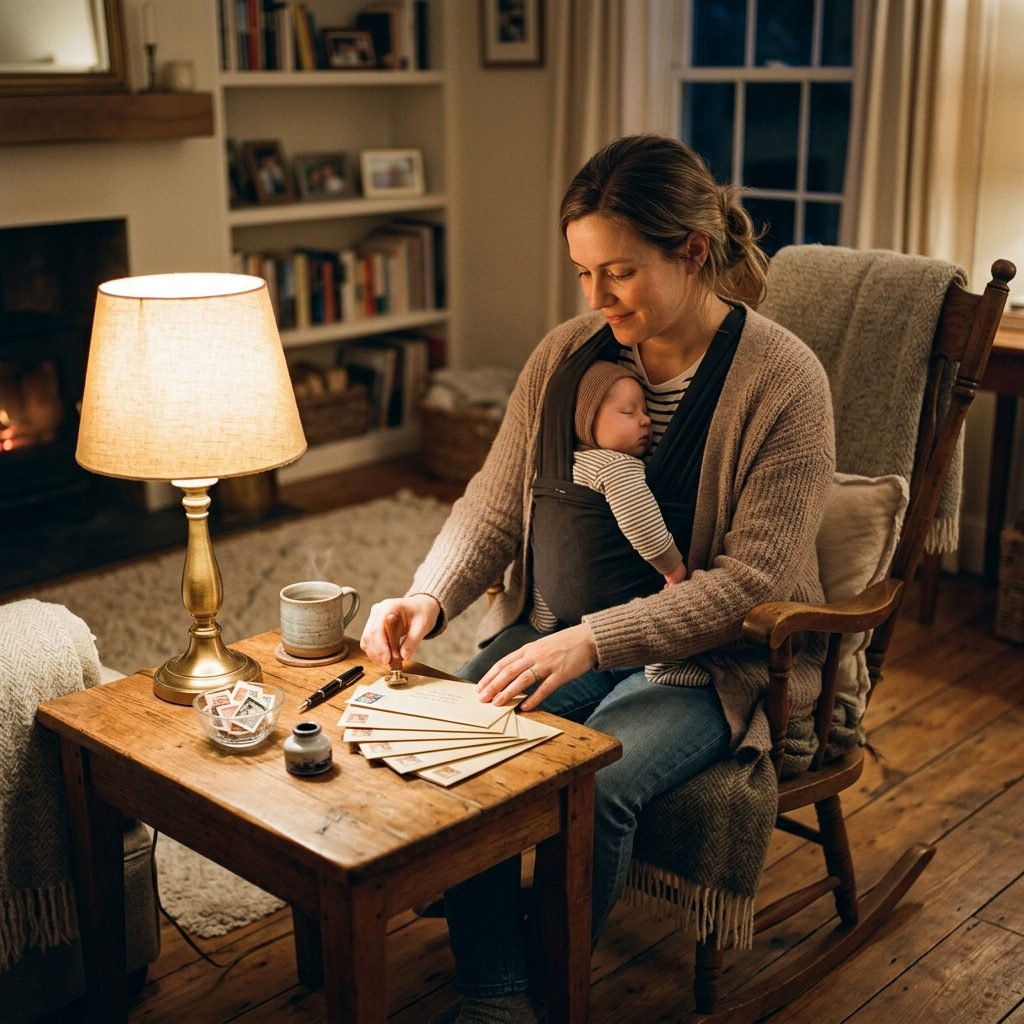
Mama, I want to remind you that your most important ‘creation’ is currently sleeping (hopefully!) in your arms. While DIY projects can be therapeutic, they should never feel like a chore. If you find yourself overwhelmed, remember these Energy-Saving Hacks:
- Batch the Work: Do the design one day, the printing another, and the stuffing of envelopes a week later.
- Enlist Your Village: This is a perfect task for a visiting friend or a grandmother who wants to help. Let them stuff the envelopes or apply the stamps while you nurse or rest.
- It’s Okay to be ‘Late’: There is no ‘expiration date’ on a birth announcement. Whether your baby is two weeks old or four months old, your loved ones will be just as thrilled to receive it.
You are doing a beautiful job. Your worth is not measured by your productivity, but by the love you pour into your new rhythm.
Conclusion
A Keepsake for the Ages
Designing a Vintage Recipe Card Birth Announcement is more than just a way to share news; it’s a way to freeze time. In twenty years, when you are looking through your own ‘recipe box’ of memories, you’ll find this card and remember the soft scent of your newborn’s head and the quiet, creative moments you spent honoring their arrival. You’ve taken the ‘ingredients’ of your life—the love, the labor, and the longing—and created something truly delicious. Congratulations on your new addition, and may your days be filled with the sweet, messy, wonderful flavors of motherhood. You’ve got this, Mama!