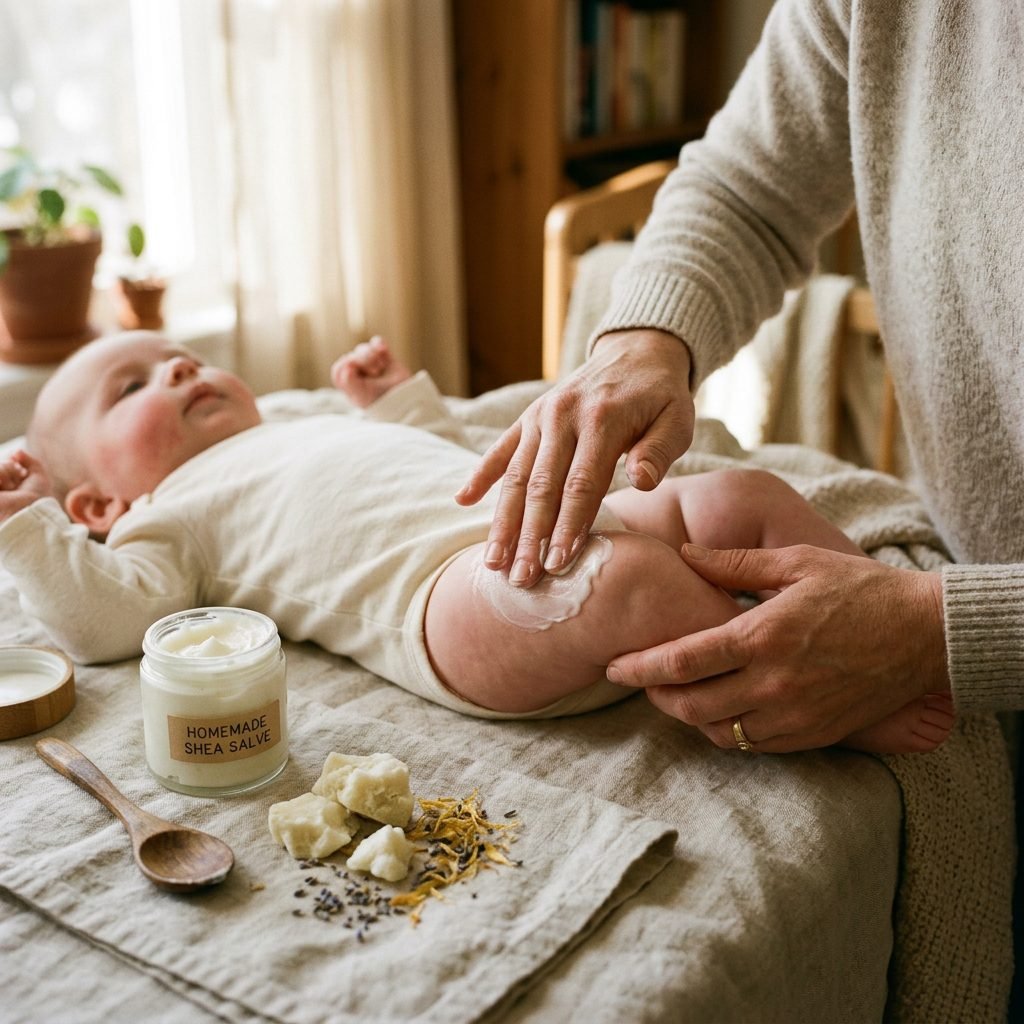
Skip The Chemicals: The 3-Ingredient Diaper Cream That Heals Rashes Overnight
Welcome Home, Mama
Oh, sweet mama, I see you. It is 2:00 AM, the nursery is quiet except for the soft whimpers of your little one, and your heart is breaking because that diaper rash just won’t quit. We have all been there—standing in the glow of the fridge or the dim nursery lamp, looking at a red, angry-looking bottom and feeling completely helpless. You’ve tried the store-bought tubes, the ones with the long lists of ingredients you can barely pronounce, and yet, the redness persists. As a doula and a fellow mother, I want to wrap you in a virtual hug and tell you that nature has already provided exactly what your baby needs.
The skin is our largest organ, and for a newborn, it is incredibly thin and absorbent. When we apply conventional diaper creams, we aren’t just creating a barrier; we are often introducing synthetic fragrances, parabens, and petroleum by-products directly into their delicate systems. But what if I told you that the most effective healing agent isn’t found in a laboratory, but in a simple combination of three pure ingredients? This isn’t just about ‘going green’—it’s about high-performance healing that works with your baby’s biology rather than against it. Today, we are going to dive deep into why these rashes happen, why the ‘old school’ remedies are often the best, and how you can whip up a batch of ‘magic cream’ in your own kitchen that will have that rash disappearing by morning.
Remember, you are the expert on your baby. Trust your intuition and the power of simple, intentional care.
Understanding the ‘Why’ Behind the Redness
Why Does Diaper Rash Happen?
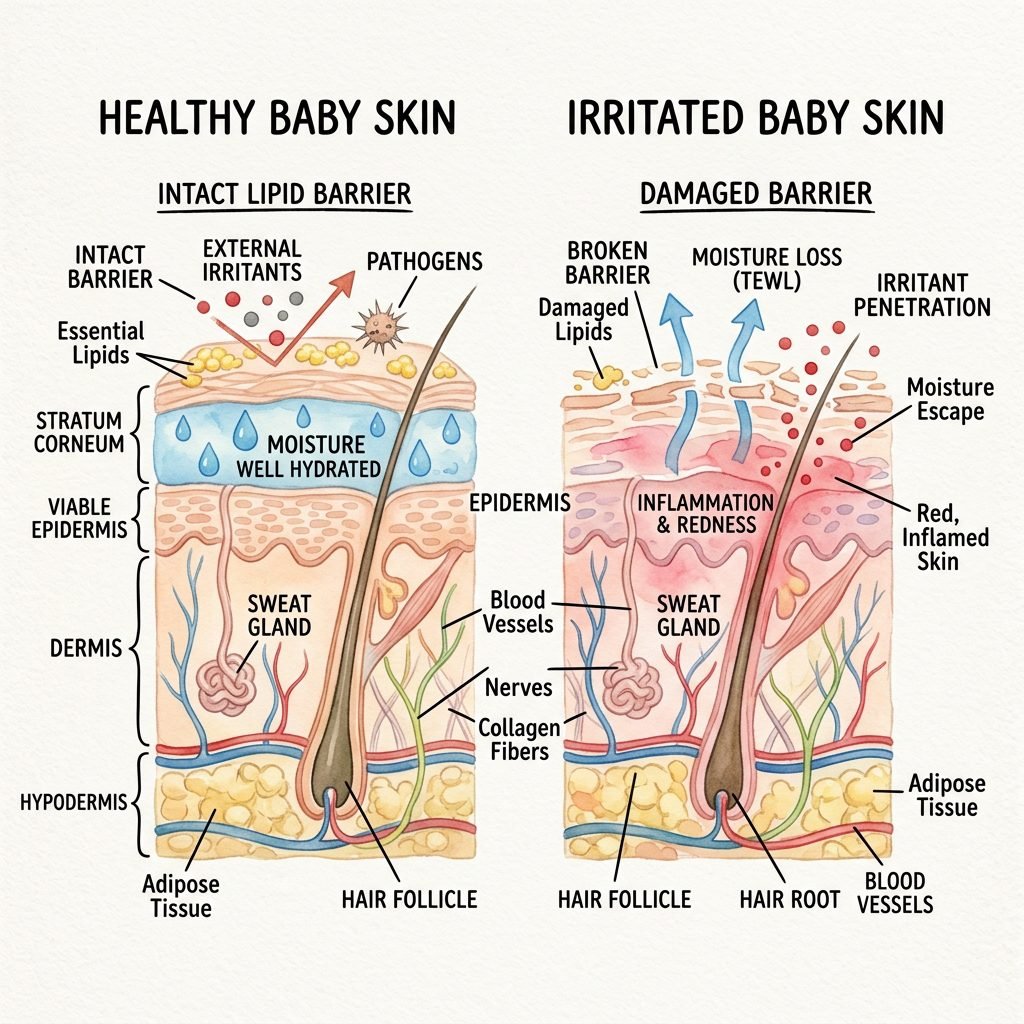
Before we jump into the remedy, let’s talk about the science of the ‘diaper environment.’ A diaper, while convenient, creates a micro-climate of heat, moisture, and friction. When you add the variable of fluctuating pH levels from urine and stool, the skin’s natural acid mantle can become compromised. This leads to Irritant Contact Dermatitis, the most common form of diaper rash.
The Three Primary Culprits
- Moisture Overload: Prolonged exposure to wetness softens the skin (maceration), making it more susceptible to damage.
- Friction: The constant rubbing of a diaper against damp skin creates micro-tears in the epidermis.
- Chemical Irritants: Many disposable wipes and diapers contain fragrances and preservatives that can trigger an allergic response.
By understanding that the rash is essentially a breakdown of the skin barrier, we realize our goal isn’t just to ‘medicate’ the skin, but to restore the barrier and repel moisture. This is where our 3-ingredient powerhouse comes in. Instead of just masking the symptoms, we are providing the skin with the lipids and minerals it needs to knit itself back together while the baby sleeps.
| Condition | Appearance | Primary Cause |
|---|---|---|
| Mild Irritation | Pink, dry patches | Friction or wetness |
| Moderate Rash | Bright red, shiny skin | pH changes from stool |
| Severe/Yeast | Deep red, bumpy, ‘satellite’ lesions | Fungal overgrowth |
The Magic Trio: Meet Your Healing Ingredients
The Science of Simple Ingredients
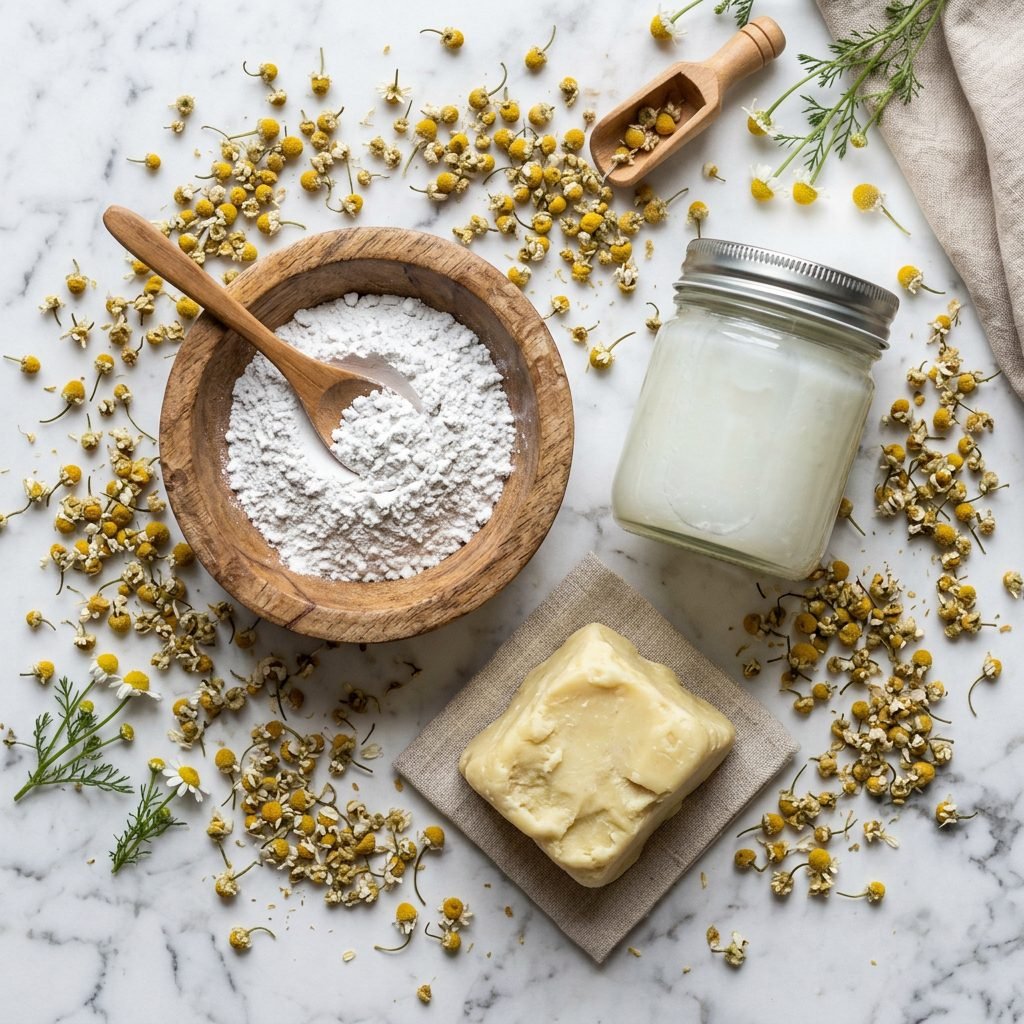
We are stripping everything back to the essentials. This recipe relies on three heavy-hitters that work in synergy. No fillers, no preservatives, and absolutely no ‘mystery’ scents. Here is why this combination is the gold standard for doulas and holistic mamas alike.
1. Raw Shea Butter (The Healer)
Shea butter is rich in vitamins A, E, and F. It provides essential fatty acids that mimic the skin’s natural sebum. It doesn’t just sit on top; it deeply nourishes the skin cells, encouraging rapid regeneration. When buying, ensure it is ‘unrefined’ to keep all those healing nutrients intact.
2. Virgin Coconut Oil (The Protector)
Coconut oil is a miracle worker in the nursery. It contains lauric acid, which has natural antibacterial, antiviral, and antifungal properties. This is crucial because it helps prevent a standard rash from turning into a secondary yeast infection. It also provides a slick, soothing glide during application.
3. Non-Nano Zinc Oxide (The Barrier)
Zinc oxide is the ‘secret sauce’ for overnight healing. It is a mineral that sits on top of the skin, creating a physical waterproof shield. It reflects moisture away from the skin, allowing the shea and coconut oil to work their magic underneath undisturbed. We use non-nano zinc oxide to ensure the particles are too large to be absorbed into the bloodstream, keeping it 100% safe.
| Ingredient | Role | Benefit |
|---|---|---|
| Raw Shea Butter | Emollient | Deep hydration & skin repair |
| Virgin Coconut Oil | Antimicrobial | Prevents infection & soothes |
| Non-Nano Zinc Oxide | Physical Barrier | Blocks moisture & reduces inflammation |
Step-by-Step: Crafting Your Healing Salve
The Recipe for Overnight Relief
Making your own baby care products is incredibly empowering. It takes less than 15 minutes and costs a fraction of the high-end organic brands. Let’s get cooking!
Materials and Budget Breakdown
| Item | Quantity | Estimated Cost (Per Batch) |
|---|---|---|
| Raw Shea Butter | 1/2 Cup | $2.50 |
| Virgin Coconut Oil | 1/4 Cup | $1.00 |
| Non-Nano Zinc Oxide | 2 Tablespoons | $0.75 |
| Glass Mason Jar | 4 oz | $1.50 (reusable) |
Instructions
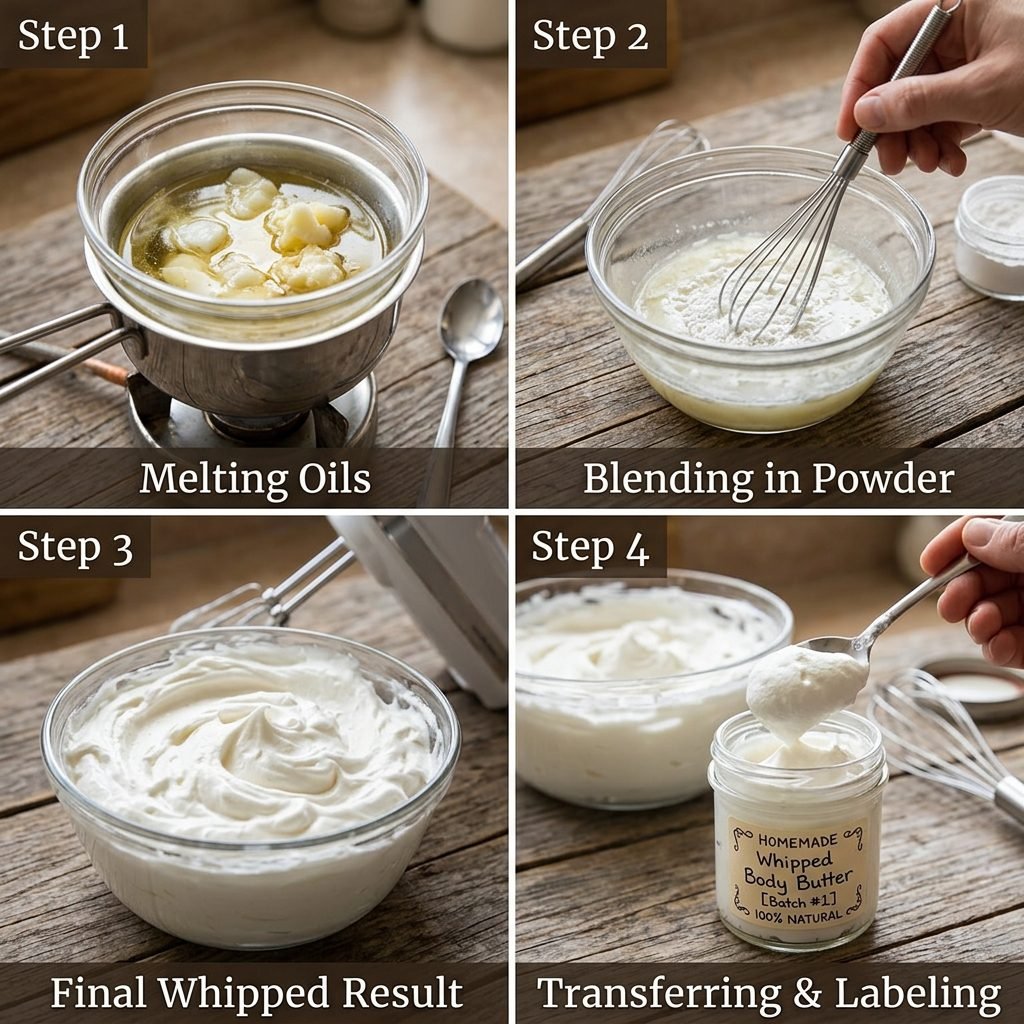
- Melt the Base: Using a double boiler (or a glass bowl over a pot of simmering water), gently melt the 1/2 cup of shea butter and 1/4 cup of coconut oil together. Do not overheat; you want them just liquid.
- Whisk in the Magic: Remove from heat. Slowly whisk in the 2 tablespoons of non-nano zinc oxide. Be careful not to inhale the powder—it’s best to stir it in slowly until fully incorporated.
- The Texture Hack: For a fluffy, ‘whipped’ consistency that is easier to spread on a sore bottom, let the mixture cool in the fridge for about 20 minutes until it starts to solidify around the edges. Then, use a hand mixer to whip it for 2-3 minutes.
- Store: Transfer to a clean glass jar. This will stay shelf-stable for up to 6 months!
Pro-Tip: If your house is very warm, the coconut oil may soften the cream. Keep it in a cool, dry place to maintain that perfect ‘frosting’ texture.
Application Secrets for Maximum Healing
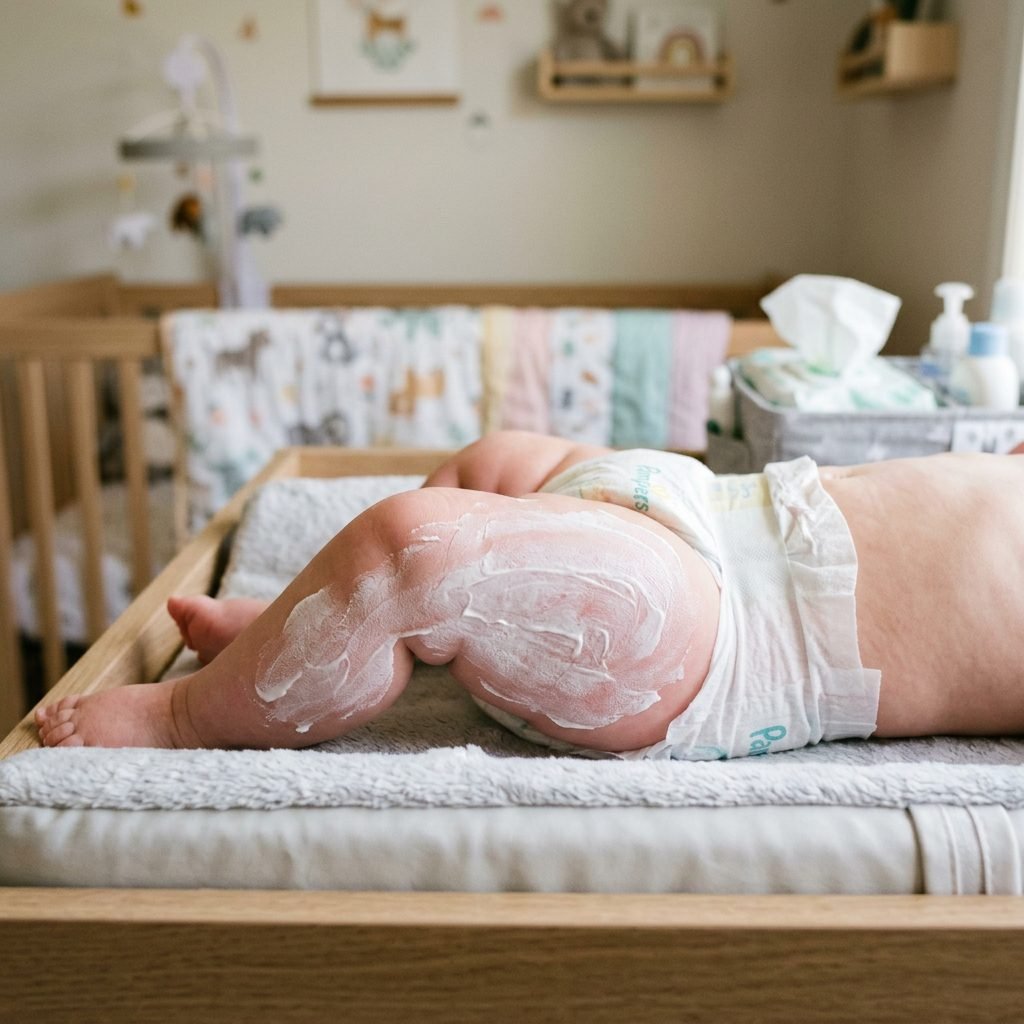
The ‘Frosting’ Method
How you apply the cream is just as important as what is in it. When a rash is flared up, the last thing we want to do is rub or scrub the area. As a doula, I always recommend the ‘Frosting’ Method.
How to Apply Like a Pro
- Cleanse Gently: Use plain water and a soft cloth or a water-based wipe. Avoid anything with alcohol or ‘fragrance.’
- Pat, Don’t Rub: Ensure the skin is 100% dry before applying the cream. Moisture trapped under the cream can actually make the rash worse. Use a dry cloth or even a handheld fan for a few seconds.
- Apply Thickly: Think of it like frosting a cupcake. You want a thick, visible layer of the 3-ingredient cream. You shouldn’t be able to see the skin through the cream. This ensures that the next time the baby goes, the waste never actually touches their skin.
- The Overnight Boost: For the final change before bed, apply an extra-thick layer. This creates the ultimate healing sanctuary while they sleep.
Natural vs. Synthetic Comparison
| Feature | DIY 3-Ingredient Cream | Commercial ‘Blue Tube’ Brands |
|---|---|---|
| Fragrance | None (Natural nutty scent) | Synthetic ‘Baby Powder’ scent |
| Preservatives | None needed | Parabens or Phenoxyethanol |
| Barrier Type | Zinc + Plant Fats | Petroleum/Mineral Oil base |
| Ease of Removal | Wipes off with oil/warm water | Can be sticky and hard to remove |
When to Call the Pediatrician

Safety and Awareness
While this 3-ingredient cream is a powerhouse for standard irritations, as your ‘virtual doula,’ I want to make sure you know when it’s time to seek professional medical advice. Most rashes clear up within 24-48 hours with this cream, but some require more targeted intervention.
Red Flags to Watch For
- Pustules or Blisters: This could indicate a bacterial infection (like impetigo).
- Fever: If a rash is accompanied by a fever, call your doctor immediately.
- Bleeding or Oozing: If the skin is broken and weeping fluid, it needs a professional look.
- No Improvement: If you have used the ‘frosting’ method for 3 days and see zero change, it may be a specific type of yeast that requires a prescription antifungal.
You are doing an incredible job. Sometimes, despite our best efforts, babies need a little extra medical help—and that is okay! Seeking help is a sign of a great parent.
Conclusion
You’ve Got This, Mama
In a world that tries to sell us a thousand different ‘must-have’ products, there is so much peace to be found in returning to the basics. This 3-ingredient diaper cream isn’t just a remedy; it’s a testament to the fact that you have the power to provide for your baby’s needs with simple, clean, and loving ingredients. By skipping the chemicals, you are protecting your baby’s skin today and their health for the future. Tonight, as you tuck your little one in and apply that thick layer of homemade goodness, breathe deep. You are providing healing, comfort, and safety. Sleep well, mama—tomorrow morning’s diaper change is going to look a whole lot brighter.