How To Safely Recreate Womb Style Newborn Photo Poses At Home With An iPhone
The Magic of the First Days
Welcome, mama. If you are reading this, you are likely in that hazy, beautiful, and slightly exhausted bubble of early motherhood, or perhaps you are nesting and preparing for your little one’s arrival. Those first few weeks are a whirlwind of milky breaths, tiny fingernails, and that incredible ‘new baby’ smell. It is only natural to want to freeze time. The ‘womb style’ or ‘froggy’ poses you see on professional photography sites—where babies look perfectly curled, sleepy, and tucked—are breathtaking, but they often come with a high price tag and the stress of traveling to a studio with a 7-day-old infant.
As a doula and maternal wellness companion, I want you to know that you don’t need a $5,000 DSLR camera to capture these memories. Your iPhone is a powerhouse of technology, and with the right safety protocols and a bit of ‘sisterly’ styling, you can create professional-grade images from the comfort of your living room. However, safety is our absolute priority. Professional photographers often use ‘composites’ (two photos merged into one) to keep babies safe. In this guide, we will focus on modified, 100% safe versions of these poses that celebrate your baby’s natural flexibility without ever compromising their airway or circulation.
The Golden Rules of Newborn Safety: A Doula’s Perspective

Before we even touch the camera, we must talk about the ‘Safety First’ mindset. Newborns have heavy heads, fragile necks, and a respiratory system that is still finding its rhythm. When we talk about ‘womb-style’ posing, we are mimicking the fetal position, but we must do so with extreme care.
Airway and Circulation
- Chin Off Chest: Always ensure there is at least a two-finger gap between the baby’s chin and their chest. If the chin is tucked too tightly, it can restrict their airway.
- Color Check: Watch your baby’s hands and feet. If they begin to look purple or mottled, the wrap is too tight or the position is restricting blood flow.
- Temperature Control: To keep a baby sleepy and naked (or lightly wrapped), the room needs to be around 75-80°F. However, be careful not to overheat them. If the back of their neck feels sweaty, turn down the heat.
Safety Affirmation: ‘My baby’s comfort and safety are more important than any photograph. I will follow my baby’s lead and stop if they show any signs of distress.’
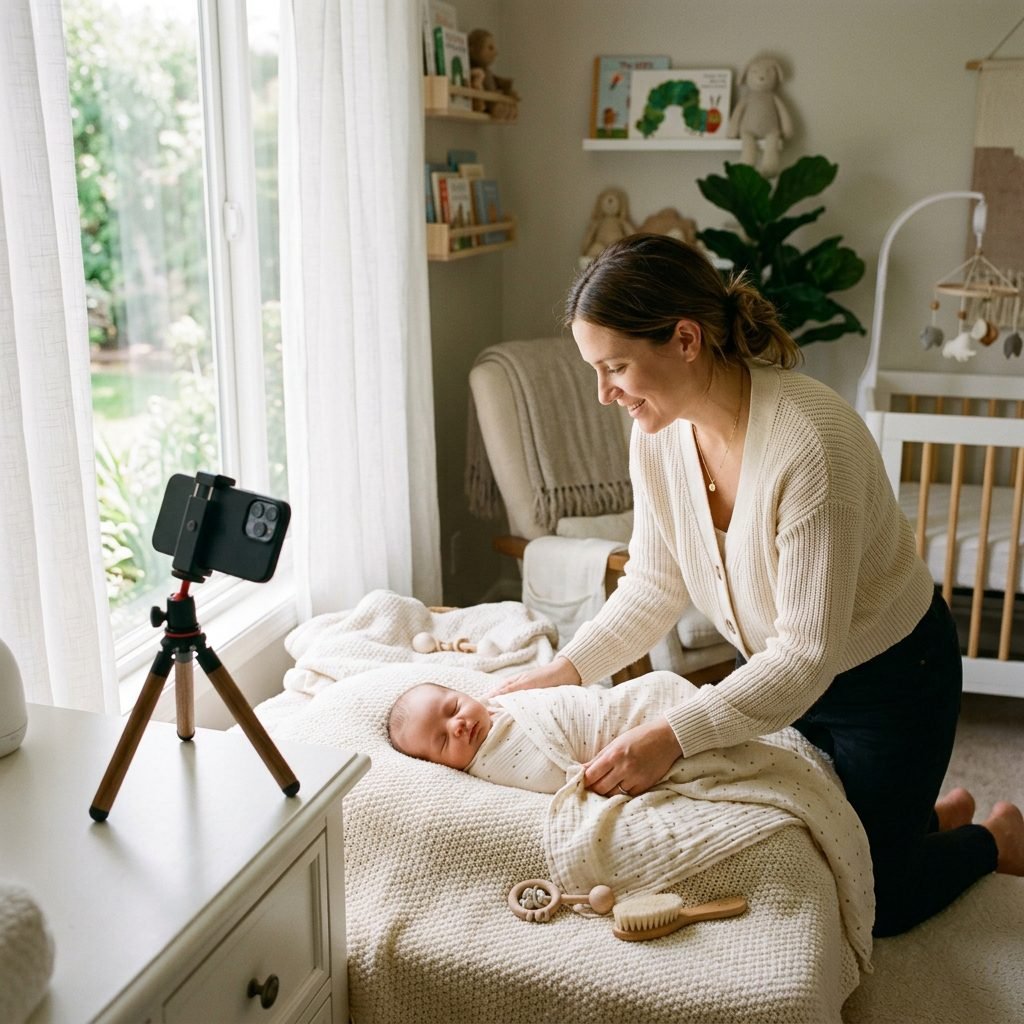
Never, under any circumstances, leave your baby unattended on a posing surface, even for a split second to check your phone. Always have a ‘spotter’ (your partner, a friend, or a grandma) whose only job is to keep their hands inches away from the baby at all times.
Setting the Scene: Lighting, Warmth, and White Noise

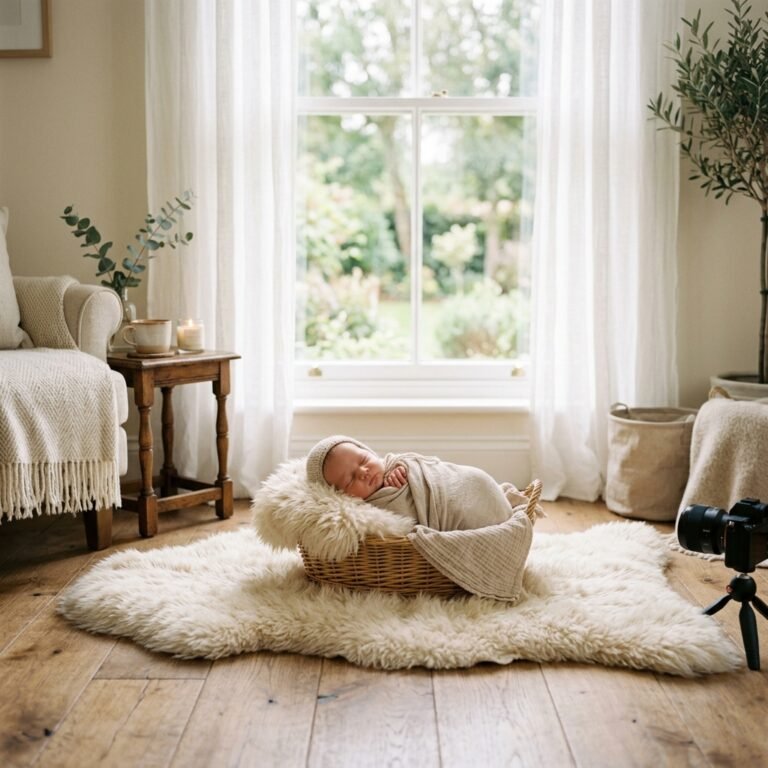
Professional photos look ‘expensive’ because of the light, not the camera. You don’t need studio strobes; you have the sun! The best time for newborn photos is usually mid-morning when the light is bright but soft.
Finding the ‘Sweet Spot’
Look for a large window or a sliding glass door. Turn off all overhead lights in the room—mixing artificial yellow light with blue natural light creates ‘muddy’ skin tones. Position your posing area so the light flows from the top of the baby’s head down toward their feet. This creates soft, natural shadows under the nose and chin, which is much more flattering than ‘up-lighting’ (lighting from the feet up), which can look a bit spooky!
To keep the baby in that deep, ‘womb-like’ sleep, you’ll need to recreate the environment of the uterus:
- Sound: Use a white noise machine or a ‘shusher’ app set to a loud, rhythmic hum.
- Scent: Keep the room smelling like home, but avoid heavy perfumes or essential oils that might irritate a newborn’s sensitive nose.
- Full Tummy: Plan to start your session right after a full feeding and a good burping session. A ‘milk drunk’ baby is much easier to pose.
DIY Posing Props: What You Need and What to Avoid

You don’t need to buy expensive ‘posing beans’ or professional backdrops. Most of what you need is already in your nursery or linen closet. The key is to create a firm but soft base that supports the baby’s spine.
| Item | Purpose | Safety Tip |
|---|---|---|
| Boppy or Nursing Pillow | Creates a ‘nest’ for the baby to sit inside. | Always cover with a thick blanket to prevent the baby from sinking into the hole. |
| Muslin Swaddles | For the ‘Potato Sack’ look or simple wrapping. | Ensure the fabric is breathable and not wrapped too tight around the chest. |
| Rolled Up Hand Towels | Used as ‘posers’ under the blanket to prop up the head or tushie. | Make sure they are tucked securely so they don’t shift. |
| Neutral Knit Blanket | The ‘top layer’ that creates a seamless background. | Clamp the blanket to two chairs to create a ‘slope’ or backdrop. |
Avoid: Glass props, unstable baskets, or anything with sharp edges. If you use a basket, it MUST be weighted at the bottom with 5-10 lbs of hand weights or bricks (hidden under the padding) so it cannot tip over if the baby moves.
The Step-by-Step Guide to the ‘Modified Tushie Up’ Pose

This is the quintessential ‘womb’ pose. It shows off those adorable back rolls and the curled-up nature of a new baby. We call it ‘modified’ because we aren’t going to force the baby into a deep crouch; we are going to let them settle naturally.
- The Base: Place your nursing pillow on the floor (never on a table or bed). Cover it with a thick, soft blanket.
- The Support: Take two rolled-up hand towels and place them in a ‘V’ shape on top of the pillow. This will support the baby’s head and bottom.
- The Placement: Gently lay your sleepy, diapered (or naked) baby on their tummy across the towels. Their head should rest on their folded hands, and their knees should be tucked under their tummy.
- The Adjustment: Very gently ‘scoot’ their knees toward their elbows. This creates that beautiful ‘curled’ look. Stop if the baby resists.
- The Finishing Touch: Smooth out the wrinkles in the blanket. Use your iPhone’s ‘Portrait Mode’ to blur the background, making the baby the star of the show.
Pro Tip: If the baby is fussy, try the ‘Side-Lying’ pose instead. Simply roll them onto their side, tuck their hands under their cheek, and bring their knees up toward their chest. It’s just as cute and often much more comfortable for gassy babies!
Mastering Your iPhone Settings for Professional Results
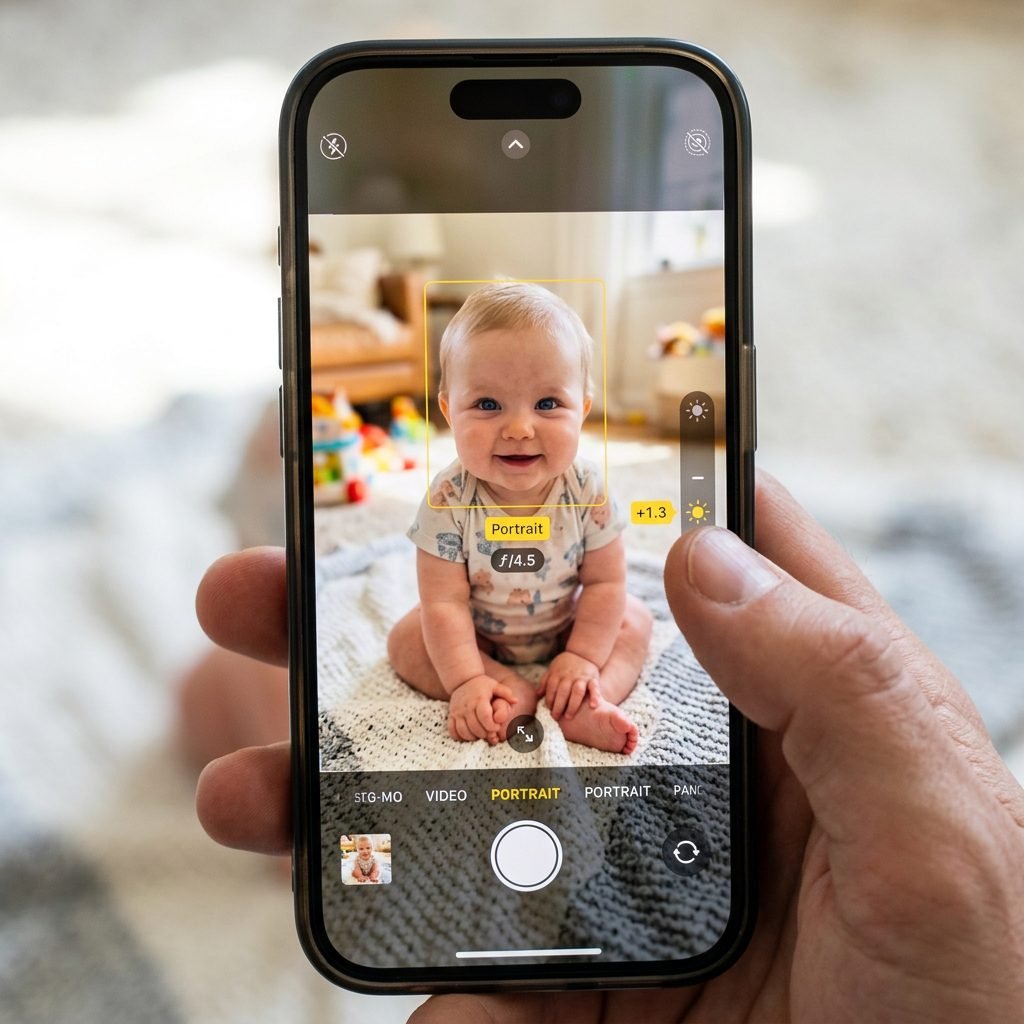
Your iPhone is capable of incredible things, but the ‘Auto’ setting often misses the mark for newborn skin tones. Follow these steps to level up your ‘mom-tography’ game:
1. Portrait Mode is Your Best Friend
Use Portrait Mode to create ‘bokeh’ (that blurry background). If you have a newer iPhone, you can adjust the f-number (aperture) after you take the photo. A lower number like f/2.8 will make the background blurrier, which hides wrinkles in your DIY backdrop.
2. Adjust Exposure Manually
Newborn skin can sometimes look too dark or too red on camera. Tap on the baby’s face on your screen, and then slide the little ‘sun’ icon up slightly to brighten the image. This gives that ‘airy’ and ‘ethereal’ look common in professional portraits.
3. Use the Grid Lines
Go to Settings > Camera > Grid and turn it on. When shooting from directly above (the ‘Flat Lay’), make sure the two crosses in the middle of your screen align. This ensures your phone is perfectly level, preventing distortion of the baby’s features.
4. Lens Choice
If you have a Pro model, use the 2x or 3x telephoto lens. This allows you to stand further back, which prevents the ‘big head’ distortion that happens when you get too close with a wide-angle lens.
Post-Production: Editing for a Natural, Soft Glow
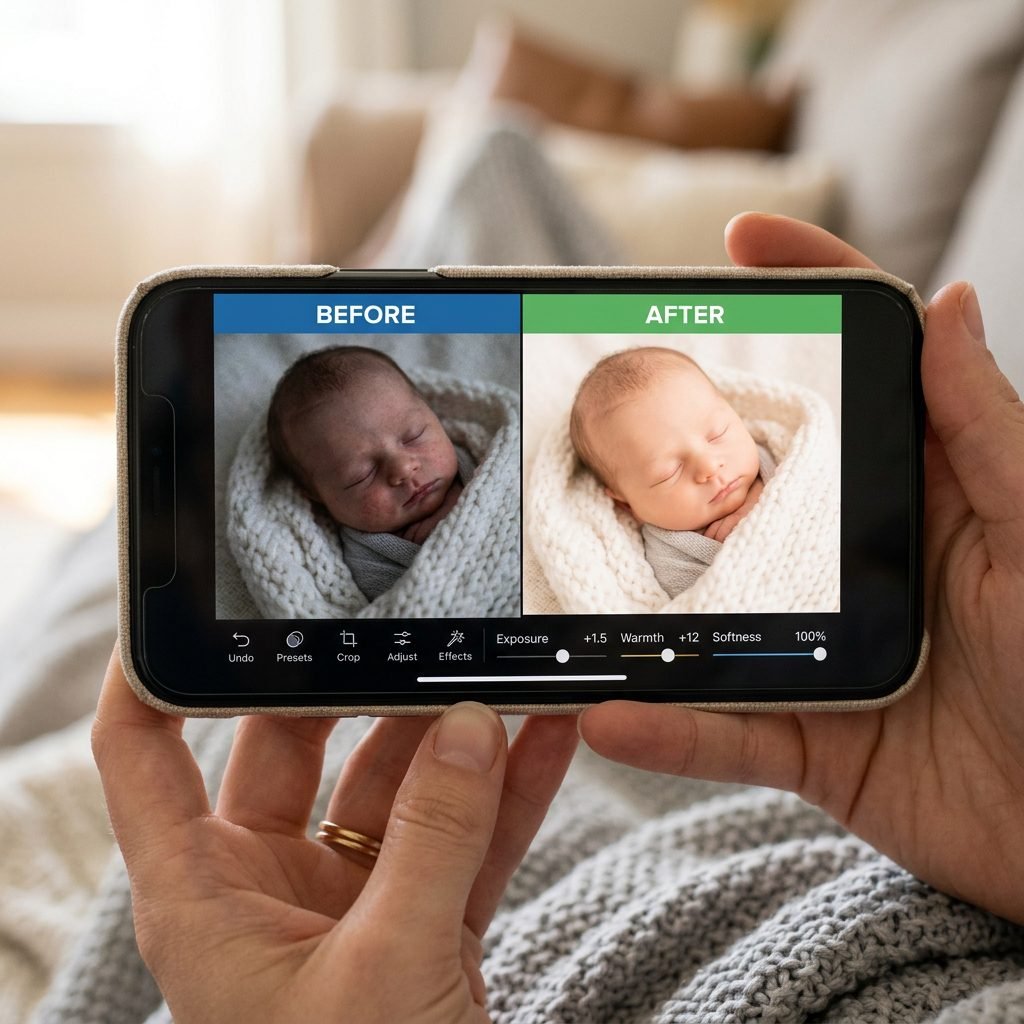
Even the best photos need a little ‘polish.’ The goal for newborn editing is to keep it looking natural—you want to see those tiny pores and fine ‘lanugo’ hair. Here is a simple workflow using the free Lightroom Mobile app or even the native ‘Photos’ app:
- Warmth/Tint: Newborns often have ‘jaundice’ (yellow) or ‘mottled’ (red/purple) skin. If the baby looks too red, move the ‘Tint’ slider slightly toward green. If they look too blue, move the ‘Temp’ slider toward yellow.
- Softness: In Lightroom, look for the ‘Texture’ or ‘Clarity’ slider. Moving these slightly to the left (negative) will soften the skin without making it look fake.
- Highlights: If the diaper or the blanket is too bright and ‘blown out,’ turn down the Highlights.
Remember, mama, these photos are for you. Don’t stress about perfection. The little ‘imperfections’—a tiny flake of skin, a stray hair—are the things you will actually cherish most in ten years.
Conclusion
You’ve Got This, Mama
Capturing these ‘womb style’ poses at home is more than just a DIY project; it is an act of love. By taking the time to safely and patiently document your baby’s first days, you are creating a visual legacy. Remember to be patient with yourself and your little one. If the baby isn’t having it today, put the phone down, snuggle them, and try again tomorrow. The best photos are the ones where the baby feels safe and the mother feels calm.
You don’t need a fancy studio to tell the story of your baby’s beginning. You just need good light, a safe setup, and your heart behind the lens. Happy snapping!