How to Create a Stunning Custom Star Map Birth Announcement for Your Baby
Welcome home, sweet mama. Your world has shifted on its axis, hasn’t it? There is a specific kind of magic that happens in those quiet, early morning hours—the ones where the rest of the world is asleep, and it’s just you and your new little soul, bathed in the soft glow of a nightlight. In those moments, it is easy to feel the vastness of the universe and the incredible miracle that brought this specific child to you at this specific time. As a doula and a fellow traveler on this journey of motherhood, I know how much you want to bottle up this feeling. You want to remember exactly how the world felt—and how the heavens looked—the moment your baby took their first breath.
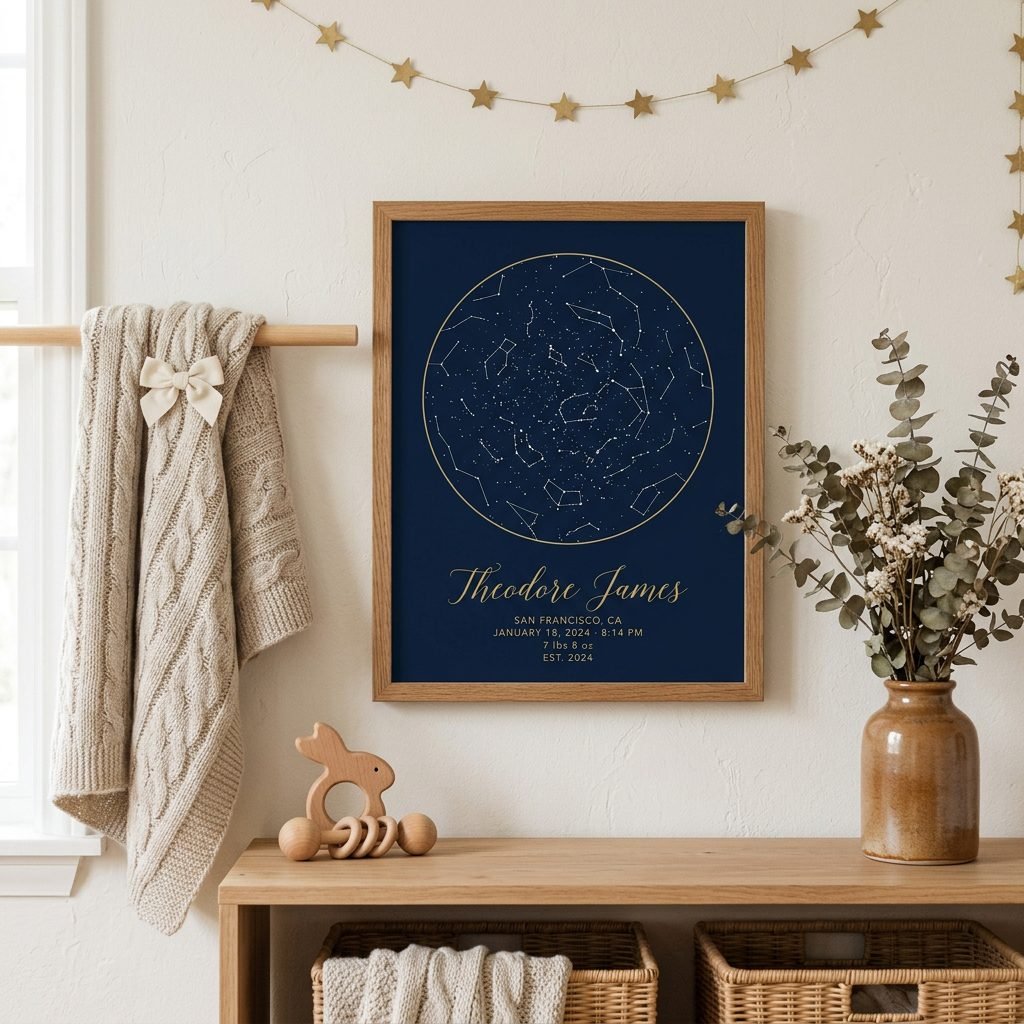
A custom star map birth announcement is more than just a piece of nursery decor; it is a celestial snapshot of the exact alignment of the stars, planets, and constellations above your baby’s birthplace at the very minute they were born. It is a way to say, ‘The universe moved to make room for you.’ Whether you are a crafty mom looking for a meaningful DIY project during your postpartum nesting phase, or an expectant mother planning the perfect nursery, this guide will walk you through creating a stunning, high-end star map that rivals any boutique find. We will blend practical design tips with the soulful perspective of maternal wellness, ensuring this process is as restorative for you as it is beautiful for your home.
The Cosmic Connection: Why Star Maps are the Ultimate Keepsake
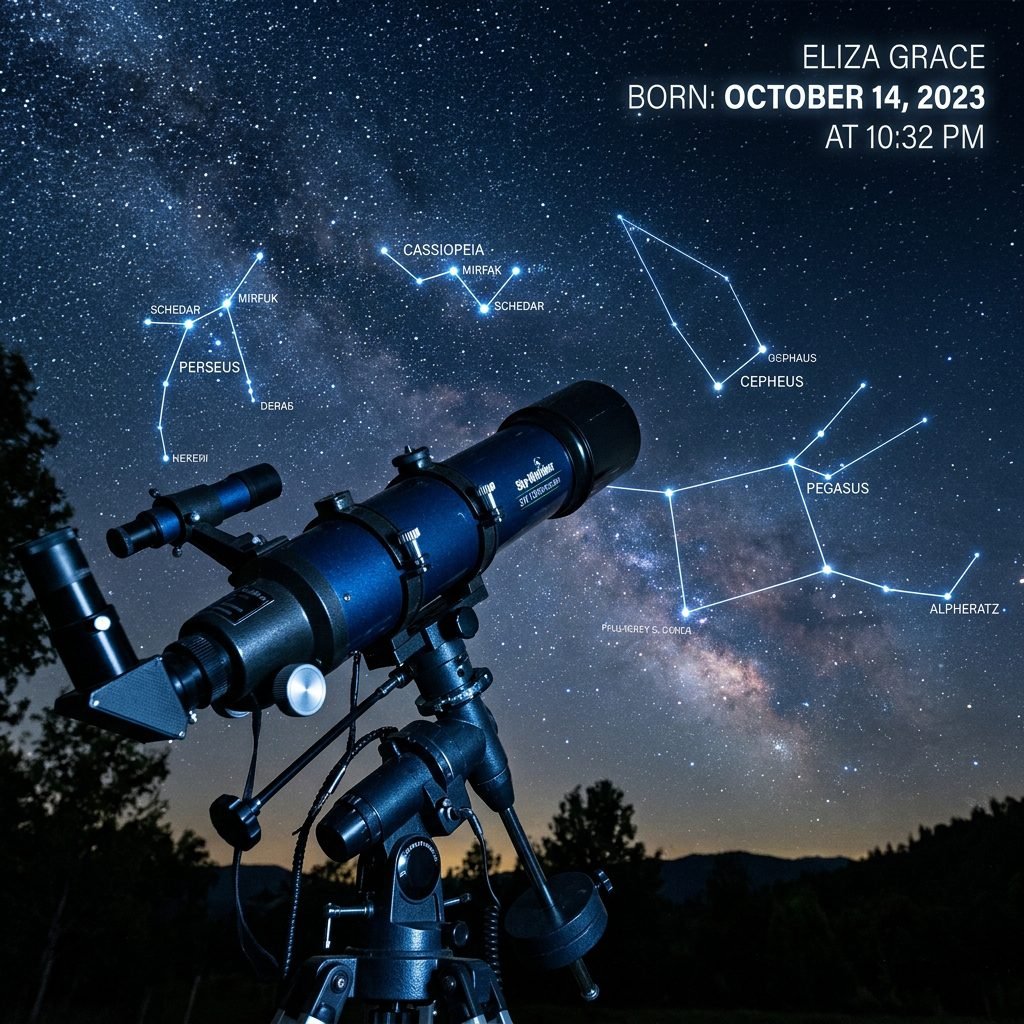
There is something deeply grounding about looking at the stars. In the whirlwind of the fourth trimester—the diapers, the feedings, the hormonal shifts—it is easy to lose track of the bigger picture. A star map serves as a permanent reminder of the cosmic significance of your baby’s arrival. From a doula’s perspective, creating or displaying this map can be a form of ‘birth processing.’ It allows you to look back at that date and time—perhaps a time when you were deep in the throes of labor or recovering in a hospital bed—and see the beauty that was happening in the sky while you were doing the hard, holy work of bringing life into the world.
The Science Behind the Magic
You might wonder, ‘Is this actually accurate?’ Yes! Astronomers use planetary ephemeris data to calculate the exact position of celestial bodies at any given point in time from any location on Earth. When you create a star map, you are using the same data that navigators and scientists use. You aren’t just making art; you are documenting a historical astronomical event: your baby’s birth.
The same stars that witnessed your strength in labor now watch over your baby’s sleep. You are part of a grand, celestial design.
For the nursery designer, a star map offers a sophisticated alternative to traditional baby animal prints. It grows with the child, transitioning seamlessly from a nursery to a big-kid room, and eventually into a cherished family heirloom. It fits perfectly into various themes, from ‘Boho Celestial’ to ‘Modern Minimalist,’ providing a focal point that is both personal and stylish.
Gathering Your Celestial Supplies: A Practical Budget Breakdown
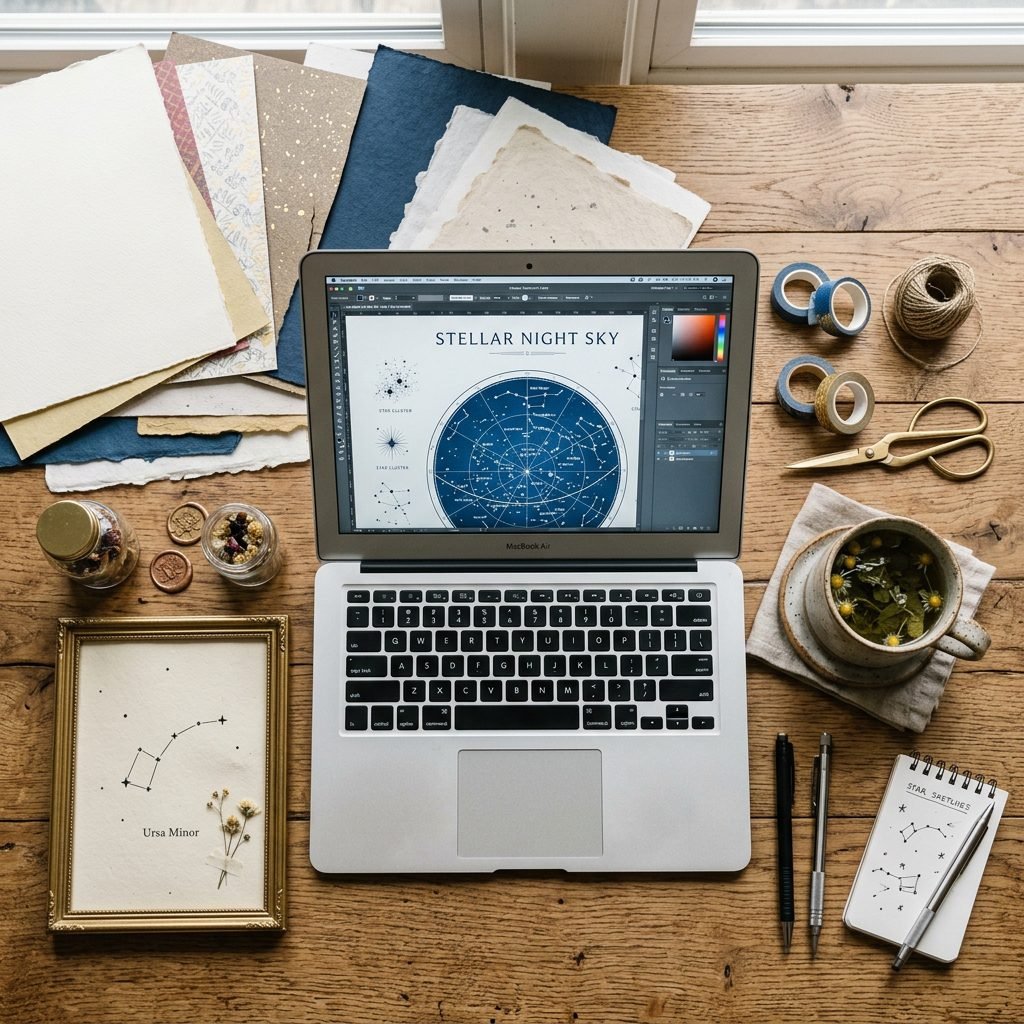
Before we dive into the design, let’s talk about what you’ll need. Depending on your comfort level with technology and your budget, there are several ways to approach this project. You can use a dedicated star map generator service, design one from scratch using graphic design software like Canva, or even go the hand-painted route if you’re feeling particularly artistic. Below is a breakdown of the materials you’ll need for a high-quality, professional-looking DIY star map.
| Item | Purpose | Estimated Cost |
|---|---|---|
| Star Map Data | The actual layout of the stars (via free or paid generators). | $0 – $25 |
| Premium Cardstock | Heavyweight paper (at least 200 GSM) for a gallery feel. | $10 – $15 |
| Graphic Design Software | To add typography and personal details (e.g., Canva, Photoshop). | $0 – $12/mo |
| High-Quality Frame | To protect and display the art (wood, metal, or acrylic). | $20 – $60 |
| Professional Printing | Ensures deep blacks and crisp lines (Giclée printing is best). | $15 – $30 |
If you are in the early postpartum days, I recommend the ‘Digital Hybrid’ approach. Use a reputable online generator to get the accurate star data, then import that image into a design tool to customize the fonts and colors. This saves your precious ‘mom-brain’ energy while still giving you total creative control. Remember, mama, your time is valuable. Don’t feel pressured to do everything from scratch if a template makes your life easier.
Step-by-Step: Designing Your Baby’s Unique Night Sky
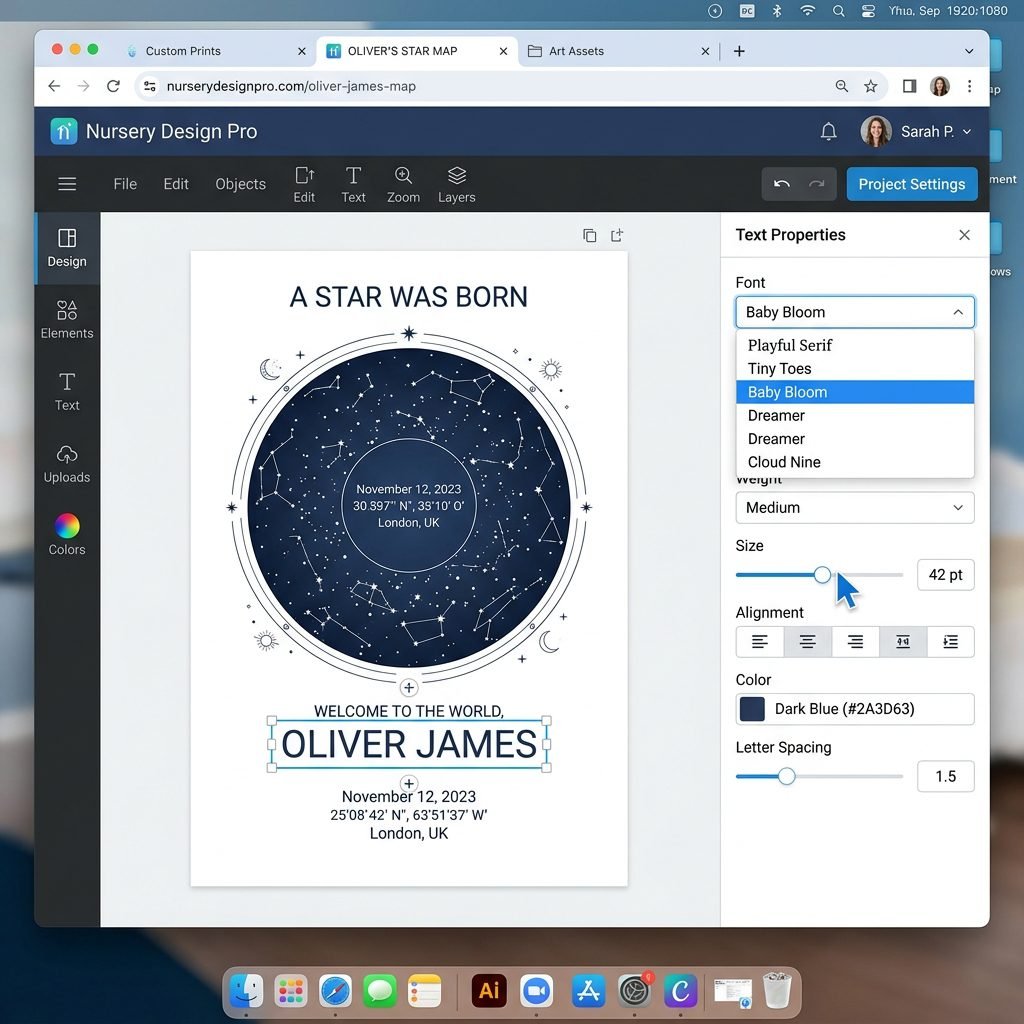
Ready to create? Follow these steps to ensure your star map is both accurate and aesthetically pleasing. We want this to look like a piece of art you’d find in a high-end boutique.
- Pinpoint the Coordinates: You will need the exact city and country of birth. If you want to be ultra-precise, you can find the latitude and longitude of the specific birth center or home where your baby arrived using online map tools.
- Set the Date and Time: Use the exact minute from the birth certificate. This is crucial because the sky rotates significantly throughout the night. If your baby was born during the day, don’t worry! The stars were still there, hidden by the sun’s light, and your map will reflect that hidden beauty.
- Choose Your View: Most generators allow you to toggle elements like the Milky Way, constellation lines, and the names of the planets. For a clean, modern look, I recommend keeping the constellation lines but removing the labels.
- Add Personal Details: This is where the magic happens. Include your baby’s full name, birth weight, length, and a meaningful quote. Tip: Use a mix of a serif font for the name and a clean sans-serif for the technical details to create a professional typographic balance.
- Review the Composition: Ensure there is enough ‘white space’ (or ‘dark space’) around the edges. You don’t want the text to feel crowded by the frame.
Common Mistakes to Avoid
- Incorrect Time Zone: Ensure your software is set to the local time of the birth, not your current location if you have moved.
- Low Resolution: If you are downloading a digital file to print later, ensure it is at least 300 DPI (dots per inch). Anything less will look blurry when printed.
- Overcrowding: Less is often more. Let the stars be the star of the show!
Styling Your Map: Color Palettes and Nursery Integration
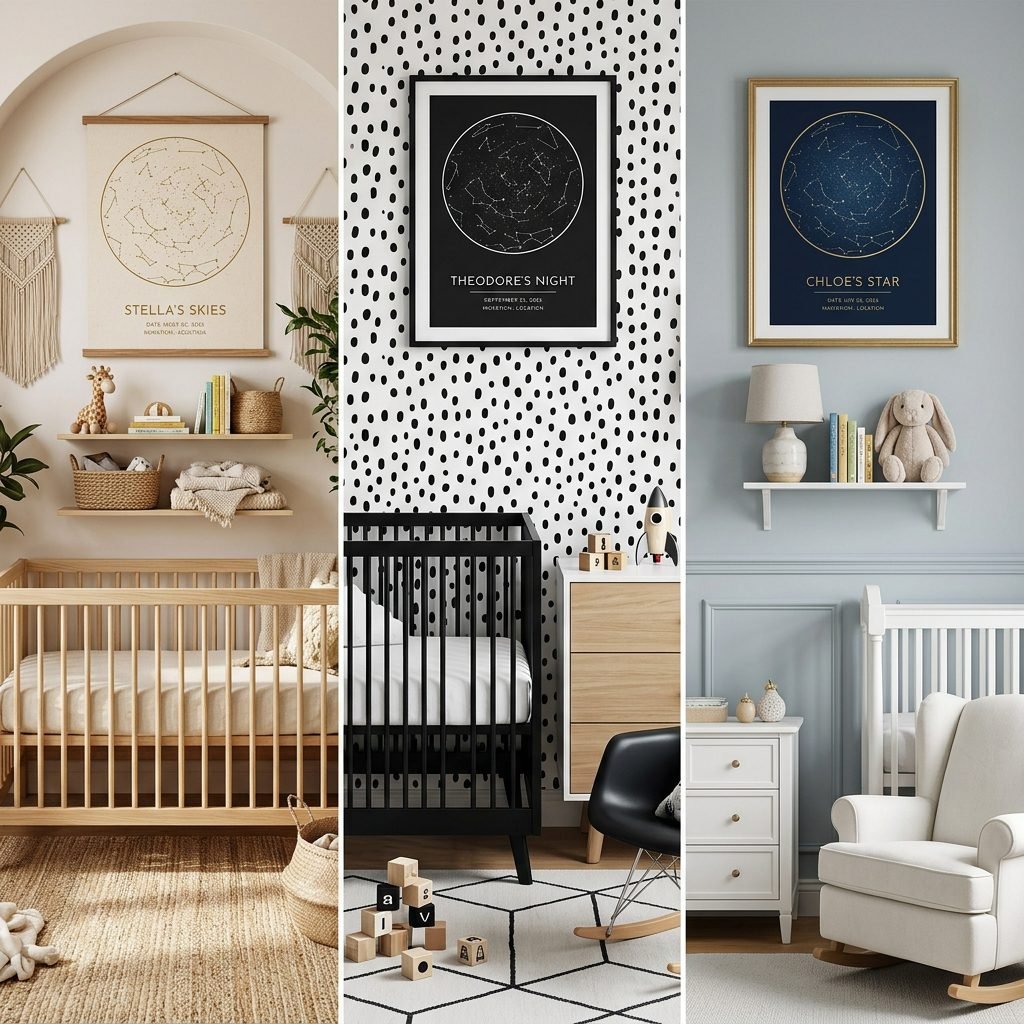
As a maternal stylist, I believe your nursery should be a reflection of your personal style and a calm sanctuary for both you and your baby. The color palette of your star map can set the tone for the entire room. While deep navy and black are traditional ‘night sky’ colors, they aren’t your only options.
Trending Celestial Palettes
- The ‘Ethereal Neutral’: A soft cream background with gold or champagne-colored stars. This works beautifully in boho or gender-neutral nurseries with light oak furniture.
- The ‘Midnight Modern’: Deep charcoal or true black with crisp white stars. Best for minimalist nurseries with high-contrast elements (great for baby’s developing vision!).
- The ‘Dusty Rose & Sage’: Who says the sky has to be blue? Using muted, earthy tones for the stars can tie in with a floral or woodland-themed nursery while maintaining the celestial theme.
| Nursery Style | Recommended Frame | Color Suggestion |
|---|---|---|
| Bohemian | Light Oak or Bamboo | Terracotta and Cream |
| Modern / Industrial | Thin Black Metal | Monochrome (Black/White) |
| Classic / Traditional | Ornate Gold or White Wood | Navy and Silver |
When placing your star map, consider the ‘eye-level’ rule. In a nursery, eye level is often lower than in the rest of the house because we spend so much time sitting in rockers or playing on the floor. Hang your map where you can easily see it while nursing or rocking your little one to sleep. It becomes a beautiful focal point for those late-night reflections.
Printing and Preservation: Ensuring Your Artwork Lasts a Lifetime
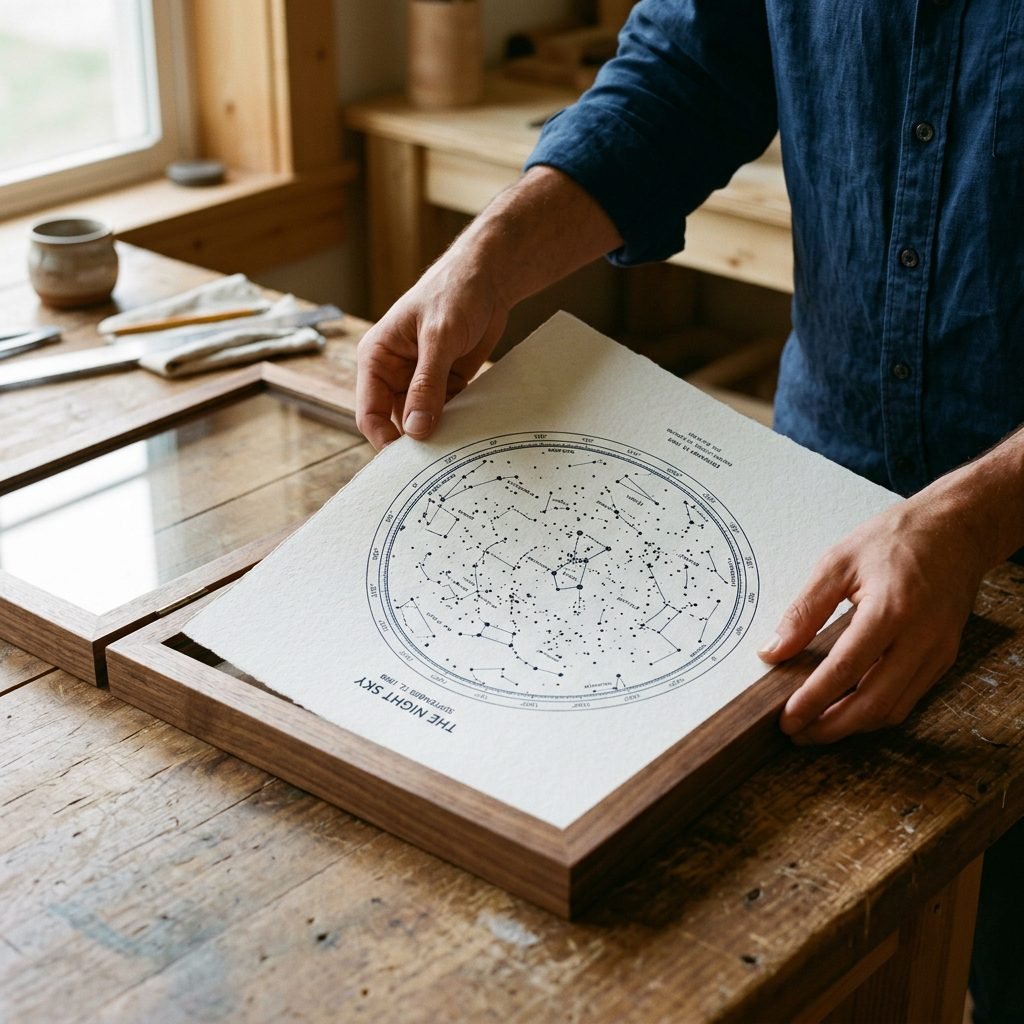
You’ve put so much love into the design; now let’s make sure it stands the test of time. The quality of the print and the frame will determine whether this stays on the wall for two years or twenty. As an interior organizer, I always advocate for quality over quantity.
The Importance of Paper Choice
Avoid standard printer paper. It is too thin and will ripple over time due to humidity. Instead, look for acid-free, archival-quality paper. This prevents the map from yellowing as the years go by. A matte finish is generally preferred for star maps as it reduces glare from nursery lamps and windows, making the stars easier to see from all angles.
Framing for Safety and Style
In a baby’s room, safety is paramount. If you are hanging a large star map directly over the crib (though I usually recommend hanging art on an adjacent wall for safety), ensure you use acrylic plexiglass instead of real glass. It is shatter-resistant and much lighter. Ensure the frame is securely anchored to the wall using ‘D-rings’ rather than a single wire to prevent it from tilting.
Pro Tip: If you want an extra touch of luxury, consider ‘foil pressing.’ Some local print shops can press the stars in actual gold or silver foil, giving the map a literal shimmer when the light hits it.
The Grand Reveal: Creative Ways to Share Your Star Map
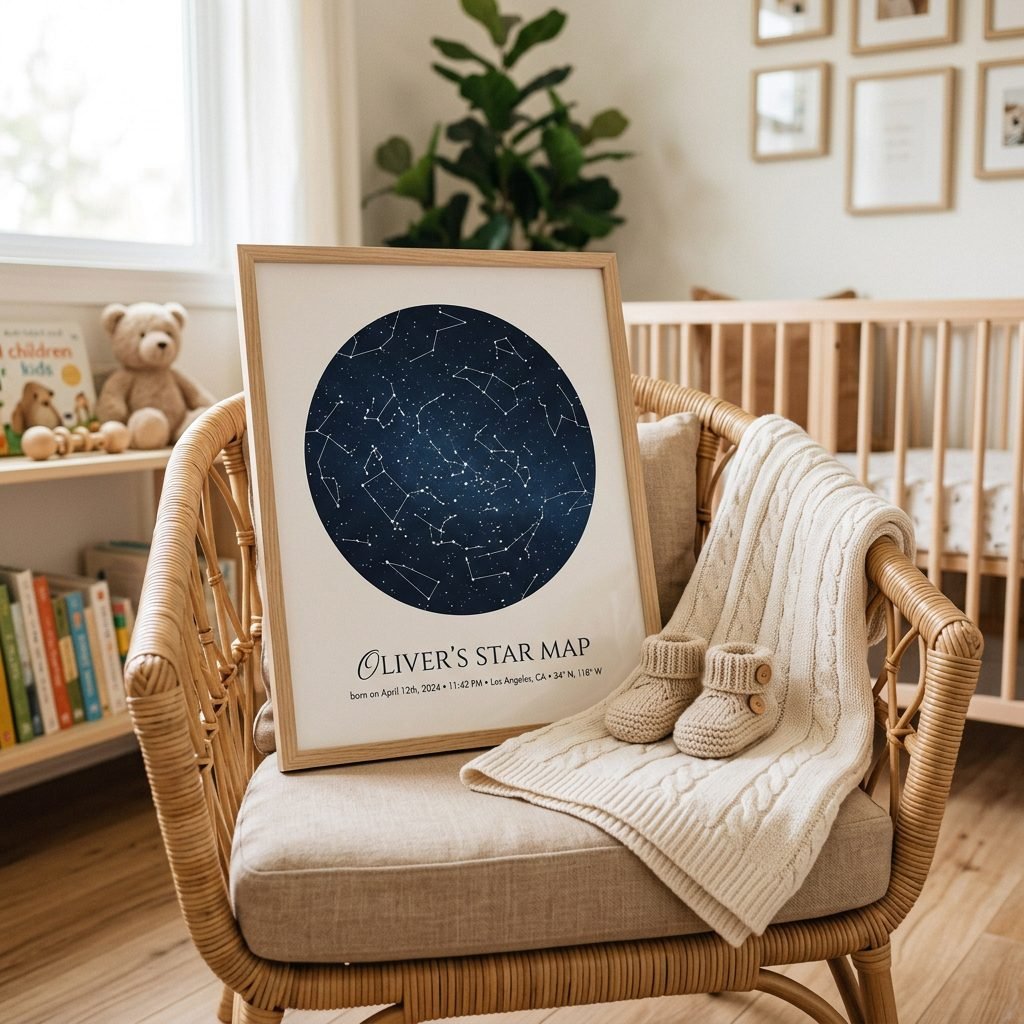
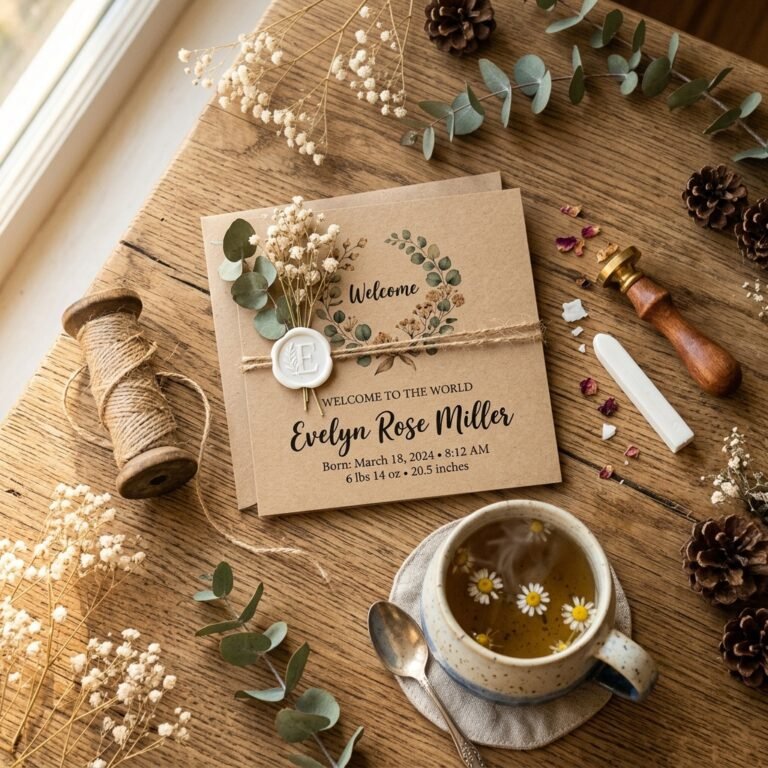
Once your masterpiece is complete, it’s time to share the news! While the physical map will live in the nursery, its digital counterpart makes for a stunning social media announcement or a ‘Welcome Baby’ card for family and friends. For the hostess or baby shower planner, a star map also makes an incredible ‘group gift’ where guests can sign the back of the frame with well-wishes.
Photographing Your Announcement
To get that perfect Instagram-worthy shot, follow these simple tips:
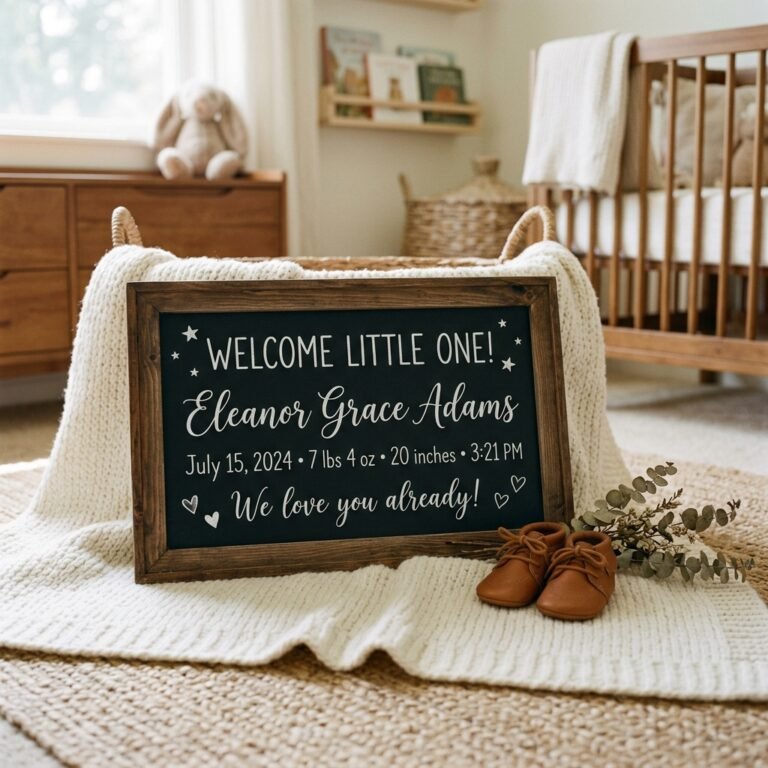
- Natural Light is Queen: Set your framed map near a window during the ‘golden hour’ (shortly after sunrise or before sunset). Turn off all overhead lights to avoid yellow tones.
- Add Texture: Drape a muslin swaddle or a chunky knit blanket near the frame. Add a pair of tiny wooden shoes or a single dried flower to create a sense of scale and warmth.
- The ‘Flat Lay’ Approach: If the map isn’t hung yet, lay it on a neutral rug or a clean bedspread and take the photo from directly above.
Sharing this map isn’t just about showing off a pretty design; it’s about inviting your community into the wonder of your baby’s arrival. It tells the story of a specific moment in time when the world changed forever. Whether you send it as a digital file or a printed postcard, it is a piece of your heart shared with the world.
Conclusion
Mama, as you look up at that custom star map, I hope you see more than just dots and lines. I hope you see a reflection of the strength you found during labor, the love that has expanded your heart, and the bright future that lies ahead for your little star. This project is a gentle way to honor your journey and create a sanctuary for your baby that is filled with meaning. You are doing an incredible job, and your baby is so lucky to have a mother who cherishes their story so deeply. Sleep when you can, breathe deeply, and remember—you are the sun in your baby’s universe. Welcome to the world, little one. The stars have been waiting for you.