How to Make a DIY Baby Sensory Board Using Safe Everyday Household Objects
Welcome to the Wonderful World of Sensory Exploration
Hello, sweet mama. If you are reading this, you are likely in that beautiful, exhausting, and awe-inspiring season of watching your little one discover the world for the first time. As a doula and a mama myself, I know that we are always looking for ways to nourish our babies’ growing brains without cluttering our homes with more plastic, battery-operated noise-makers. There is something so deeply grounding about creating something with your own hands—a labor of love that serves your child’s developmental journey.
A sensory board, often called a ‘busy board,’ is a tactile playground designed to stimulate your baby’s senses: sight, touch, and sound. During the first two years of life, babies are in the sensorimotor stage of development. This means they learn about their environment primarily through their senses and motor activities. By providing a curated selection of household objects, you are offering them a safe space to practice fine motor skills, cause-and-effect reasoning, and cognitive processing. Today, we are going to walk through how to build a stylish, safe, and effective sensory board using things you probably already have in your junk drawer or linen closet.
“Play is the work of the child.” – Maria Montessori. Your baby is a little scientist, and this board is their first laboratory.
The Science of Sensory Play: Why It Matters
Building Neural Pathways Through Touch
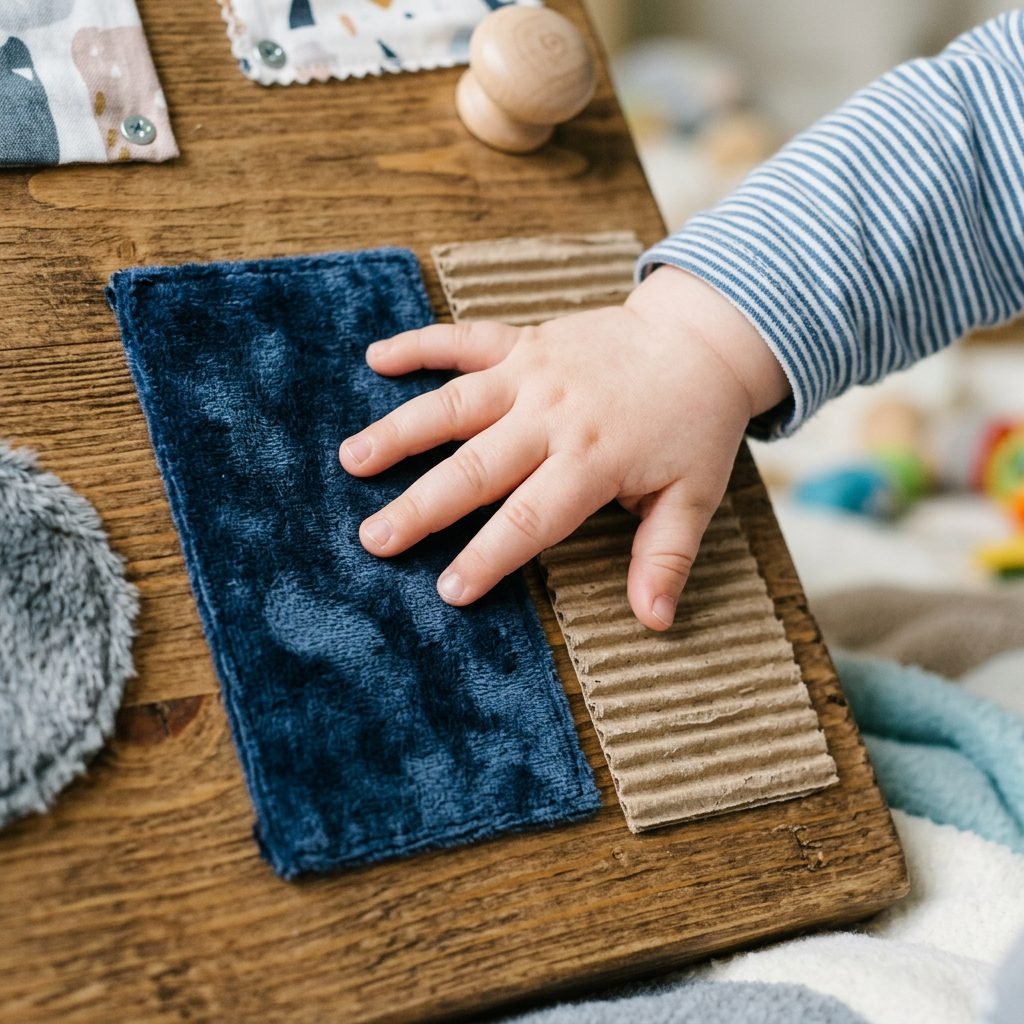
When your baby runs their tiny fingers over a rough sponge or listens to the ‘click’ of a light switch, they aren’t just playing; they are building synaptic connections in their brain. Sensory play is crucial for brain development because it strengthens the signals between neurons. As a doula, I often remind parents that sensory integration is the foundation for later complex learning, such as reading and mathematical reasoning.
Benefits of a DIY Sensory Board
- Fine Motor Development: Grasping, pulling, and sliding objects builds the small muscles in the hands and wrists.
- Cognitive Growth: Understanding cause and effect (e.g., ‘If I flip this switch, it makes a sound’) is a major cognitive milestone.
- Language Skills: As you play together, you use descriptive words like ‘bumpy,’ ‘smooth,’ ‘loud,’ and ‘soft,’ expanding their vocabulary.
- Emotional Regulation: Sensory play can be incredibly grounding and calming for a baby who is feeling overstimulated by the world.
By creating a DIY board, you can tailor the experience to your baby’s specific interests and developmental stage. Unlike store-bought toys that often have a ‘one-size-fits-all’ approach, your handmade board is a reflection of your baby’s unique curiosity.
Safety First: The Doula’s Golden Rules for DIY Toys
Prioritizing Your Little One’s Well-being
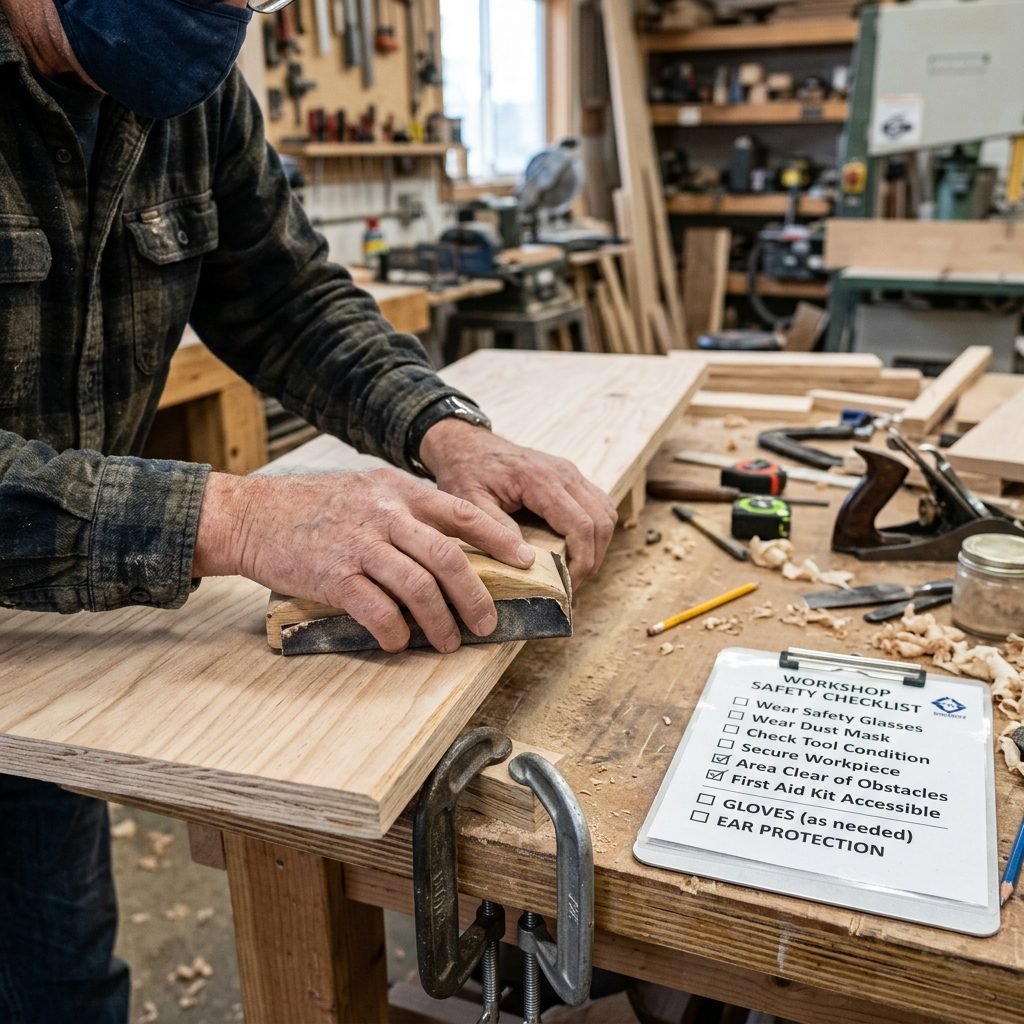
Before we dive into the fun materials, we must talk about the most important aspect: safety. Because we are using household objects, we have to be extra vigilant. As your maternal wellness companion, I want you to feel confident that the environment you are creating is 100% secure.
The Choke-Hazard Test
Any object used on the board must be larger than the inside of a toilet paper roll. If it fits inside, it is a potential choking hazard and should never be used. Additionally, everything must be mounted with industrial-strength adhesive or screws that are filed down so no sharp points protrude from the back of the board.
| Safety Check | What to Look For |
|---|---|
| Edges | All wooden edges must be sanded smooth and rounded to prevent splinters. |
| Adhesion | Use non-toxic, heavy-duty glue (like E6000) or mechanical fasteners. Give it 24 hours to cure. |
| Small Parts | Check for buttons or beads that could be pulled off. If it can be pried off with a firm tug, it’s not safe. |
| Toxic Materials | Avoid any items with peeling paint, rust, or lead content. Stick to food-grade silicone or BPA-free plastics. |
Always supervise your baby during play. Even the most well-constructed board requires a watchful eye to ensure that wear and tear hasn’t made any component unsafe over time. Check the board weekly for any loose parts.
Gathering Your Supplies: The Household Treasure Hunt
Turning ‘Junk’ Into Educational Gold
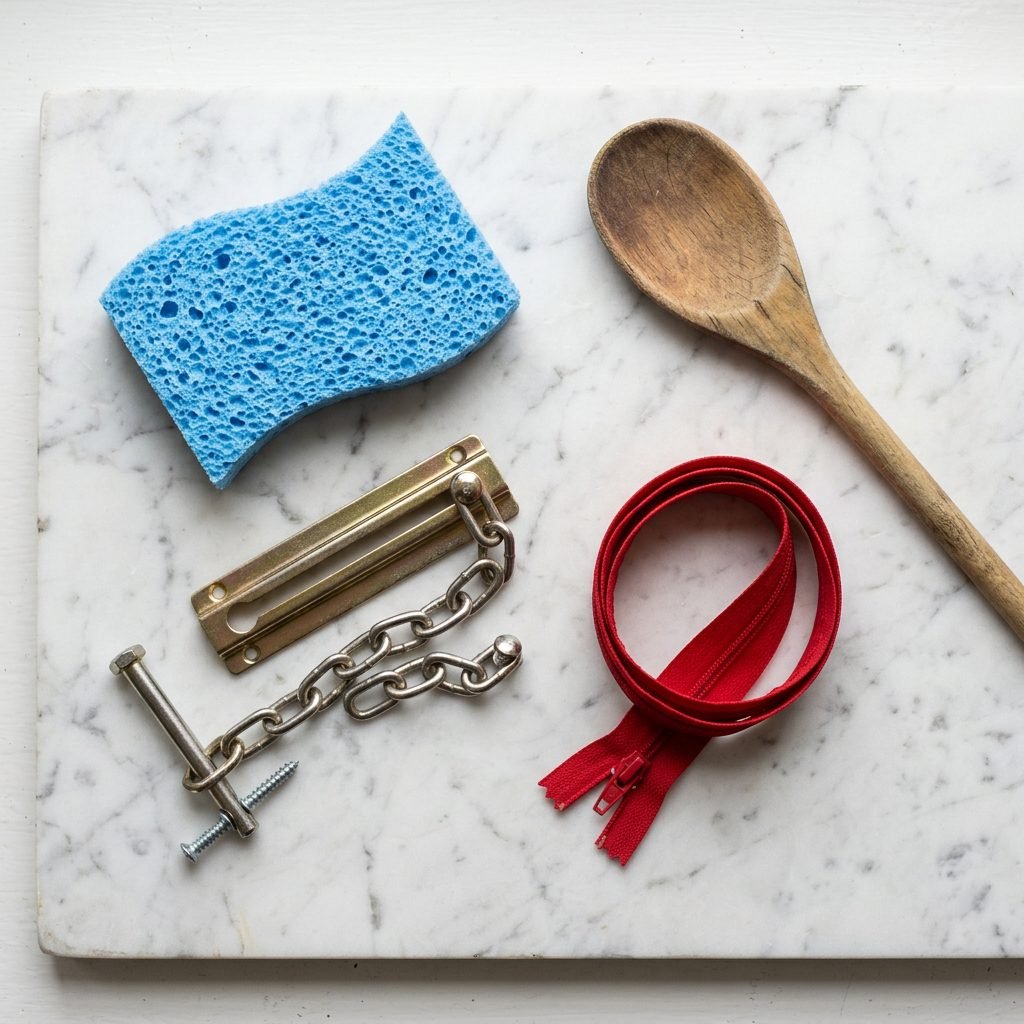
Now for the fun part! You don’t need to spend a fortune at a toy store. Look around your home with fresh eyes. We want to find objects that offer a variety of sensory inputs: tactile (touch), auditory (sound), and visual (sight).
Recommended Household Items
- From the Kitchen: A clean sponge (new), a plastic whisk, measuring spoons, or a silicone basting brush.
- From the Closet: Large zippers, oversized buttons (sewn securely to fabric), a swatch of faux fur, or a piece of silk ribbon.
- From the Hardware Drawer: A plastic light switch, a door knocker, a slide bolt (ensure no sharp edges), or a caster wheel.
- From the Office: An old calculator (remove batteries!), a discarded computer keyboard key, or a large magnifying glass (plastic).
| Object Type | Sensory Benefit | Estimated Cost |
|---|---|---|
| Zippers & Latches | Fine motor skills / Logic | $0 (Upcycled) |
| Fabric Scraps | Tactile discrimination | $0 (Scraps) |
| Touch Lights | Visual stimulation / Cause & Effect | $3 – $5 |
| Doorbell/Bells | Auditory stimulation | $2 – $4 |
When choosing items, think about contrast. Pair something cold (metal spoon) with something warm (wool felt). Pair something silent with something that rattles. This contrast helps your baby’s brain categorize information more effectively.
Step-by-Step Guide: Building Your Sensory Masterpiece

Crafting with Intention
Building your board is a wonderful project for a nap-time window or a weekend afternoon. Follow these steps to ensure a professional and safe finish.
- Prepare the Base: Start with a piece of 1/2 inch thick plywood. A standard size is 2 feet by 2 feet. Sand the entire surface until it is buttery soft. You can paint it with VOC-free, baby-safe paint or leave it natural for a Scandi-chic look.
- Layout Your Design: Before gluing anything down, arrange your items on the board. Leave at least 2 inches of ‘white space’ between objects so the baby doesn’t get overwhelmed. Group items by type or create a ‘path’ for their hands to follow.
- Secure the Heavy Items: Use screws for items like door knockers or latches. Ensure the screws are shorter than the board’s thickness, or use a backing board to cover the sharp ends.
- Apply Adhesives: For lighter items like sponges or fabric, use a generous amount of non-toxic industrial glue. Press firmly and allow to dry completely.
- The ‘Tug Test’: Once everything is dry, give every single item a very firm pull. If it moves even a little, re-secure it. Your baby’s grip is surprisingly strong!
- Mounting: It is best to mount the board directly to a wall at your baby’s eye level (while sitting or crawling) using wall anchors. Alternatively, you can use it as a floor toy, but ensure it is heavy enough not to flip over onto them.
Mama Tip: If you’re renting and can’t mount it to the wall, use heavy-duty Velcro strips or place the board on a non-slip rug to keep it steady during enthusiastic play.
Age-Appropriate Customization: Adapting as They Grow
A Toy That Evolves With Your Child
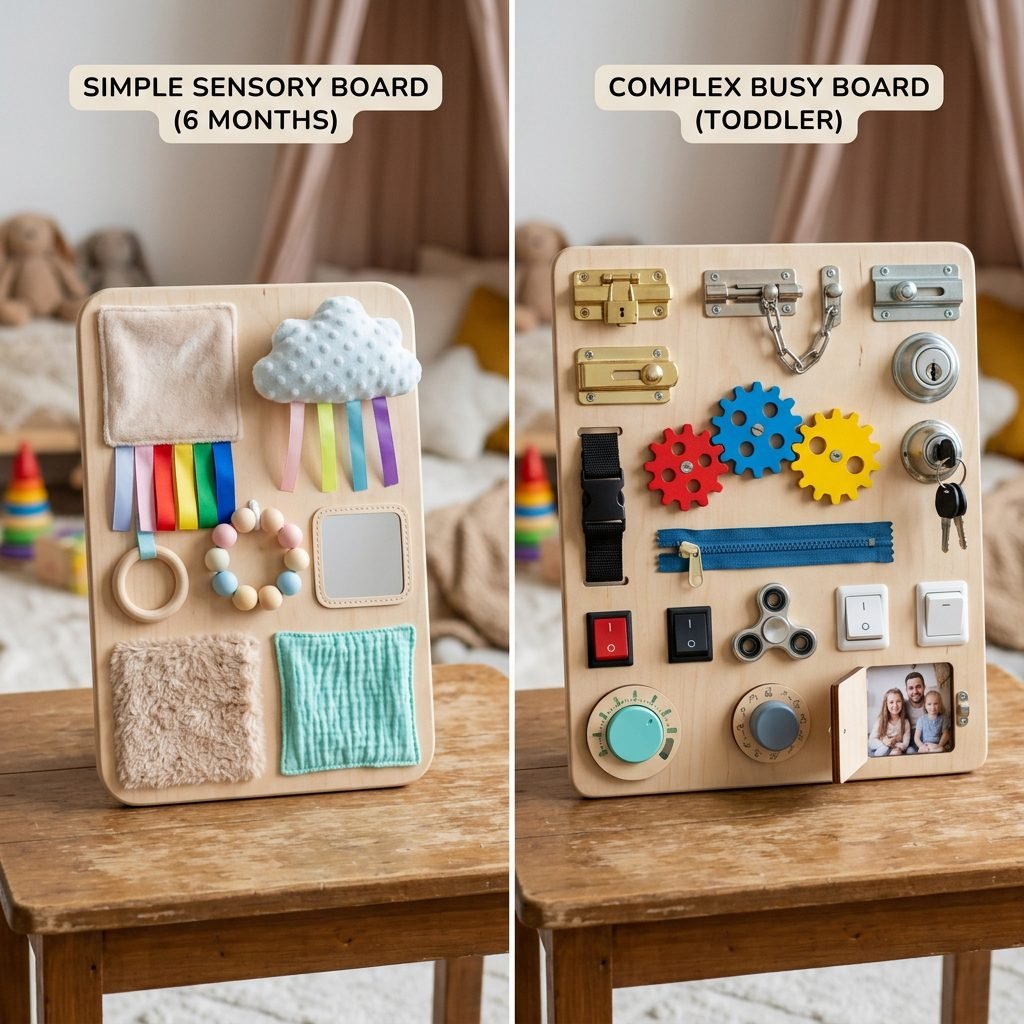
Your baby’s needs change rapidly. What fascinates a 6-month-old will be different from what engages a 14-month-old. Here is how to adapt your sensory board for different milestones.
0-6 Months: The Visual & Soft Phase
At this stage, babies are mostly doing tummy time. Focus on high-contrast black and white patterns, soft textures like silk or velvet, and large, unbreakable mirrors. They won’t be ‘using’ the latches yet, but they will love looking at their reflection.
6-12 Months: The Grasping & Pulling Phase
This is the golden age for the sensory board! Add items that move—casters that spin, zippers that slide, and buttons that click. This is when they start to master the pincer grasp, so items like thick ribbons or large wooden beads on a secure string are perfect.
12-24 Months: The Problem-Solving Phase
Toddlers love a challenge. Add more complex latches, a calculator for ‘typing,’ or even a small ‘hidden door’ made of felt that reveals a photo of Mommy or Daddy underneath. You can also introduce ‘sorting’ by adding two different containers they can put items into.
| Age Range | Focus Area | Key Object Idea |
|---|---|---|
| 0-6 Months | High Contrast / Tummy Time | Unbreakable Mirror |
| 6-12 Months | Fine Motor / Sound | Bells or Squeakers |
| 12-18 Months | Logic / Cause & Effect | Light Switches / Latches |
| 18-24 Months | Imaginary Play | Old Phone / Keys |
Engaging Your Little One: How to Play Together

More Than Just a Toy—It’s a Bonding Tool
While the sensory board is great for independent play, it is also a wonderful tool for connection. Sit on the floor with your baby and let them lead the way. Follow their gaze and describe what they are doing.
Prompts for Interactive Play
- Narrate the Sensation: “Oh, look! You found the blue sponge. Does it feel scratchy or soft? That’s scratchy!”
- Ask Questions: “Can you find something that makes a ‘ding’ sound? Yes, the bell!”
- Model the Movement: Show them how to slide the zipper up and down, then wait and see if they try to mimic you. This encourages observational learning.
Remember, mama, there is no ‘right’ way to play with a sensory board. If your baby just wants to stare at the mirror for ten minutes, that is perfectly okay. They are learning at their own pace, and your presence is the most important part of the experience.
Affirmation for Today: “I am providing my child with exactly what they need to thrive. My love and attention are their greatest teachers.”
Conclusion
Nurturing Curiosity, One Texture at a Time
Creating a DIY sensory board is more than just a craft project; it’s an investment in your baby’s neurological health and your own creative spirit. By using safe, everyday household objects, you are teaching your child that the world is full of wonder and that they have the power to explore it. Whether you are a first-time mom or a seasoned pro, I hope this guide has inspired you to look at your home through the curious eyes of your little one.
Take your time, enjoy the process, and don’t worry about it being ‘perfect.’ The slight imperfections are what make it a handmade treasure. Your baby won’t care if the zipper is slightly crooked; they will only care about the joy of discovery. Happy building, mama!