How to Use the ‘J-Breath’ Pushing Method for an Easier, Tear-Free Delivery
Welcome to Your Empowered Birth Journey, Mama
Hello, sweet friend. If you are reading this, you are likely navigating the final weeks of pregnancy, perhaps feeling a mix of fluttering excitement and a few ‘how is this actually going to happen?’ nerves. First, take a deep breath. You were built for this. As a doula, I’ve sat beside many women as they transitioned from the intensity of labor to the magic of meeting their babies, and if there is one secret I want to whisper in your ear, it’s this: you don’t have to fight your body to bring your baby into the world.
For decades, the standard image of birth has been a woman on her back, purple-faced, holding her breath, and pushing with all her might while a room full of people count to ten. But what if I told you there’s a softer, more effective way? Enter the ‘J-Breath.’ This technique, often called ‘breathing your baby down,’ works with your body’s natural expulsive reflex rather than against it. By mastering this gentle downward breath, you can minimize the risk of perineal tearing, conserve your energy, and experience a more peaceful delivery. Let’s walk through exactly how to master this beautiful tool.
The Science of the ‘J-Breath’: Understanding Your Pelvic Floor
Why Traditional Pushing Can Be Problematic
Traditional ‘coached pushing’ or ‘Valsalva pushing’ involves holding your breath and straining, much like you would if you were severely constipated. While this can move a baby quickly, it often leads to maternal exhaustion and increased pressure on the pelvic floor, which can contribute to 1st, 2nd, or even 3rd-degree tears. When we hold our breath, we create internal tension that actually causes the pelvic floor muscles to tighten—the exact opposite of what we want when a baby is trying to exit!
The Anatomy of the ‘J’
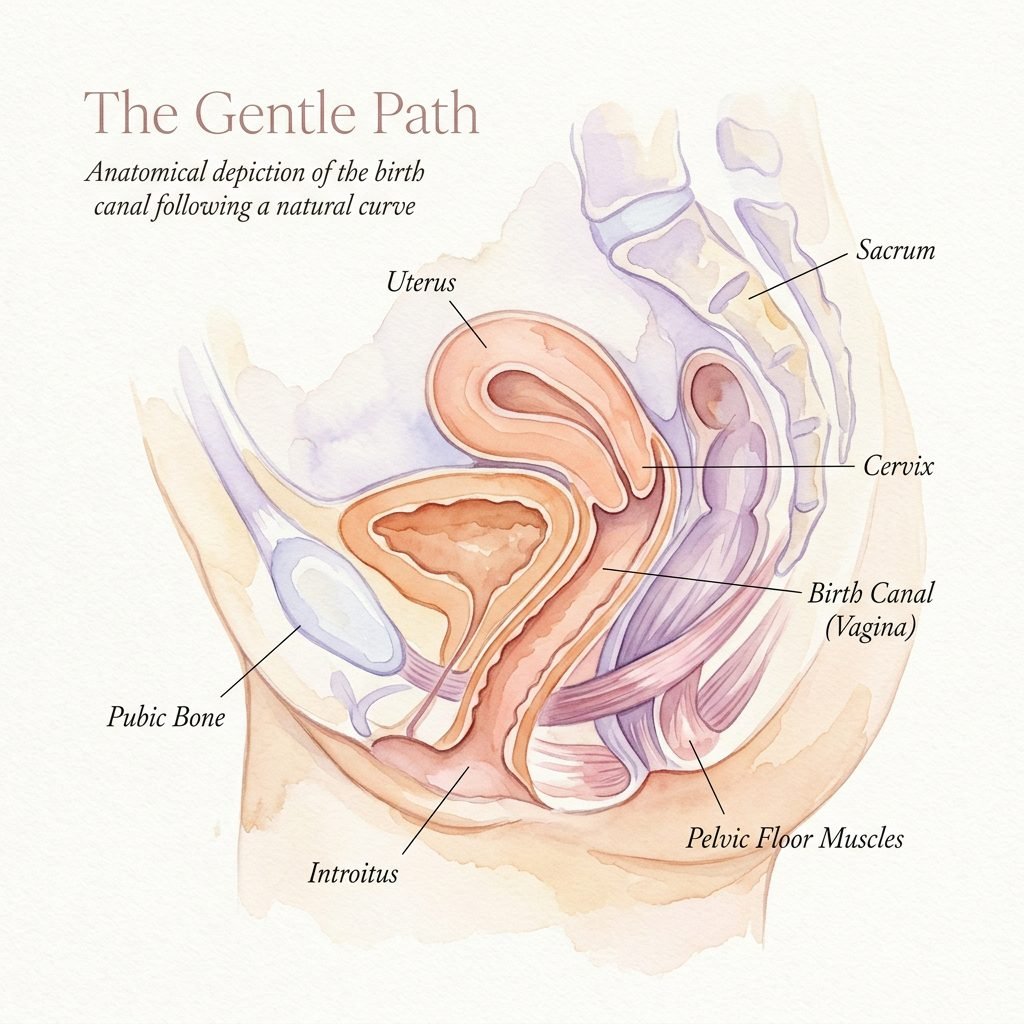
The J-Breath is named after the physical path your baby takes through the birth canal. It isn’t a straight line down; it’s a curve that moves down and then hooks forward and up under the pubic bone. By visualizing the letter ‘J,’ you are directing your energy along the natural curve of your anatomy. This method utilizes the Uterine Surge (contractions) to do the heavy lifting while you simply provide the ‘open door’ for the baby to pass through.
| Feature | Traditional Pushing (Valsalva) | J-Breath Method |
|---|---|---|
| Oxygen Flow | Breath-holding (decreases oxygen to baby) | Continuous flow (maximizes oxygen) |
| Pelvic Floor State | Often tense or strained | Relaxed and yielding |
| Risk of Tearing | Higher due to sudden force | Lower due to gradual stretching |
| Maternal Energy | Rapidly depleted | Conserved for the ‘Golden Hour’ |
Step-by-Step: Mastering the J-Breath Technique

Practice Makes Permanent
I always tell my clients that the best time to learn the J-Breath isn’t while you’re in the middle of a transition contraction! You want this to be muscle memory. You can practice this on the toilet during a bowel movement (it’s the same muscle group!) or while sitting on your birthing ball.
- Relax Your Jaw: There is a direct physiological link between your jaw and your pelvic floor. If your mouth is tight, your bottom is tight. Soften your face and let your lips part slightly.
- The Deep Inhale: Take a slow, deep breath in through your nose, imagining the air traveling all the way down to your baby. Feel your belly expand, not just your chest.
- The Visualization: As you prepare to exhale, visualize the air moving down your spine, curving under your baby’s bottom, and following the ‘J’ path out and forward.
- The ‘Low’ Sound: Instead of holding your breath, make a low, guttural sound like ‘haaaaa’ or ‘ohhhhh.’ High-pitched screams tend to tighten the pelvic floor, while low tones help it open.
- Gentle Downward Pressure: As you exhale the ‘J,’ give a tiny, gentle nudge downward with your abdominal muscles—think of it as ‘sending’ the baby rather than ‘shoving’ the baby.
“My body is open, my baby is safe, and I am breathing life into this moment.”
Positioning for Success: Gravity is Your Best Friend
Moving Beyond the Hospital Bed
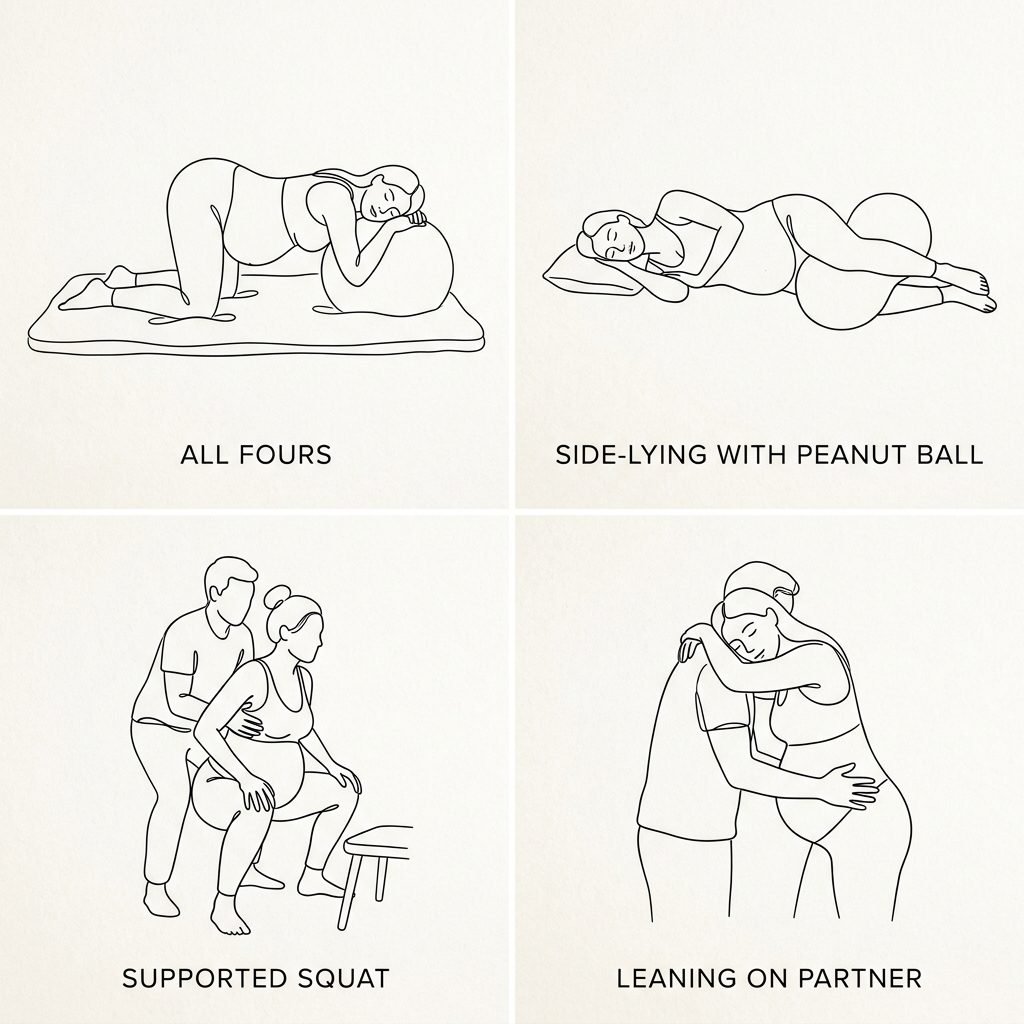
The J-Breath is most effective when you aren’t fighting gravity. While you can use it in any position, some allow the ‘J’ curve to open more naturally. Your goal is to create as much space in the pelvic outlet as possible.
Top Positions for J-Breathing
- Hands and Knees (All Fours): This takes the pressure off your back and allows the baby to rotate easily. It is one of the best positions for preventing tears.
- The Side-Lying Position: Perfect for when you are tired. It allows for a slower, more controlled descent, giving your perineum time to stretch.
- Supported Squat: Using a squat bar or your partner for support, this opens the pelvis to its maximum width.
| Position | Best For… | Doula Tip |
|---|---|---|
| All Fours | Back labor & pelvic opening | Wiggle your hips to help baby find the path. |
| Side-Lying | Resting & controlled crowning | Place a peanut ball between your knees. |
| Vertical (Standing) | Using gravity to speed things up | Lean on your partner’s neck for support. |
| Sitting (Toilet/Ball) | The ‘Rest and Be Thankful’ phase | The ‘Toilet’ is the original birthing chair! |
Protecting Your Perineum: The ‘Ring of Fire’ and Beyond

Patience at the Threshold
The most critical moment for the J-Breath is when the baby is ‘crowning’—often called the Ring of Fire. This is the sensation of the perineal tissues stretching to their limit. Your instinct might be to push hard to get it over with, but this is exactly when you need to breathe the most gently.
How J-Breathing Prevents Tearing
When you use the J-Breath during crowning, you allow the tissues to stretch millimetre by millimetre. Think of it like a turtleneck sweater; if you pull it over your head aggressively, it might snap or tear. If you ease it over slowly, the fibers expand and then snap back into place. Slow and steady wins the race for a tear-free recovery.
Additional Comfort Measures
- Warm Compresses: Ask your doula or nurse to apply a warm, wet washcloth to your perineum while you J-breath. This increases blood flow and elasticity.
- Perineal Massage: Starting this at 34-36 weeks of pregnancy can help you get used to the sensation of pressure so you don’t panic when it happens during labor.
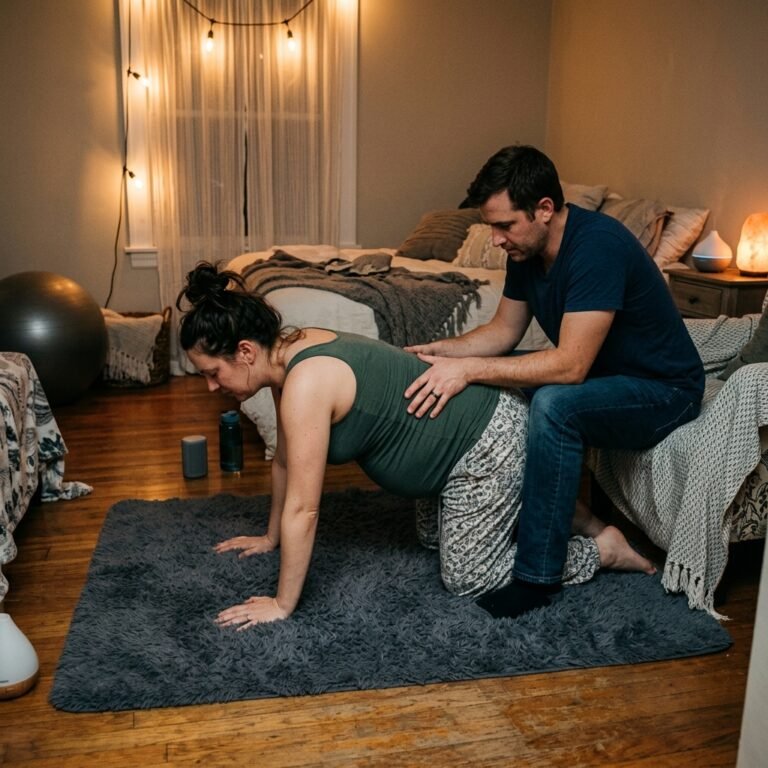
- Counter Pressure: Having your partner apply firm pressure to your lower back can help you stay grounded while you focus on your downward breath.
The Partner’s Role: How to Guide the Breath

Being the Anchor
Mama, in the heat of labor, you might forget everything you read here. That is why your partner or doula is so vital. They are your ‘breath anchors.’ They shouldn’t just watch; they should participate.
Partner Support Strategies
- Breathe With Her: If her breath becomes shallow or high-pitched, get eye-to-eye and model the deep, low J-Breath for her.
- Verbal Cues: Use soft, encouraging words. Avoid shouting ‘PUSH!’ Instead, try ‘Breathe him down,’ or ‘Open like a flower.’
- Physical Reminders: Gently touch her shoulders to remind her to drop them, or touch her jaw to remind her to relax her mouth.
Script for Partners:
“I am right here. Follow my breath. Deep inhale… now blow the baby down… low and slow. You are doing it, she is coming. Soft jaw, open heart.”
Conclusion
You Are Ready for This, Mama
The J-Breath is more than just a physical technique; it is a mindset. It is a shift from ‘doing’ to ‘allowing.’ By trusting your body’s incredible design and using the J-Breath to guide your baby into the world, you are setting the stage for a gentler recovery and a more peaceful transition into motherhood. Remember, every birth is unique, and if things don’t go exactly to ‘plan,’ you still have your breath as a tool to stay centered and calm.
Practice your J-breaths tonight as you drift off to sleep. Visualize your baby moving through that perfect ‘J’ curve. You’ve got this, sister. We are all rooting for you!