How to Style a Flat Lay Birth Announcement Photo Like a Pro
Welcome to the Sacred Art of the Birth Announcement
Oh, mama, congratulations! Whether you are currently nesting and prepping for your little one’s arrival or you are deep in the hazy, beautiful fourth trimester, capturing those first few days is a tradition that feels almost sacred. A birth announcement isn’t just a photo; it’s the first page of your child’s story. As a doula and stylist, I’ve seen how these tiny details—the hospital bracelet, the first soft onesie, that precious ultrasound—become the heirlooms of tomorrow.
In the world of social media and digital keepsakes, the flat lay has become the gold standard for stylish, professional-looking announcements. But you don’t need a thousand-dollar camera or a studio rental to achieve that ‘Pinterest-perfect’ look. With a little bit of natural light, a few carefully curated props, and the gentle guidance of a sister who has been there, you can create a masterpiece right on your nursery floor. Today, we are going to walk through every step of styling a flat lay birth announcement that feels authentic, timeless, and uniquely yours.
Finding Your Light: The Foundation of Every Professional Shot
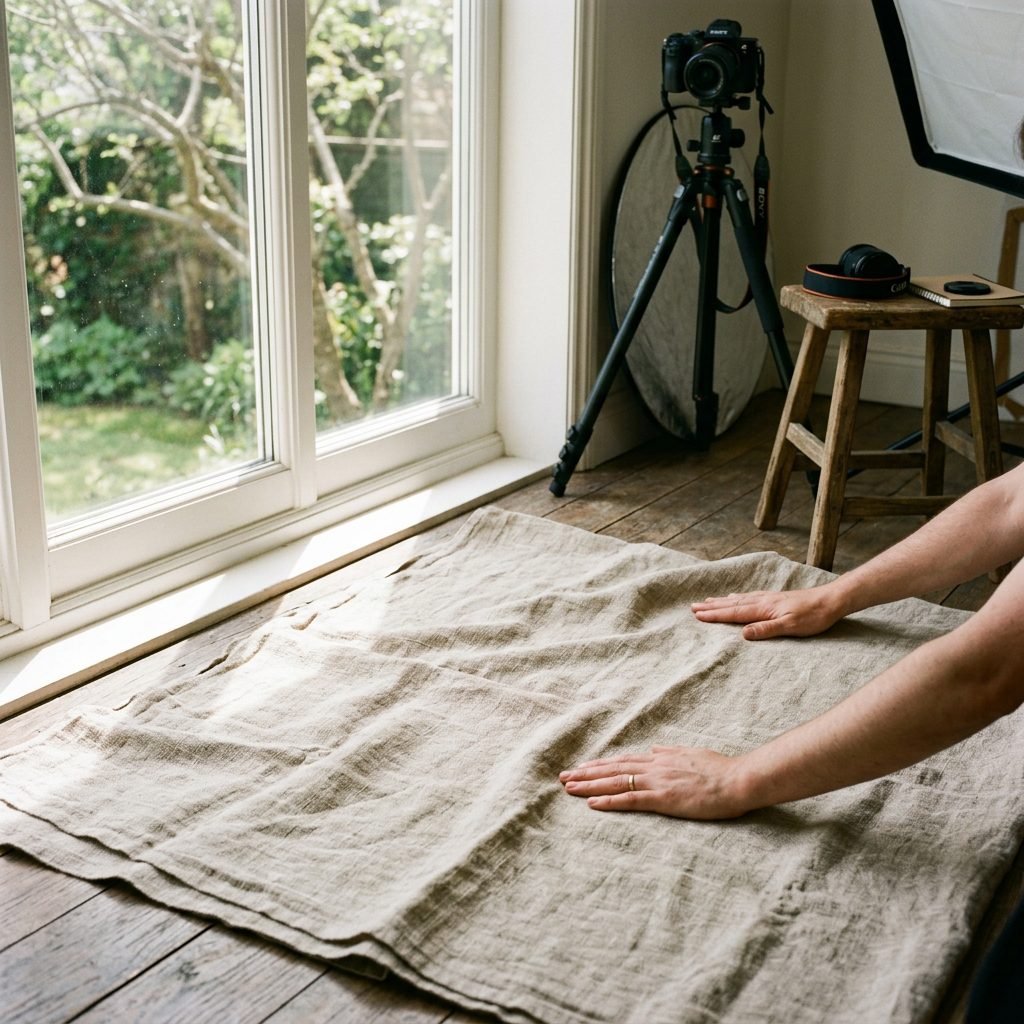
Before we even touch a prop or a swaddle, we have to talk about the most important ‘ingredient’ in photography: light. You don’t need fancy ring lights or flashes; in fact, for a newborn, those can be a bit harsh. We want soft, ethereal, wrap-around light that makes your baby’s skin look as velvety as it feels.
The Magic of Natural Light
The best light for a flat lay is indirect natural light. Look for a large window or a sliding glass door. You want to set up your ‘stage’ about 2 to 3 feet away from the window. Avoid direct sunlight hitting your setup, as this creates ‘hot spots’ and deep, distracting shadows. North-facing windows are the ‘holy grail’ for photographers because they provide consistent, soft light all day long.
Choosing Your Canvas
Your background is the foundation of your story. It should provide texture without being distracting. Think about the ‘vibe’ of your nursery. Are you going for organic and earthy? Or clean and modern? Here is a comparison of common background choices:
| Background Material | The ‘Vibe’ Produced | Pro Tip |
|---|---|---|
| Linen or Cotton Sheets | Soft, timeless, cozy | Iron them first! Small wrinkles are fine, but big creases distract. |
| Natural Wood Flooring | Rustic, warm, grounded | Use a rug underneath if the wood is too dark. |
| Sheepskin or Faux Fur | Luxury, texture, warmth | Great for ‘nesting’ the baby comfortably. |
| Neutral Muslin Swaddle | Organic, minimalist | Double layer it so the floor doesn’t peek through. |
Curating the Story: Selecting Your Props with Intention
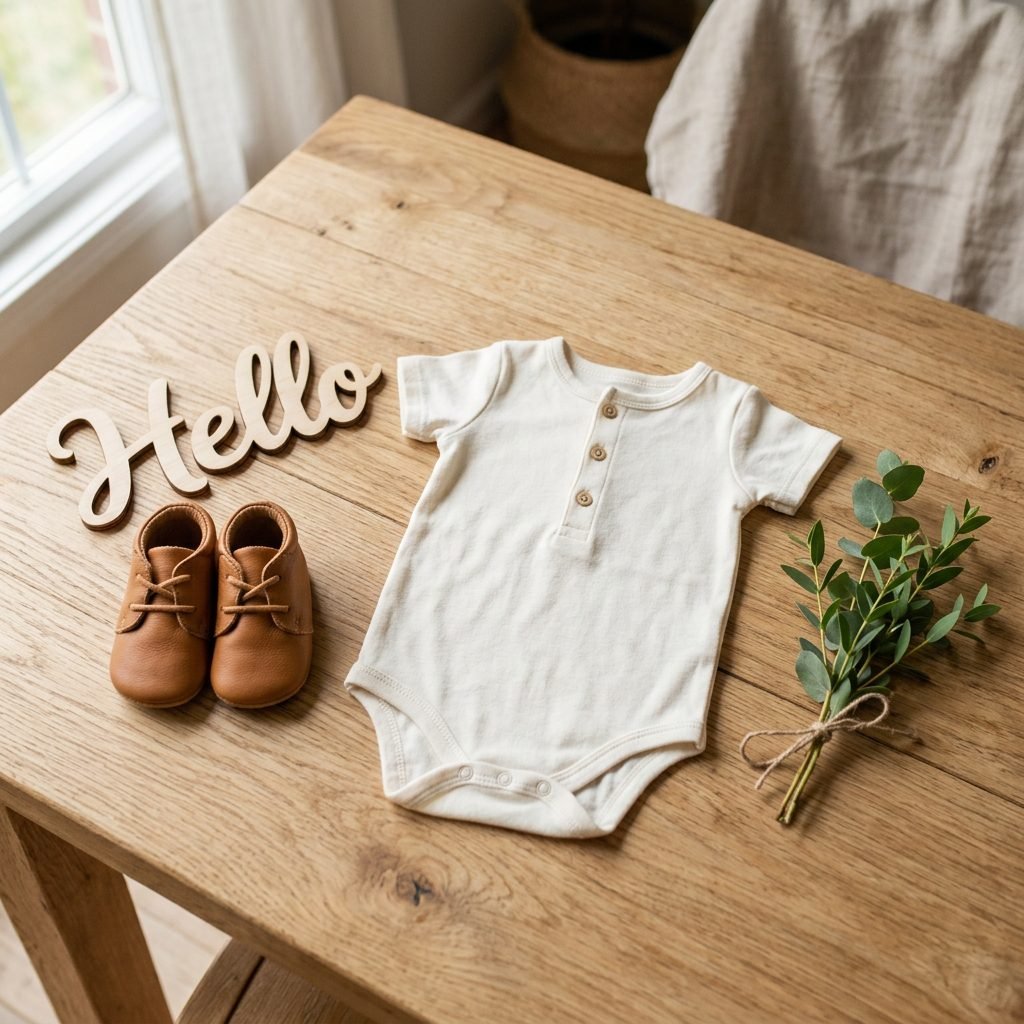
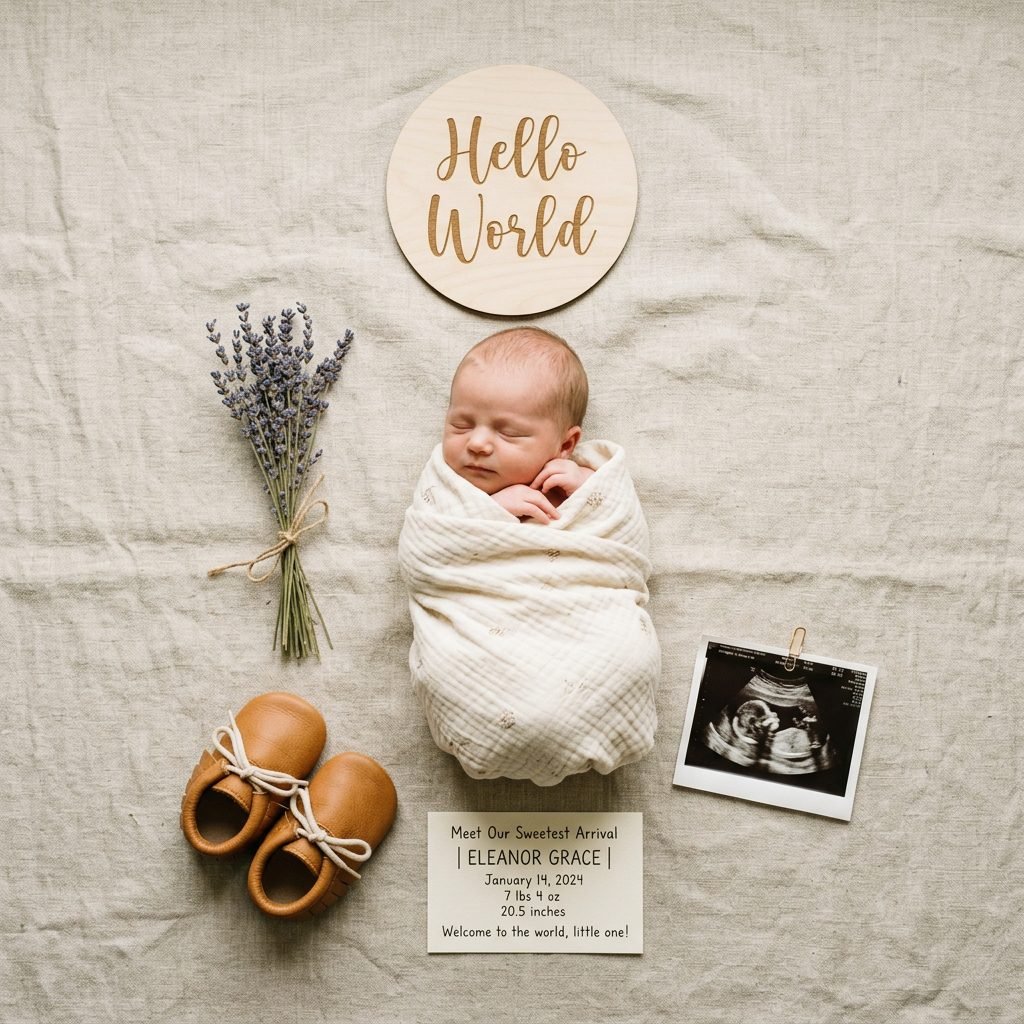
A pro-level flat lay tells a story through layers. You want to choose items that represent this specific moment in time. As a doula, I always suggest including one ‘sentimental’ item, one ‘textural’ item, and one ‘informational’ item.
The ‘Must-Have’ Prop List
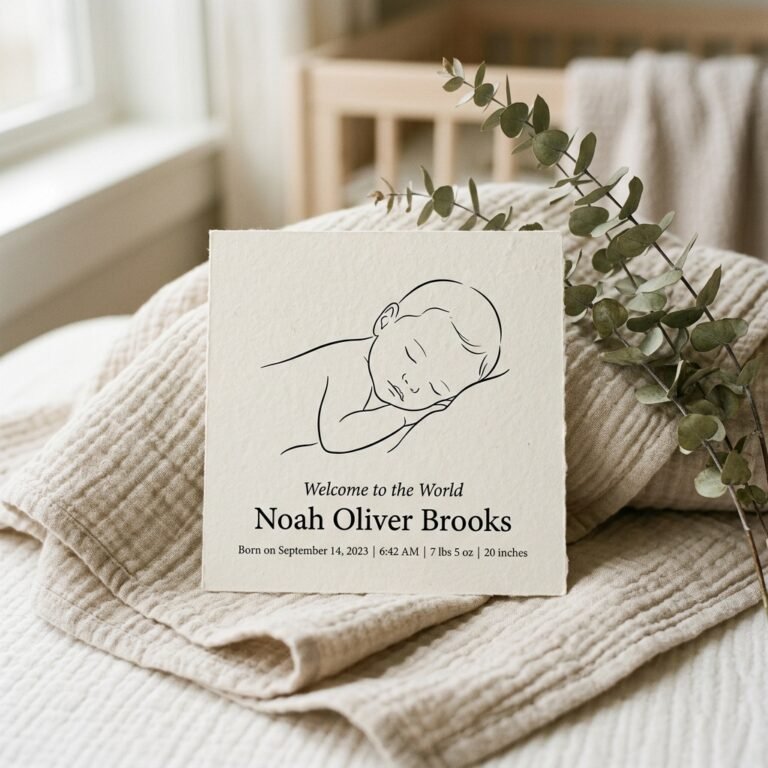
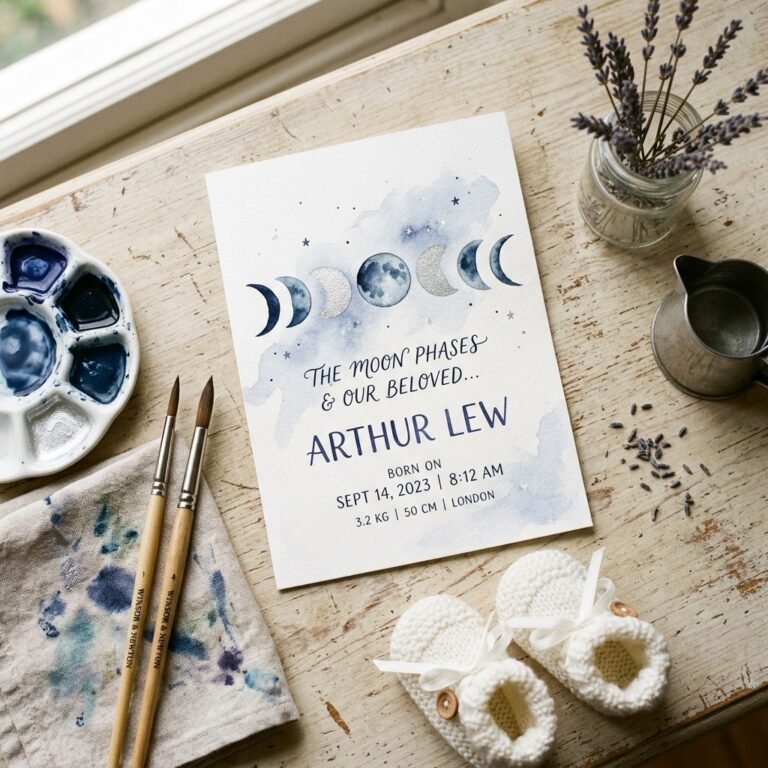
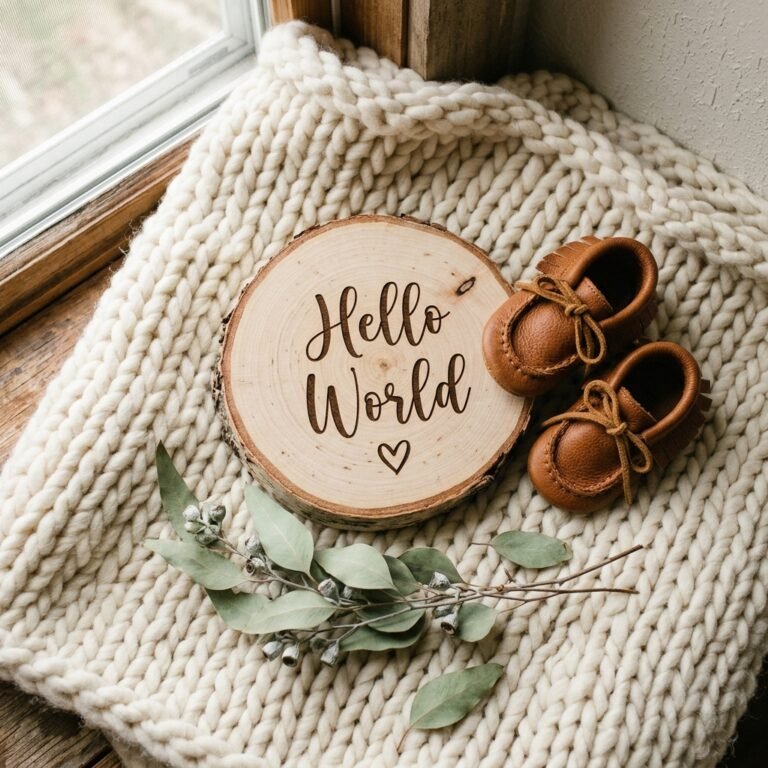
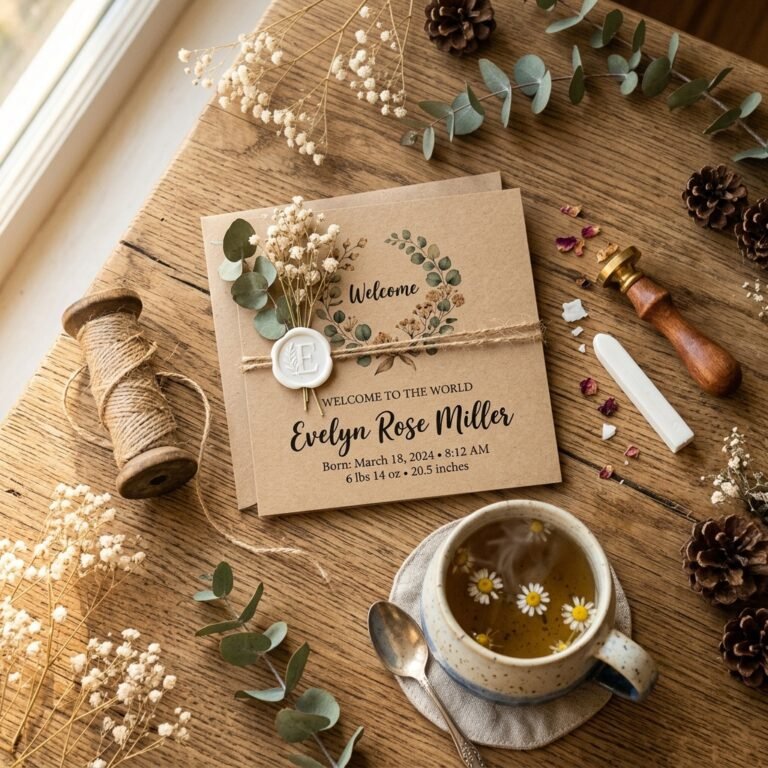
- The Informational: This could be a wooden name sign, a letter board with birth stats (weight, length, time), or even a beautiful piece of cardstock with hand-lettered calligraphy.
- The Sentimental: Your baby’s first ultrasound photo, the hospital ID bracelet, or a special heirloom rattle passed down through generations.
- The Textural: A pair of tiny leather moccasins, a knitted bonnet, a sprig of dried eucalyptus, or a delicate muslin swaddle.
Pro Tip: Keep a small ‘styling kit’ nearby. This should include double-sided tape (to keep round items from rolling), a small brush to smooth out fabric, and a pair of scissors to trim any stray threads on your baby’s outfit.
Budgeting Your Setup
You don’t need to break the bank to look high-end. Many of the best props are already in your home or can be found for a few dollars at a craft store.
| Item Category | DIY/Budget Option | Investment Option |
|---|---|---|
| Name Sign | Handwritten cardstock ($1) | Custom laser-cut wood ($25+) |
| Greenery | Snipped from your garden ($0) | Preserved eucalyptus or dried florals ($15) |
| Clothing | Simple white onesie ($5) | Hand-knit organic romper ($45+) |
| Background | A freshly laundered bedsheet ($0) | Professional vinyl ‘photo board’ ($60) |
The Art of Composition: Rule of Thirds and Visual Balance
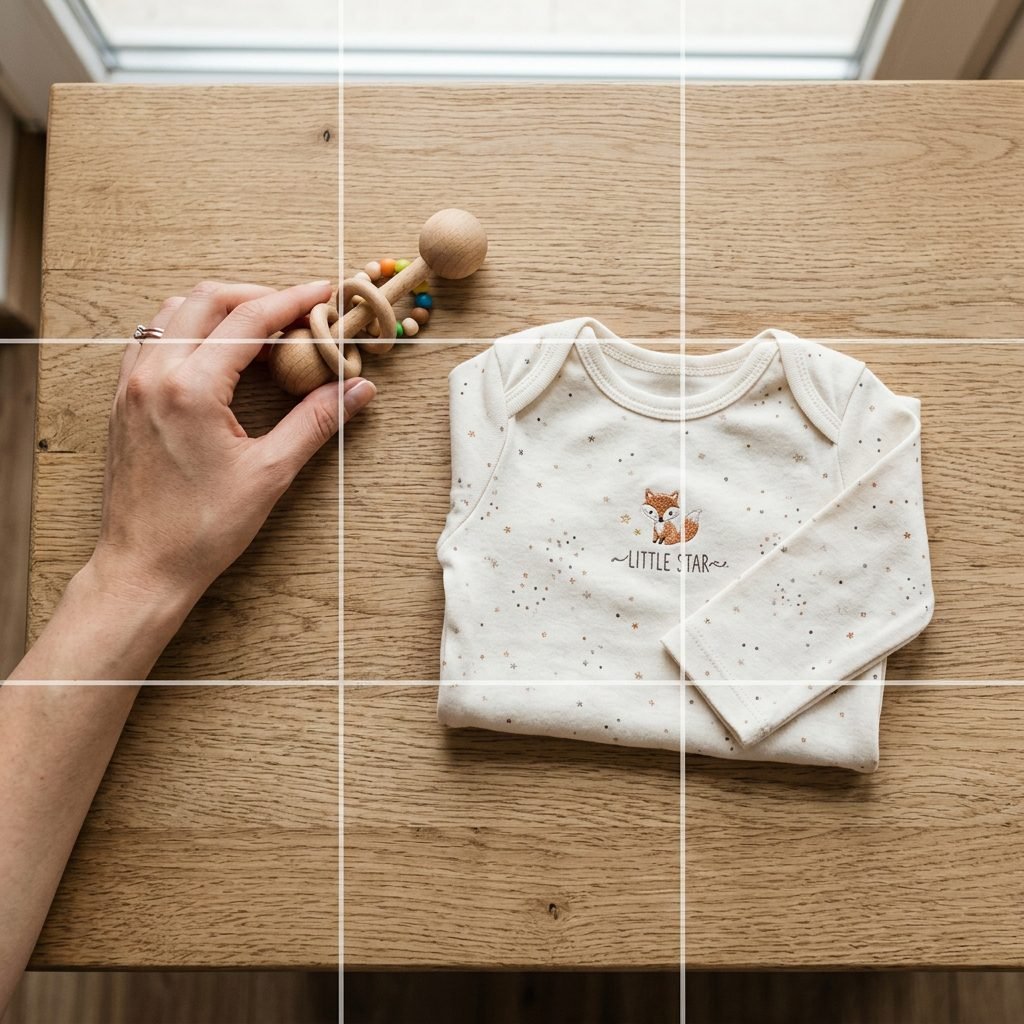
This is where the magic happens! Styling is all about guiding the viewer’s eye. If you place everything in a straight line, it looks like a catalog. If you scatter them randomly, it looks messy. We want purposeful movement.
The Rule of Thirds
Imagine your photo is divided into a 3×3 grid. Instead of placing your baby or the main name sign directly in the center square, try placing the ‘focal point’ at one of the intersections of those lines. This creates a more dynamic and professional feel. If the baby is the center, place the props in a ‘C’ or ‘S’ curve around them.
Triangulation Styling
A secret stylist trick is the Rule of Three. Our eyes love triangles. Place three similar items (like three small flowers or three wooden blocks) in a triangular formation around your main subject. This creates a sense of balance and completeness. Don’t be afraid of negative space—the empty areas of your photo are just as important as the props. They give the eye a place to rest.
Layering for Depth
- Start with your base (the sheet or floor).
- Add your ‘middle layer’ (a folded swaddle or a small rug).
- Place your ‘hero’ (the baby or the main outfit).
- Tuck in your ‘accents’ (the shoes, the greenery, the ultrasound).
Safety First: The Doula’s Guide to a Happy Baby Shoot
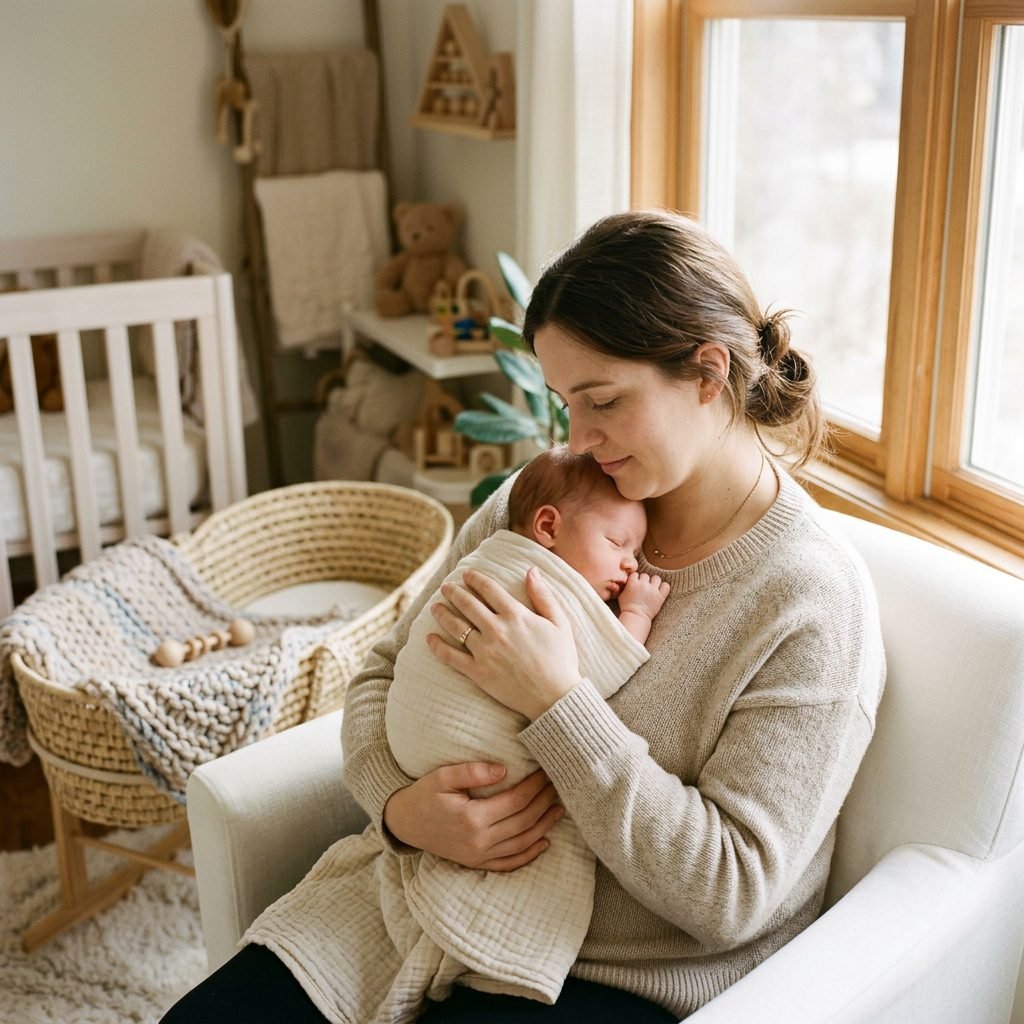
As much as we want the perfect photo, your baby’s comfort and safety are the absolute priority. A stressed baby makes for a stressed mama, and that will show in your photos! Here is how to keep the environment ‘doula-approved’.
Temperature and Timing
Ensure the room is warm enough—around 72-75 degrees Fahrenheit—especially if you are photographing the baby in just a diaper or a thin swaddle. The best time to shoot is right after a full feed and a good burp. A ‘milk drunk’ baby is much more likely to snooze through your styling adjustments.
Safety Precautions
- Never leave your baby unattended on a raised surface. If you are using a table for your flat lay, always have a spotter within arm’s reach.
- Check for small parts: If you are using vintage props or small beads, ensure they are not within the baby’s reach or posing a choking hazard.
- Watch the camera strap: If you are leaning over your baby to get the shot, make sure your camera strap is securely around your neck so the camera cannot fall.
Remember, mama: If the baby is crying and won’t settle, put the camera away. The most beautiful photos are the ones where you feel calm and connected. You can always try again tomorrow.
The Step-by-Step ‘Pro’ Workflow
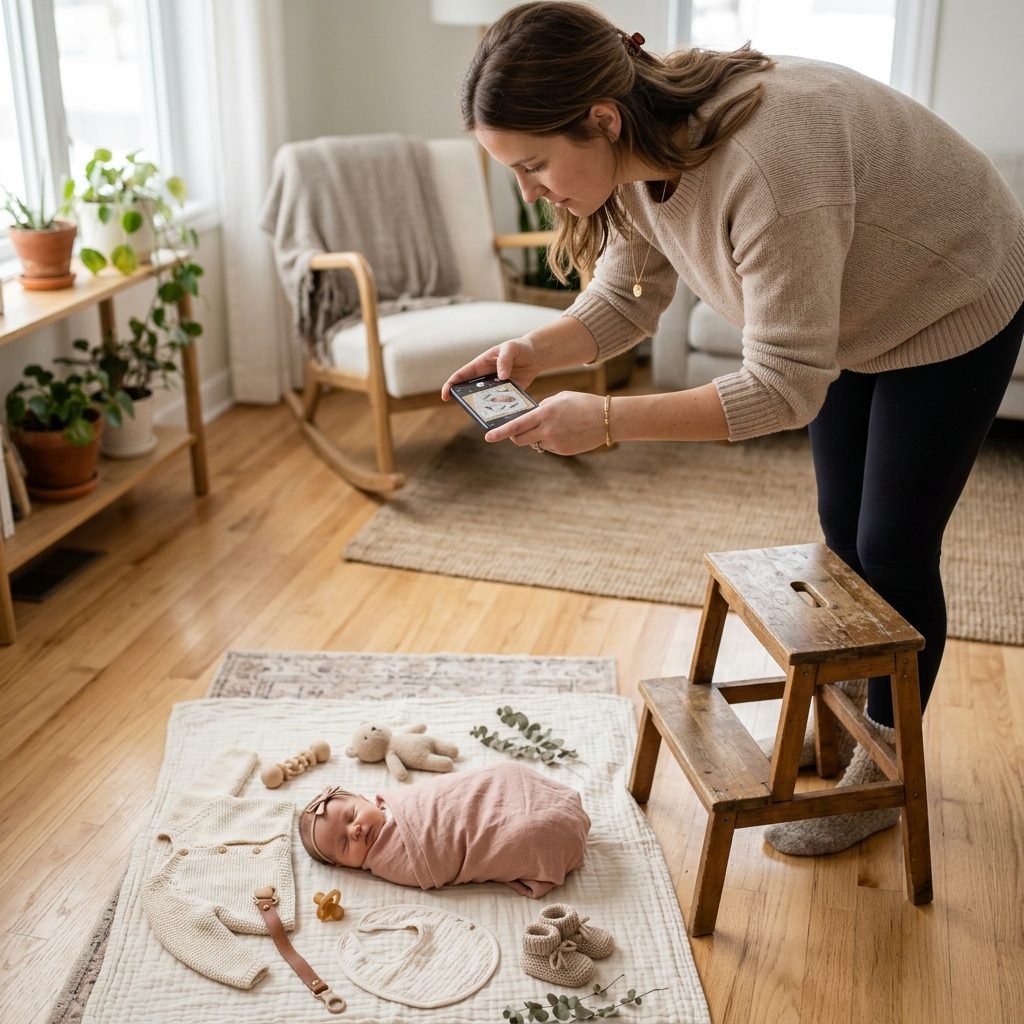
Ready to create? Follow this exact sequence to minimize stress and maximize style. I recommend doing a ‘dry run’ with a doll or a stuffed animal before you bring the baby into the mix!
- Prep your space: Clear the area near your window. Lay down your background and iron out any major wrinkles.
- Style the ‘Ghost’: Arrange all your props *without* the baby. Use a folded towel or a stuffed animal to act as a placeholder for where the baby will go. This allows you to get the composition perfect without making the baby wait.
- Test your settings: Take a few test shots. Is it too dark? Move closer to the light. Is it too bright? Pull the sheer curtains.
- The Big Reveal: Once you love the layout, bring in your baby. Gently place them into the ‘nest’ you’ve created.
- The Overhead Shot: Stand on a sturdy step stool (carefully!) to get directly above the setup. Hold your phone or camera parallel to the floor. If you tilt the camera, the props will look distorted.
- Check the Details: Look for ‘the little things’—is the swaddle tucked? Is the name sign legible? Are the baby’s fingers relaxed?
Post-Processing: Adding the Final Polish
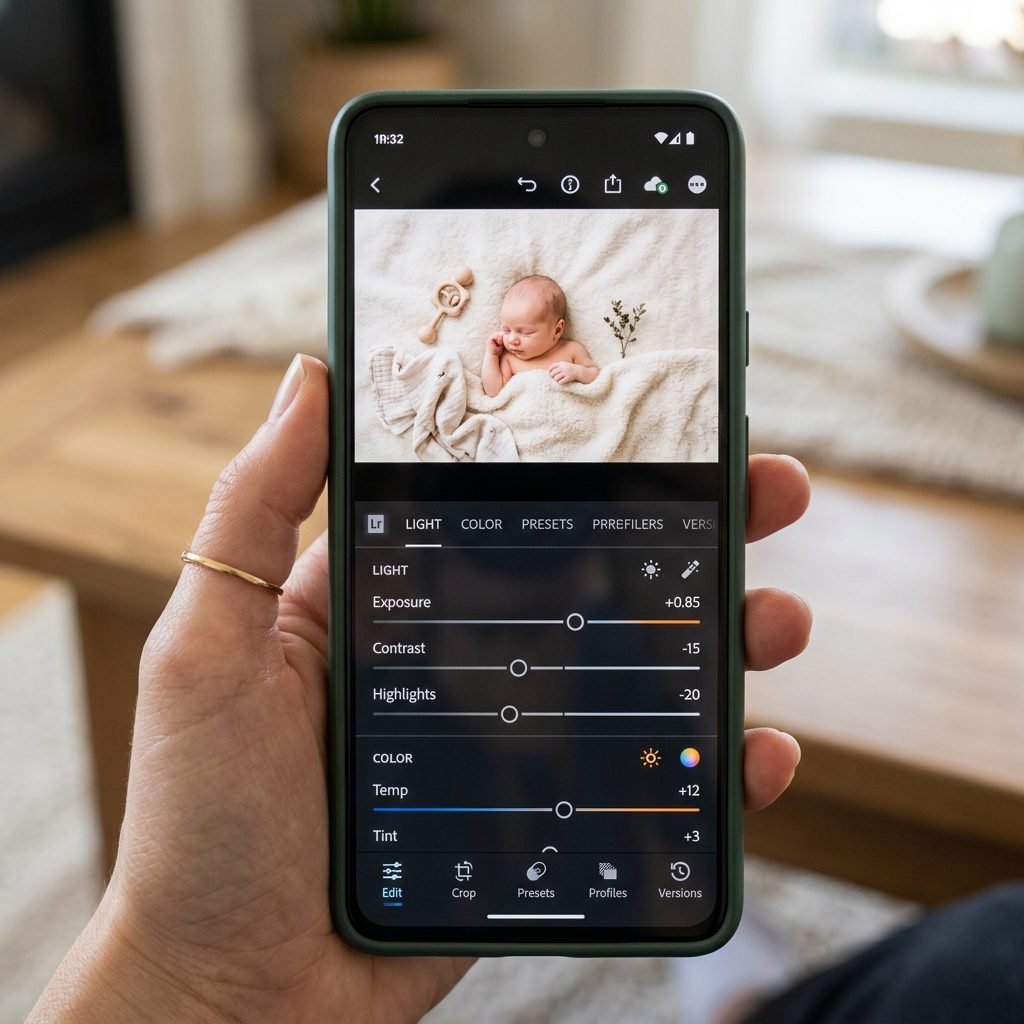
Even the best photos need a little ‘love’ in editing. You don’t need Photoshop; simple, free apps like Lightroom Mobile or Snapseed work wonders. The goal isn’t to change the photo, but to enhance the natural beauty you’ve already captured.
Editing Checklist
- Brightness/Exposure: Bump this up slightly to give that ‘airy’ feel.
- Temperature: If the photo looks too blue (cold) or too yellow (warm), adjust the white balance until the skin tones look natural.
- Shadows: Lift the shadows slightly to show the texture in the fabrics.
- Straighten: Use the ‘crop’ tool to make sure your horizontal lines are perfectly straight.
Capturing the Caption
When you share your masterpiece, pair it with a caption that reflects your heart. Here are a few templates you can copy and adapt:
“And just like that, our world got a whole lot bigger. Welcome to the family, [Name].”
“Nine months of waiting, a lifetime of loving. Introducing our sweet [Name], born [Date] at [Time].”
“The tiniest toes make the biggest footprints in our hearts. So in love with our new addition.”
Conclusion
Your Baby’s First Masterpiece
Styling a birth announcement is more than just a DIY project; it is a celebration of life and a labor of love. By focusing on natural light, intentional props, and a balanced composition, you have created a visual memory that your family will cherish for decades. Don’t worry if it isn’t ‘perfect’—the little imperfections, like a tiny curled toe or a slightly crooked bonnet, are what make it real and beautiful.
You are doing an incredible job, mama. Whether you are still waiting for your ‘due date’ or you are navigating the beautiful chaos of the newborn days, take a moment to breathe and realize how far you’ve come. This photo is just the beginning of a lifetime of beautiful memories. Happy styling!