15 Creative Ways to Use Birth Announcement Signs in Your Newborn Photos
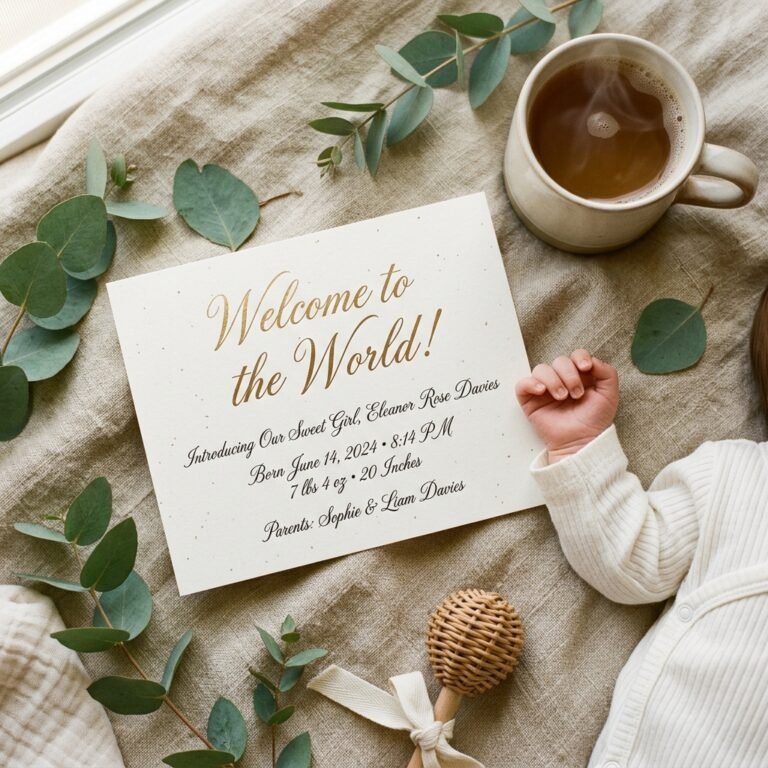
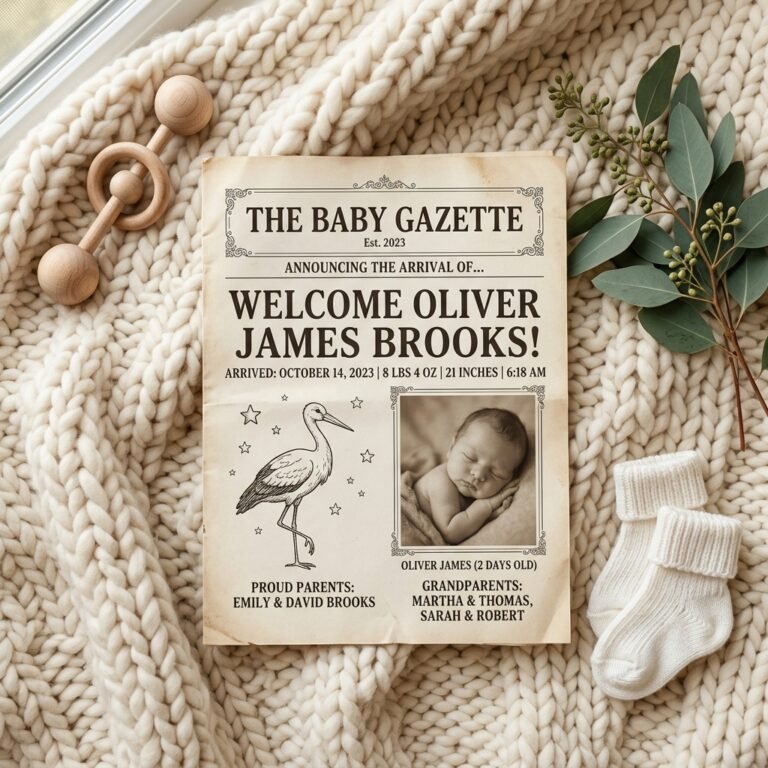
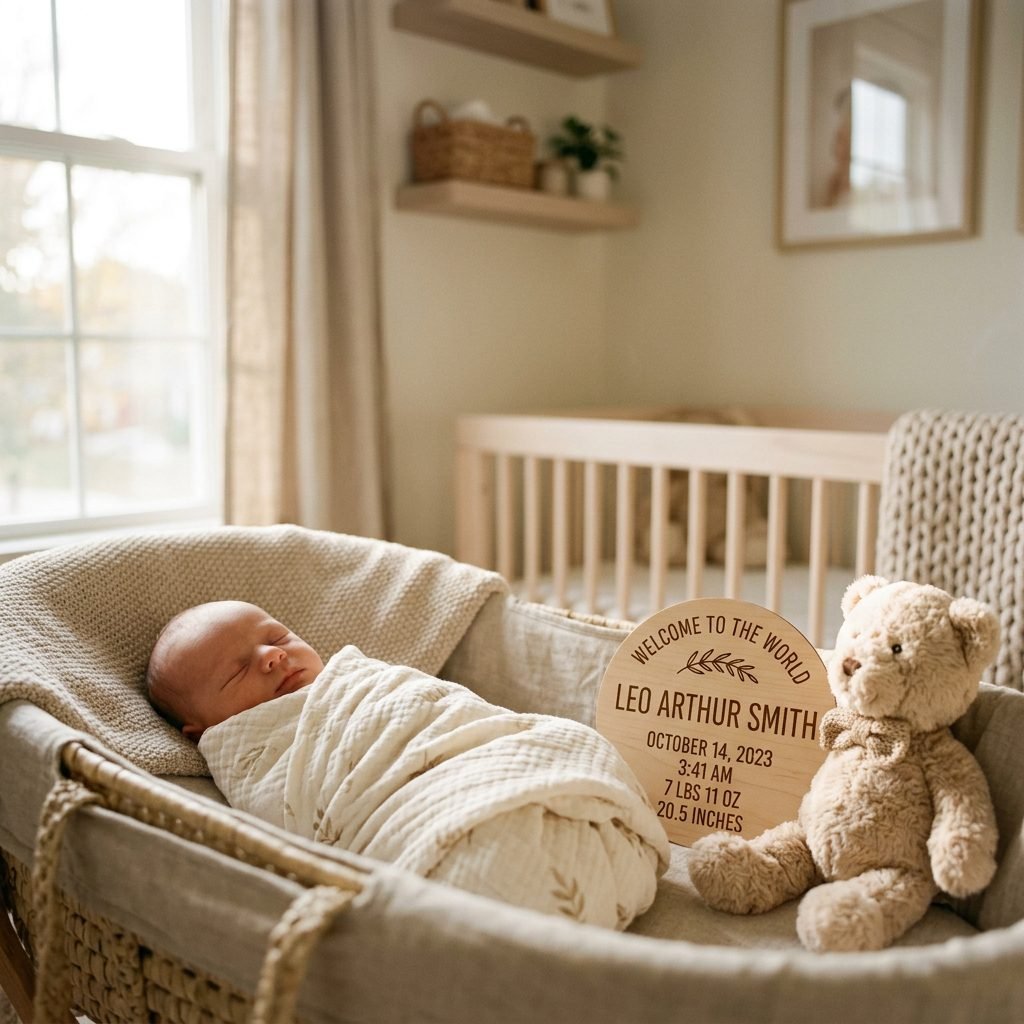
Welcome to the world, little one! Oh, sweet mama, there is truly nothing like those first few days of newborn bliss—the scent of their head, the tiny rhythmic breaths, and those microscopic fingernails. As a doula and a mama who has been through the ‘fog’ of the fourth trimester, I know that these moments feel like they will last forever, yet they slip through our fingers like sand. That is why capturing these early days is so vital. A birth announcement sign isn’t just a prop; it is a tangible piece of your baby’s history. It anchors the memory of their arrival, their name, and those tiny stats that change so quickly. In this guide, I want to share with you 15 creative and heart-warming ways to style these signs, ensuring your newborn photos are as stylish and soulful as the journey that brought you here.
The Importance of Preparation
Before we dive into the creative setups, let’s talk about the ‘why.’ In the whirlwind of postpartum recovery—dealing with healing, nursing, and sleep deprivation—having a plan for your photos can reduce stress. Whether you are doing a professional lifestyle session or taking photos on your smartphone, these signs help tell the story. They provide context, scale, and a beautiful focal point. Remember, mama, your only job is to soak in the love; these tips are here to make the ‘doing’ part effortless and beautiful.
Mastering the Classic Swaddle and Bassinet Shots
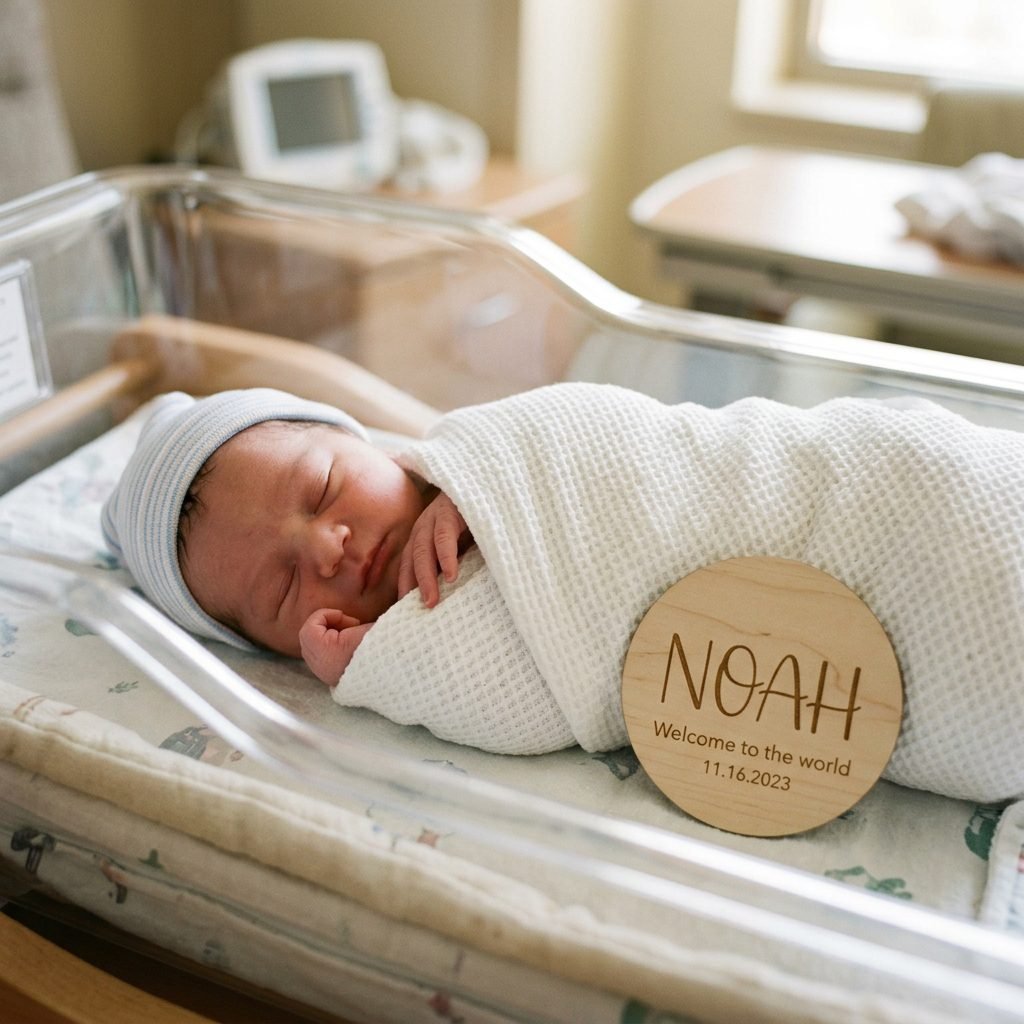
The first 48 hours are a blur of magic. Whether you are in a hospital, a birth center, or at home, the bassinet is the iconic first ‘bed’ for your little one. Here are the first few ways to incorporate your sign in these early moments:
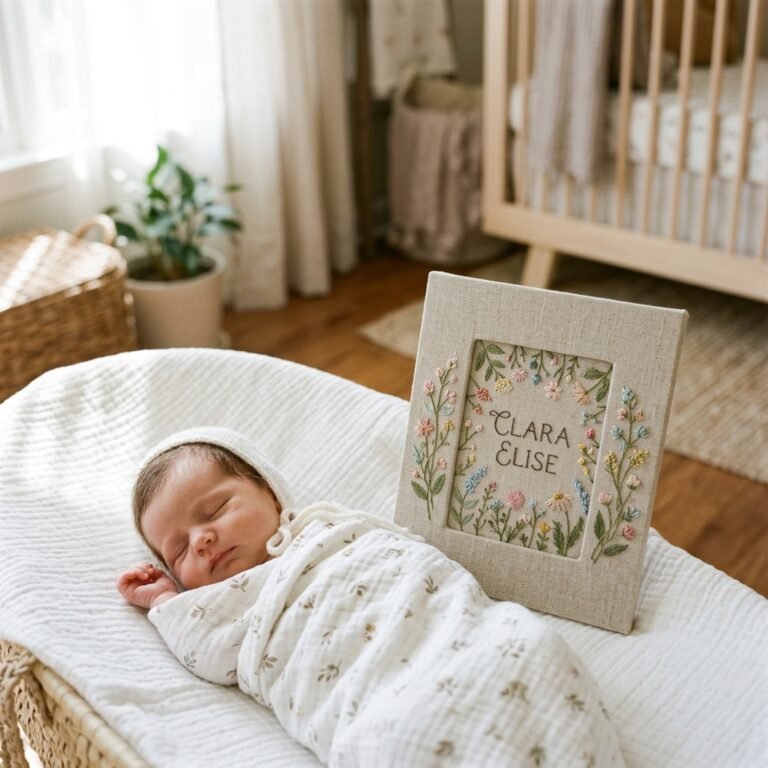
- 1. The Bassinet Edge Lean: Place your wooden or acrylic sign leaning against the clear acrylic wall of the hospital bassinet. This captures the ‘brand new’ feel of the hospital setting while adding a touch of personal warmth.
- 2. The ‘Burrito’ Tuck: Swaddle your baby snugly in a high-quality muslin wrap. Gently tuck the announcement sign into the folds of the swaddle near their chest (ensuring it is lightweight and secure). This creates a cozy, integrated look.
- 3. The Foot-of-the-Bed Stats: Position the sign at the foot of the bassinet, focusing your camera lens on the sign in the foreground with the baby’s out-of-focus, sleepy face in the background. This is a beautiful way to use ‘bokeh’ to create a professional feel.
Pro Tip: When using signs in the hospital, natural light is your best friend. Roll the bassinet toward the window, but avoid direct, harsh sunlight which can cause squinting and shadows. Soft, indirect light will make your baby’s skin look creamy and ethereal.
Creative Flat-Lays and Nursery Styling
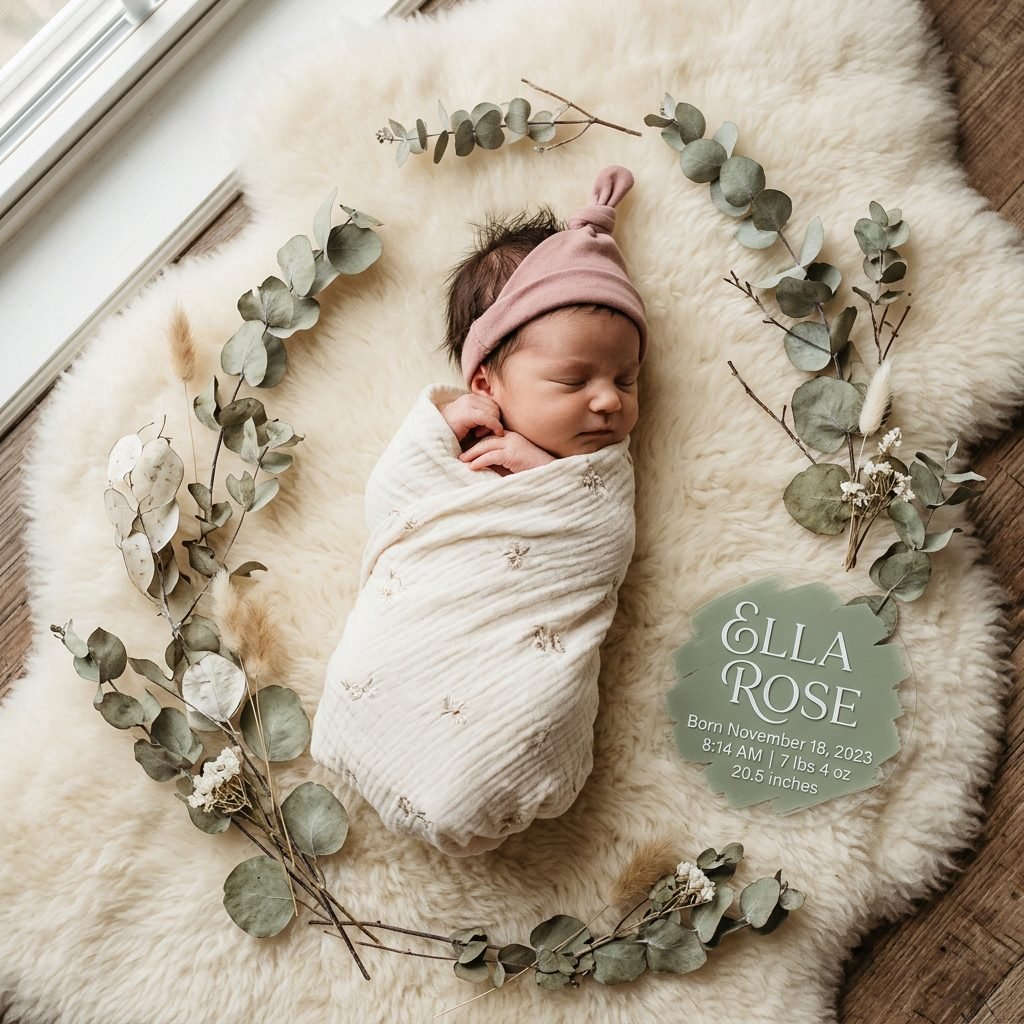
Once you are home and settled into your nursery (or that corner of your room you’ve lovingly prepared), you have more control over the aesthetic. This is where we can get really creative with textures and themes.
- 4. The Floral Halo: For a spring or summer baby, place the sign next to the baby on a neutral rug and surround them both with a ‘halo’ of fresh or high-quality silk flowers.
- 5. The Heirloom Blanket Backdrop: Use a quilt made by a grandmother or a special heirloom knit as the base. Place the sign and baby on top to bridge the gap between generations.
- 6. The Rainbow Baby Reveal: If you are celebrating a rainbow baby, use a subtle macrame rainbow prop alongside the sign to honor the journey and the joy.
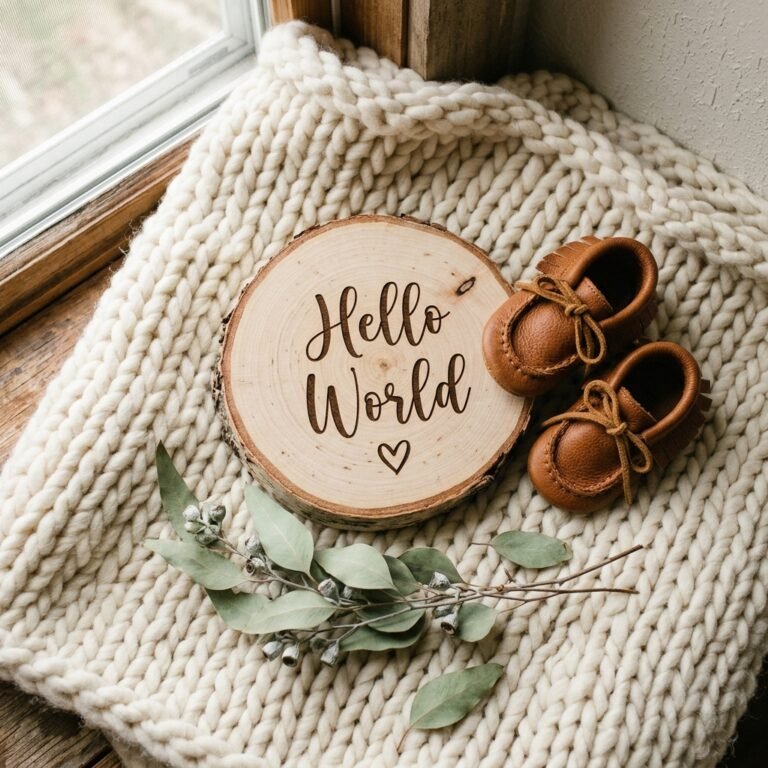
- 7. The ‘Coming Home’ Outfit Flat-Lay: Before baby even puts the clothes on, style the outfit, the shoes, and the birth announcement sign on a flat surface. This is a great ‘teaser’ photo for social media.
| Sign Material | Best For… | Style Vibe |
|---|---|---|
| Wooden Rounds | Natural, Boho, Timeless | Warm & Earthy |
| Acrylic Discs | Modern, Clean, Minimalist | Sleek & Airy |
| Felt Letter Boards | Custom Quotes, Humor | Vintage & Playful |
| Hand-Painted Ceramic | Heirloom Quality | Artisanal & Unique |
Involving Siblings and the ‘Fur-Babies’
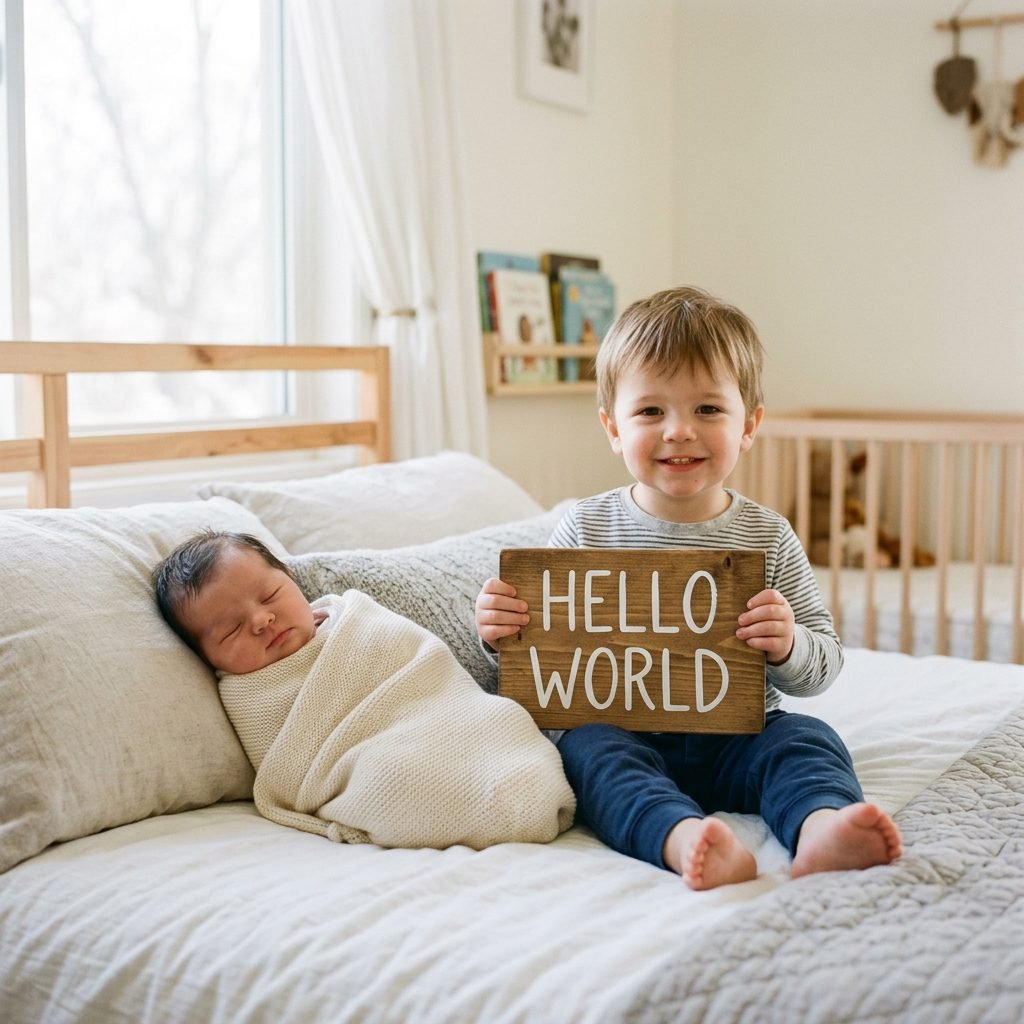
One of the most emotional photos you will ever take is the first meeting between your children. Adding a birth announcement sign into these shots helps the older sibling feel like they are ‘introducing’ the new member of the family.
- 8. The Big Sibling ‘Presenter’: Have your toddler or older child hold the sign while sitting next to the baby. It gives them a ‘job’ to do, which often helps with the cooperation!
- 9. The Fur-Baby Guard: If you have a gentle dog or cat, have them sit near the baby and the sign. It’s a sweet way to show the whole family unit. Always ensure 100% supervision during these shots.
- 10. The ‘Hand-in-Hand’ Detail: A close-up of an older sibling’s hand holding the baby’s tiny hand, with the sign resting just beside them. This focuses on the scale and the new bond.
Mama, remember that these sibling shots don’t have to be perfect. If the toddler is crying or the baby is wiggly, that is the reality of your beautiful, chaotic life right now. Capture the ‘real’—it’s what you’ll cherish most in twenty years.
Capturing the Details and Stats
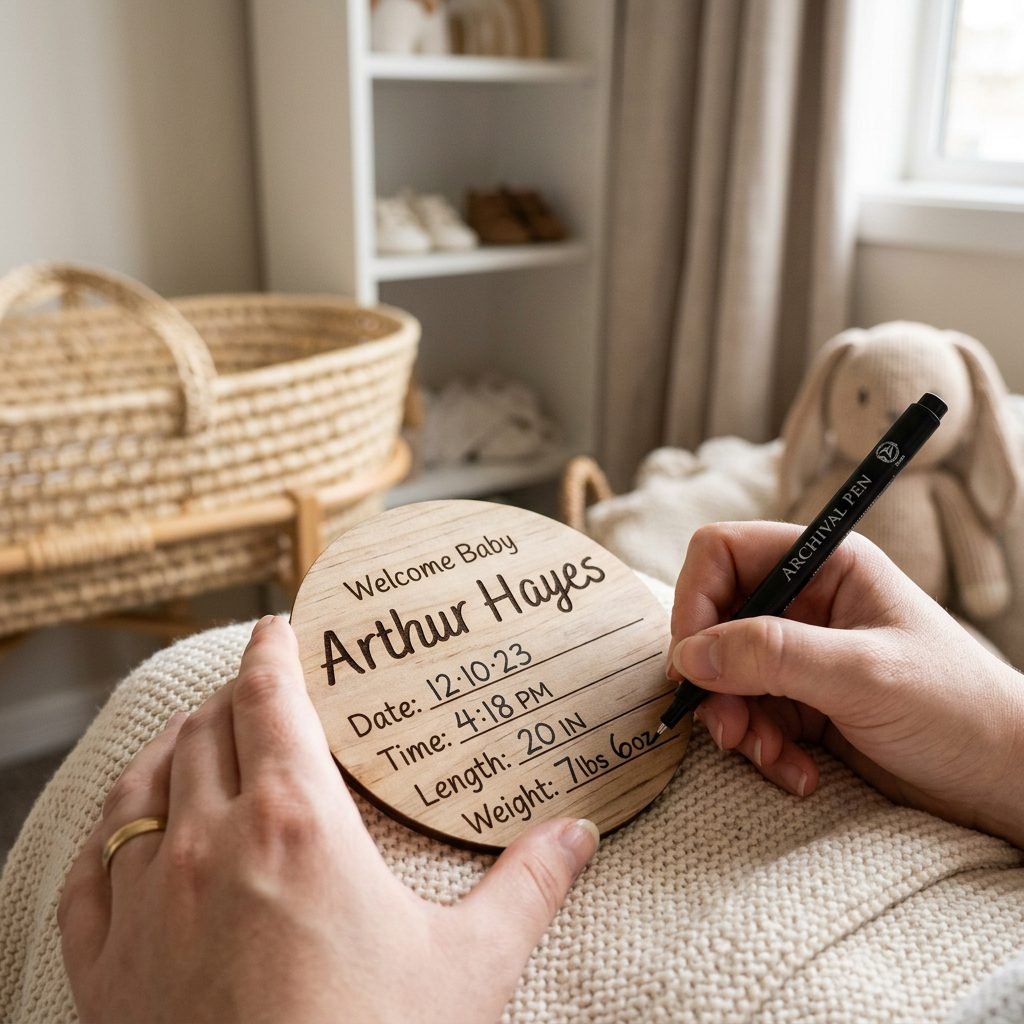
Many announcement signs have spaces for the ‘stats’—weight, length, date, and time. Filling these out is a ritual in itself. Here is how to make those details pop:
- 11. The Macro Detail Shot: Focus your camera exclusively on the written details of the sign while it is held in your hand or resting on the baby’s nursery shelf.
- 12. The Comparison Shot: Place a common object (like a stuffed animal or a specific book) next to the baby and the sign. As the months go by, you can take the same photo to show how much they’ve grown against the sign’s size.
- 13. The Ultrasound-to-Sign Transition: Place the final ‘stats’ sign next to your very first ultrasound photo. This tells the full story of the ‘wait’ and the ‘arrival.’
A Note on Pens: If you are using a wooden sign, use a fine-tip permanent marker or a paint pen. Test it on the back first to ensure the ink doesn’t ‘bleed’ into the wood grain. We want those stats to be crisp and legible!
Safety, Lighting, and Practical Tips for Success
As your doula-expert, I have to emphasize that safety is the absolute priority. No photo is worth risking your little one’s comfort or safety. Follow these guidelines for a stress-free session:
- Temperature is Key: If you are doing ‘naked’ or diaper-only shots with the sign, ensure the room is very warm (around 75-80 degrees Fahrenheit). Babies lose heat quickly!
- The ‘Spotter’ Rule: Never leave a baby alone on an elevated surface (like a bed or changing table) to step back for a photo. Always have a partner or friend standing just inches away, out of the frame.
- Timing the Feed: The best time for photos is about 20-30 minutes after a full feed. A ‘milk-drunk’ baby is a sleepy, cooperative baby!
- Avoid Heavy Props: Ensure the sign is not heavy or sharp. If placing it near the baby’s face, ensure it is secured and won’t slip.
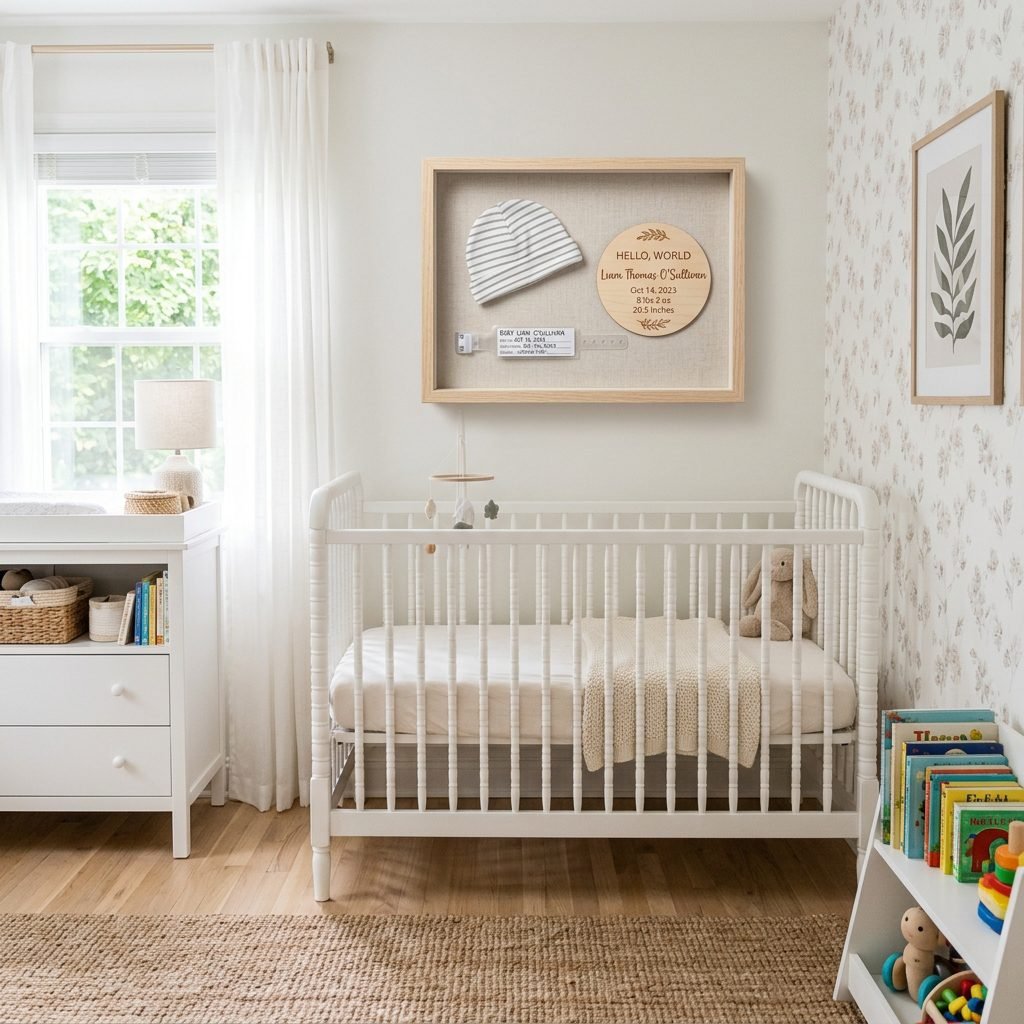
14. The ‘Shadow Box’ Legacy: After the photoshoot, don’t just put the sign in a drawer. Place it in a shadow box with the baby’s hospital bracelet, their first hat, and a print of the best photo you took. It becomes a piece of 3D art for the nursery.
15. The Monthly Milestone Bridge: Use your announcement sign as the ‘0 Month’ photo in a series of monthly milestone photos. It creates a beautiful consistency in your baby book.
Conclusion
Capturing these moments is a beautiful act of love, mama. Whether you choose a minimalist wooden disc or a vibrant, custom-painted sign, the most important element in the photo is the miracle you’ve brought into the world. Don’t worry about perfection; focus on the connection. These 15 ideas are just a starting point—feel free to mix, match, and make them your own. You are doing an incredible job navigating this new chapter. Take a deep breath, smell that sweet baby head, and click ‘capture.’ You’ll be so glad you did.