How to Make DIY Pool Noodle Sensory Rings for Cheap Baby Tummy Time
Welcome to the Tummy Time Revolution, Mama!
Hello, beautiful mamas, mothers-to-be, and creative caregivers! If you are currently navigating the wonderful, exhausting, and sometimes overwhelming world of infant care, you already know that ‘tummy time’ can sometimes feel like a dreaded chore. Let us be honest—while we know it is absolutely vital for our babies’ development, it often comes with a symphony of fussing, face-planting, and tears. But take a deep breath, because you are doing an incredible job, and I am here to share a secret weapon that is about to change your daily routine.
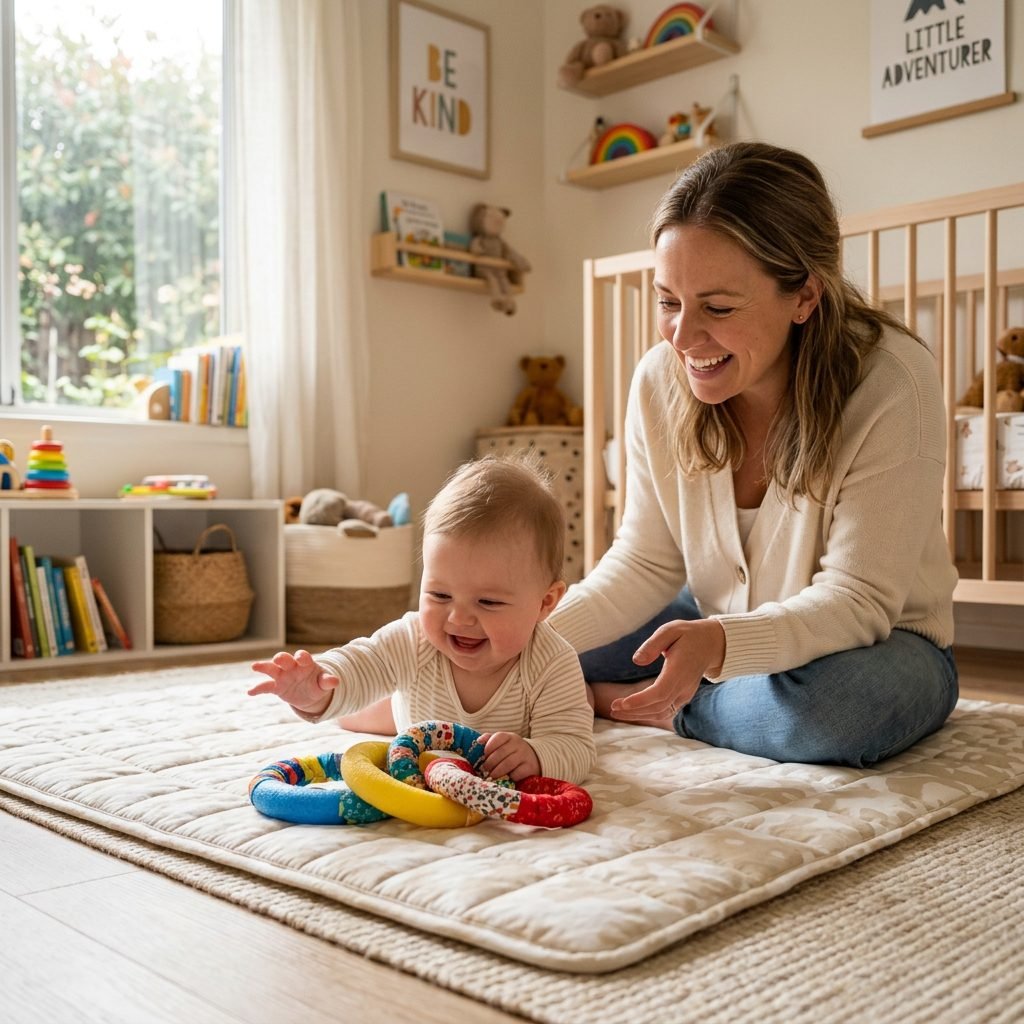
As a doula and pediatric sleep enthusiast, I am always looking for ways to merge developmental science with practical, budget-friendly motherhood hacks. Enter the humble pool noodle. Yes, you read that right! For less than the cost of your morning coffee, you can create stunning, highly engaging DIY sensory rings that will captivate your little one, build their core strength, and turn tummy time into a joyful exploration. These DIY pool noodle sensory rings are not just cheap; they are customizable, lightweight, and perfectly sized for tiny, curious hands.
In this guide, we are going to channel our inner crafty mom and walk through exactly how to make these delightful sensory tools. We will cover the developmental milestones they support, the safest materials to use, and how to introduce them to your baby for maximum engagement. Grab your safety scissors and a cup of warm tea, and let us get crafting!
The Developmental Magic Behind Sensory Rings
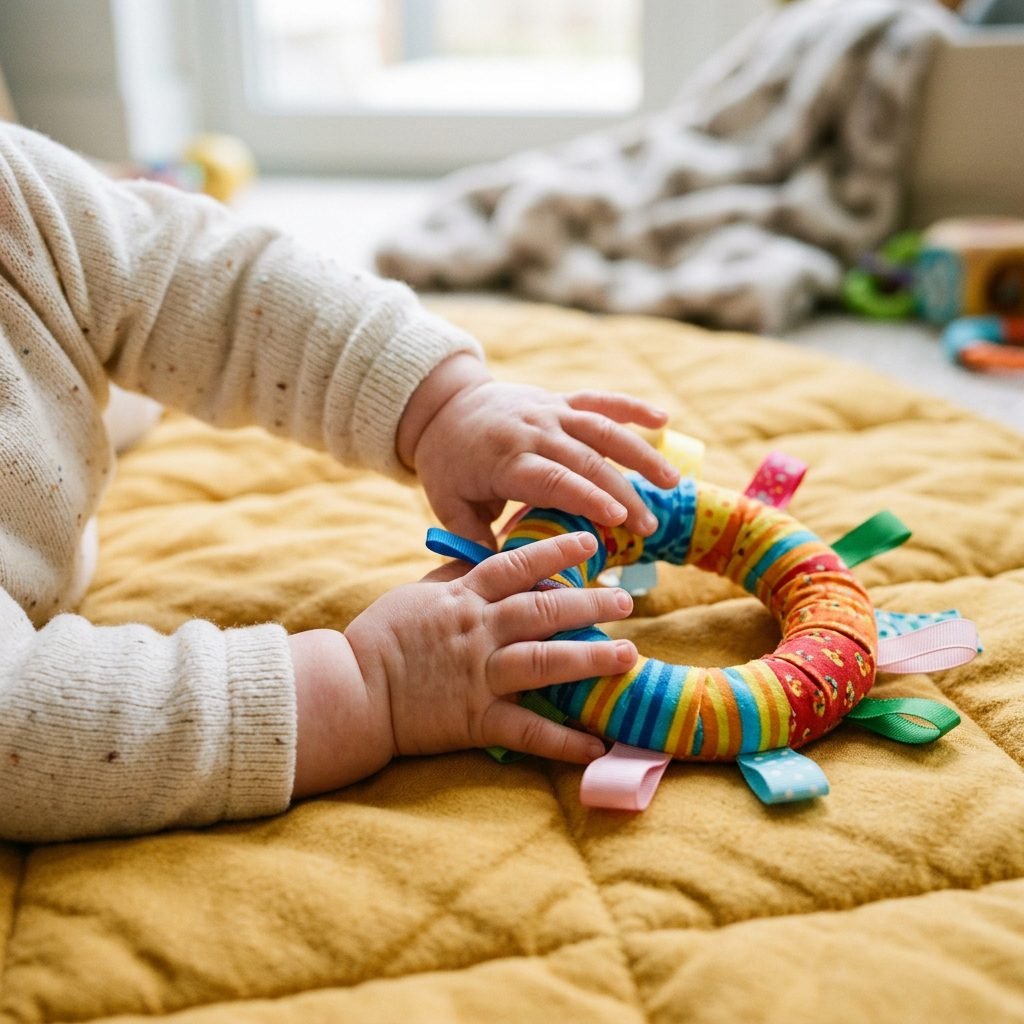
Before we dive into the crafting, let us talk about why these simple rings are such a powerhouse for your baby’s growing brain and body. When your baby is on their tummy, they are doing a full-body workout. They are strengthening their neck, shoulders, and core, which paves the way for rolling, sitting, and eventually crawling. But to keep them motivated, they need a distraction—something fascinating to look at and reach for.
Key Milestones Supported by Sensory Play
- Visual Tracking: High-contrast colors and patterns on the rings help newborn eyes learn to focus and follow moving objects.
- Hand-Eye Coordination: As your baby reaches for a bright ring, they are calculating distance and practicing the crucial skill of bringing their hands to the midline.
- Tactile Stimulation: Wrapping your rings in different textures (like velvet, satin, or ribbed ribbon) fires up the sensory receptors in your baby’s hands, building neural pathways in the brain.
- The Palmar Grasp: The chunky, soft nature of the pool noodle is perfect for baby’s natural reflex to grab and squeeze, strengthening their finger muscles.
Remember, mama: Every minute your baby spends reaching, grasping, and looking at these rings is a massive victory for their development. Even if tummy time only lasts two minutes today, you are laying the foundation for their future milestones!
What You Need: A Crafty Mom’s Budget-Friendly Supply List
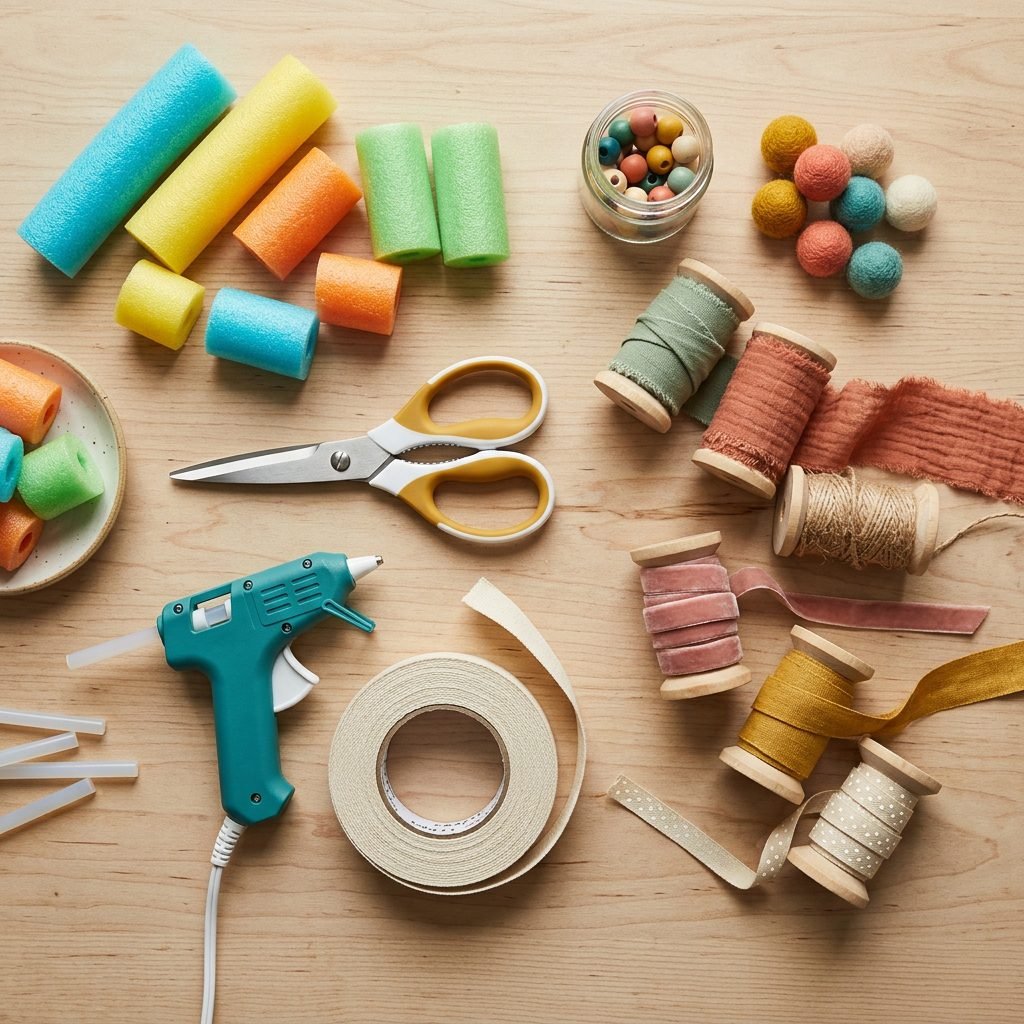
One of the best things about this project is that it requires absolutely zero sewing skills and relies on items you might already have in your craft bin or can easily pick up at a local dollar store. The goal here is safety, stimulation, and style. We want these rings to look beautiful in your nursery while being completely safe for supervised play.
Your Essential Materials
When selecting your materials, always prioritize items that are non-toxic and will not fray easily. Babies explore the world with their mouths, so while these rings are designed for reaching and grasping during tummy time (under your watchful eye!), we must ensure everything is securely fastened.
| Material Needed | Estimated Cost | Safety & Styling Notes |
|---|---|---|
| 1 Standard Pool Noodle | $1.00 – $2.00 | Opt for a hollow center noodle. Brighter colors are great, but the noodle will be covered anyway. |
| Heavy Duty Packing Tape or Duct Tape | $3.00 | Used to securely join the ends of the noodle together. Ensure it is wide enough for a strong hold. |
| Assorted Ribbons & Fabric Scraps | $0.00 – $5.00 | Look for varying textures: satin, velvet, grosgrain, and fleece. Avoid anything with loose sequins or beads. |
| Non-Toxic Fabric Glue or Hot Glue | $4.00 | Hot glue works best for a secure hold, but ensure it is completely dry and cool before baby plays. |
| Serrated Knife or Box Cutter | Already Owned | For slicing the pool noodle. Keep well out of reach of children! |
Step-by-Step Guide: Crafting Your Sensory Rings
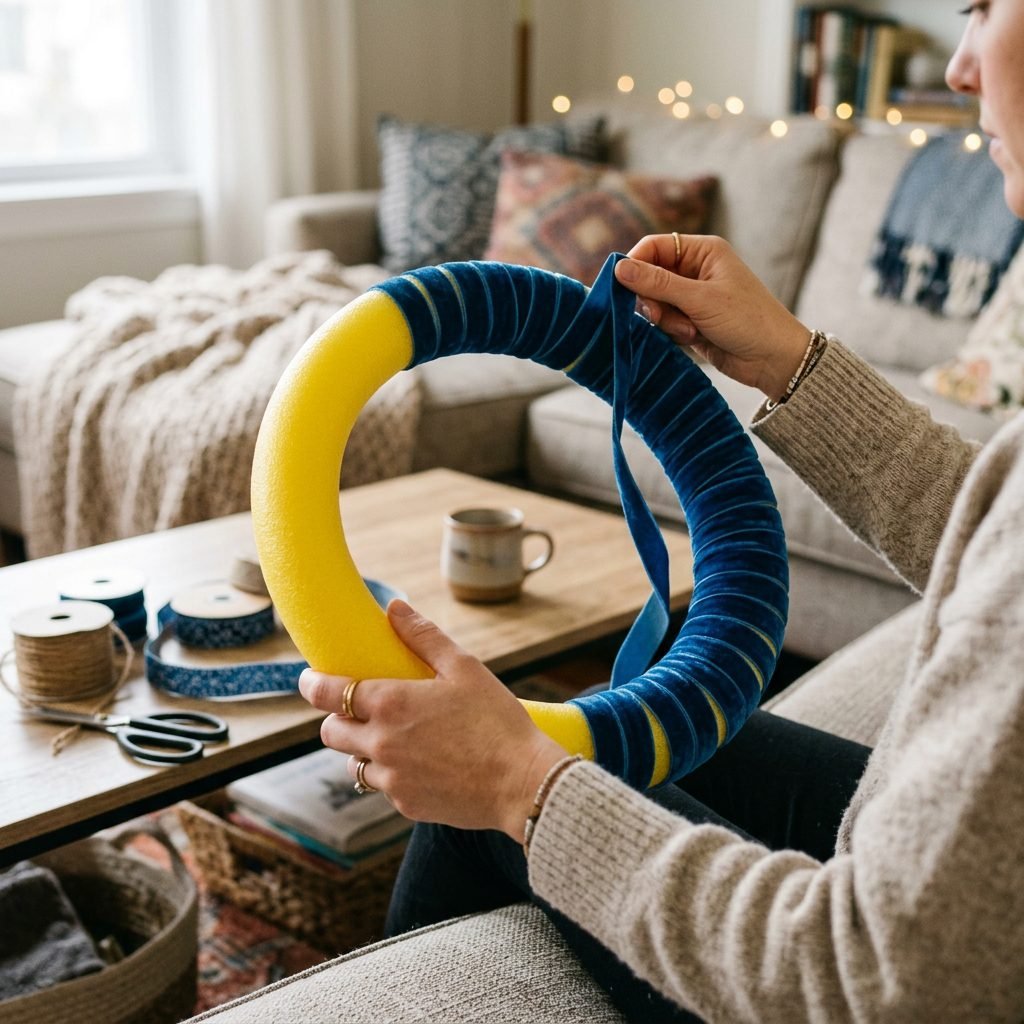
Now comes the fun part! Put on your favorite soothing playlist or a comforting podcast, and let us bring these sensory rings to life. This process is incredibly forgiving, so do not worry about making them look ‘perfect.’ Your baby is going to love them regardless!
The Crafting Process
- Slice the Noodle: Using your serrated knife or box cutter, carefully slice the pool noodle into segments. For standard sensory rings, you will want pieces that are about 10 to 12 inches long. This length allows the noodle to bend into a circle without snapping.
- Form the Ring: Take one of your noodle segments and gently bend it until the two ends meet, forming a circle. If the noodle feels too stiff, gently massage and squeeze the foam along the length to soften it up before bending.
- Tape the Ends Securely: Once the ends are touching, wrap your heavy-duty packing tape or duct tape tightly around the joint. Wrap it several times, extending an inch or two on either side of the seam to ensure it will not pop open during enthusiastic play.
- Wrap the Base: Apply a dab of hot glue to the taped joint and secure the end of your chosen base fabric or wide ribbon. Tightly wrap the ribbon around the entire ring, slightly overlapping the edges so no foam shows through. Secure the final end with another generous dab of glue, ensuring it is pressed down flat.
- Add Sensory Details: Now, layer on the fun! Tie shorter pieces of contrasting ribbon securely around the ring, leaving short, 2-inch tails for baby to tug on. You can also glue on strips of crinkle material (like clean, empty wipe wrappers cut into strips) for auditory stimulation.
- The Safety Check: Once everything is dry, give the ring a firm ‘tug test.’ Pull on the ribbons and the joint to ensure nothing comes loose. Trim any fraying edges.
Sensory Upgrades: Customizing for Your Baby’s Age
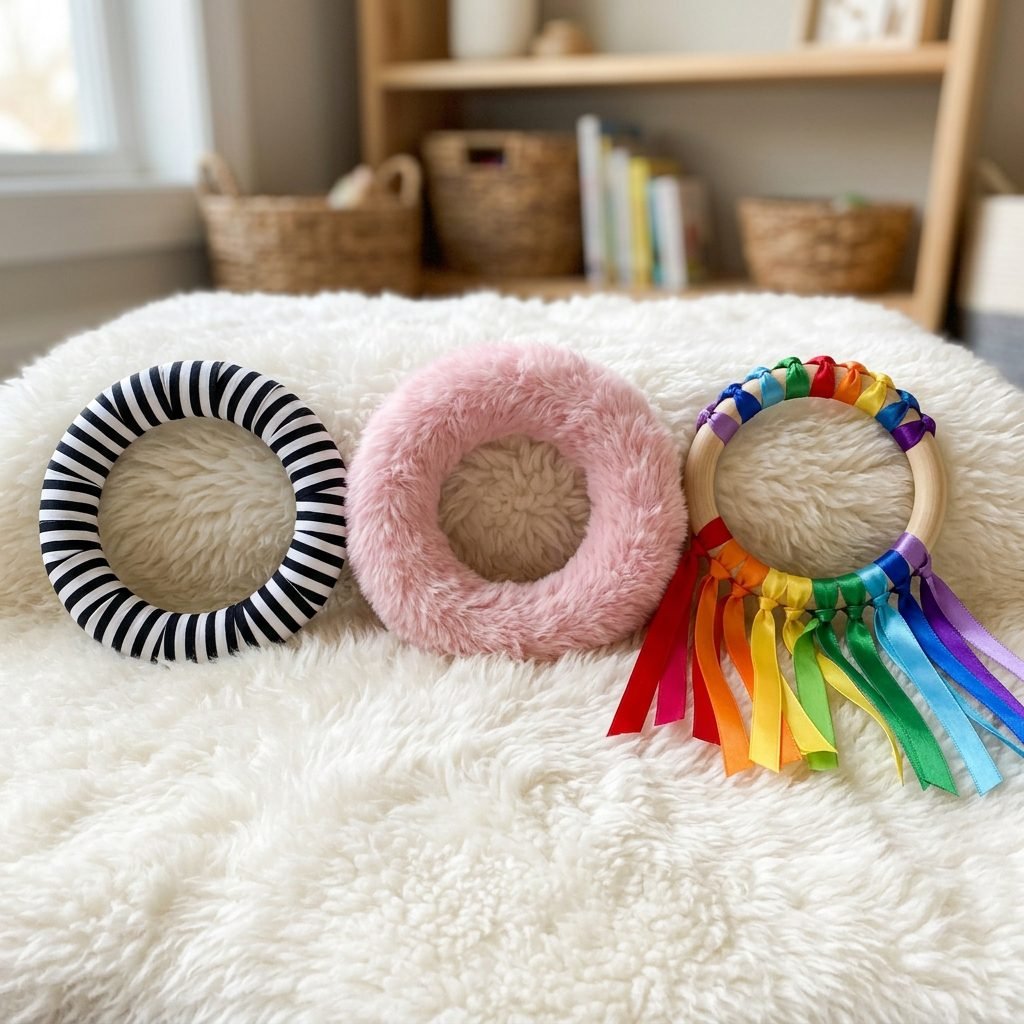
Babies grow and change at an astonishing rate, and their sensory needs evolve right along with them. The beauty of these DIY pool noodle rings is that you can tailor them to your baby’s specific developmental stage. Here are some beautiful, evidence-based ways to upgrade your rings as your little one grows.
0-3 Months: The Newborn High-Contrast Stage
In the first few months of life, your baby’s vision is still developing, and they see high-contrast patterns much better than soft pastels. Create a ‘Newborn Ring’ by wrapping the noodle entirely in thick black and white striped ribbon, or alternate wrapping black and white fabrics. Propping this high-contrast ring just a few inches from their face during tummy time will captivate their attention and encourage them to lift their heavy little heads.
3-6 Months: Textures and Sounds
As your baby starts reaching and grasping, tactile and auditory feedback becomes thrilling. For this stage, create a ‘Crinkle & Crunch Ring.’ Hide clean, crinkly plastic (like the inside of a cereal bag or a baby wipe wrapper) under a layer of thin cotton fabric as you wrap the ring. When baby grabs it, it will make a delightful crunching sound! You can also wrap rings in faux fur, bumpy corduroy, or smooth satin to give their little fingers a variety of feelings to explore.
6+ Months: The Midline Master
Older babies love a challenge. Create a ring with securely tied, short ribbons dangling from it. As they lay on their tummies or sit up supported, they will practice using their pincer grasp (thumb and forefinger) to tug on the ribbons. Just ensure every addition is double-knotted and glued down to prevent any choking hazards.
Making Tummy Time Tear-Free: Expert Doula Tips
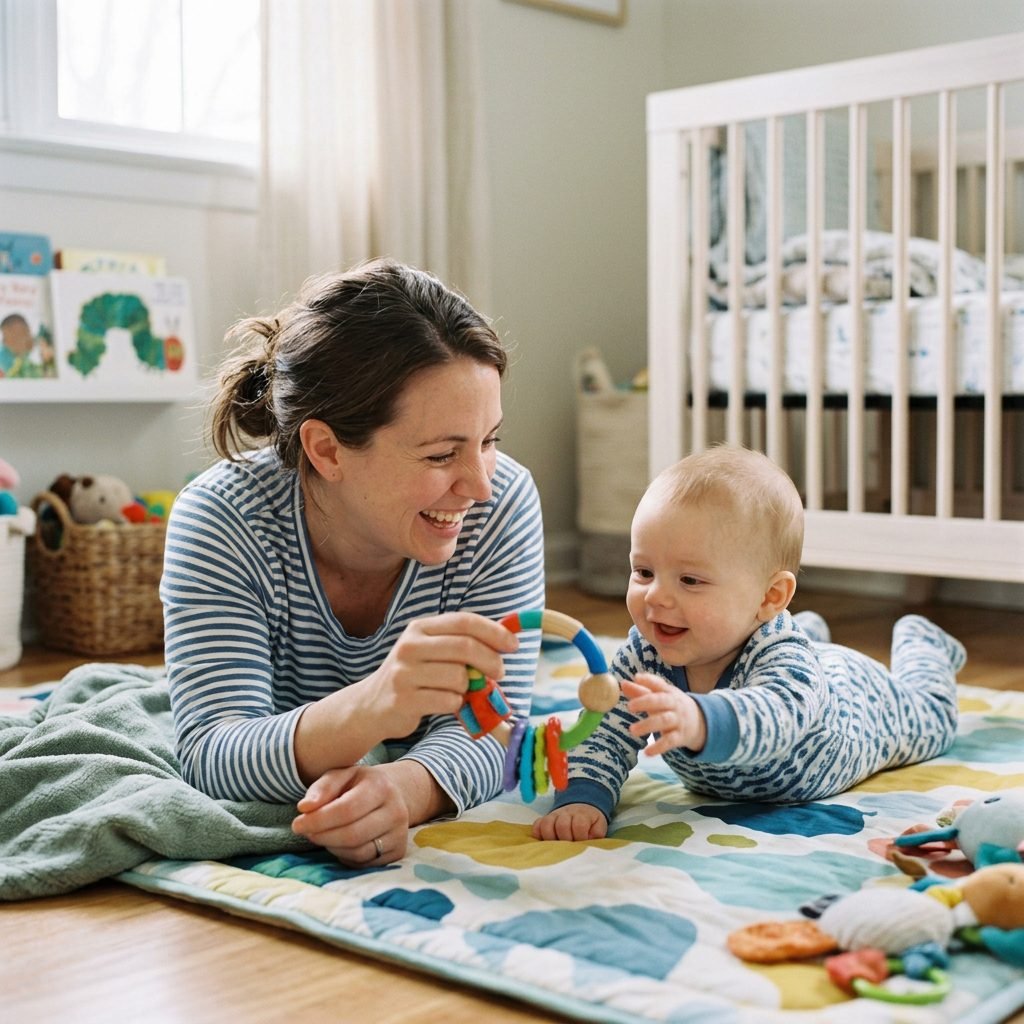
Now that you have your gorgeous DIY sensory rings, how do we use them to actually make tummy time enjoyable? As a postpartum expert, I often hear mamas say, ‘My baby just cries the second I put them down!’ This is completely normal. Tummy time is hard work! But with a little strategy, we can turn those tears into triumphs.
Setting the Stage for Success
- Timing is Everything: Never attempt tummy time when your baby is hungry or right after a full feed (hello, spit-up!). The sweet spot is usually after a diaper change when they are alert, rested, and happy.
- Get Down on Their Level: You are your baby’s favorite toy. Lie down on your stomach facing them. Place the sensory ring between you and gently roll it or tap it to draw their eye line upward.
- Use a Prop: If flat tummy time is too frustrating, roll up a small receiving blanket or use a nursing pillow under their chest and armpits. This elevates them slightly, making it easier to lift their head and reach for their new pool noodle rings.
- Follow the ‘Little and Often’ Rule: Tummy time does not need to be a 20-minute marathon. Aim for 3 to 5 minutes, several times a day.
Here is your tummy time affirmation, Mama: ‘I am giving my baby the tools they need to grow strong. It is okay if they fuss; I am right here supporting them, and every little bit counts.’
If your baby starts to rest their head down and cry, their muscles are telling you they are tired. Scoop them up, offer a warm cuddle, and try again later. The sensory rings will be waiting for next time!
Conclusion
Wrapping Up Your DIY Adventure
There you have it, sweet mamas—a simple, incredibly cheap, and highly effective way to support your baby’s physical and cognitive development right from your living room floor. By transforming a basic pool noodle into a beautiful sensory ring, you are doing so much more than crafting; you are actively participating in your child’s developmental journey. You are giving them the gift of exploration, strength, and confidence.
Remember that motherhood is a beautiful, messy, and constantly evolving journey. Some days, tummy time will be a breeze, filled with coos and successful grasps. Other days, it might last thirty seconds before the tears start. Give yourself and your baby grace. You are doing a spectacular job, and your dedication to finding creative ways to support your little one is proof of your immense love.
So, head to the dollar store, gather your ribbons, and enjoy this little pocket of creativity. We cannot wait to see the beautiful sensory rings you create for your little ones!