How to Make Safe DIY Beeswax Finished Wooden Grasping Rings for Baby
Hello, beautiful mama. Whether you are currently in the thick of your third-trimester nesting phase, navigating the tender postpartum days, or planning the most thoughtful, handcrafted baby shower gift for a sister or best friend, you have landed in exactly the right place. There is something profoundly grounding and deeply maternal about making something with your own two hands for a new baby. In a world overflowing with brightly colored plastic and electronic gadgets, returning to the simplicity of natural wood is like taking a deep, calming breath.
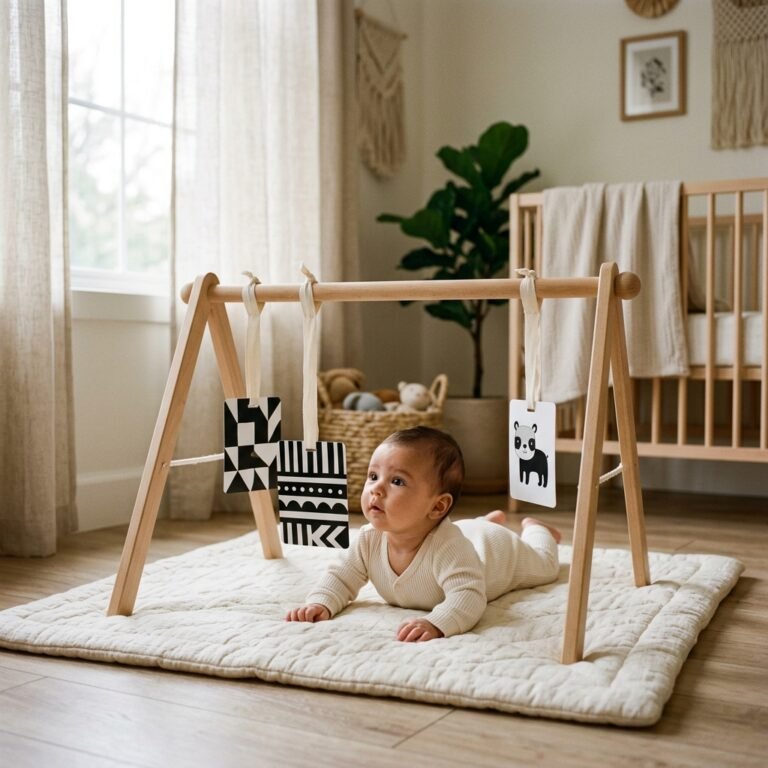
As a doula and pediatric sleep specialist, I spend a lot of time observing babies. One of the most magical milestones to witness is when a tiny infant first discovers their own hands, and shortly after, discovers that those hands can reach, grab, and hold. Wooden grasping rings are an absolute staple in Montessori and Waldorf-inspired nurseries for this very reason. They provide a grounding, organic sensory experience that is incredibly soothing for a baby’s developing nervous system.
But as any expectant or new mother knows, the moment a baby learns to grasp an object, that object is going straight into their mouth. This is where the anxiety often creeps in. Is this paint safe? What kind of finish is on this wood? Will it splinter? By crafting your own wooden grasping rings and finishing them with a homemade, food-grade beeswax polish, you eliminate all of the guesswork. You are creating a beautiful, heirloom-quality sensory tool while wrapping your baby in the ultimate safety and care. In this comprehensive guide, we are going to walk through every single step of sourcing the safest woods, blending a luscious, non-toxic beeswax polish, and creating a grasping ring that your little one will cherish (and chew on!) safely.
Why Wooden Grasping Rings Are a Developmental Powerhouse
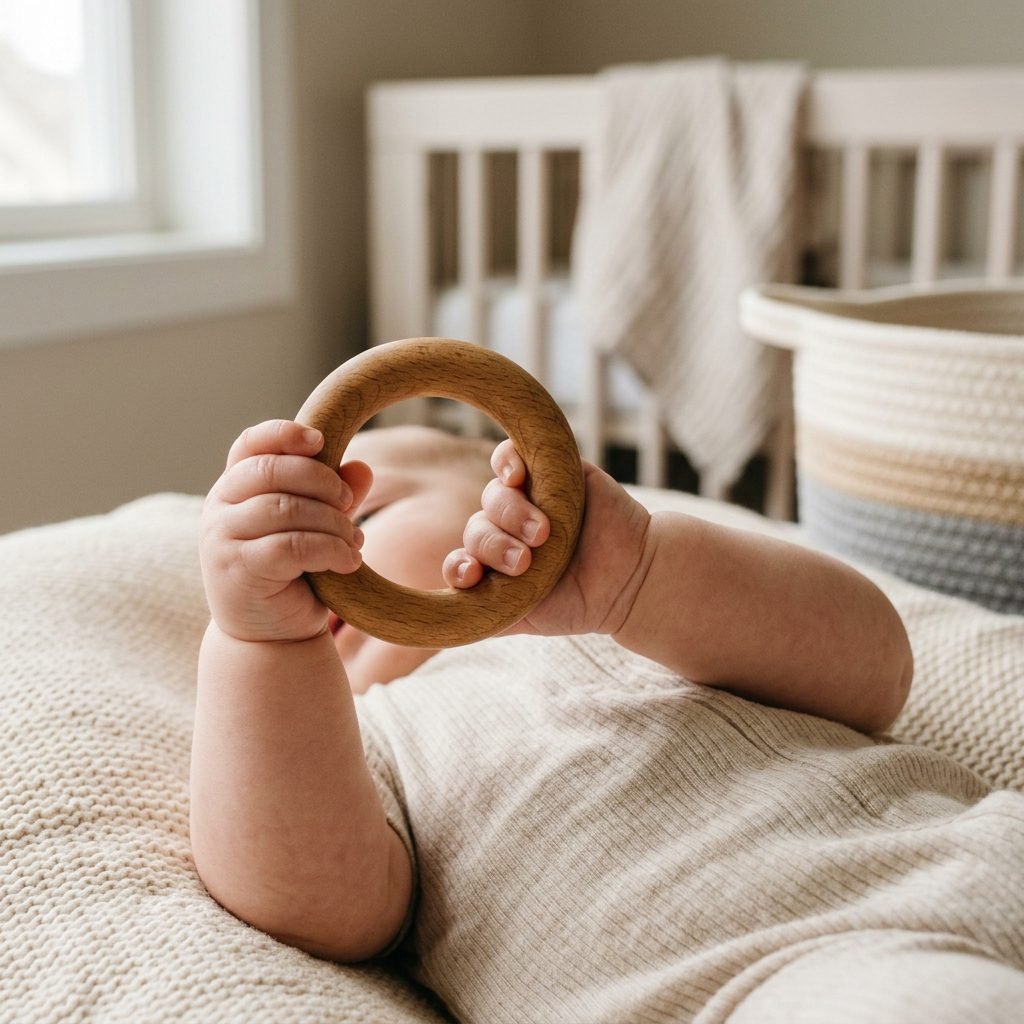
Before we dive into the sandpaper and beeswax, let’s talk about the why. Why are these simple wooden rings so revered by pediatric occupational therapists, doulas, and early childhood educators? It all comes down to sensory feedback and developmental milestones.
Around 3 to 4 months of age, your baby’s involuntary newborn reflexes begin to integrate, and intentional movement takes over. The “palmar grasp”—that incredibly strong, sweet grip your newborn had on your index finger—transitions from an automatic reflex into a purposeful action. Your baby will begin reaching across their body (a critical milestone known as “crossing the midline”) to grab objects that catch their eye.
Wood offers a sensory experience that plastic simply cannot replicate. When a baby holds a wooden ring, they feel a subtle, comforting weight. The material warms to their body temperature, providing a soothing, organic tactile experience. Furthermore, the natural grain of the wood gives tiny fingertips a gentle texture to explore, which stimulates brain development without causing sensory overload.
A Gentle Reminder from Your Doula: Overstimulation is a very real trigger for fussy babies and disrupted sleep. Natural, unpainted wooden toys provide exactly the right amount of sensory input—enough to engage their curiosity, but gentle enough to keep their nervous system calm and regulated before naptime.
As your baby transitions into the teething phase (often beginning around 4 to 6 months), the firm, unyielding surface of a hardwood ring provides counter-pressure against their sore gums. This counter-pressure is incredibly relieving for erupting teeth, making your DIY grasping ring a multi-purpose tool that will grow with your child through their entire first year.
Sourcing Safe, Non-Toxic Materials for Your Baby
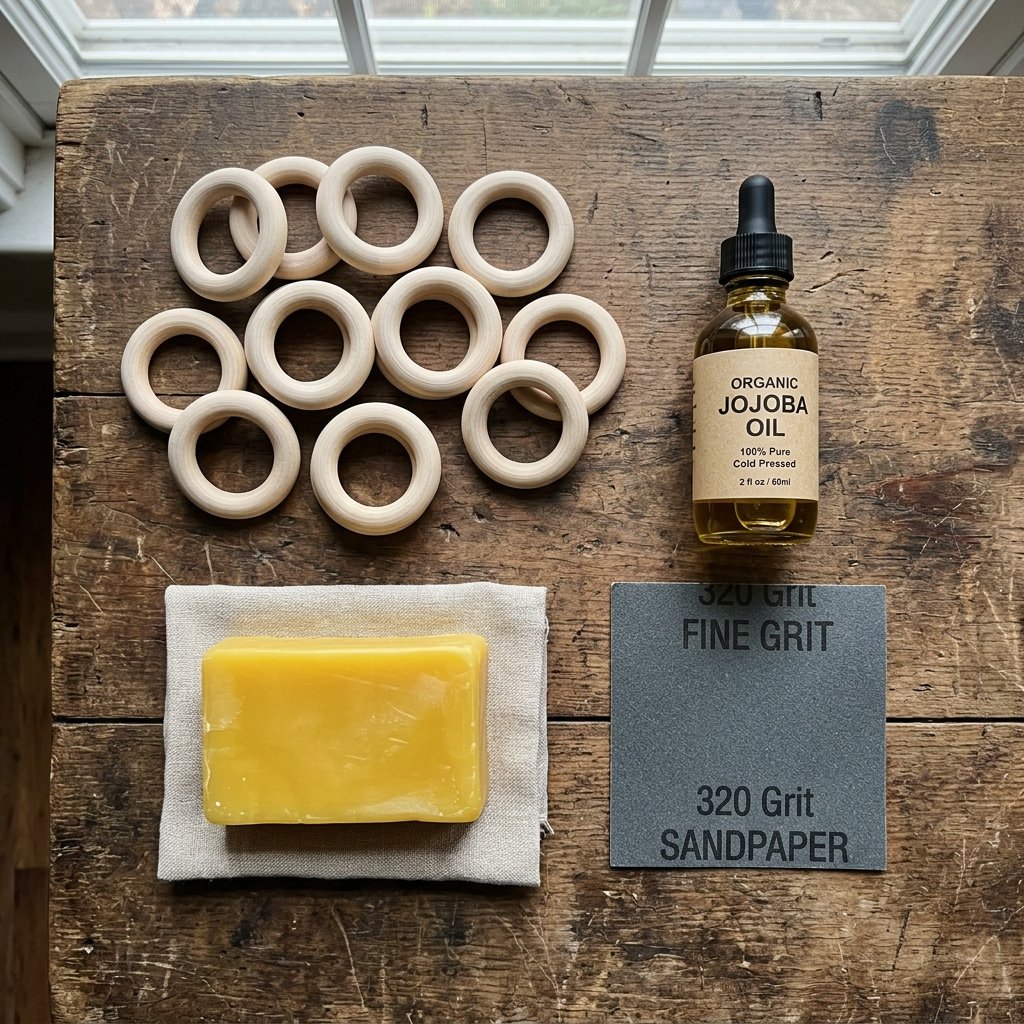
When it comes to anything that will end up in your baby’s mouth, uncompromising safety is our top priority. Not all wood is created equal, and not all oils are safe for infant ingestion. The foundation of a safe DIY grasping ring lies in selecting the right hardwood and the purest finishing ingredients.
Choosing the Right Wood
You must exclusively use hardwoods for baby toys. Softwoods, like pine or cedar, are prone to splintering and denting when subjected to the impressive strength of a teething baby’s jaw. Additionally, you want to avoid woods with open pores (like red oak or walnut) as they can trap bacteria or trigger tree-nut allergies.
| Wood Type | Safety Profile for Babies | Characteristics |
|---|---|---|
| Hard Maple | Highly Recommended (Safest) | Extremely durable, tight grain, will not splinter easily, naturally antibacterial. |
| Birch | Highly Recommended | Smooth, strong, light in color, widely used in premium European wooden toys. |
| Beech | Highly Recommended | Very hard, non-splintering, excellent for teething rings and pacifier clips. |
| Pine / Cedar | AVOID (Unsafe) | Softwoods that splinter easily; cedar contains natural oils that can irritate a baby’s stomach. |
| Walnut / Oak | AVOID (Unsafe) | Open grain traps moisture/bacteria; walnut poses a potential tree-nut allergy risk. |
Creating the Perfect Natural Finish
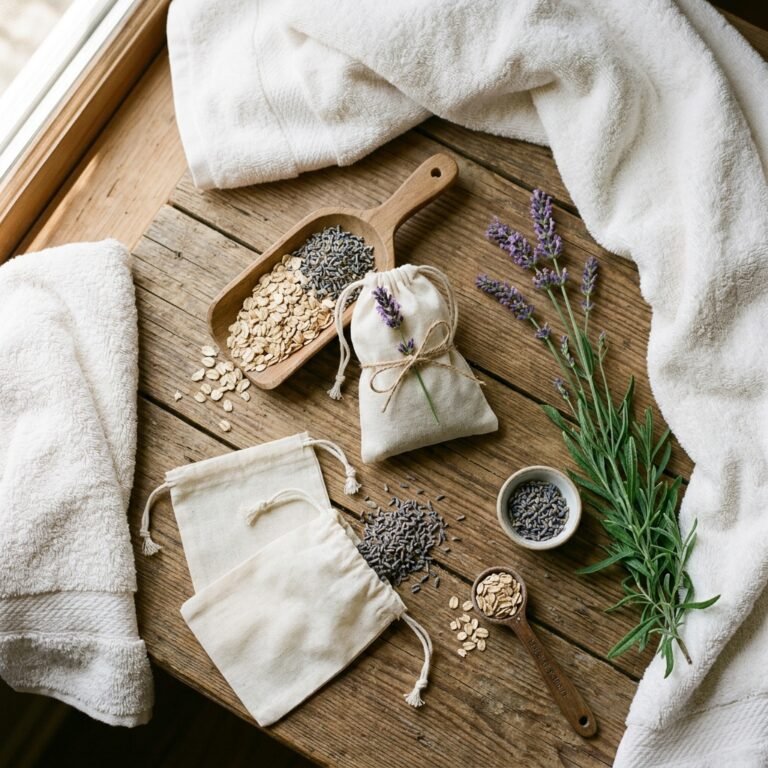
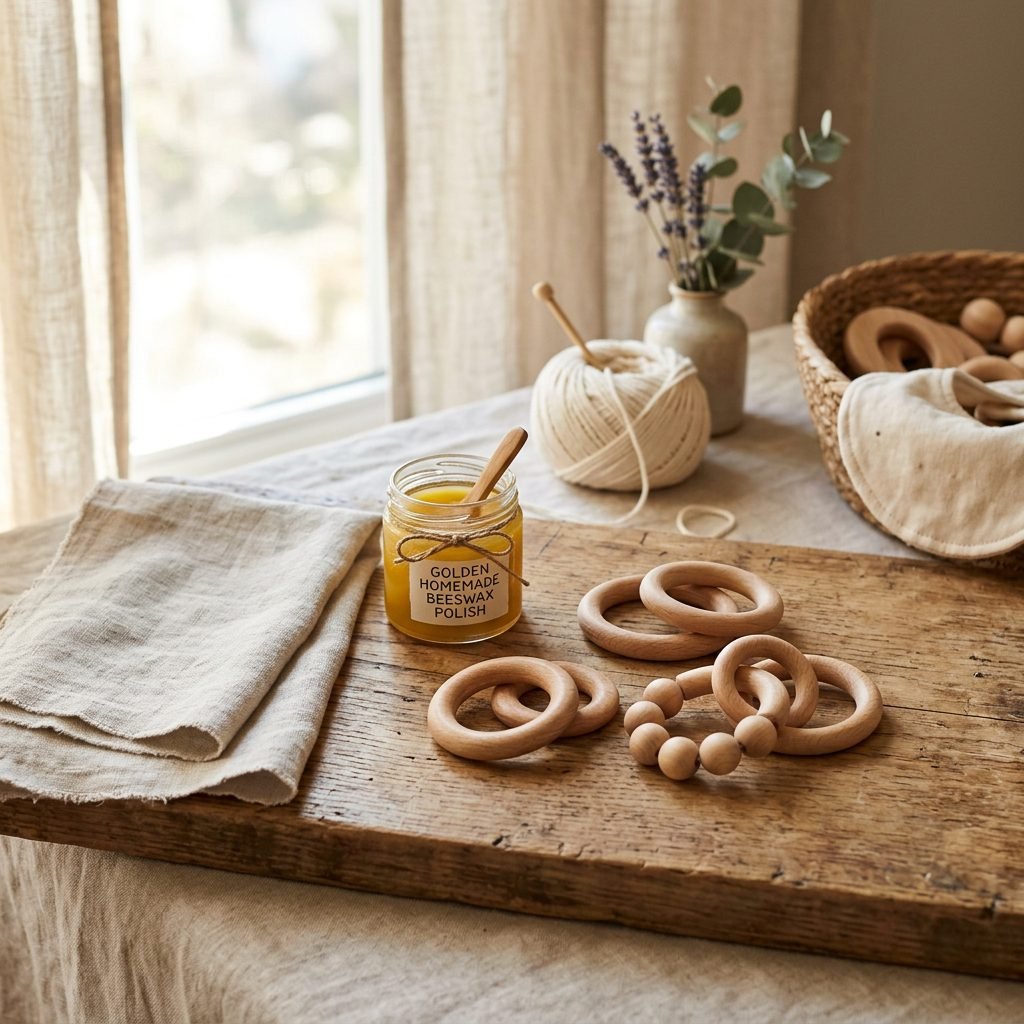
Raw wood needs to be sealed to prevent it from drying out, cracking, and absorbing baby drool. To do this safely, we will create a “wood butter” using only two food-grade ingredients: pure beeswax and a baby-safe carrier oil.
- Pure, Cosmetic-Grade Beeswax: Look for 100% pure, unbleached yellow beeswax pellets from a reputable source. Beeswax naturally seals the wood, provides a subtle, sweet honey scent, and offers antibacterial properties.
- Organic Carrier Oil: You will need a food-grade oil that does not easily go rancid. Fractionated coconut oil, organic jojoba oil, or pure olive oil are excellent choices. Avoid nut oils (like almond or walnut oil) to eliminate any risk of allergic reactions.
Step-by-Step: Crafting Your Beeswax Finished Wooden Rings
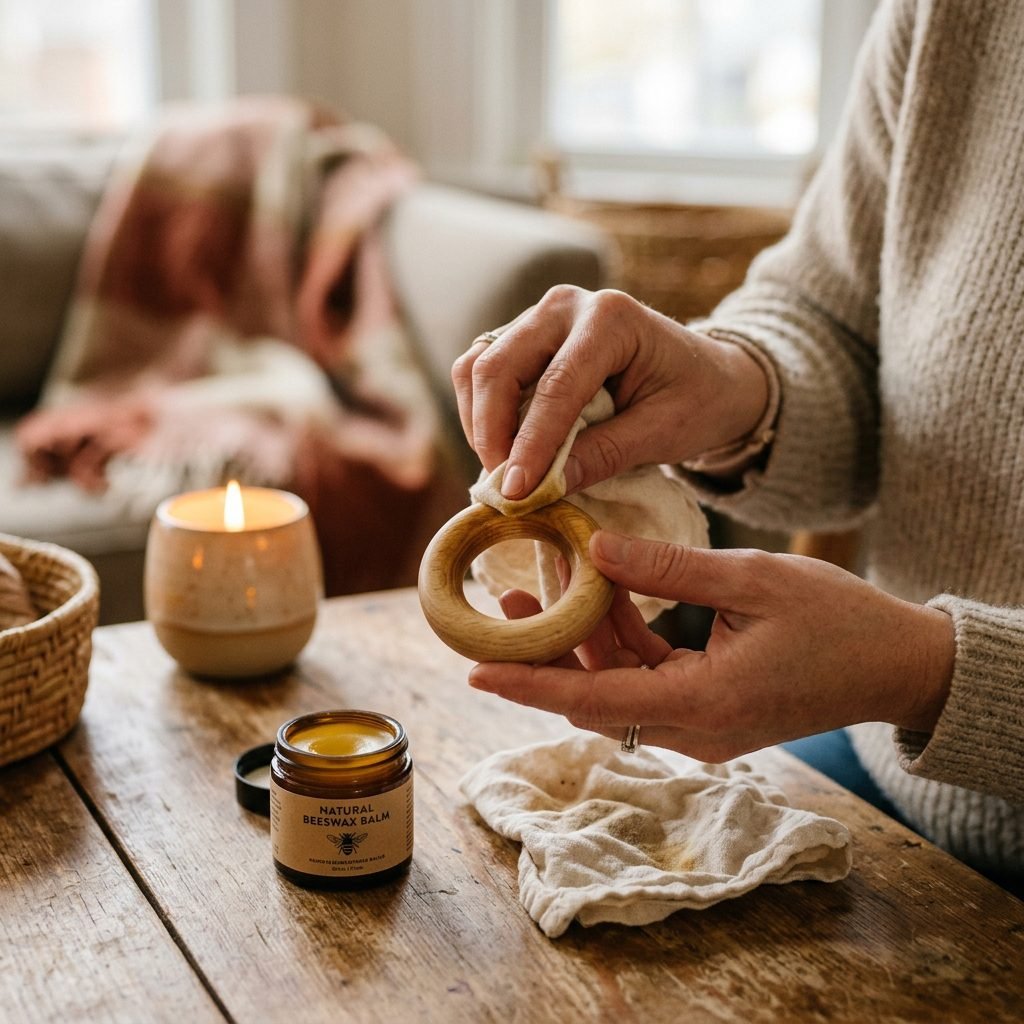
Now for the fun part! Put on some calming music, pour yourself a cup of red raspberry leaf tea, and let’s get crafting. This process is surprisingly simple, incredibly satisfying, and totally achievable even if you have zero woodworking experience.
Step 1: Inspect and Sand the Wooden Rings
You can purchase pre-cut, unfinished maple or beech wood rings online or at local craft stores. (Ensure they are explicitly labeled as untreated and unfinished). Even if they feel smooth to the touch, you must sand them to ensure there are absolutely no micro-splinters.
- Take a sheet of fine-grit sandpaper (around 400 to 600 grit is perfect).
- Gently rub the sandpaper over the entire surface of the ring, paying special attention to the inner curve.
- Wipe the ring down with a slightly damp, lint-free cloth to remove all wood dust. Let it air dry completely for 15 to 20 minutes.
Step 2: Brew Your “Wood Butter” Polish
This recipe yields enough polish to finish several rings, and you can store the leftover balm in a glass jar to maintain the toys over the coming months!
| Ingredient | Measurement | Purpose |
|---|---|---|
| Pure Beeswax Pellets | 1 part (e.g., 1 tablespoon) | Seals the wood, provides a protective barrier against moisture. |
| Organic Jojoba or Coconut Oil | 3 parts (e.g., 3 tablespoons) | Conditions the wood, prevents cracking, makes the wax spreadable. |
- Create a gentle double boiler by placing a heat-safe glass measuring cup or mason jar into a small saucepan filled with an inch of simmering water.
- Add your 1 part beeswax and 3 parts oil to the glass jar.
- Stir continuously with a wooden skewer or dedicated craft spoon until the beeswax is completely melted and blended with the oil.
- Carefully remove the jar from the heat and let it cool. As it cools, it will solidify into a soft, buttery balm.
Step 3: Apply the Finish and Buff
- Once your wood butter is cool enough to touch (it should feel like a soft lip balm), scoop a small amount onto a soft, clean cotton cloth.
- Massage the wax generously into the wooden ring. You will immediately see the wood grain pop and take on a rich, warm glow.
- Let the ring sit and absorb the oils for about 1 to 2 hours.
- Take a clean, dry section of your cotton cloth and vigorously buff the ring. This removes any excess wax and leaves a smooth, satin finish that feels incredibly soft against a baby’s gums.
Elevating the Play: Adding Sensory Fabric “Bunny Ears”
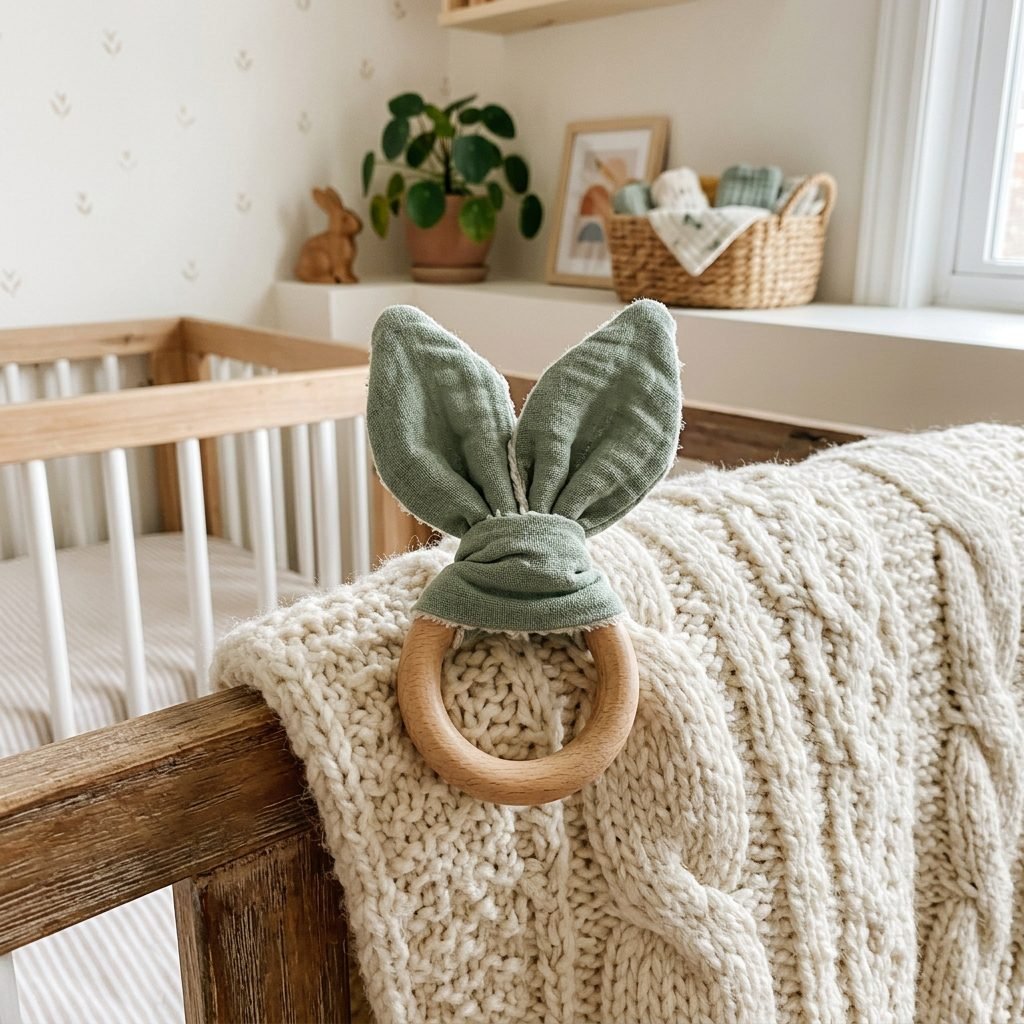
While a beautifully finished wooden ring is perfect on its own, adding a tactile fabric element turns it into a multi-sensory delight. “Bunny ear” teethers are incredibly popular because they give babies a soft, absorbent material to chew on alongside the hard wood, and they are wonderfully easy for tiny fists to grab.
For this addition, you will want to use organic, breathable fabrics. Organic cotton muslin, linen, or bamboo terry cloth are fantastic options. If you are crafting for a newborn (under 3 months), consider using a high-contrast black-and-white fabric, as this greatly stimulates their developing optic nerve.
How to Tie the Perfect Bunny Ears:
1. Cut a strip of organic fabric approximately 12 inches long and 3 inches wide.
2. Taper the ends so they look like pointed bunny ears.
3. Fold the fabric strip in half, creating a loop at the top.
4. Thread the loop through the center of your finished wooden ring.
5. Take the two pointed “ears” and pull them tightly through the loop, securing them to the ring.
6. Pull firmly to ensure the knot is tight and secure.
The best part about this design is that the fabric can be easily untied and tossed into the washing machine whenever it gets covered in baby drool! You can even make multiple fabric strips in different textures (like adding a layer of crinkle paper inside the fabric before sewing) to rotate them out and keep the sensory experience fresh and exciting for your little one.
Toy Maintenance: Keeping Wooden Teethers Safe and Clean
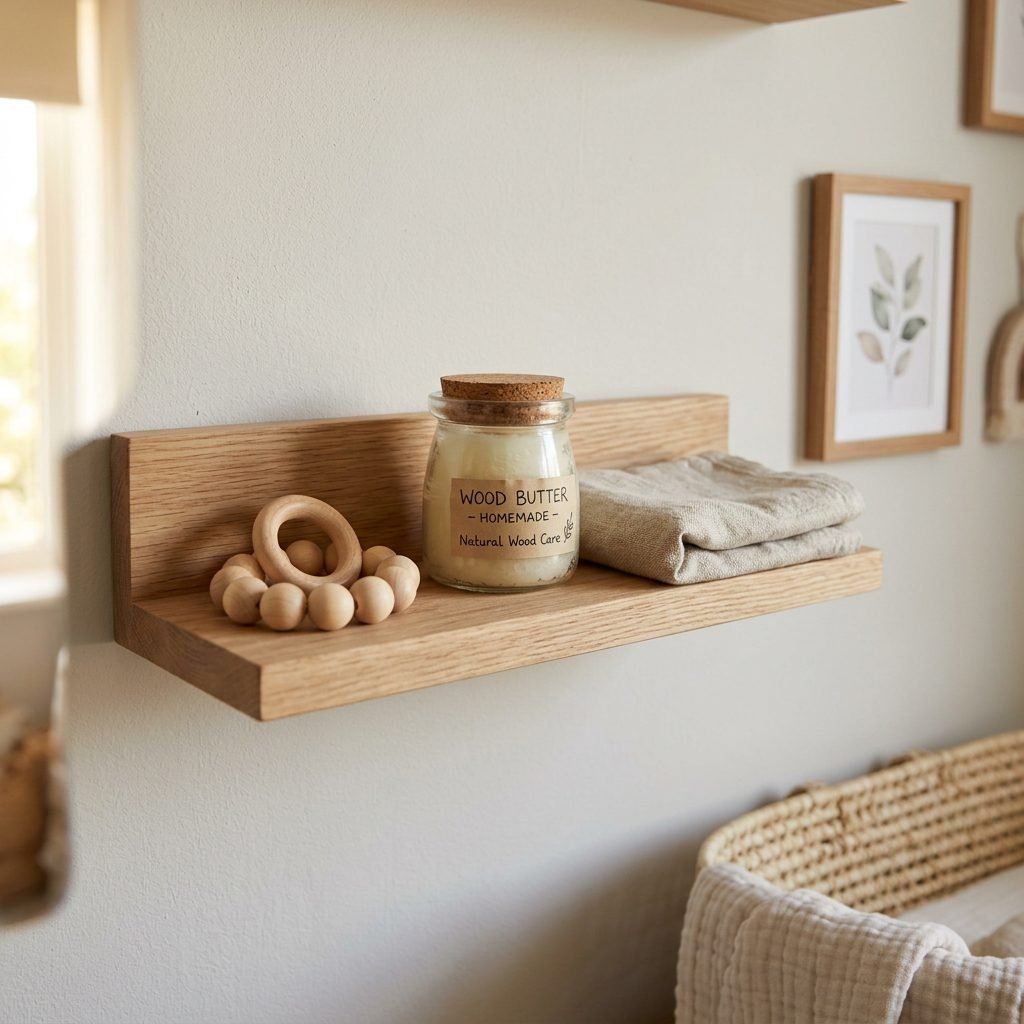
As a postpartum nurse and doula, I am constantly asked about the best ways to sanitize baby items. We are so used to throwing plastic toys into the dishwasher or boiling silicone teethers, but natural wood requires a gentler, more mindful approach. Proper care will ensure your beautiful DIY grasping rings last through the teething years and can even be saved as keepsakes.
The Golden Rules of Cleaning Wood Toys
- Never Submerge in Water: Wood is highly porous. Soaking a wooden ring in water will cause it to swell, warp, and eventually crack, creating dangerous splinters.
- Spot Clean Only: To clean the ring, simply dampen a clean washcloth with warm water and a tiny drop of mild, baby-safe dish soap (like Branch Basics or Dr. Bronner’s). Wipe the ring down thoroughly, then immediately dry it with a clean towel.
- Air Dry in the Open: Never put a damp wooden toy in a closed toy box. Let it air dry completely in an open, well-ventilated space.
When to Reapply Your Beeswax Finish
Over time, with all the chewing, drooling, and wiping, the wood will begin to look dull and feel dry to the touch. This is your cue to re-condition the wood! Simply grab your jar of homemade wood butter, rub a small amount into the ring, let it sit for an hour, and buff it out. Depending on how heavily your baby uses the toy, you should aim to reapply the wax every 2 to 4 weeks.
The Daily Safety “Tug Test”
Before handing any toy to your baby, make it a habit to perform a quick visual and physical inspection. Check the wooden ring for any hairline cracks, rough spots, or signs of splintering. Give the fabric bunny ears a firm tug to ensure the knot is secure. If a wooden ring ever shows signs of cracking or structural weakness, discard it immediately. Safety is always our highest priority, and it is far better to craft a fresh, new ring than to risk a choking hazard.
Conclusion
Crafting your own beeswax-finished wooden grasping rings is so much more than just a fun DIY project; it is an act of deep maternal love and intention. In the quiet moments of sanding the wood smooth and massaging the golden wax into the grain, you are pouring your protective, nurturing energy into an object that will bring comfort and joy to your baby. You are creating a safe, non-toxic environment for them to explore the world, one tiny grasp at a time.
Whether you are making these for your own sweet baby or wrapping them up with a beautiful linen bow for a dear friend’s baby shower, you can feel incredibly proud of the care and mindfulness you’ve put into this craft. Trust your instincts, enjoy the creative process, and savor these fleeting, beautiful milestones. You are doing a wonderful job, mama.
Medical & Safety Disclaimer: The information provided in this article is for educational and crafting purposes only and is not a substitute for professional medical or pediatric advice. Always supervise your baby during play and teething. Inspect all wooden toys daily for cracks, splinters, or wear, and discard immediately if damaged to prevent choking hazards. Ensure all materials used are food-grade and non-toxic. If your baby has known allergies, consult with your pediatrician before introducing new oils or materials.