How to Build DIY Leather Strap Floating Bookshelves for a Modern Nursery
Welcome to the Beautiful Journey of Nesting
Oh, mama, I see you. Whether you are 32 weeks along and feeling that sudden, irresistible urge to organize every tiny onesie, or you are a new mom looking to add a touch of soul to your little one’s sanctuary, you are in exactly the right place. Nesting is more than just a biological drive; it is a spiritual preparation for the soul-shifting transition into motherhood. Creating a space that feels calm, organized, and intentional is a form of self-care for you and a warm welcome for your baby.
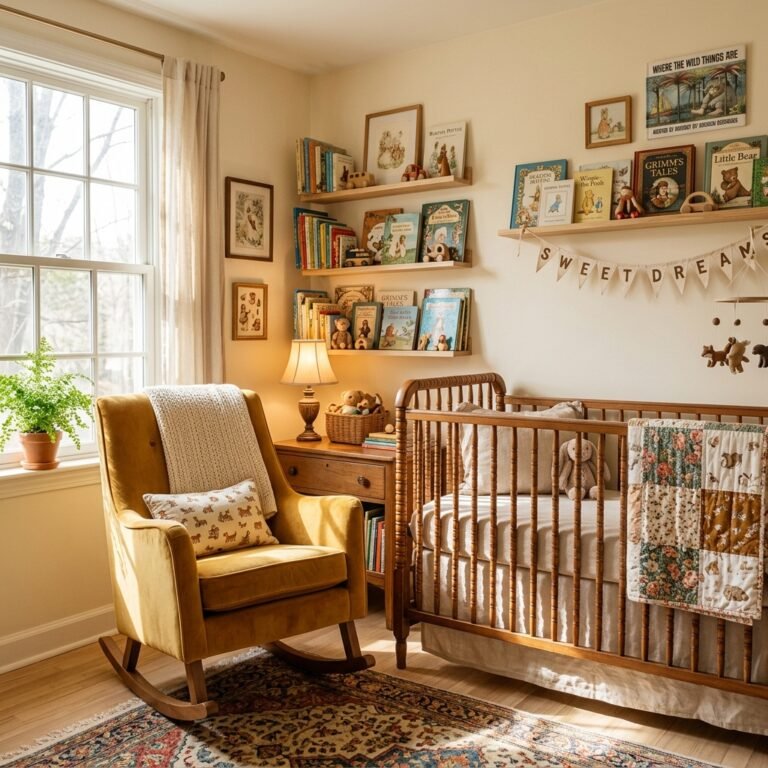
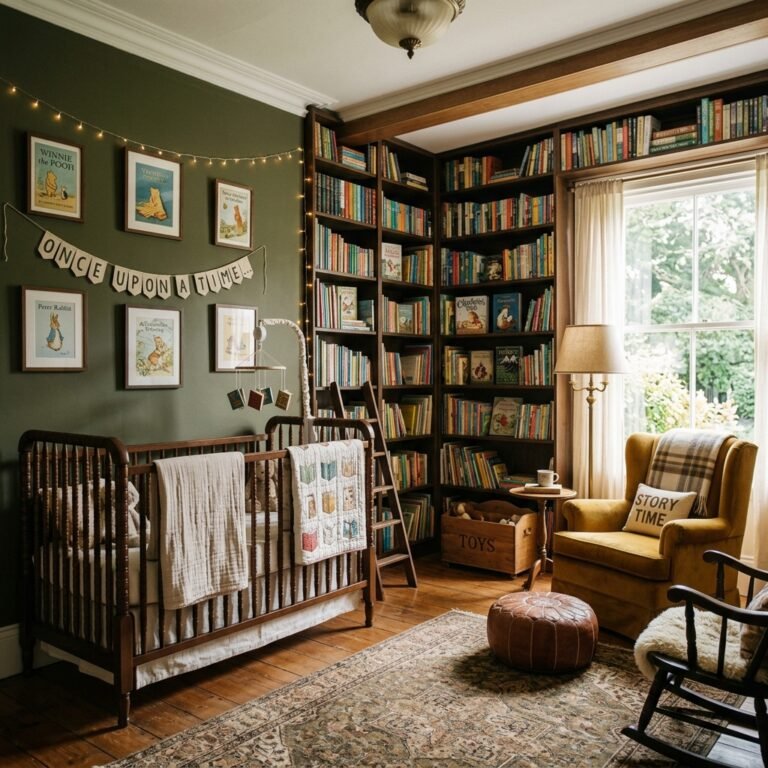
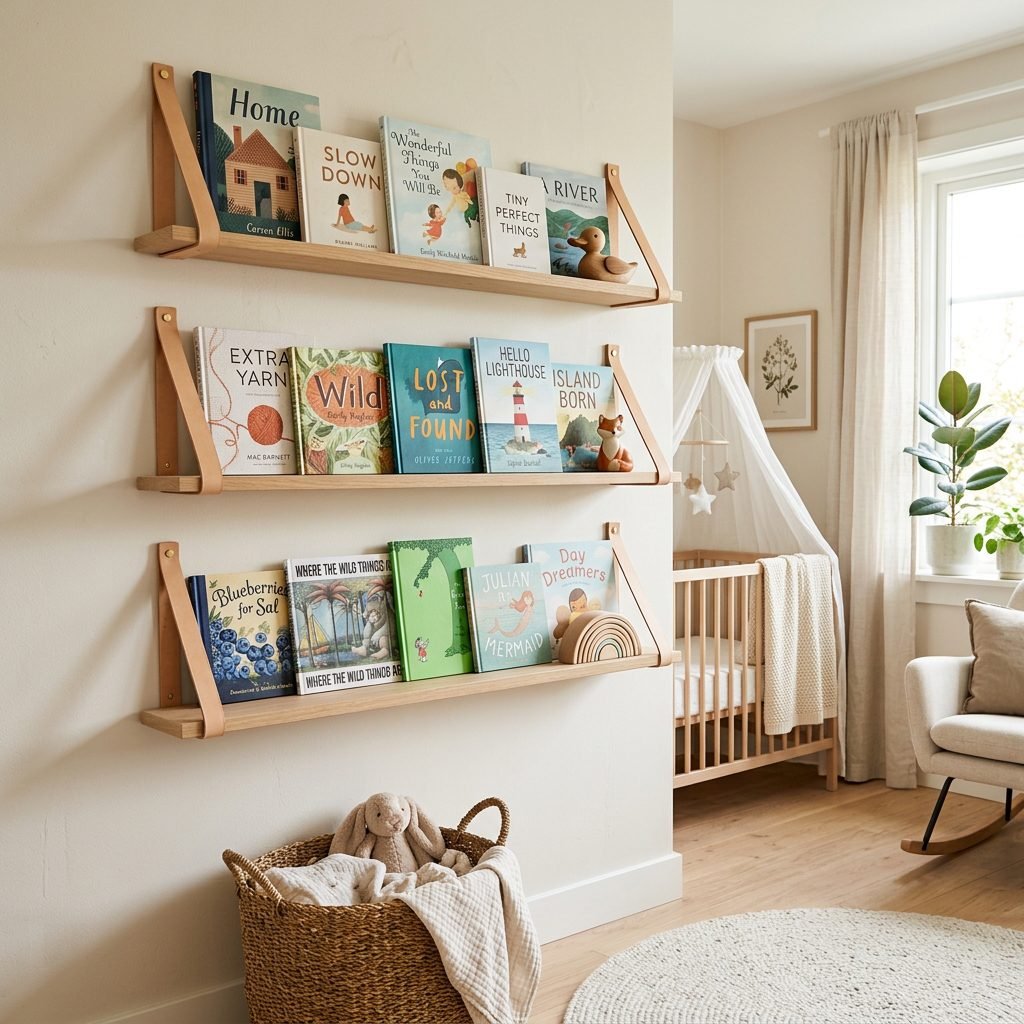
Today, we are diving into one of my absolute favorite nursery projects: DIY Leather Strap Floating Bookshelves. These shelves are the epitome of modern nursery design—combining the organic warmth of leather with the clean lines of natural wood. They are perfect for small spaces because they keep the floor clear while turning your baby’s first library into a piece of art. As a doula, I often tell my clients that the environment we birth and raise our children in matters deeply. Let’s make yours beautiful, safe, and uniquely yours.
The Heart of the Project: Materials and Budget
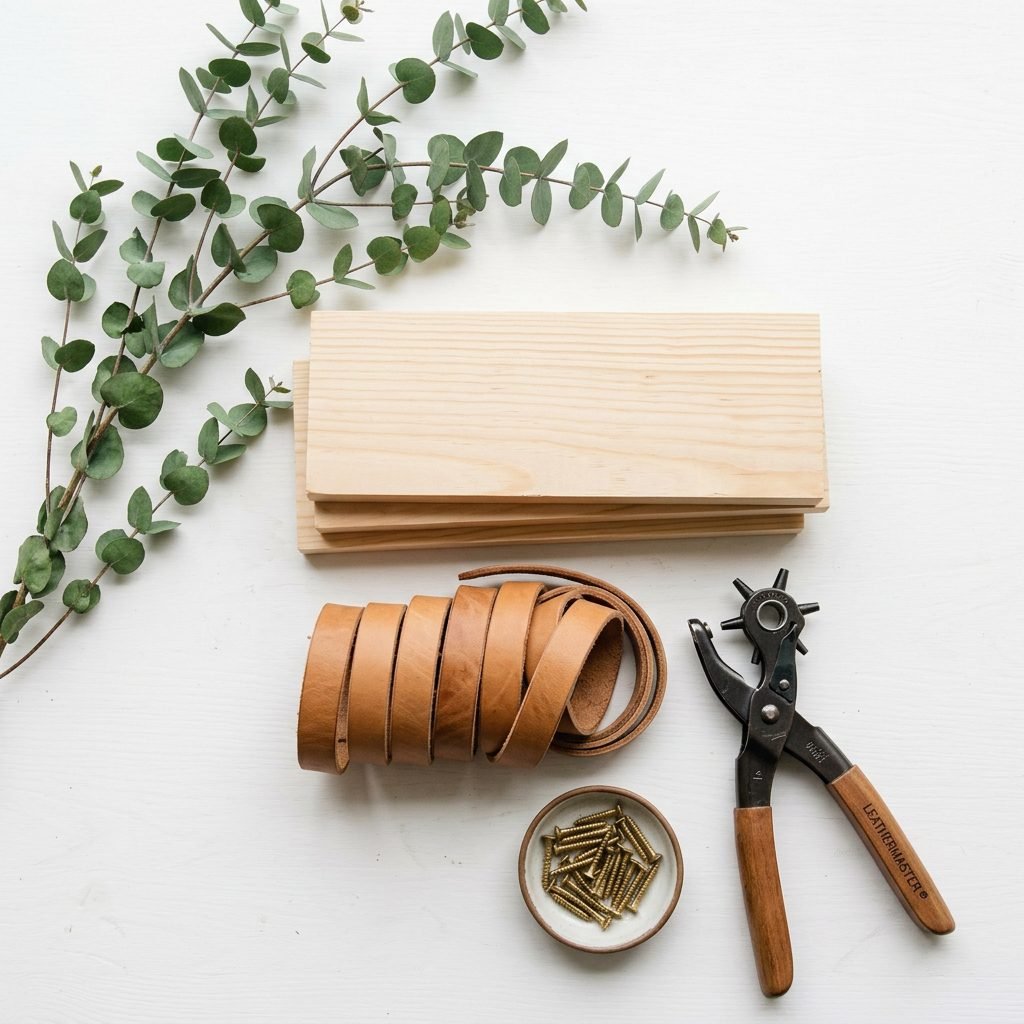
Before we pick up a drill, let’s gather our supplies. I want this process to be as stress-free as possible for you. You don’t need a massive workshop—just a few key pieces and a little bit of love. Choosing high-quality materials ensures these shelves stay secure as your little explorer grows.
When selecting your leather, look for vegetable-tanned leather if possible, as it is processed without harsh chemicals, making it a wonderful choice for a baby’s environment. For the wood, poplar or pine offers a beautiful light grain that fits the Scandi-modern aesthetic perfectly.
| Material Item | Estimated Cost | Purpose |
|---|---|---|
| Natural Wood Planks (24-36 inches) | $15 – $25 | The sturdy base for your books. |
| Leather Straps (1-inch width) | $20 – $30 | The stylish support system. |
| Heavy-Duty Wall Anchors & Screws | $5 – $10 | Ensures the shelf stays on the wall. |
| Leather Hole Punch or Drill | $10 – $15 | To create clean holes in the leather. |
| Brass or Black Washers | $3 – $5 | Adds a decorative, secure finish. |
Pro-Tip from your Doula Sister: If you are in your third trimester, please don’t do the heavy lifting alone! Invite a partner, a friend, or your own mom over. Making this a collaborative project is a beautiful way to bond before the baby arrives.
Step-by-Step: Crafting Your Minimalist Masterpiece
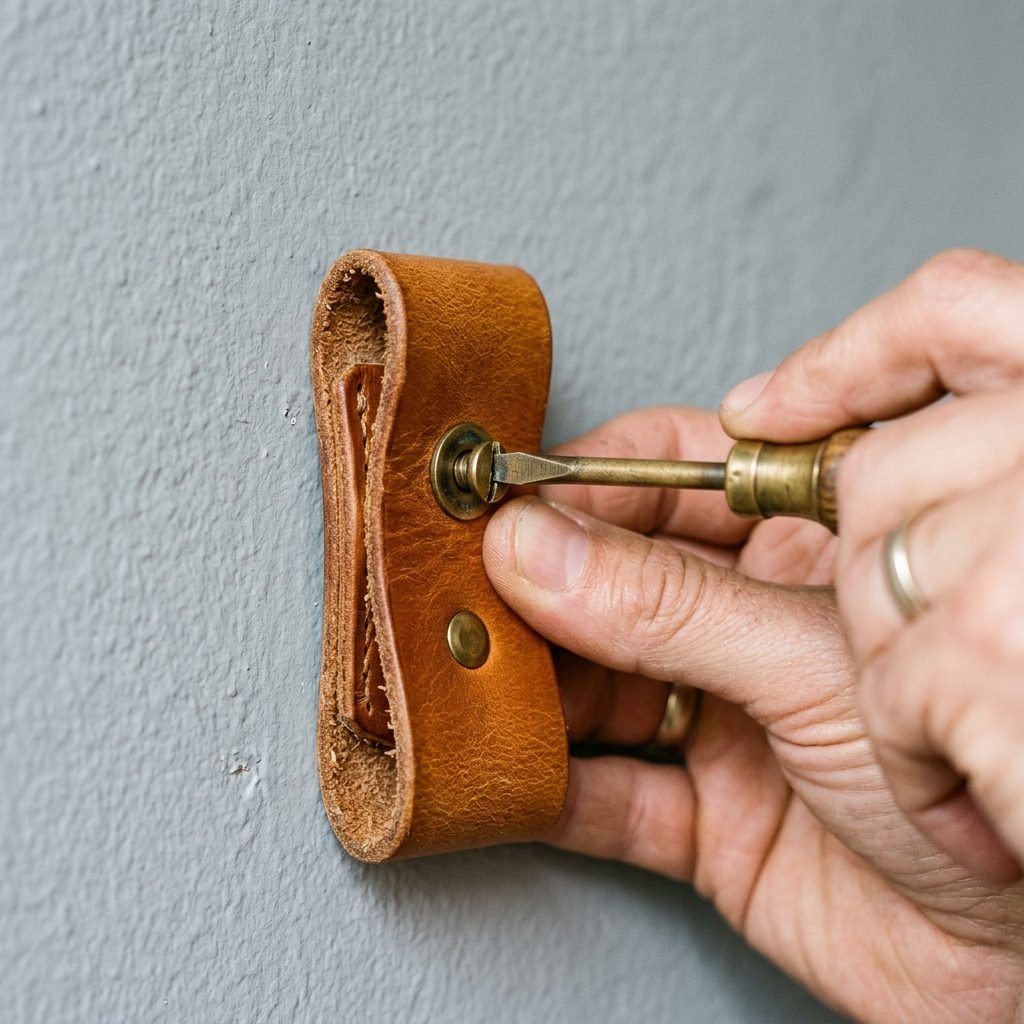
Ready to create? Follow these steps closely. We are going for a look that is both airy and incredibly secure. Take your time—there is no rush in the nursery.
- Prep Your Wood: Sand your wooden planks until they are buttery soft. You don’t want any splinters near those curious little fingers. You can leave them raw for a natural look or seal them with a baby-safe, VOC-free beeswax finish.
- Measure and Cut the Leather: For a standard 6-8 inch deep shelf, you will want each leather strap to be approximately 28-30 inches long. You will need two straps per shelf.
- Punch Your Holes: Fold your leather strap in half. Using your leather punch, create a hole through both ends of the strap about 1 inch from the top. This ensures your shelf hangs perfectly level.
- Mark Your Wall: This is the most important step! Use a level to ensure your marks are straight. Space your straps about 4-6 inches in from the ends of your wood plank.
- Install Anchors: Unless you are drilling directly into a wall stud, always use heavy-duty drywall anchors. We want these shelves to hold the weight of heavy board books without budging.
- Mount the Straps: Thread your screw through a decorative washer, then through both holes of your folded leather strap, and drive it into the wall anchor.
- Slide in the Shelf: Once both straps are securely mounted, simply slide your wooden plank through the loops. The weight of the wood and books will tension the leather, keeping it in place.
“The beauty of DIY isn’t in perfection; it’s in the intention you pour into every screw and every strap for the little soul who will grow up in this room.”
Safety First: Securing the Sanctuary
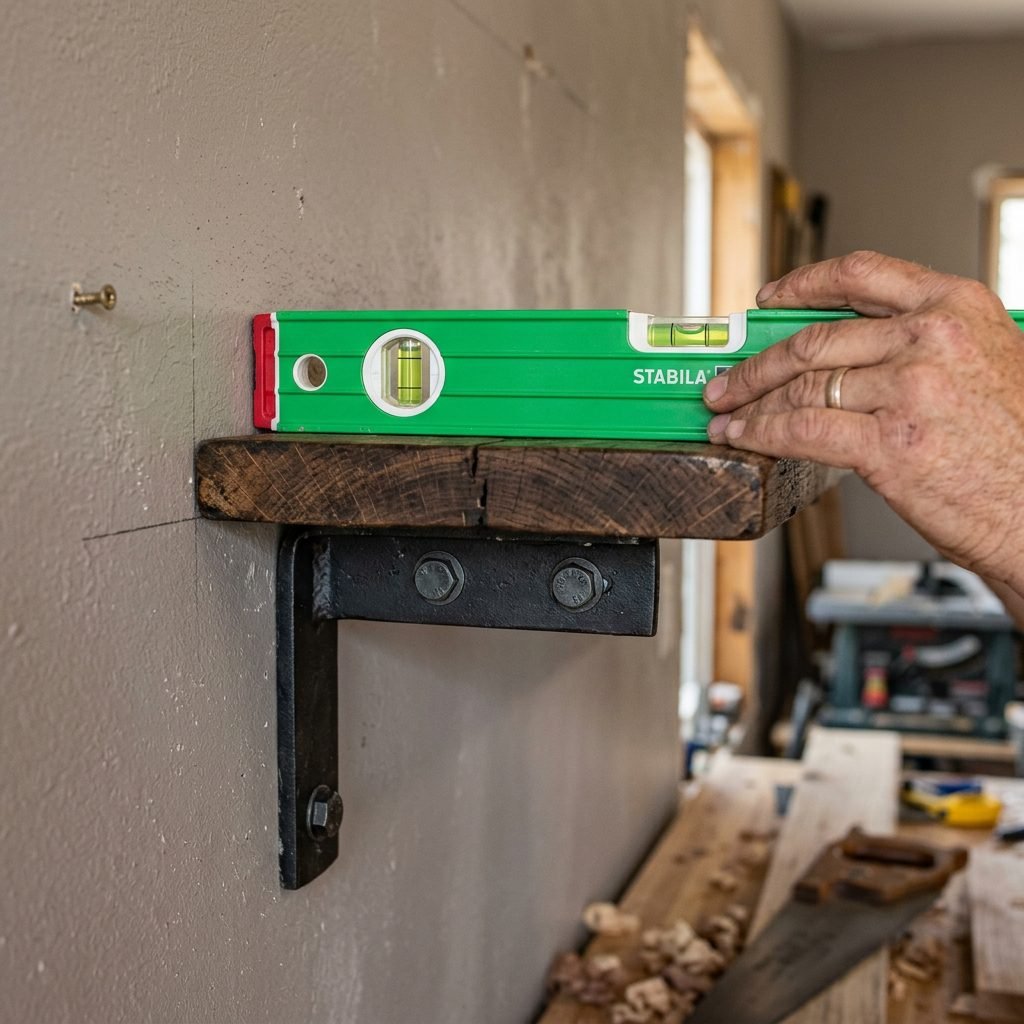
As a doula and a safety-conscious nurse, I cannot stress this enough: nursery safety is non-negotiable. While these shelves look delicate and floating, they must be anchored like a fortress. Once your baby starts pulling up or cruising, those shelves will look like very tempting handles.
- Weight Limits: These shelves are designed for books and light decor. Avoid placing heavy humidifiers or ceramic lamps on them.
- Height Placement: During the newborn stage, you can hang them at eye level for your convenience. However, if you plan to keep them there as baby grows, ensure they are high enough that a standing toddler cannot pull the wood plank out of the straps.
- The Shake Test: Once installed, give the shelf a firm tug. If there is any wiggle in the wall anchor, stop and reinstall with a more robust mounting system.
- Clearance: Never hang shelves directly over a crib. Even the most secure DIY can be affected by unforeseen circumstances (like an earthquake or an exceptionally rambunctious toddler).
Safety Checklist for Modern Moms:
| Safety Feature | Status | Why It Matters |
|---|---|---|
| Drywall Anchors (50lb+ rated) | Required | Prevents the shelf from pulling out of the wall. |
| Sanded Edges | Required | Prevents scratches and splinters. |
| Non-Toxic Finishes | Recommended | Ensures air quality remains pure for baby. |
| Stud Finder Usage | Best Practice | The most secure way to hang any furniture. |
Styling the Vibe: Curating Your Baby’s First Library
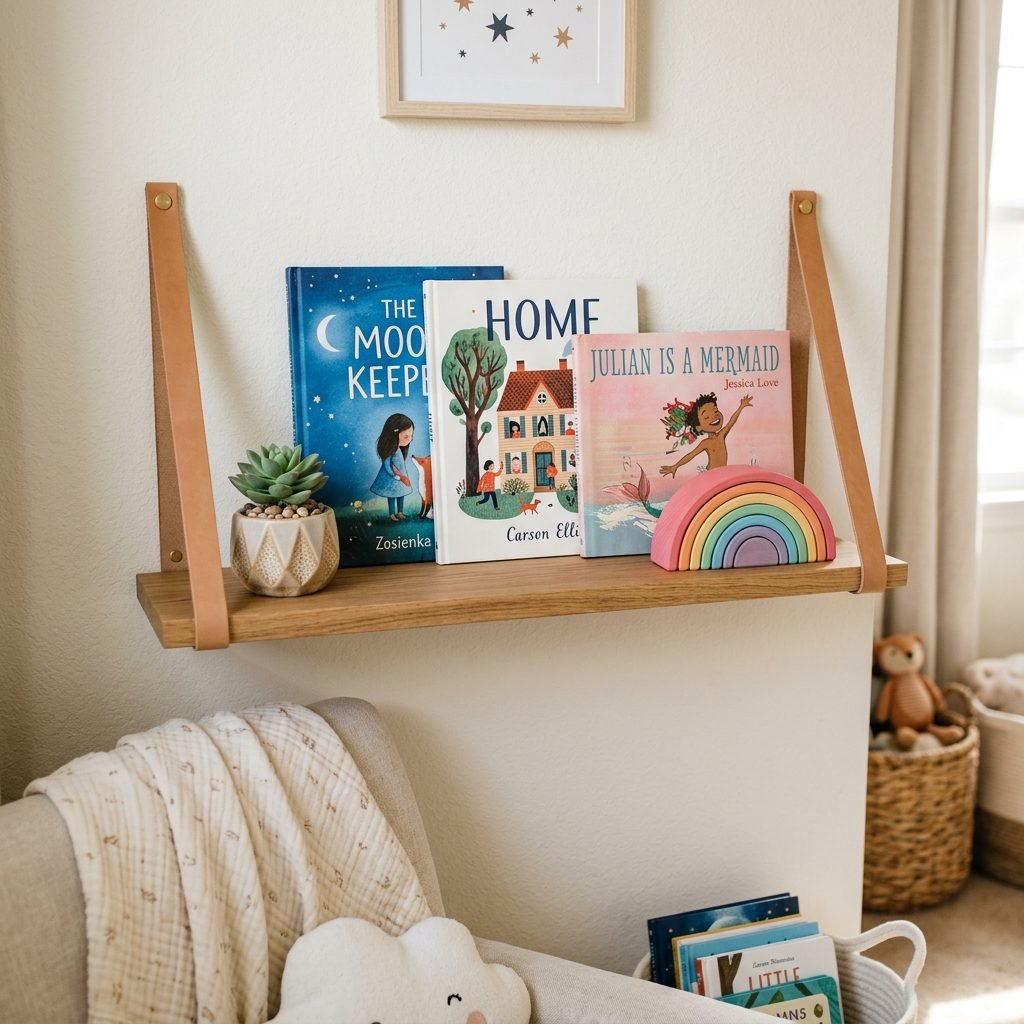
Now for the fun part—the styling! These leather strap shelves act as a frame for the beautiful colors of children’s literature. In a modern nursery, less is often more. We want to create a visual rhythm that feels peaceful rather than cluttered.
The Rule of Three
In interior design, things arranged in odd numbers are more appealing to the eye. Try grouping three books of varying heights, or two books and one small wooden animal or a silicone teething toy. This creates a focal point without overwhelming the narrow shelf space.
Color Coding vs. Natural Tones
For a truly modern look, you can face the books forward (cover out). This not only looks like a gallery but also helps your child identify their favorite stories before they can even read. If the covers are too bright for your neutral aesthetic, try turning the spines inward for a “blind book” look, though as a developmental expert, I recommend showing those beautiful illustrations!
Rotating the Collection
Don’t feel the need to cram every book you received at your baby shower onto these shelves. Pick 5-7 favorites and rotate them monthly. This keeps the environment fresh for your baby’s developing brain and makes clean-up a breeze for you during those tired postpartum days.
The Doula’s Corner: Why Reading Matters from Day One
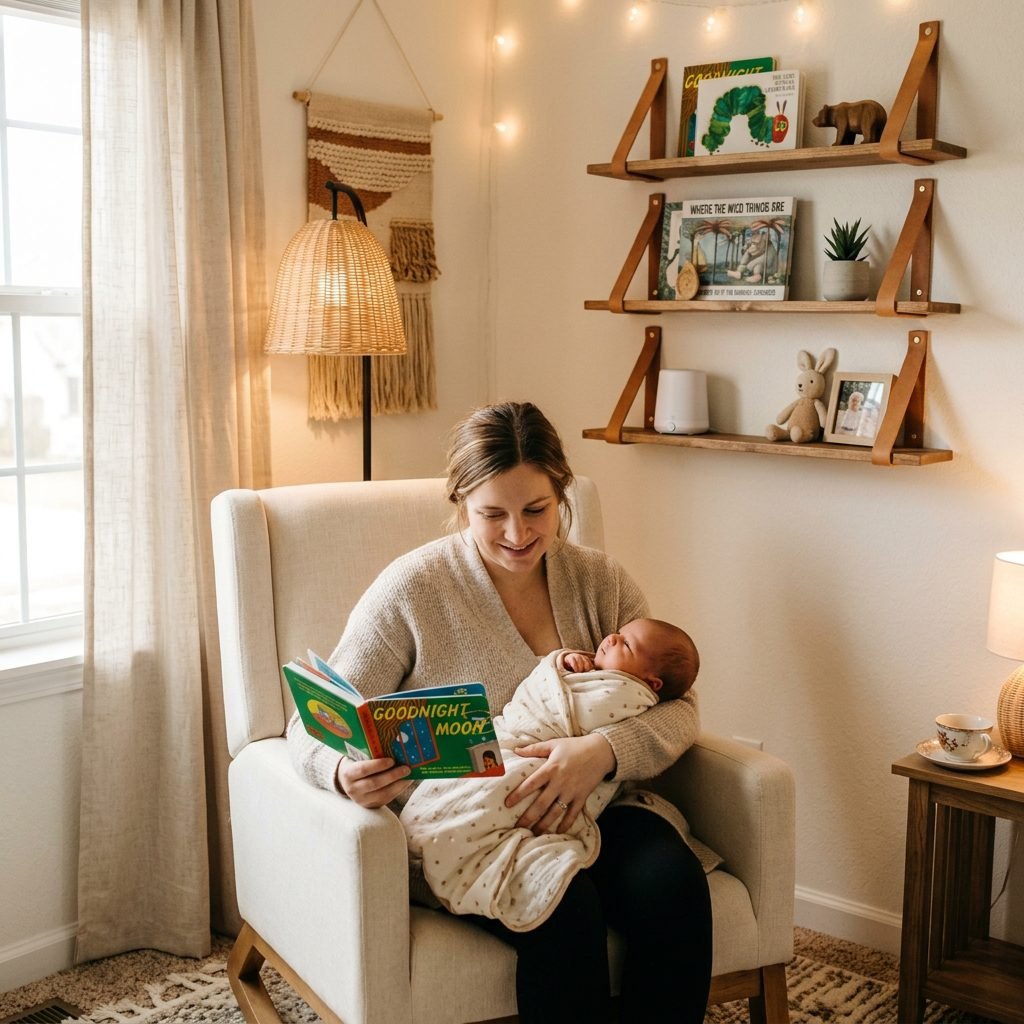
You might think, “Sister, the baby can’t even see clearly yet, why do we need a library?” But here is the secret: reading to your baby is one of the most powerful ways to regulate their nervous system (and yours!).
When you sit in your nursery glider, pull a book from your handmade shelf, and read aloud, your baby is bathed in the rhythm of your voice. This auditory stimulation is foundational for language development. Furthermore, the act of holding your baby while reading releases oxytocin—the love hormone—which helps with bonding and can even aid in your postpartum physical healing.
Sensory Milestones and Books
- 0-3 Months: Focus on high-contrast (black and white) books. Their eyes are still learning to focus, and these sharp images are like a workout for their brain.
- 3-6 Months: Introduce texture books. Let them touch the fuzzy duckling or the crinkly leaf.
- 6-12 Months: Board books are king. They are durable enough for the “mouth-everything” phase and easy for small hands to practice turning pages.
“Your voice is your baby’s favorite song. Reading is just the melody that brings you closer together.”
Conclusion
You’ve Created Something Beautiful
There you have it, mama. You’ve taken raw materials and turned them into a functional piece of art for your child’s room. Every time you reach for a book to read a bedtime story, you’ll feel that little spark of pride knowing you built this with your own two hands (and maybe a little help from your village).
As you move forward in your pregnancy or postpartum journey, remember that you are capable of incredible things—from building shelves to growing and raising a human being. Take a deep breath, admire your handiwork, and enjoy this precious season of preparation. Your nursery is now a little more organized, a little more stylish, and a lot more full of love. Happy nesting!
Medical Disclaimer: While DIY projects are a wonderful way to prepare for baby, please consult with your healthcare provider regarding physical activity limits during pregnancy. Always ensure furniture is securely anchored to prevent tipping accidents. This guide is for aesthetic and organizational purposes and does not replace professional installation advice for heavy-duty furniture.