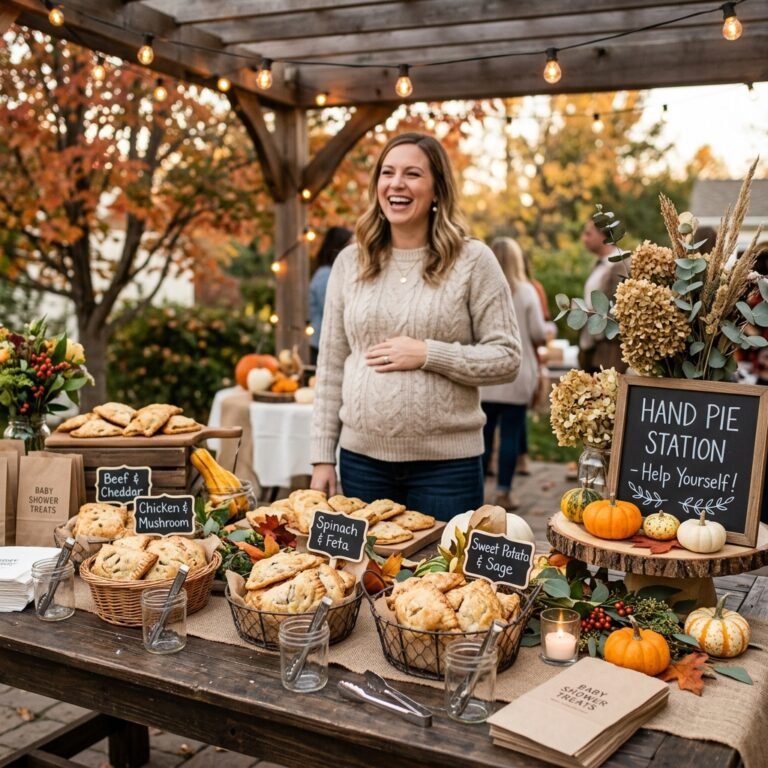
How to Make a Cheap DIY French Toast Stick Bar for a Baby Shower Brunch
Welcome to the Heart of the Home: A Brunch to Remember
Hello, sweet friend! If you are reading this, chances are you are preparing to celebrate a new life, a new mama, or perhaps you are that mama-to-be yourself, looking for a way to host your loved ones without the stress of a massive catering bill. As a doula and a sister in this journey of motherhood, I know that your energy is precious. We want the celebration to feel magical, intentional, and stylish, but we also need it to be practical and easy on the wallet. That is exactly why I am so obsessed with the DIY French Toast Stick Bar. It is the ultimate ‘comfort-first’ food that feels like a warm hug in a bowl.
Why French toast sticks? Because they are the quintessential finger food for a brunch. They allow guests to mingle, they are incredibly cheap to produce in massive quantities, and they offer a nostalgic sweetness that perfectly mirrors the joy of a baby shower. In this guide, we are going to walk through every single step—from picking the right bread to styling your station like a professional designer—all while keeping your budget and your peace of mind intact. Let’s get your apron on and dive into the delicious details!
Selecting Your Canvas: The Best Budget-Friendly Breads for Success
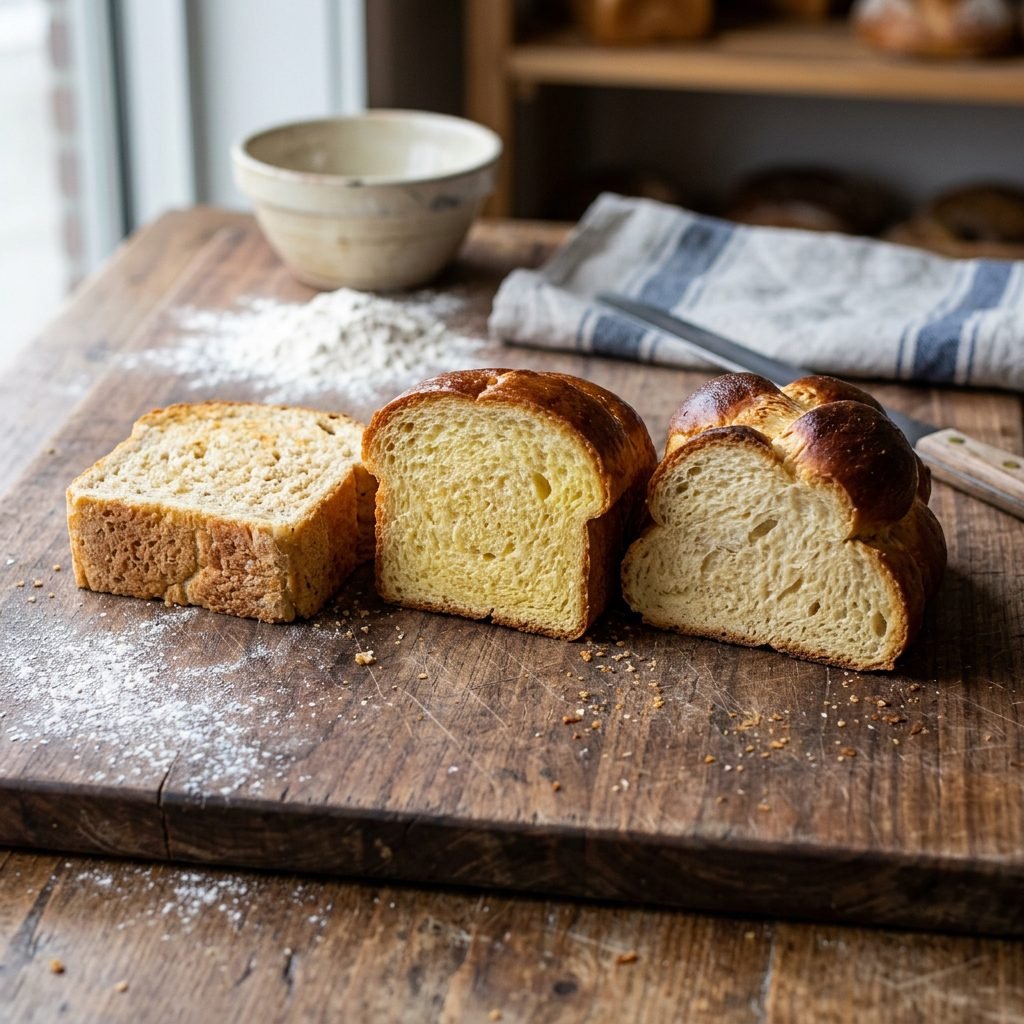
When you are feeding a crowd, the bread is your biggest expense and your most important foundation. You want something that is sturdy enough to be held by hand but soft enough to melt in your mouth. The secret to a cheap but gourmet French toast bar is not buying the most expensive artisanal loaf; it is about how you treat the bread you have.
The Best Bread Options for Sticks
- Texas Toast: This is my number one recommendation for budget-conscious hostesses. It is pre-sliced into thick, 1-inch pieces, which saves you hours of prep time. It is sturdy and handles the custard soak beautifully without falling apart.
- Day-Old Brioche or Challah: Check the ‘oops’ or ‘clearance’ rack at your local bakery. Slightly stale bread is actually better for French toast because it absorbs more of the egg mixture without becoming soggy.
- Store-Brand White Bread (Thick Cut): If you are on a razor-thin budget, a standard loaf of thick-cut white bread works perfectly. The key is to let the slices sit out on the counter overnight to dry out slightly.
Pro-Tip: If you find bread on sale weeks before the shower, buy it and freeze it! Bread stays perfectly fresh in the freezer for up to 3 months, and this helps spread out your party costs over several paychecks.
The Secret Batter & The ‘Big Batch’ Oven Method
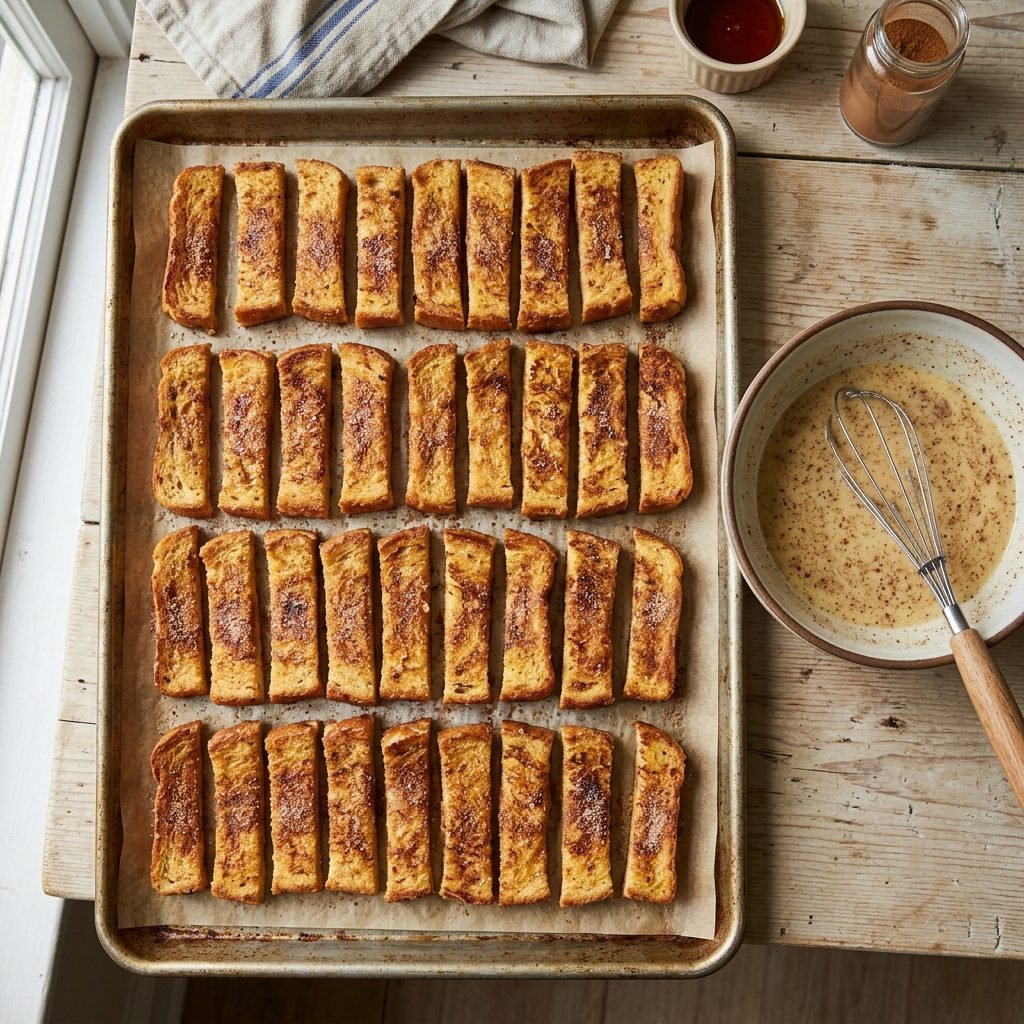
Standing over a griddle for two hours while your guests are enjoying themselves is not the doula-approved way to host! We want you to be part of the celebration. The secret to a successful DIY bar is oven-baking. This allows you to cook 50 to 60 sticks at once, ensuring they all come out hot and golden at the same time.
The Ultimate Crowd-Pleaser Batter
For a batch of approximately 40-50 sticks, you will need:
- 12 large eggs (Look for bulk packs at warehouse stores).
- 3 cups of whole milk (or a mix of milk and heavy cream for extra richness).
- 2 tablespoons of pure vanilla extract (this is where you shouldn’t skimp!).
- 1 tablespoon of ground cinnamon.
- A pinch of nutmeg and salt to balance the sweetness.
Step-by-Step Oven Instructions
- Preheat your oven to 400°F (200°C). This high heat ensures a crispy exterior.
- Generously grease two or three large baking sheets with butter or non-stick spray.
- Whisk your eggs, milk, and spices in a shallow bowl until completely combined.
- Dip each bread stick into the mixture for about 3-5 seconds per side. Do not over-soak, or they will break!
- Place the sticks on the baking sheets, ensuring they aren’t touching.
- Bake for 8-10 minutes, then flip each stick and bake for another 8 minutes until they are golden brown and slightly puffed.
The Toppings Bar: Creating a Gourmet Experience on a Dime
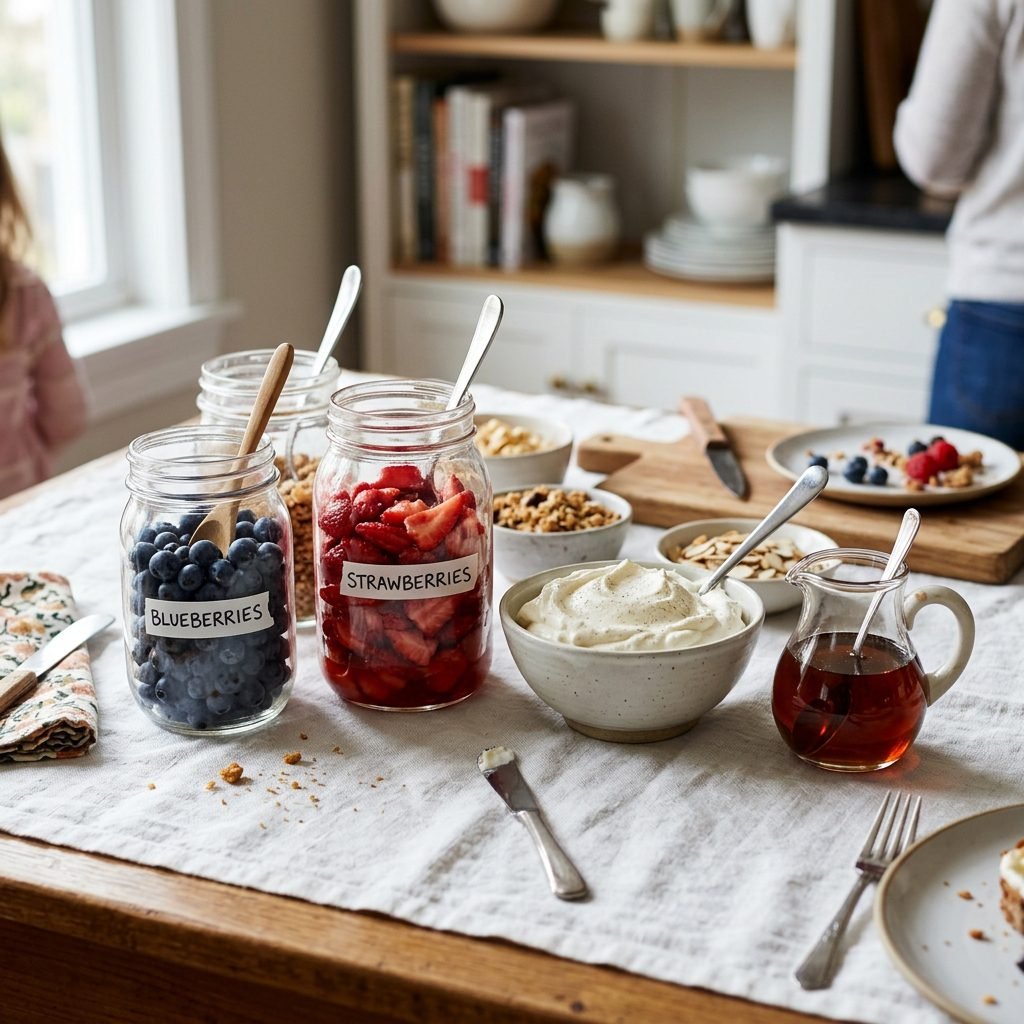
This is where the ‘DIY Bar’ magic happens. By offering a variety of toppings, you turn a simple piece of toast into a customizable culinary experience. To keep costs low, focus on seasonal fruits and bulk-buy your dry toppings.
| Category | Budget-Friendly Options | Gourmet Flair (Optional) |
|---|---|---|
| The Sweeteners | Maple-flavored syrup, Powdered sugar | Warm berry compote, Honey |
| The Fruits | Sliced bananas, Seasonal berries | Caramelized apples, Peaches |
| The Crunch | Granola, Chopped walnuts | Toasted coconut, Toffee bits |
| The Creamy | Whipped cream (canned), Greek yogurt | Mascarpone, Nutella drizzle |
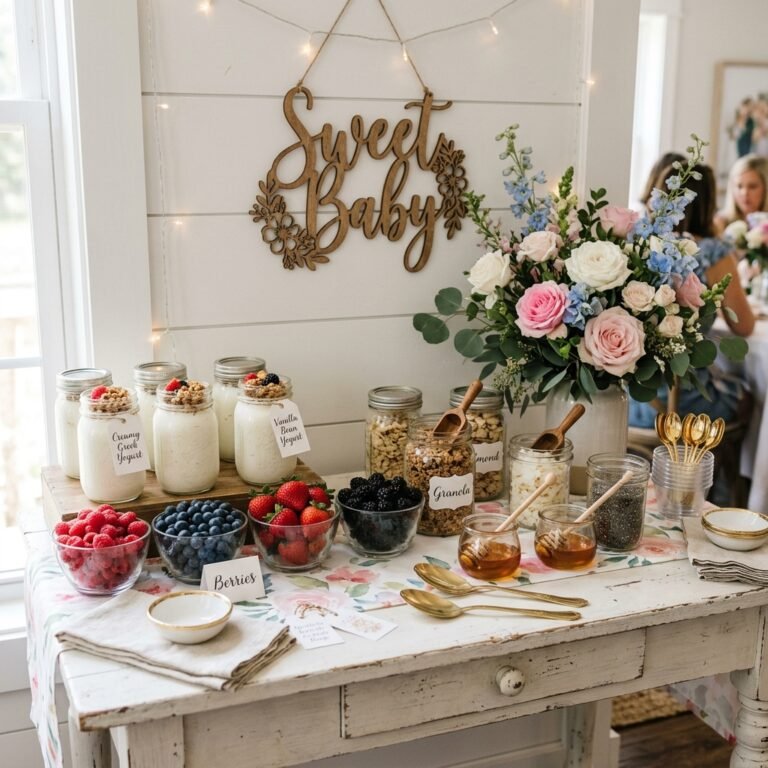
To make the display look expensive, use mismatched glass jars or small white ramekins. Label everything with cute, handwritten cards. This not only looks stylish but also helps guests with food sensitivities identify what is safe for them to eat.
Aesthetic Styling: Making Your DIY Bar Look Like a Pinterest Dream
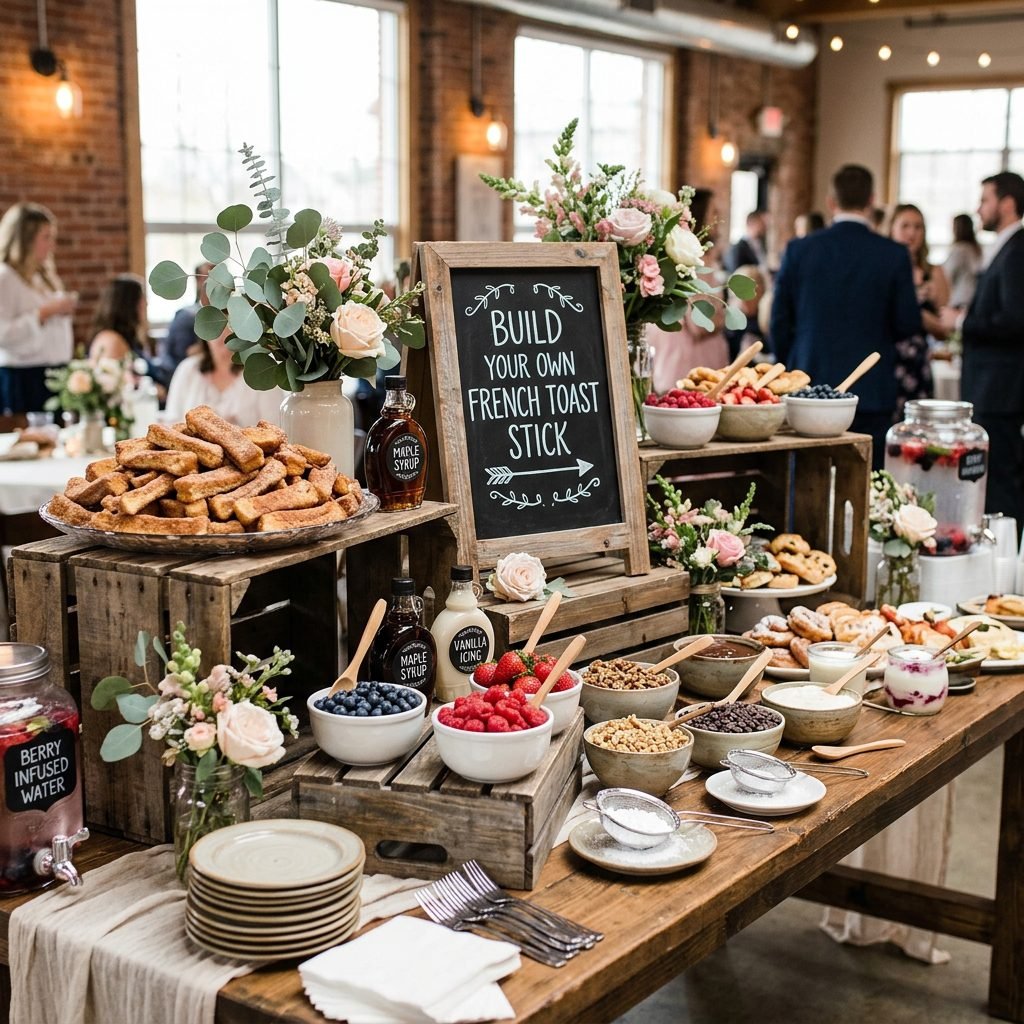
You don’t need a professional decorator to make your French toast bar look stunning. As an interior organizer, I always suggest using vertical space to create visual interest. This makes the table look ‘full’ and abundant even if you are serving simple ingredients.
Styling Hacks for the Hostess
- The ‘Crate’ Trick: Use small wooden crates or even sturdy cardboard boxes covered with a secondary tablecloth to create different heights for your platters.
- Mason Jar Magic: Use mason jars of varying sizes to hold silverware, napkins, and even the French toast sticks themselves (standing upright).
- Natural Accents: Visit your garden or a local grocery store for a $5 bouquet of eucalyptus or baby’s breath. Scatter small sprigs around the jars for a fresh, organic feel.
- The Chalkboard Sign: A simple chalkboard welcoming guests to the ‘Baby Brunch French Toast Bar’ adds an instant touch of professional hosting.
Affirmation: My home is a place of welcome. The beauty of this shower lies in the love I’ve poured into it, not the price tag of the decor.
The Hostess Game Plan: Budgeting & Planning Timeline
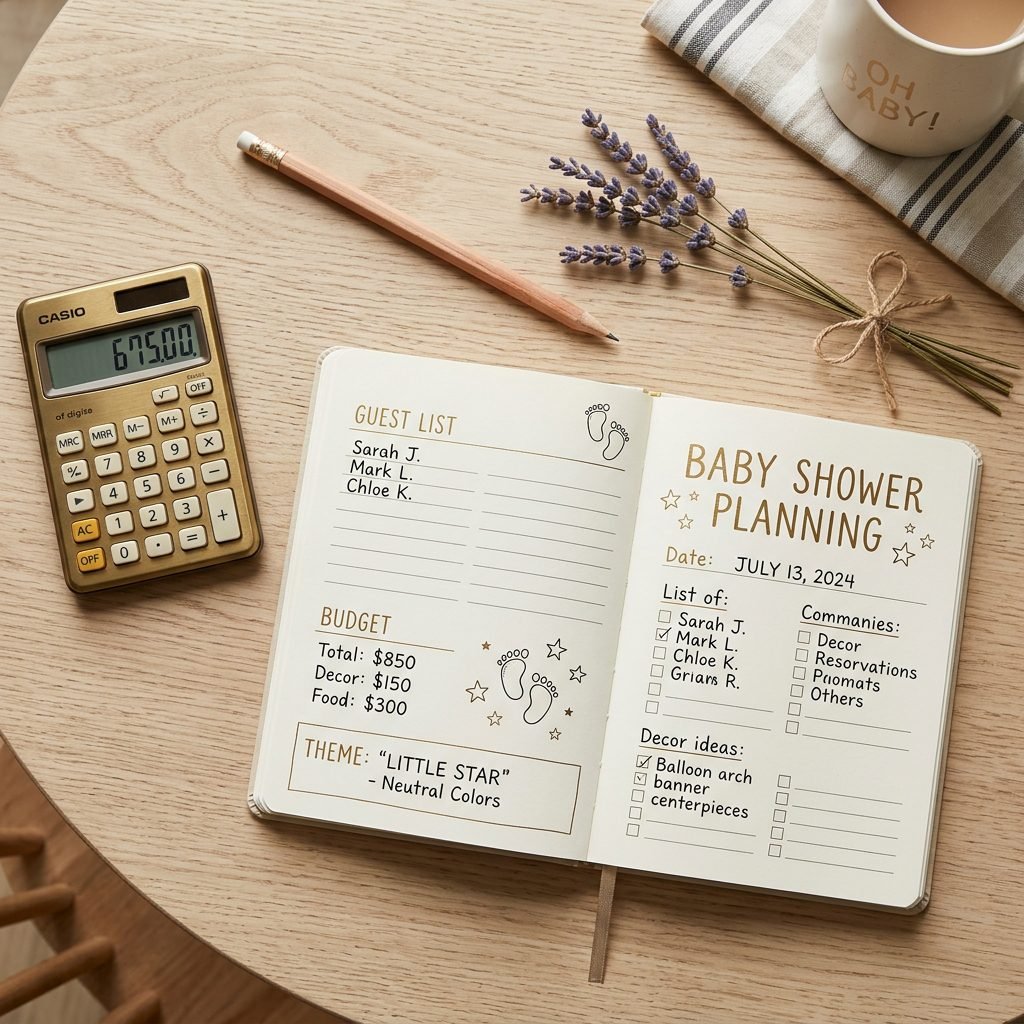
Planning a shower can feel overwhelming, especially if you are balancing a pregnancy or a newborn. The key is to break it down into micro-tasks. Here is a sample timeline and budget to help you stay organized and stress-free.
| Timeline | Task to Complete |
|---|---|
| 1 Week Before | Finalize guest count and buy non-perishables (syrup, flour, sugar). |
| 3 Days Before | Buy fresh fruit and bread. Thrift any extra jars or platters needed. |
| 1 Day Before | Slice the bread into sticks. Make the ‘dry’ batter mix. Wash and prep fruit. |
| Morning Of | Dip and bake the sticks. Set out the toppings. Relax with a cup of tea! |
Budget Breakdown (Estimated for 20 Guests)
- Bread (4 Loaves): $12.00
- Eggs & Milk: $10.00
- Toppings (Fruit, Syrup, Cream): $25.00
- Decor (Thrifted/Nature): $5.00
- TOTAL: $52.00 (That is only $2.60 per guest!)
Inclusive Hosting: Dietary Safety & Guest Comfort
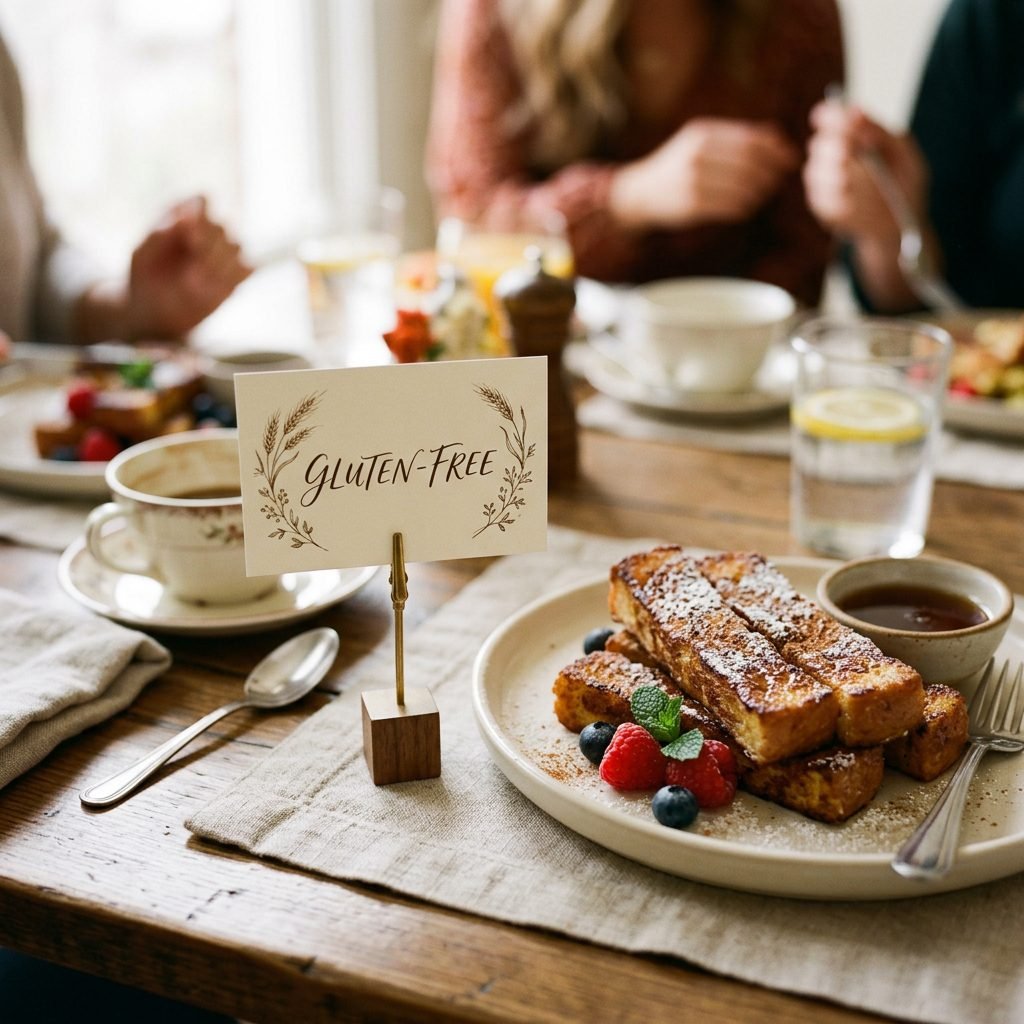
As a doula, I am always thinking about the safety and comfort of the mama-to-be and her guests. When hosting a brunch, it is vital to consider gestational diabetes, allergies, and food safety.
Safety First
- Pasteurized Eggs: Always ensure you are using pasteurized eggs for the batter to eliminate any risk of salmonella for pregnant guests.
- Sugar-Free Options: Provide a small jar of sugar-free syrup or a bowl of plain Greek yogurt for guests who may be monitoring their blood sugar levels.
- Gluten-Free Alternative: Keep one small tray of gluten-free French toast sticks separate from the rest to prevent cross-contamination. Many grocery stores now carry affordable GF thick-cut bread in the freezer section.
Remember, the goal is for everyone to feel seen and cared for. A small ‘Dietary Info’ card near the bar listing ingredients can go a long way in making your guests feel at ease.
Conclusion
A Celebration of New Beginnings
Creating a DIY French Toast Stick Bar is more than just a clever way to save money; it is a way to create a relaxed, joyful environment where the focus remains on the beautiful journey of motherhood. By following this guide, you have managed to combine style, flavor, and practicality into one stunning presentation. Whether you are a first-time hostess or a seasoned pro, remember that your presence and your heart are what the guests will remember most. Now, take a deep breath, grab a golden-brown cinnamon stick for yourself, and enjoy this special moment. You’ve done a wonderful job!