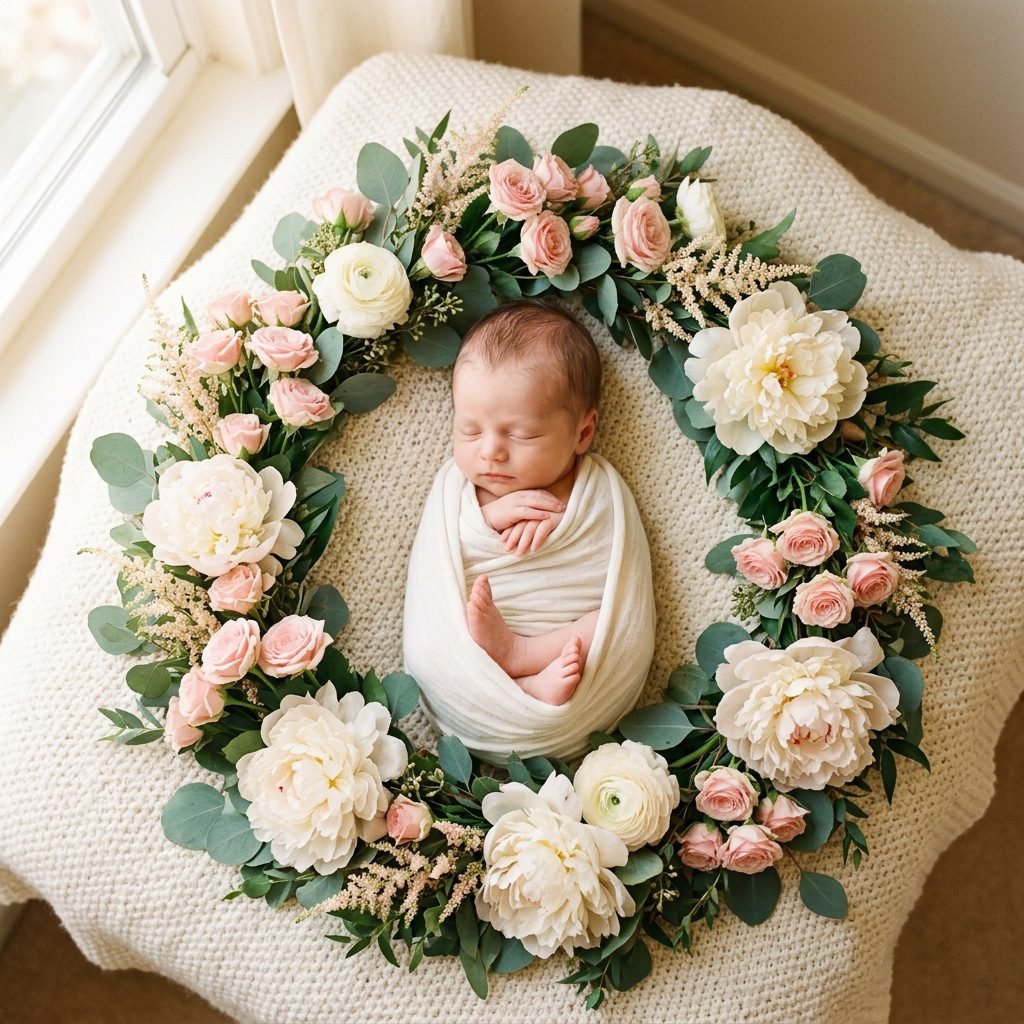
How to Create a Gorgeous DIY Flower Wreath for At-Home Newborn Photos
Embracing the Magic of Those First Few Days
Oh, sweet mama, congratulations! Whether you are currently nesting and preparing for your little one’s arrival or you are cradling your fresh-smelling newborn in your arms right now, you know just how fleeting these moments are. As a doula, I’ve seen firsthand how quickly those tiny toes and button noses change. You want to freeze time, don’t you? Creating a DIY flower wreath for at-home newborn photos is more than just a craft project; it is a labor of love, a creative outlet during the postpartum haze, and a way to create a breathtaking heirloom image without the stress of a crowded studio. In this guide, I’m going to walk you through every step—from choosing the safest blooms to positioning your precious cargo—with the warmth and expertise of a sister who has been there. Let’s create something beautiful together, making sure your baby is safe, comfortable, and surrounded by the floral magic they deserve.
“In the garden of humanity, every baby is a fresh new flower, and your love is the sunlight that helps them bloom.”
Gathering Your Garden: Materials and Budget Planning
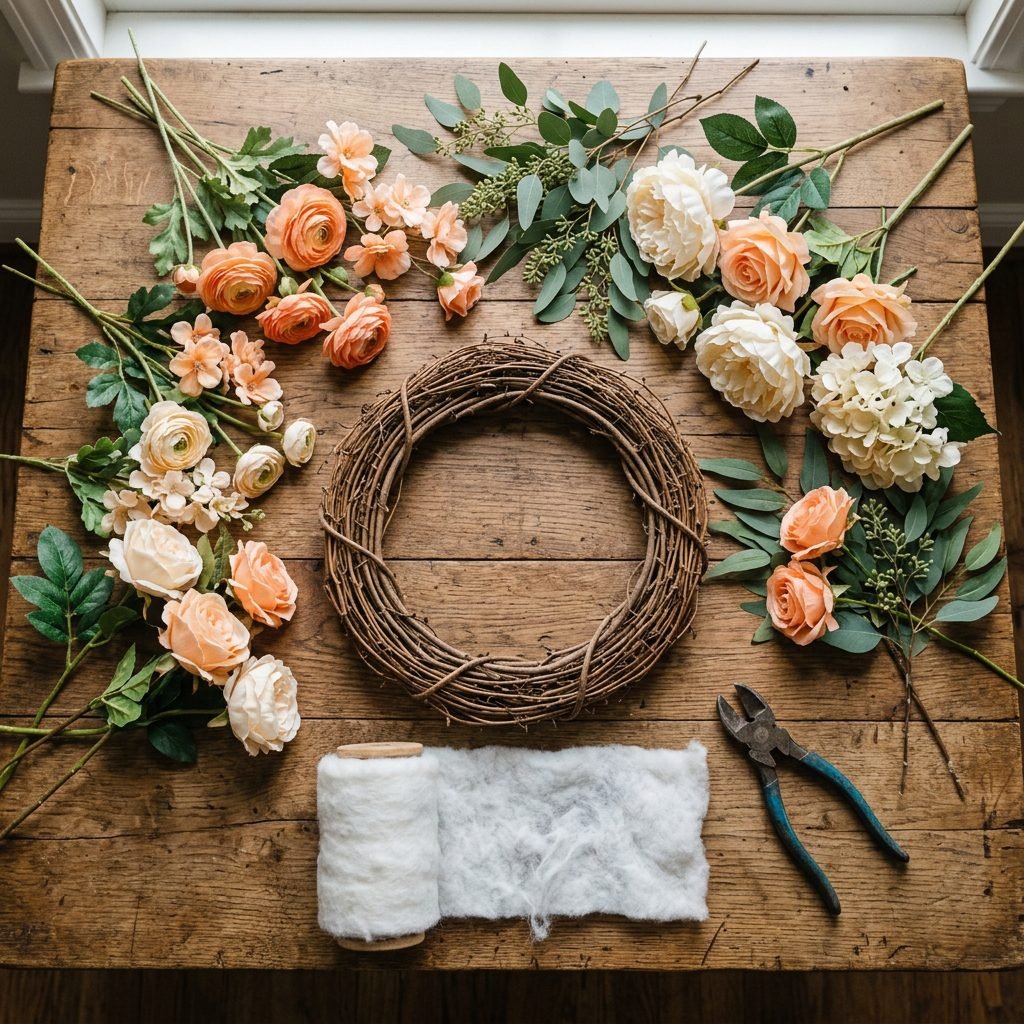
Choosing Your Medium: Silk vs. Fresh Blooms
Before we dive into the construction, we need to talk about your materials. While fresh flowers offer a heavenly scent and an organic feel, silk flowers (high-quality artificial ones) are often the preferred choice for DIY newborn props. Why? Because they don’t wilt, they don’t harbor tiny garden bugs, and most importantly, they are hypoallergenic for your baby’s sensitive new skin. If you do choose fresh flowers, ensure they are organic and pesticide-free. Below is a breakdown of what you will need to get started on your floral masterpiece.
| Material Item | Purpose | Estimated Cost |
|---|---|---|
| 18-inch Grapevine or Foam Wreath Base | The structural foundation of the prop. | $5 – $12 |
| High-Quality Silk Peonies, Roses, and Ranunculus | The focal point ‘statement’ flowers. | $15 – $30 |
| Artificial Eucalyptus or Lamb’s Ear Greenery | To fill gaps and add a soft, natural texture. | $8 – $15 |
| Cotton Batting or Soft Muslin Fabric | To pad the inner rim for baby’s comfort. | $5 – $10 |
| Wire Cutters and Floral Tape | For securing stems safely. | $6 – $10 |
| Total Estimated Budget | A gorgeous, reusable prop. | $39 – $77 |
Pro-Tip: Texture Matters
When selecting your greenery, look for ‘flocked’ or ‘velvet’ textures like Lamb’s Ear. These are incredibly soft to the touch and won’t scratch the baby. Avoid any dried flowers that are brittle or ‘poky,’ as these can shed small particles that might irritate your little one’s eyes or nose.
Safety First: Creating a Soft and Secure Nest
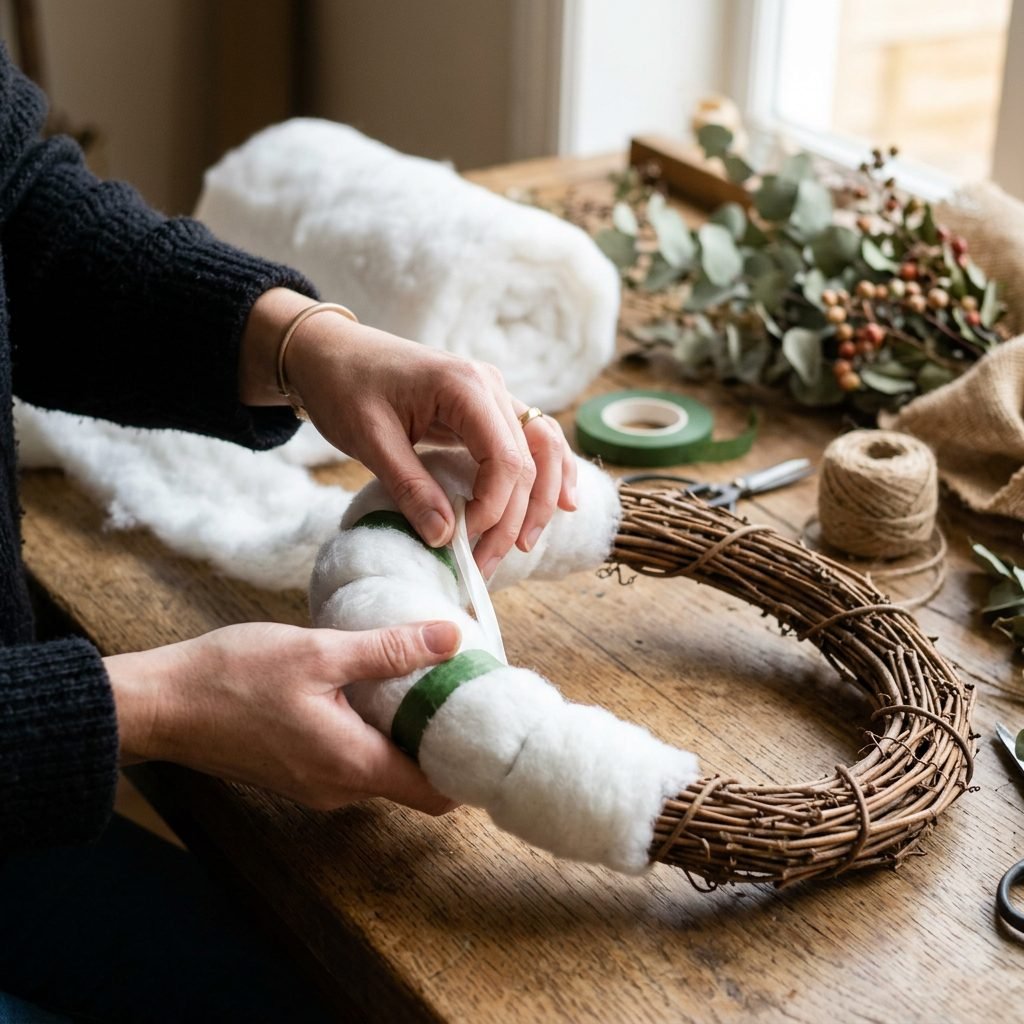
The Doula’s Guide to Prop Safety
As much as we want a ‘Pinterest-perfect’ photo, your baby’s safety is the absolute priority. A newborn cannot support their own head, and their skin is paper-thin. We are not just building a wreath; we are building a supportive nest. We must ensure there are no exposed wires, no small beads that could become choking hazards, and no rough surfaces.
- Padding the Base: Wrap your grapevine or foam base in thick layers of cotton batting or a soft muslin swaddle. This ensures that even if the baby shifts, they are touching soft fabric, not the rough wreath structure.
- The ‘Finger Test’: Once your flowers are attached, run your hand firmly along the inside and underside of the wreath. If you feel anything sharp or prickly, trim it or cover it with extra floral tape and fabric.
- Stability is Key: Ensure the wreath sits perfectly flat on the floor. Never place a wreath on a raised surface (like a table) for a photo; always work on a soft, carpeted floor or a rug.
“Safety isn’t just a checklist; it’s the foundation of peace during your baby’s first photoshoot. If it doesn’t feel stable, don’t use it.”
Step-by-Step: Assembling Your Floral Masterpiece
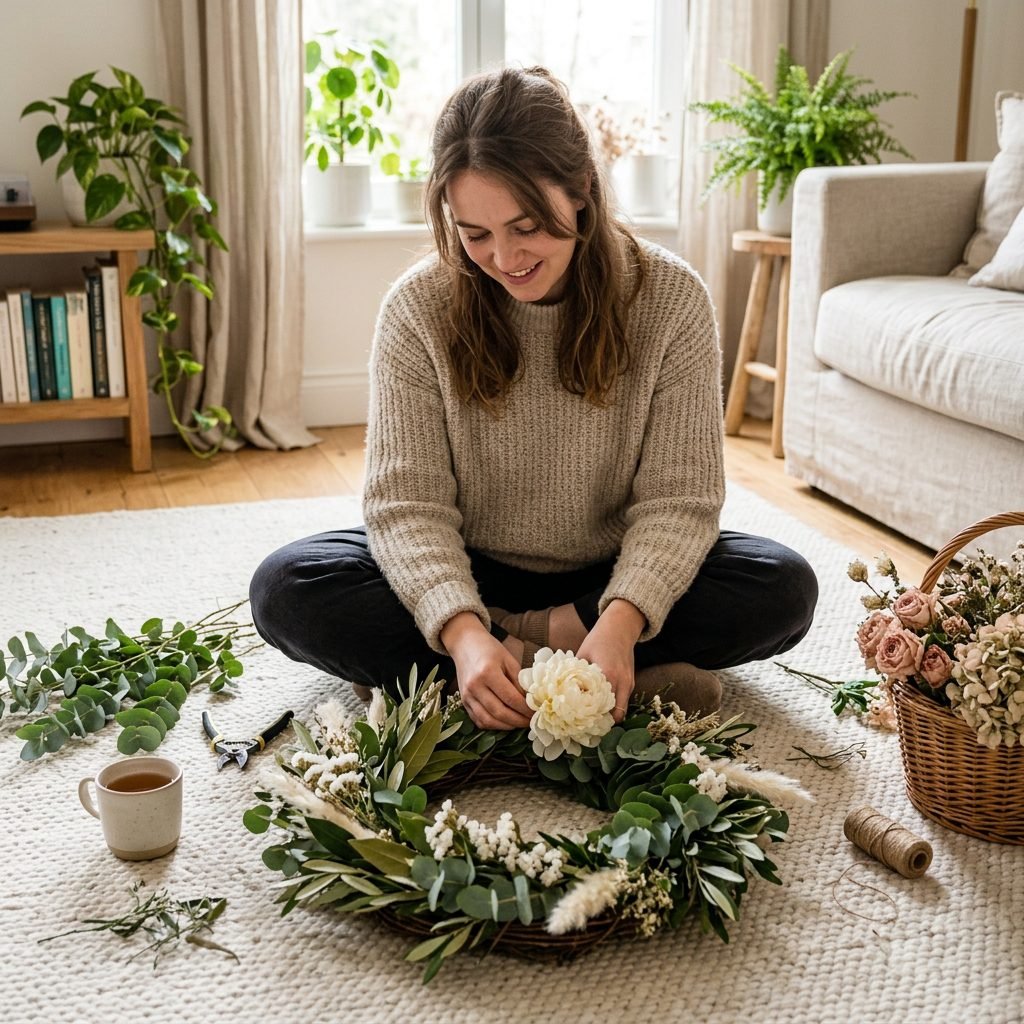
Crafting the Vision
Now comes the creative part! Follow these steps to ensure your wreath looks professional and full. We want a ‘crescent’ or ‘full circle’ look that frames the baby beautifully without overwhelming them.
- Prepare the Base: As discussed, pad your wreath base. If you want a specific color theme, you can wrap the batting in a colored jersey fabric that matches your flowers.
- Layer the Greenery: Start by tucking your eucalyptus or leaf sprigs into the base, following the natural curve of the circle. Secure them with floral wire, ensuring the ends are tucked deep into the foam or wood.
- Place the ‘Statement’ Flowers: Choose 3 to 5 large blooms (like peonies). Place them at the ‘bottom’ of the wreath (the 6 o’clock position) or slightly off-center for an organic look. These will be the focal points.
- Fill the Gaps: Use smaller buds, like spray roses or berries, to fill the spaces between the large flowers and the greenery.
- The Final Grooming: Fluff the petals and pull some leaves forward to create depth. Look at the wreath from a distance to ensure it looks balanced.
Design Secret: The Rule of Three
In design, things arranged in odd numbers are often more visually appealing. Try grouping your flowers in clusters of three or five for a more natural, high-end look.
Setting the Scene: Lighting and At-Home Studio Tips
Finding the Light
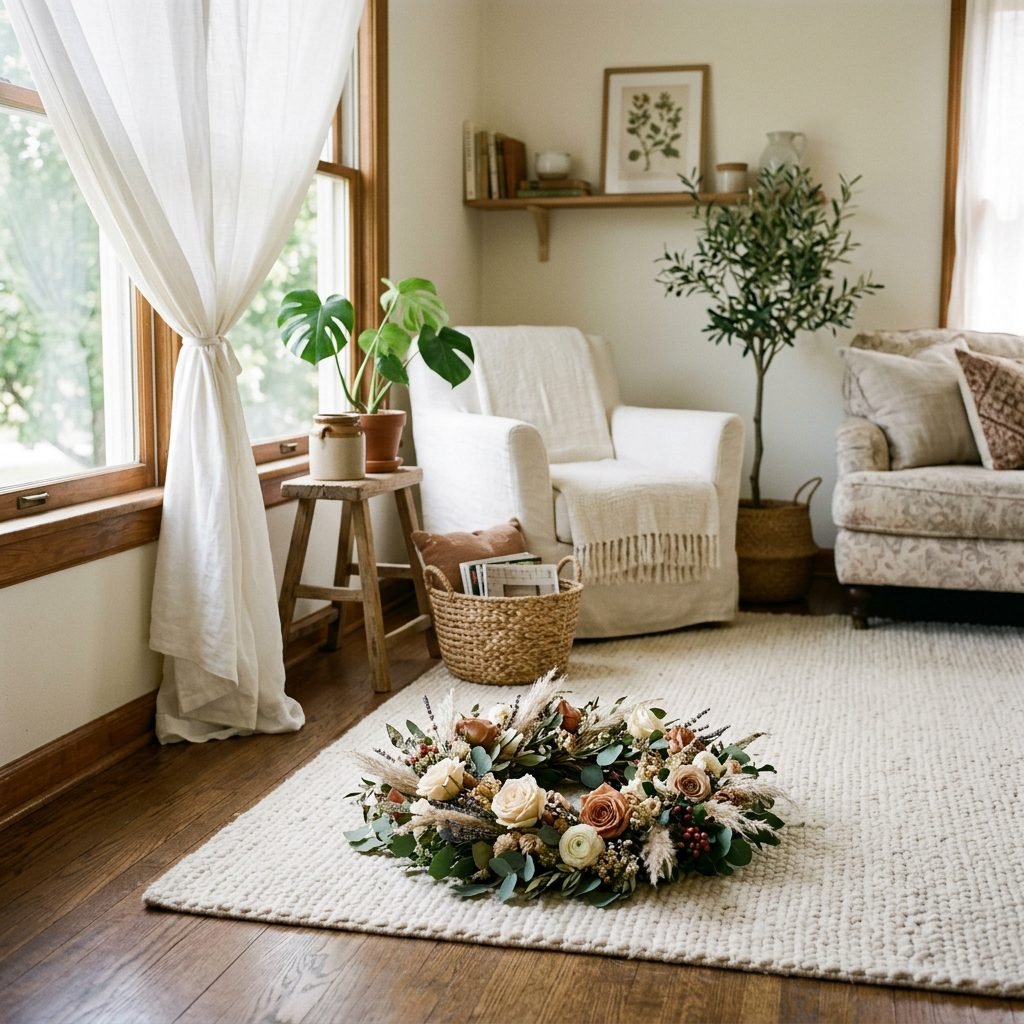
You don’t need a professional studio to get professional results. The secret to those soft, ethereal newborn photos is natural light. Look for a large window or a sliding glass door in your home that lets in plenty of light but isn’t in direct, harsh sunlight.
The ’45-Degree Rule’
Position your wreath on the floor so the light from the window hits the baby’s face at a 45-degree angle. This creates soft shadows that define their features without being too dark. Avoid ‘up-lighting’ (where the light comes from the baby’s chin up), as this can look unnatural.
| Lighting Condition | Action to Take |
|---|---|
| Too Bright/Harsh Sun | Hang a sheer white curtain or a white bedsheet over the window to diffuse the light. |
| Too Dark/Overcast | Move the wreath closer to the window and use a white foam board to bounce light back onto the shadows. |
| Golden Hour (Late Afternoon) | This is the perfect time for warm, glowing photos. Keep the baby cozy as the temperature may drop. |
Temperature and Sound
A sleepy baby is a photogenic baby! Crank up the heat in the room to about 75-80 degrees Fahrenheit. Newborns get cold easily, especially if they are just in a diaper or a thin wrap. Use a white noise machine to mimic the sounds of the womb, helping them stay in that deep, ‘squishy’ sleep state while you snap your photos.
Styling Your Newborn: Swaddles, Poses, and Comfort
The ‘Tucked-In’ Look
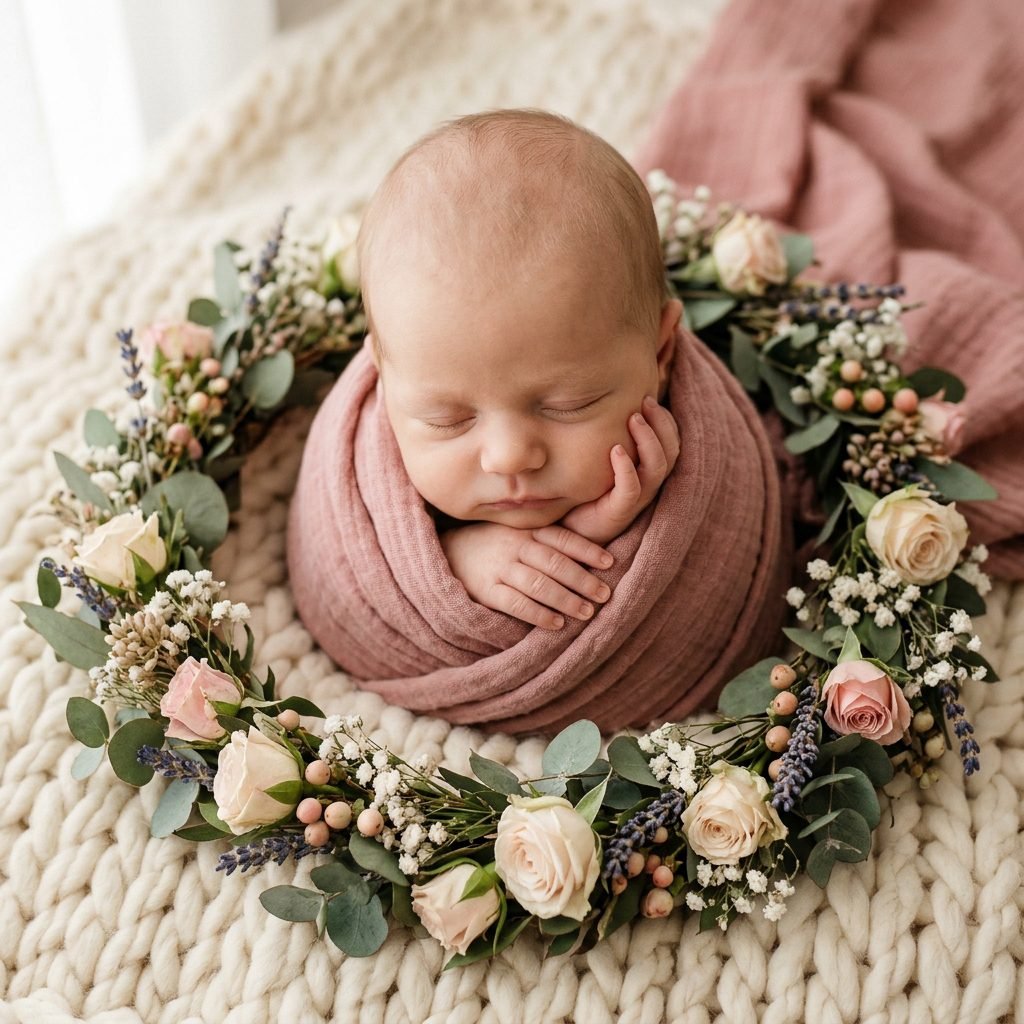
Once your wreath is ready and the light is perfect, it’s time to bring in the star of the show. Since the wreath provides a lot of visual detail, I recommend keeping the baby’s outfit simple. A neutral-colored stretch wrap or a simple lace romper works beautifully. If the baby is fussy, a tight, secure swaddle often calms them instantly.
Safe Positioning Steps
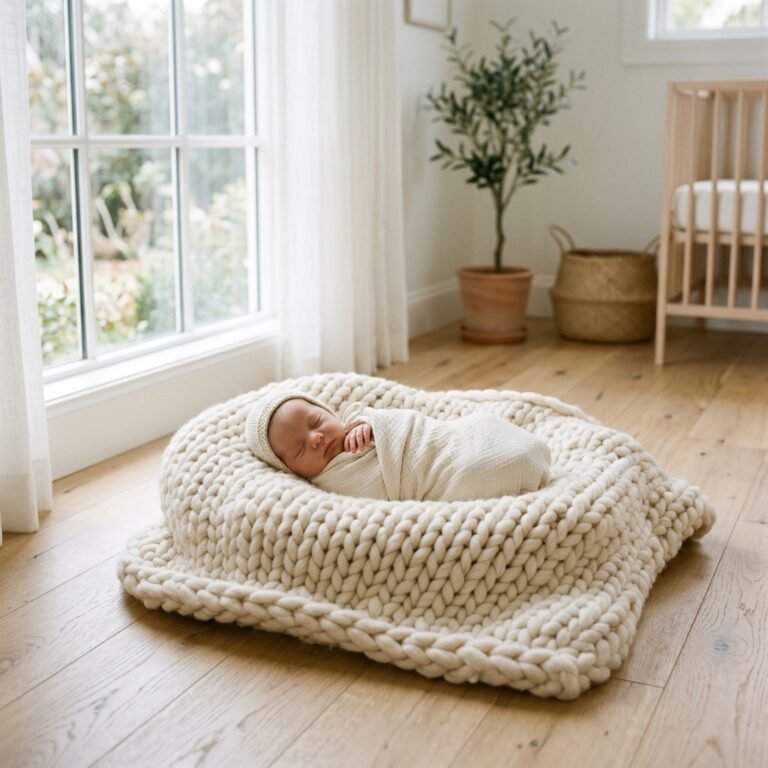
- Use a Support Pillow: Place a small ‘donut’ pillow or a rolled-up receiving blanket inside the center of the wreath. This provides a ‘well’ for the baby to sit in so they don’t roll.
- Feet and Hands: Gently tuck their tiny feet under their bottom and place their hands near their chin. This ‘curled up’ position mimics how they were in your belly and is incredibly sweet.
- The Spotter: CRITICAL: Never leave the baby alone in the wreath. Have a partner or friend act as a ‘spotter,’ keeping their hands just inches away from the baby at all times. You can edit the spotter’s hand out later if needed, but safety never takes a break!
“The best photos happen when the baby feels secure. Take your time, stop for a feeding if needed, and follow your baby’s lead.”
Seasonal Inspirations: A Wreath for Every Birth Month
Customizing Your Creation
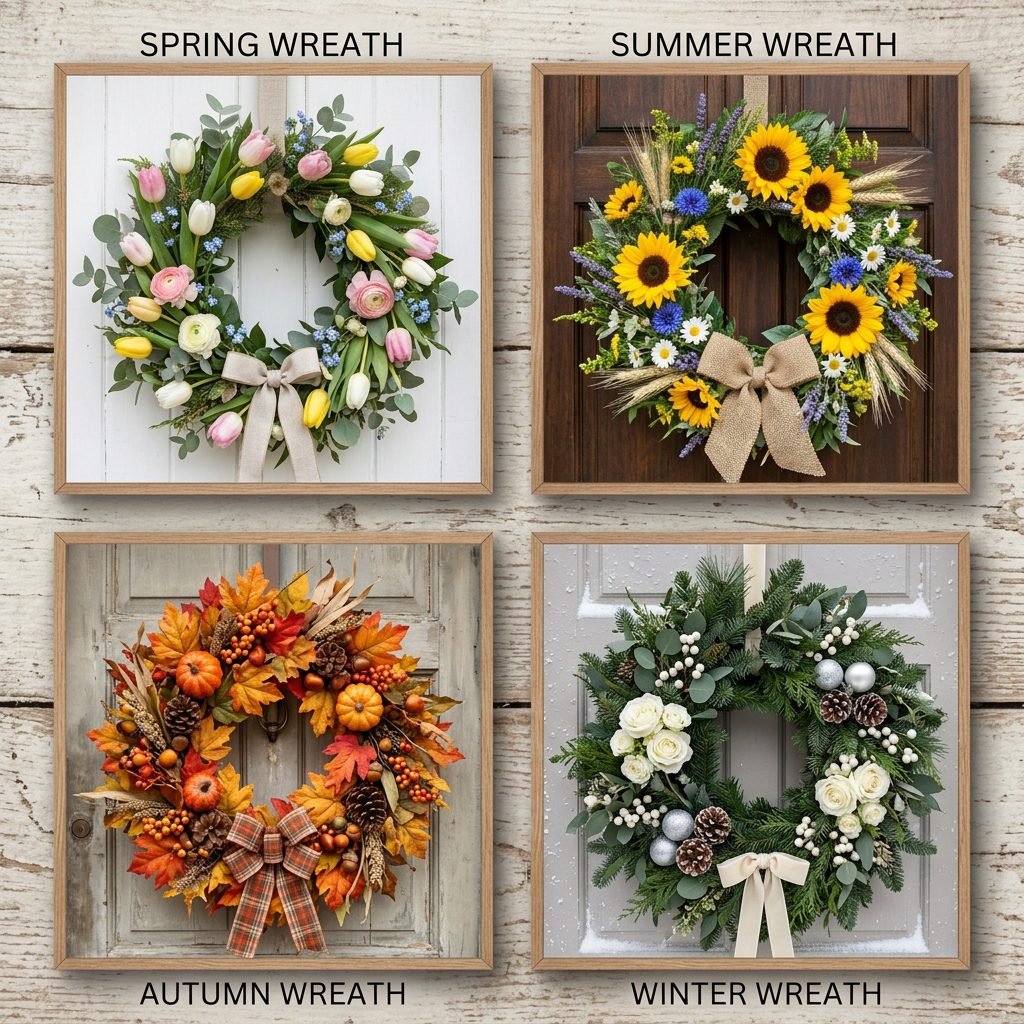
One of the joys of a DIY project is making it personal. You can choose flowers that represent the month your baby was born or the season they arrived in. This adds a layer of storytelling to your photography.
| Season | Flower Suggestions | Color Palette |
|---|---|---|
| Spring | Tulips, Cherry Blossoms, Sweet Peas | Pastels, Mint Green, Soft Yellow |
| Summer | Sunflowers, Zinnias, Bright Roses | Vibrant Gold, Coral, Deep Teal |
| Autumn | Dahlias, Mums, Dried Wheat, Maple Leaves | Burnt Orange, Mustard, Terracotta |
| Winter | White Roses, Pine Cones, Silver Eucalyptus | Cream, Emerald Green, Icy Blue |
Adding Sentimental Touches
Consider weaving in a small heirloom, like a sprig of lavender from your own wedding bouquet or a small ribbon that was used at your baby shower. These tiny details make the photo a true reflection of your family’s journey.
Conclusion
You’ve Created a Masterpiece, Mama
Creating this DIY flower wreath is about so much more than a single photo. It’s about the quiet moments you spent choosing the petals, the excitement of seeing your vision come to life, and the overwhelming love you feel looking at your baby nestled in the center of it all. Remember, the ‘perfect’ photo isn’t the one where everything is technically flawless—it’s the one that captures the essence of your baby in this moment. If they cry, if they wake up, or if the wreath is a little lopsided, don’t worry. These are the memories you will cherish. You are doing an amazing job, and these photos will be a testament to the beautiful world you are building for your little one. Happy crafting, and even happier snapping!