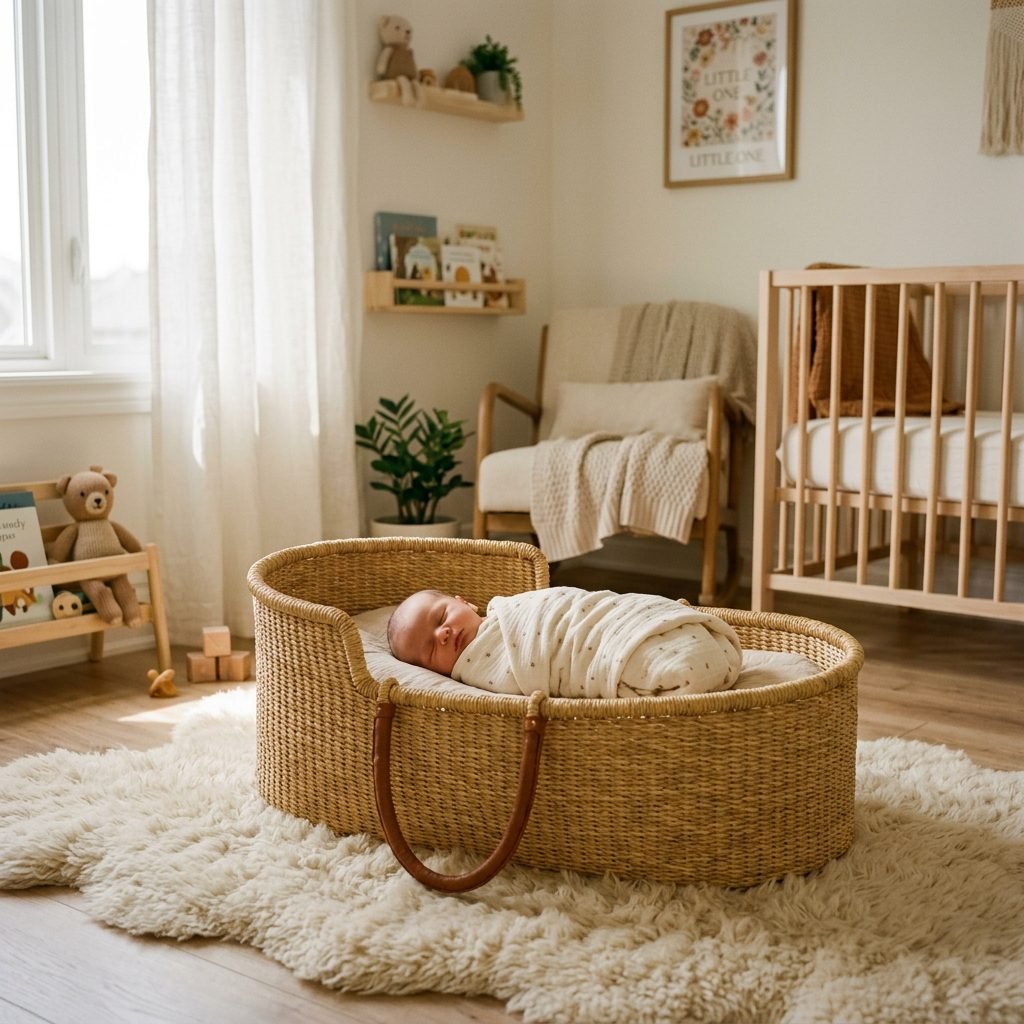
7 Safe and Cozy Moses Basket Newborn Photo Poses to Try at Home
Welcome to the Newborn Bubble, Mama
Take a deep breath, sweet friend. You did it. You have crossed the threshold of birth, and now you are holding this tiny, miraculous human in your arms. As a doula and a fellow mother, I know exactly how you are feeling right now. You are likely running on cold coffee, adrenaline, and an overwhelming, fierce love that brings tears to your eyes. You want to capture every single flake of newborn skin, every milk-drunk smile, and every tiny eyelash before they change—because they change so incredibly fast.
But let us be brutally honest: packing up a two-week-old baby, wrestling yourself into ‘hard pants’ (we are strictly a leggings-only household during the fourth trimester!), and driving to a professional photography studio can feel like climbing Mount Everest when you are still healing. That is exactly why I am so passionate about DIY at-home newborn photography. You do not need a fancy studio to capture breathtaking, heirloom-quality photos of your baby. All you need is your smartphone or a DSLR, a beautiful window, and a classic Moses basket.
A Moses basket is the ultimate newborn photography prop. It naturally frames your baby, provides a snug, womb-like environment that helps them stay asleep, and most importantly, it is incredibly safe when used correctly on the floor. In this guide, we are going to walk through 7 safe, cozy, and absolutely stunning Moses basket newborn photo poses that you can easily recreate in your own living room or nursery. We will cover the exact doula-approved safety rules, lighting hacks, and step-by-step posing instructions so you can document these fleeting days without leaving your postpartum sanctuary.
Remember, mama: The goal here isn’t absolute perfection. The goal is connection, memory, and capturing the authentic beauty of your baby just as they are right now. Give yourself grace if they fuss, take breaks to nurse or cuddle, and enjoy the process.
Safety First: The Golden Rules of At-Home Newborn Photography
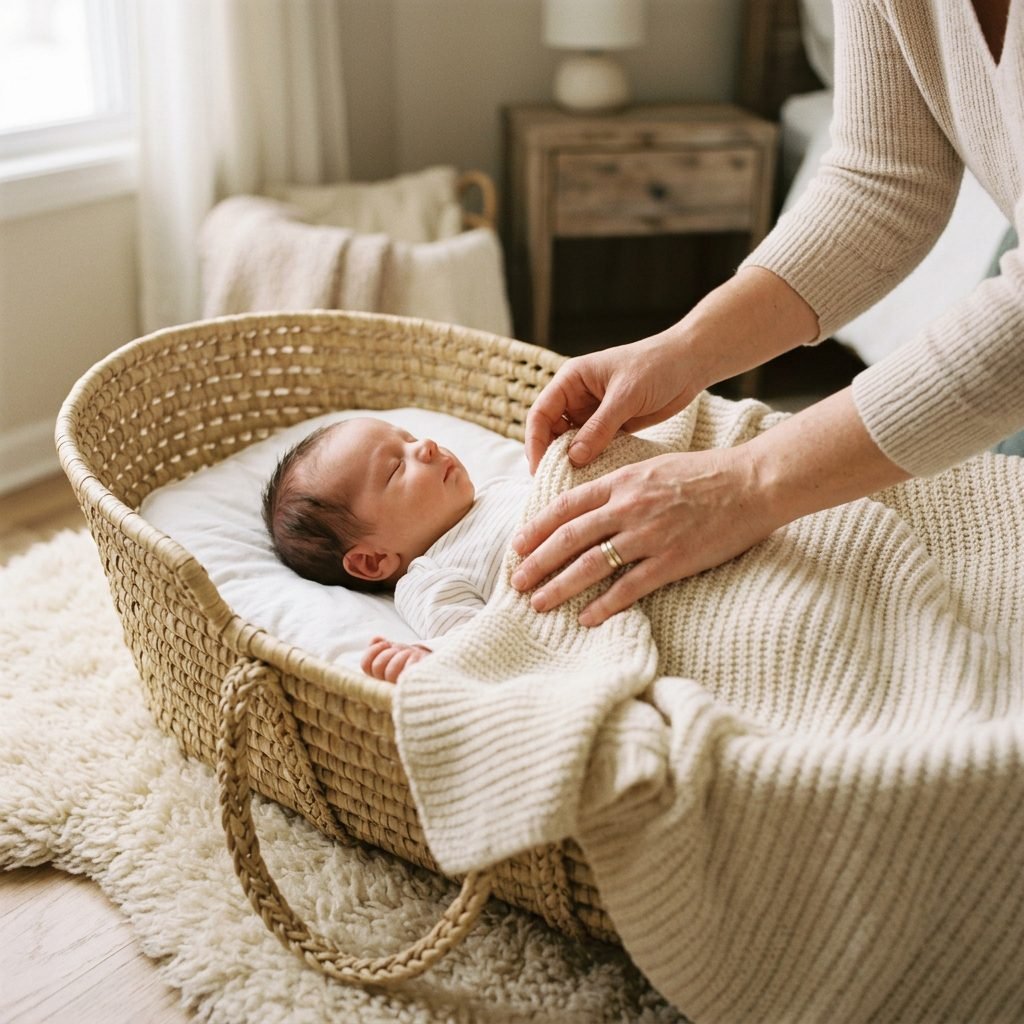
Protecting Your Precious Cargo
Before we even think about picking up a camera, we need to put on our doula and pediatric safety hats. Newborns are incredibly fragile, and their safety must always, always trump getting a ‘perfect’ shot. Professional newborn photographers spend years learning how to safely pose babies, often using composite images (stitching two photos together) to make it look like a baby is holding their own head up. We are not doing any of those risky poses today. We are sticking to natural, baby-led, and 100% safe positions.
The Airway is Everything
When a baby is tucked into a basket, their chin can easily drop down to their chest. This is called positional asphyxiation, and it is a silent danger. Always ensure you can fit at least two fingers between your baby’s chin and their chest. Their neck should be slightly extended, never crunched.
Temperature and Spotters
Newborns cannot regulate their body temperature well. If you are photographing them naked or lightly swaddled, the room needs to be much warmer than you might think—around 74 to 78 degrees Fahrenheit. If they get cold, their skin will look mottled and purple, and they will wake up crying. Furthermore, never leave your baby unattended in a Moses basket, even for a second to grab a different lens. Always have your partner, a friend, or a grandparent act as a dedicated ‘spotter’ whose only job is to hover their hands inches away from the baby.
| Safety Element | The Safe Way (Do This) | The Unsafe Way (Avoid This) |
|---|---|---|
| Basket Placement | Flat on the floor, on a soft rug. | On a table, couch, or elevated surface. |
| Props inside Basket | Firmly rolled receiving blankets under the liner. | Loose, fluffy pillows or heavy blankets near face. |
| Baby’s Neck | Slightly extended, two-finger gap at chin. | Chin resting on chest (airway restriction). |
| Room Temperature | Warm and cozy (74-78°F). | Standard room temp (too cold for bare skin). |
Setting the Scene: Prepping Your Moses Basket and Lighting

Creating a Studio in Your Living Room
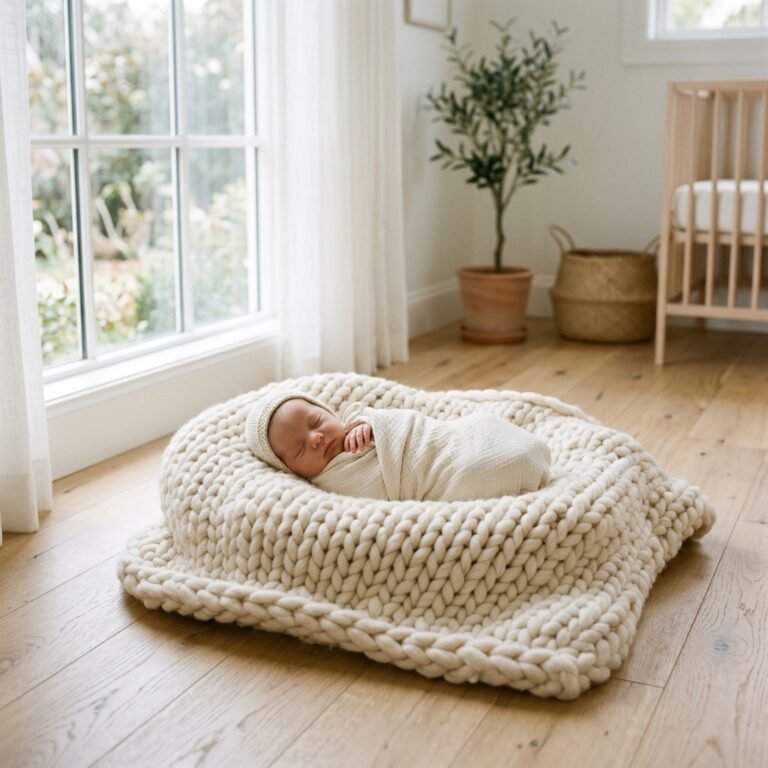
The secret to professional-looking photos is not an expensive camera; it is all about the light. You want to find the biggest, brightest window in your home. We are looking for soft, indirect sunlight. If the sun is beaming directly onto the floor and creating harsh, dark shadows, you need to soften it. You can do this by pulling a sheer white curtain across the window or taping a white bedsheet over the glass. This acts as a giant softbox, wrapping your baby in gorgeous, creamy light.
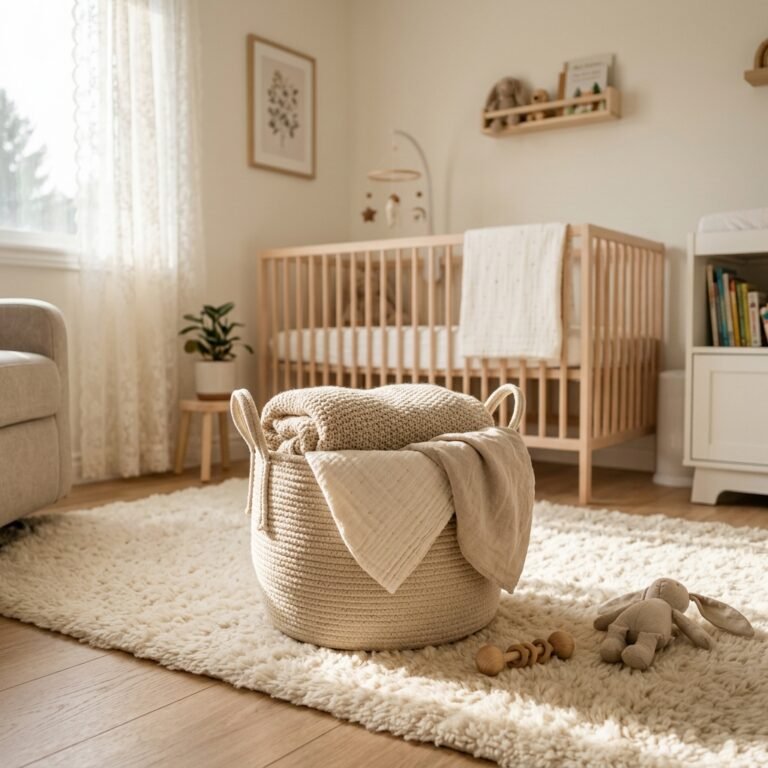
Prepping the Moses Basket
A bare Moses basket is too hard for a newborn to sleep comfortably in for a photo session. You need to build a soft, supportive foundation. Start by placing a firm, flat pillow or a folded quilt at the bottom of the basket. Next, we need to create ‘bumpers’ to keep baby securely in the center. Roll up two or three receiving blankets into tight cylinders and place them in a U-shape where the baby’s head and shoulders will go. Finally, drape your beautiful aesthetic blanket—think textured knits, muslin, or soft linen—over the entire setup, tucking the edges tightly under the base pad so there is no loose fabric near the baby’s face.
The Magic of White Noise
To keep your little one in that deep, milk-drunk slumber, environment is key. Turn on a white noise machine or a womb-sound app on your phone, and place it near the basket. The continuous shushing mimics the loud environment of the womb and will help smooth over the clicks of your camera or the creaks of your floorboards.
| At-Home Setup Checklist | Recommended Item / Specification |
|---|---|
| Lighting | Large window, indirect sunlight, sheer curtain diffuser. |
| Base Padding | Folded quilt or firm bassinet mattress pad. |
| Positioning Aids | 2-3 tightly rolled burp cloths or receiving blankets. |
| Top Layer | Neutral, textured blanket (muslin, waffle knit, or linen). |
| Soothing Tools | White noise machine, pacifier, heating pad (to pre-warm basket). |
Poses 1 & 2: The Classic Back Snooze & The Gentle Side Tuck

Embracing Natural Newborn Curls
Now that our basket is prepped, warm, and safe, it is time to gently transition your sleeping baby into the basket. Ensure they have a full tummy and a clean diaper before you begin. These first two poses are the easiest and most natural for a newborn, mimicking how they naturally sleep.
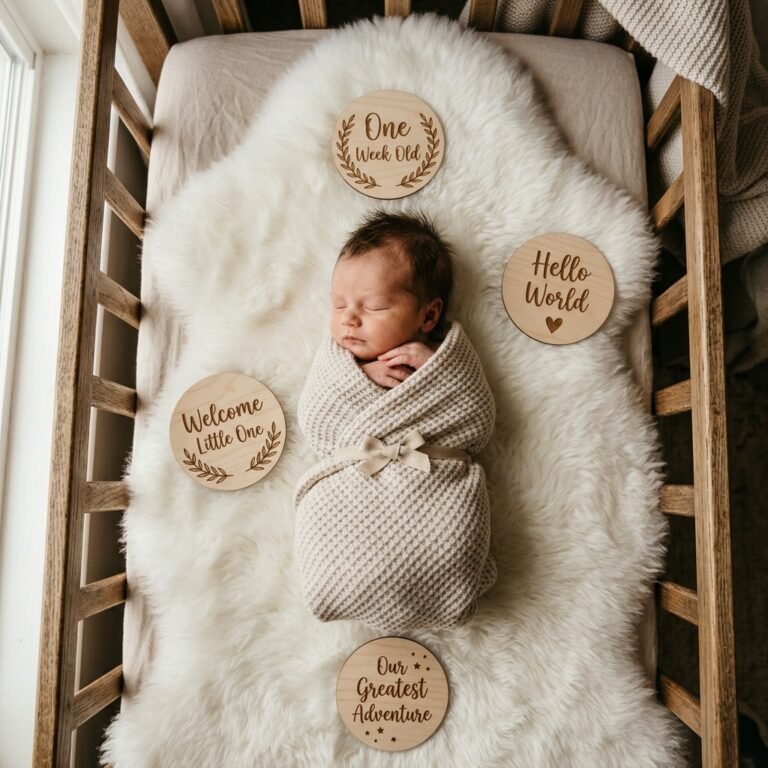
Pose 1: The Classic Back Snooze
This is the quintessential Moses basket shot, showcasing your baby’s entire little body surrounded by the basket’s woven textures.
- Pre-warm the basket: Place a heating pad in the basket for 5 minutes before placing the baby in, then remove it entirely so the sheets are just slightly warm to the touch.
- Transfer the baby: Gently lay your baby on their back in the center of the basket, with their head resting in the U-shaped bumper you created with the rolled towels under the blanket.
- Position the hands: Gently bring their hands up towards their chest or let them rest naturally by their ears. Newborns love having their hands near their face.
- The Camera Angle: Stand directly over the basket (ensure your camera strap is securely around your neck!) and shoot straight down. Make sure the light from the window is flowing from the top of the baby’s head down towards their toes (never up the nose, which creates ‘ghoul lighting’).
Pose 2: The Gentle Side Tuck
This pose highlights those adorable, squishy newborn cheeks and the natural curl of their spine.
- Shift the baby: While they are still asleep, gently roll your baby onto their side. If they favor one side, go with that!
- Support the head: Ensure the rolled blanket underneath the top layer is supporting the back of their head and their spine so they don’t roll backward.
- Tuck the legs: Gently bring their knees up towards their tummy in a fetal position.
- Hand placement: Tuck their tiny hands together right under their cheek, as if they are praying in their sleep.
- The Camera Angle: Shoot from a 45-degree angle, focusing on their eyelashes and those squished, perfect lips.
Poses 3 & 4: The Snug Swaddled Burrito & The Peeking Toes

Wrapping Them Up in Love
If your baby is going through a fussy period or has a strong startle (Moro) reflex that keeps waking them up, swaddling is your best friend. A snug swaddle makes them feel secure, warm, and right back in the womb.
Pose 3: The Snug Swaddled Burrito
For this pose, you will want a stretchy, long wrap specifically designed for photography, or a very large, stretchy jersey swaddle blanket. Stiff cotton muslin won’t give you that seamless, snug look.
- The Wrap: Lay the swaddle flat. Fold the top edge down slightly. Place baby’s shoulders level with the fold. Bring their hands to their chest.
- The Tuck: Wrap one side snugly over their chest and tuck it under their body. Bring the bottom up over their feet, and then wrap the final side tightly around them, tucking the tail underneath. They should look like a perfect little cocoon.
- Placement: Place the swaddled baby in the Moses basket. Because they are wrapped, you can tuck a beautiful textured layer over the bottom half of the basket for added depth.
- The Camera Angle: Get low. Sit on the floor next to the basket and shoot horizontally across it, capturing the texture of the basket’s edge blurring out in the foreground, with the baby’s peaceful swaddled face in sharp focus.
Pose 4: The Peeking Toes
There is nothing sweeter than ten tiny, peeling newborn toes. This pose is a variation of the swaddle that allows you to capture those little feet.
- Modify the Swaddle: Start with the tight swaddle from Pose 3, but gently unwrap the bottom section so just the feet and ankles are exposed.
- Positioning: Keep the baby’s arms and chest securely wrapped so they don’t wake up. Gently cross their little ankles together.
- The Camera Angle: Move to the bottom of the basket. Focus your camera directly on the toes, allowing the baby’s face in the background to fall into a soft, dreamy blur (use a low aperture like f/2.8 or f/3.5 if using a DSLR, or ‘Portrait Mode’ on a smartphone).
Doula Tip: If baby’s feet are a little red or purple, just gently rub them with your warm hands for a few seconds to bring the blood flow back and pink them up before snapping the photo!
Poses 5 & 6: The Sibling Gaze & The Botanical Wreath
Incorporating Family and Nature
Once you have the solo shots of your baby, it is time to add some creative elements and capture the growing bonds within your family. The Moses basket is an incredible tool for sibling photos because it creates a safe physical boundary between an unpredictable toddler and a fragile newborn.
Pose 5: The Sibling Gaze
If you have an older child, getting them to hold a newborn for a photo can be stressful. The Moses basket eliminates that stress entirely.
- The Setup: Leave the baby safely asleep in the basket on the floor.
- The Sibling: Have your older child lie down on their tummy on the rug, right next to the basket. Ask them to rest their chin on their hands and look over the edge into the basket.
- The Prompt: Instead of saying ‘smile for the camera,’ say, ‘Can you count your baby sister’s eyelashes?’ or ‘Can you whisper a secret to the baby?’ This creates genuine, sweet expressions.
- The Camera Angle: Shoot from a low angle, capturing both the sibling’s face and the baby’s face in the same frame.
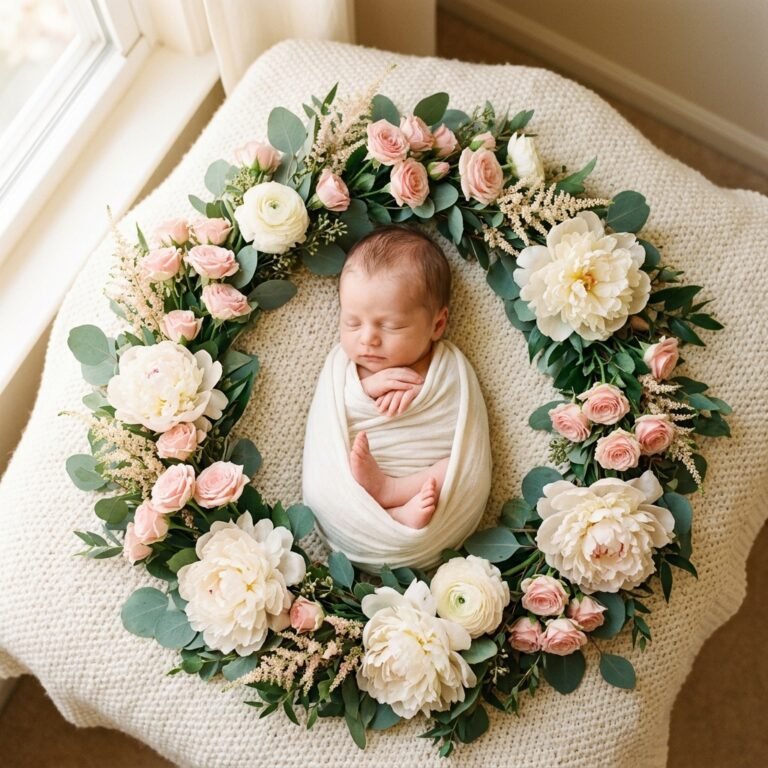
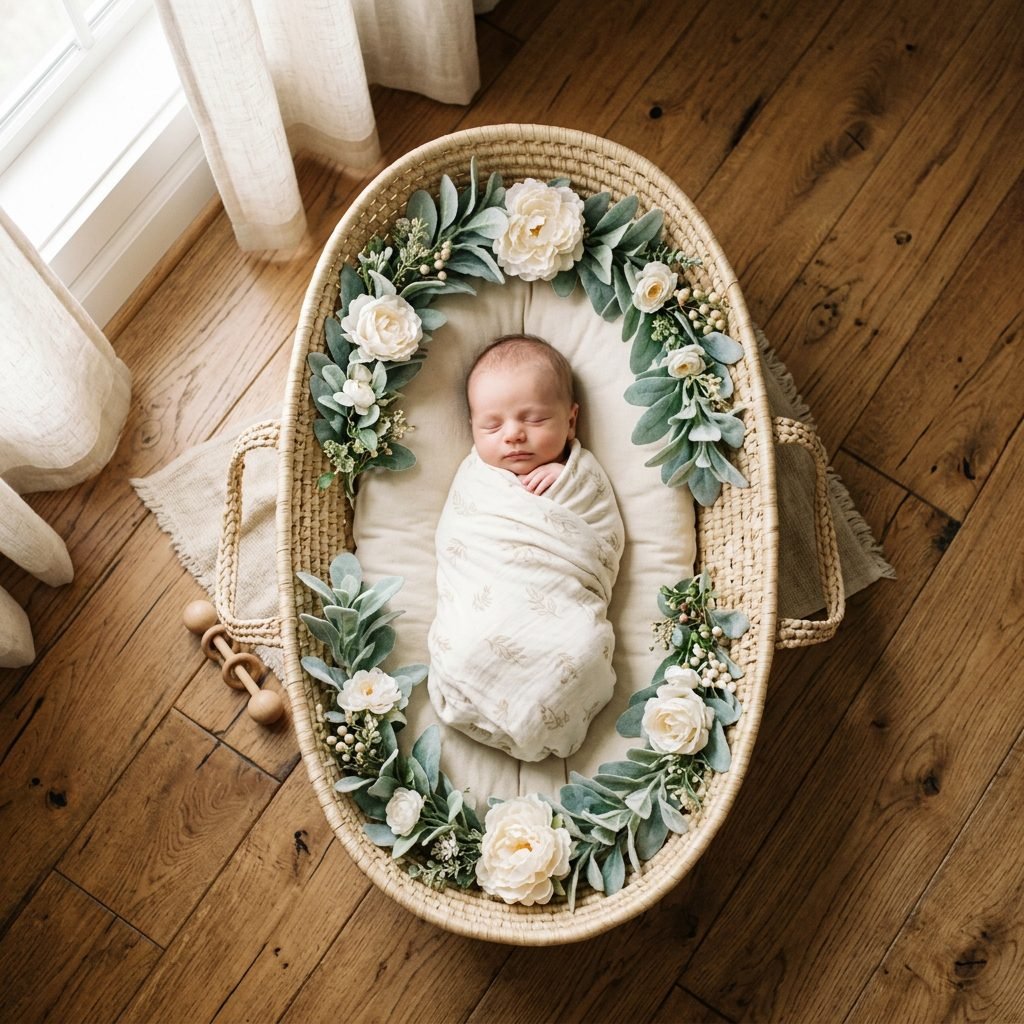
Pose 6: The Botanical Wreath Surround
This is a stunning way to add color, texture, and a seasonal touch to your newborn photos without any complicated props.
- Choosing Botanicals: Safety warning: Always use non-toxic, baby-safe greenery, or high-quality faux florals. Avoid anything with thorns, strong pollen, or toxic saps (like eucalyptus, which can be overpowering for a newborn’s respiratory system). Faux lamb’s ear, soft faux peonies, or baby’s breath are excellent choices.
- The Arrangement: While the baby is sleeping in the basket, gently weave the stems of your greenery or florals into the woven sides of the Moses basket, creating a halo or wreath effect around the inner rim.
- The Camera Angle: Shoot from directly overhead to capture the full circular shape of the basket, the beautiful floral wreath, and your perfect baby nestled in the center.
Pose 7: The Macro Details & Troubleshooting Fussy Moments

Capturing the Fleeting Micro-Moments
For our final pose, we are not moving the baby at all. Instead, we are moving the camera. Newborns change so rapidly; the milk blisters on their lips, the swirl of hair on the crown of their head, and the paper-thin fingernails will literally vanish in a matter of weeks. You want to remember these details.
Pose 7: The Macro Details
- The Setup: Keep the baby in whatever pose they are currently sleeping in. Ensure the light is hitting the specific detail you want to photograph.
- The Details to Capture:
- The profile of their face, focusing on the eyelashes.
- Their tiny hands gripping the edge of the blanket.
- The cowlick or fuzzy hair on their head.
- The little pout of their lips.
- Their earlobe, perhaps with a bit of flaky newborn skin.
- The Camera Angle: Get extremely close. If you are using a smartphone, switch to ‘Macro’ mode if you have it, or simply zoom in slightly (2x) and tap the screen to lock focus on the specific detail.
Troubleshooting: When the Magic Bubble Pops
What happens if your baby wakes up, starts rooting, or simply refuses to settle? First, take a deep breath. You are on baby time now. There is no rush.
| The Hiccup | The Doula-Approved Solution |
|---|---|
| Baby keeps startling awake | Stop trying for bare-skin poses. Swaddle them tightly, offer a pacifier, and gently rock the basket. |
| Baby is rooting/hungry | Stop the session immediately. Feed the baby. A milk-drunk baby is a sleepy, photogenic baby. |
| Lighting is too dark/gloomy | Move the basket closer to the window, or wait for a brighter time of day. Never use the camera’s pop-up flash (it will startle them and look harsh). |
| Baby is wide awake but calm | Embrace it! Awake shots are beautiful. Swaddle them safely, get close, and capture those big, soulful eyes looking around. |
Conclusion
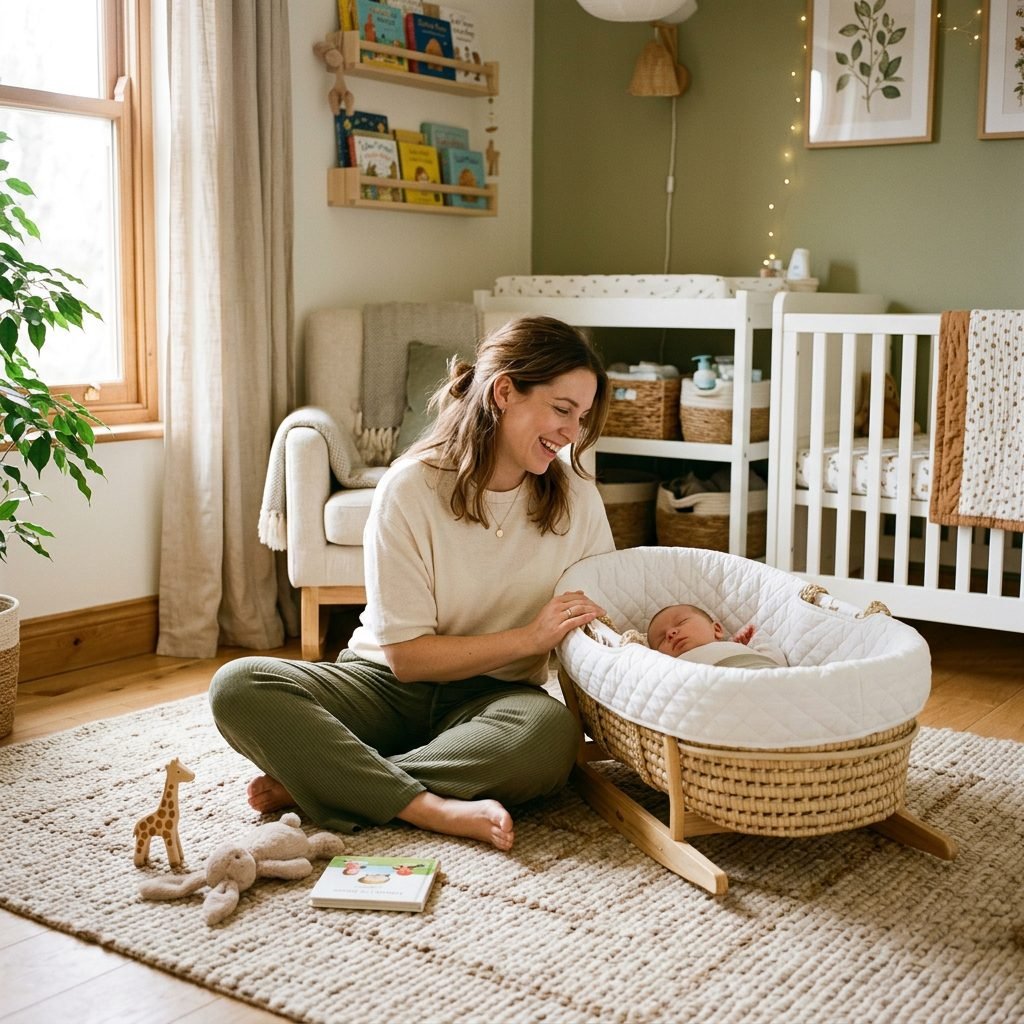
Cherish the Imperfect Magic
Mama, as you pack up your camera and gently lift your baby out of their Moses basket to snuggle them against your chest, I want you to remember this: the photos you just took are perfect because they are yours. They might not have the glossy finish of a high-end magazine, and maybe the blanket got a little wrinkled in the corner, but these images hold the authentic, raw, and breathtaking reality of your fourth trimester.
You have just frozen time. Years from now, you will look back at these photos and instantly recall the smell of their newborn skin, the weight of them in your arms, and the quiet peace of these early days at home. Be incredibly proud of yourself for taking the time to document this chapter while also healing and navigating motherhood. You are doing a beautiful job, sweet friend. Now, put the camera down, go drink a massive glass of water, and soak in those newborn cuddles.
Conclusion
Cherish the Imperfect Magic
Mama, as you pack up your camera and gently lift your baby out of their Moses basket to snuggle them against your chest, I want you to remember this: the photos you just took are perfect because they are yours. They might not have the glossy finish of a high-end magazine, and maybe the blanket got a little wrinkled in the corner, but these images hold the authentic, raw, and breathtaking reality of your fourth trimester.
You have just frozen time. Years from now, you will look back at these photos and instantly recall the smell of their newborn skin, the weight of them in your arms, and the quiet peace of these early days at home. Be incredibly proud of yourself for taking the time to document this chapter while also healing and navigating motherhood. You are doing a beautiful job, sweet friend. Now, put the camera down, go drink a massive glass of water, and soak in those newborn cuddles.