Make a DIY Sensory Glove in Under 10 Minutes to Keep Baby Engaged
Hello, sweet mama. I see you. I see the way you lean over that play mat, eyes tired but full of love, wondering how to keep those tiny, curious hands and that rapidly growing brain engaged. As a doula and a fellow traveler on this journey of motherhood, I know that the ‘witching hour’ is real, and sometimes, we just need a little bit of magic in our back pocket—or in this case, on our hands. You don’t need an expensive subscription box or a mountain of plastic toys to support your baby’s development. In fact, some of the most profound learning happens with the simplest tools. Today, we are going to create something truly special together: a DIY Sensory Glove. This isn’t just a craft; it is a bridge to connection, a tool for visual tracking, and a tactile wonderland for your little one. Best of all? You can whip this up in under 10 minutes using items you likely already have in your craft bin or junk drawer. Let’s dive into this quick, stylish, and evidence-based project that will give you those precious minutes of engaged play (and maybe even a chance to finish your coffee while it’s still warm).
Your touch is your baby’s first language, and play is the sacred work of their childhood. You are doing an incredible job, mama.
The Science of Sensory Play: Why Your Baby Needs This
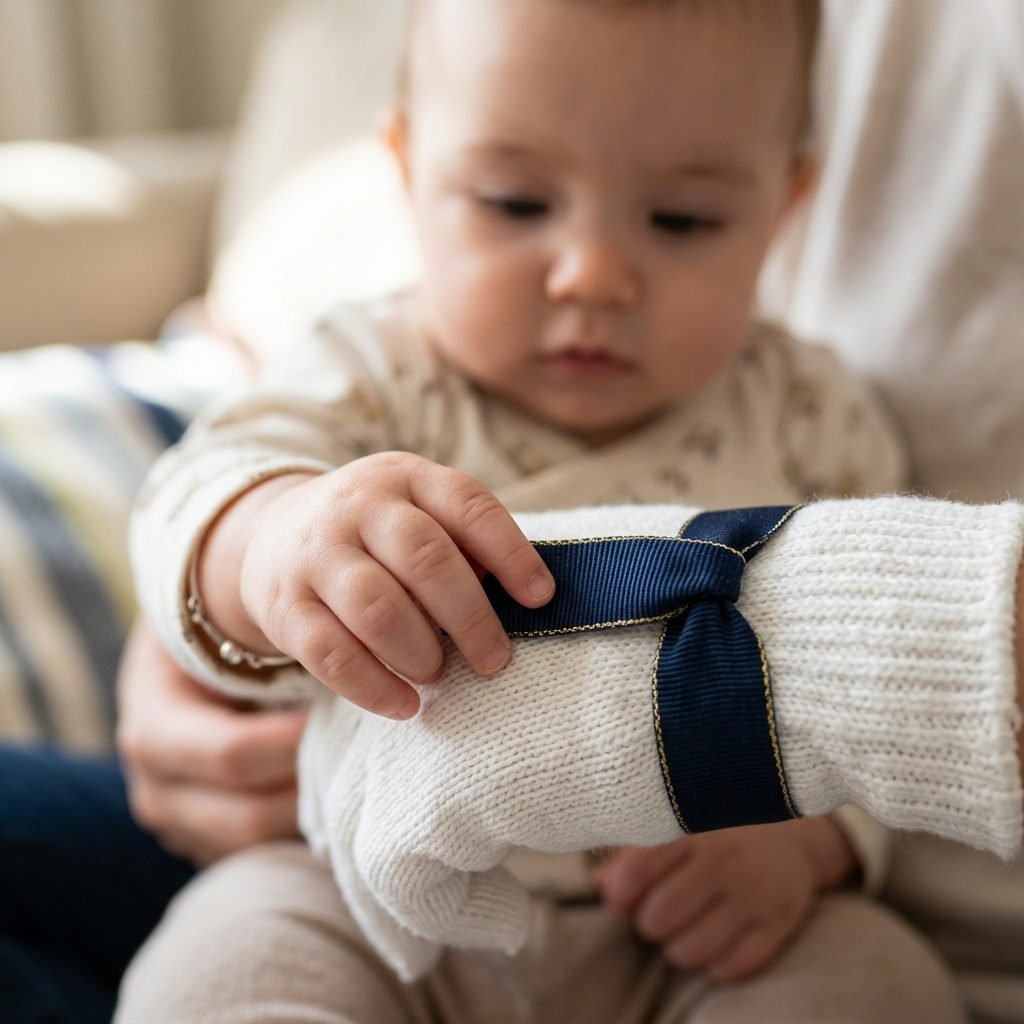
Before we pick up our scissors, let’s talk about the ‘why.’ As a doula, I am always looking at the evidence-based benefits of any activity. From the moment your baby is born, their brain is forming millions of neural connections every single second. Sensory play is the fuel for that growth. When your baby looks at a high-contrast ribbon or feels the crinkle of a fabric on your glove, they aren’t just ‘playing’—they are building the foundation for cognitive processing, fine motor skills, and even language development later on.
Tactile Stimulation and Brain Mapping
The sense of touch is one of the most developed senses at birth. By providing a variety of textures—rough, smooth, crinkly, soft—you are helping your baby map out their world. The sensory glove allows you to bring these textures directly to them in a controlled, safe way. This is especially helpful for babies who are working on their palmar grasp or those who are just beginning to reach out and explore.
Visual Tracking and Focus
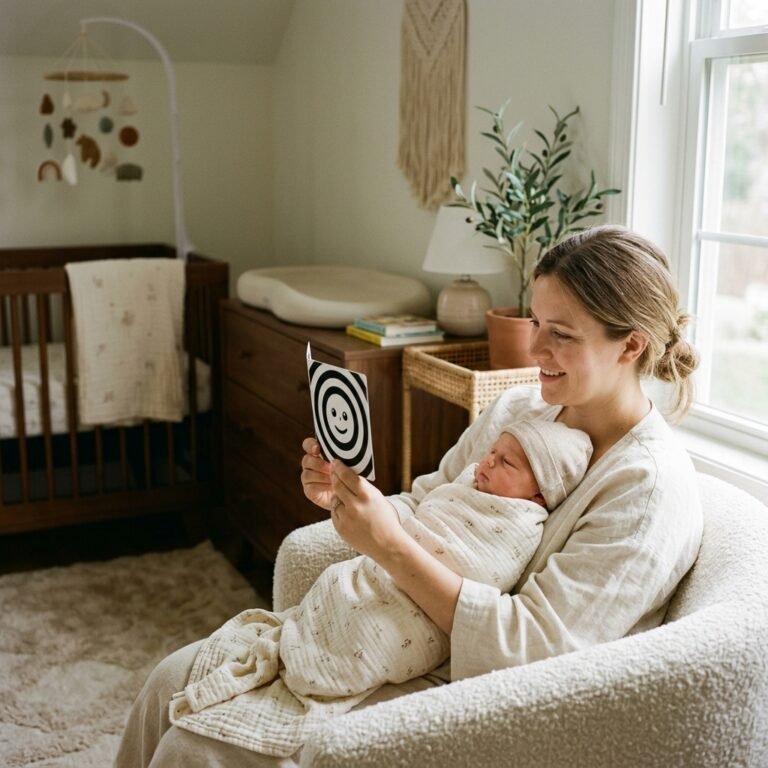
In the early months, babies can only see about 8 to 12 inches in front of them. High-contrast patterns (like black and white) are much easier for them to process. By adding specific visual elements to your glove, you can encourage visual tracking—the ability to follow a moving object with their eyes. This is a crucial milestone that leads to better hand-eye coordination down the road.
Gathering Your Materials: The 10-Minute Budget Breakdown
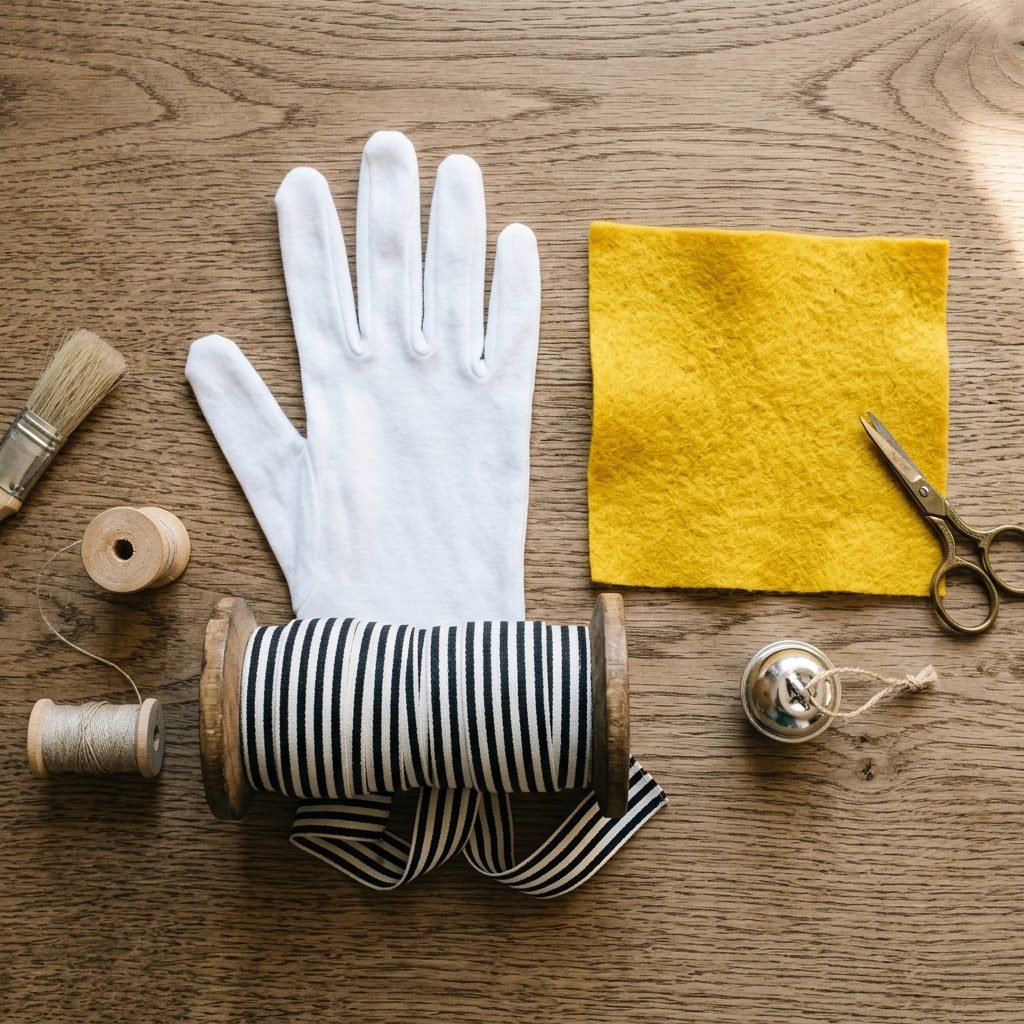
One of the best things about this project is that it is incredibly low-waste and high-impact. You don’t need a sewing machine or a degree in textile design. We are going for a stylish, comfort-first approach that prioritizes safety and simplicity. Here is what you will need to gather from your home or local craft store.
| Item | Purpose | Estimated Cost |
|---|---|---|
| Cotton Glove | The base (breathable and soft) | $1.00 |
| Assorted Ribbons | Visual and tactile variety | $0.50 (scraps) |
| Crinkle Paper or Cereal Bag | Auditory stimulation (the ‘crinkle’ sound) | Free (recycled) |
| Large Wooden Bead or Bell | Weight and sound (optional) | $0.25 |
| Felt Scraps | Soft, fuzzy texture | $0.30 |
| Needle and Heavy-Duty Thread | To secure items safely | In-home |
Pro-Tip from the Doula: Always choose non-toxic, BPA-free materials. Since your baby might try to ‘mouth’ the glove as they get older, ensuring everything is clean and safe is our top priority. Stick to 100% cotton gloves if possible to avoid any irritation on your skin or theirs.
Step-By-Step: Crafting Your Sensory Glove
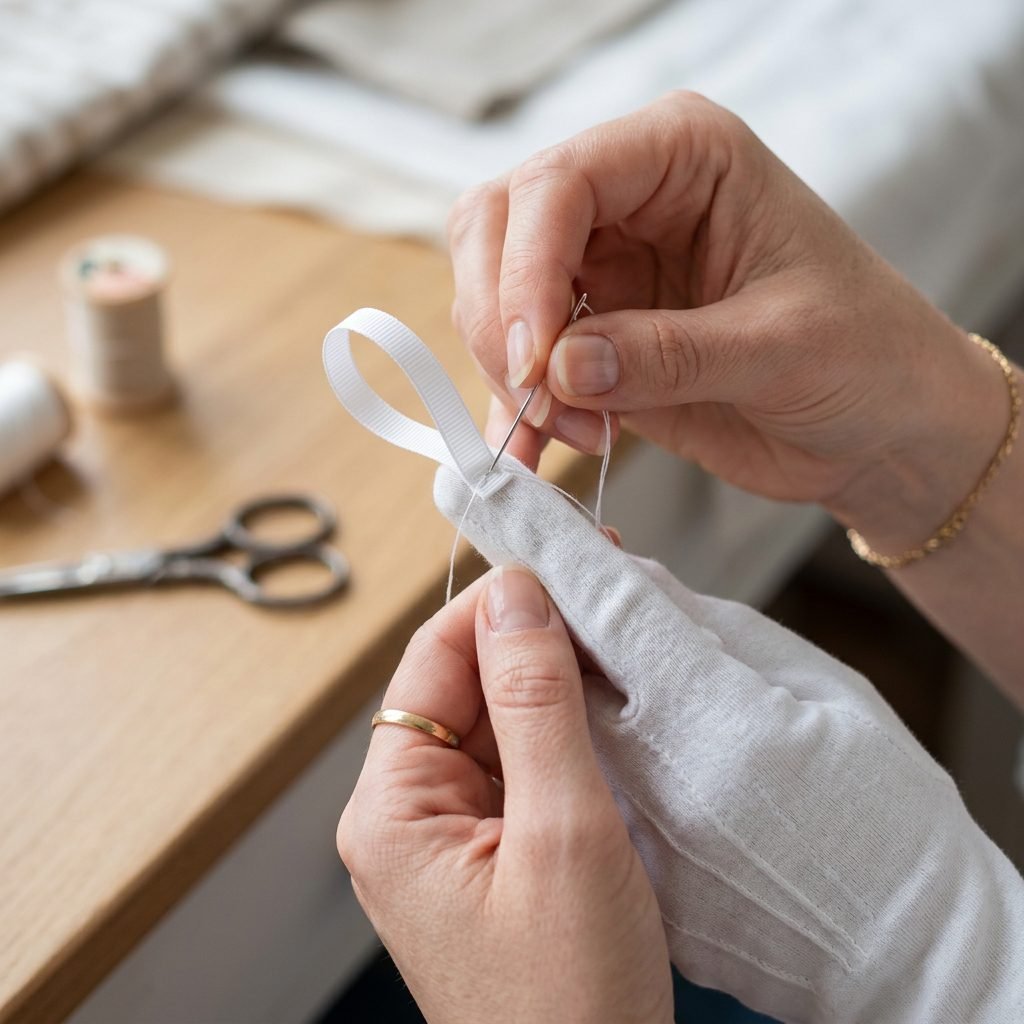
Alright, mama, let’s get crafting! Put on your favorite podcast, take a deep breath, and follow these simple steps. This should take you no longer than 10 minutes from start to finish.
- Prepare the Base: Lay your cotton glove flat on the table. Decide which fingers will host which ‘sensation.’ I recommend using the thumb and index finger for the most interactive elements.
- Add the ‘Crinkle’: Take a small square of a clean cereal bag or specialized crinkle paper. Sew it firmly onto the palm or the tip of the middle finger. Ensure you use a tight whip-stitch so it cannot be pulled off.
- The High-Contrast Ribbon: Cut 2-3 inch strips of high-contrast ribbon (black and white patterns are gold here!). Loop them and sew the ends to the tips of the fingers. These ‘loops’ are great for babies to hook their little fingers into.
- Texture Variation: Cut a small circle of felt and a small strip of silk or satin. Sew these onto the remaining fingers. This provides a ‘soft vs. smooth’ comparison for the baby to feel.
- The Sound Element: If you are using a bell, sew it inside the tip of one finger before closing it up, or secure it extremely tightly to the back of the glove where the baby is less likely to mouth it. Safety Warning: Ensure all small parts are double-stitched and tug-tested.
Mama, remember: it doesn’t have to look perfect. Your baby doesn’t care about straight seams; they care about the love and the interaction you are providing.
Playtime Strategies: How to Engage Your Baby
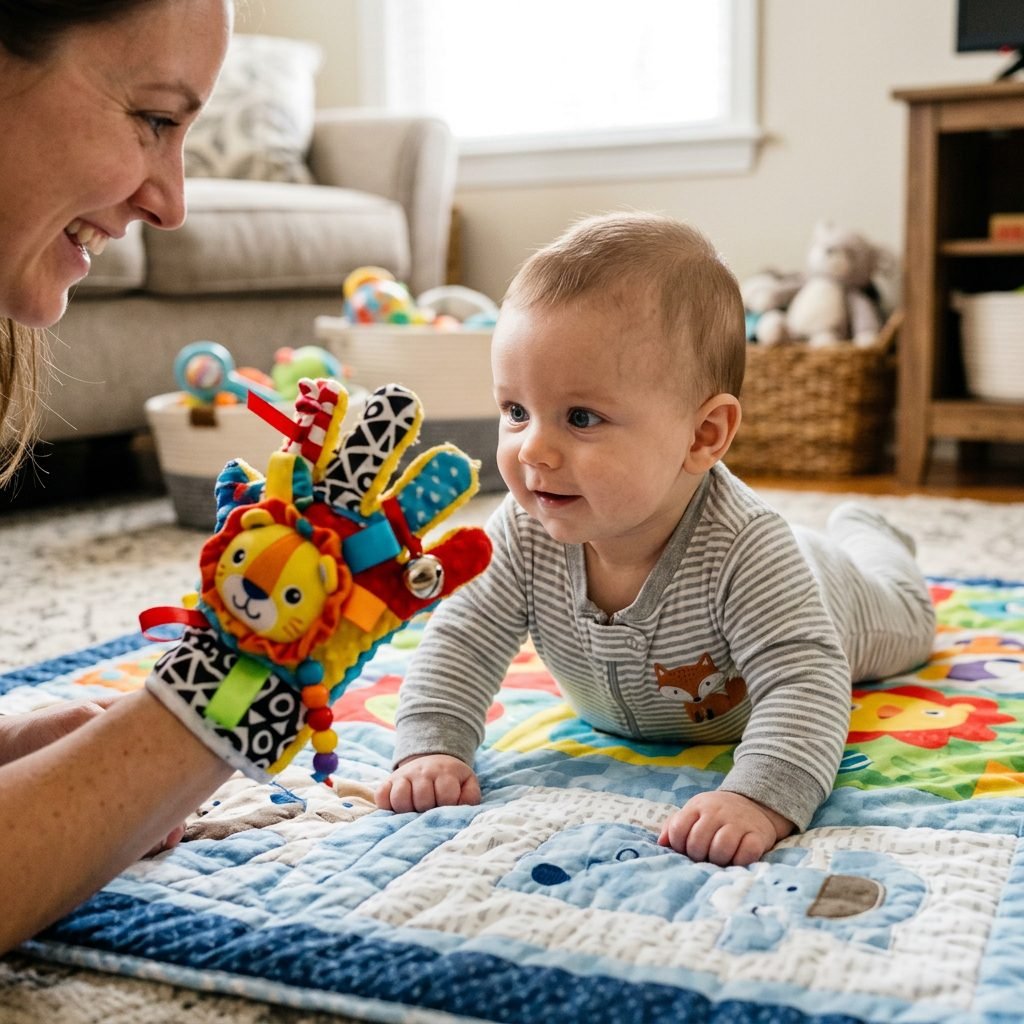
Now that your glove is ready, how do we use it to actually ‘keep baby engaged’? It’s all about the interaction. You are the magic ingredient here, mama. The glove is just the tool.
The ‘Tracking’ Game (0-3 Months)
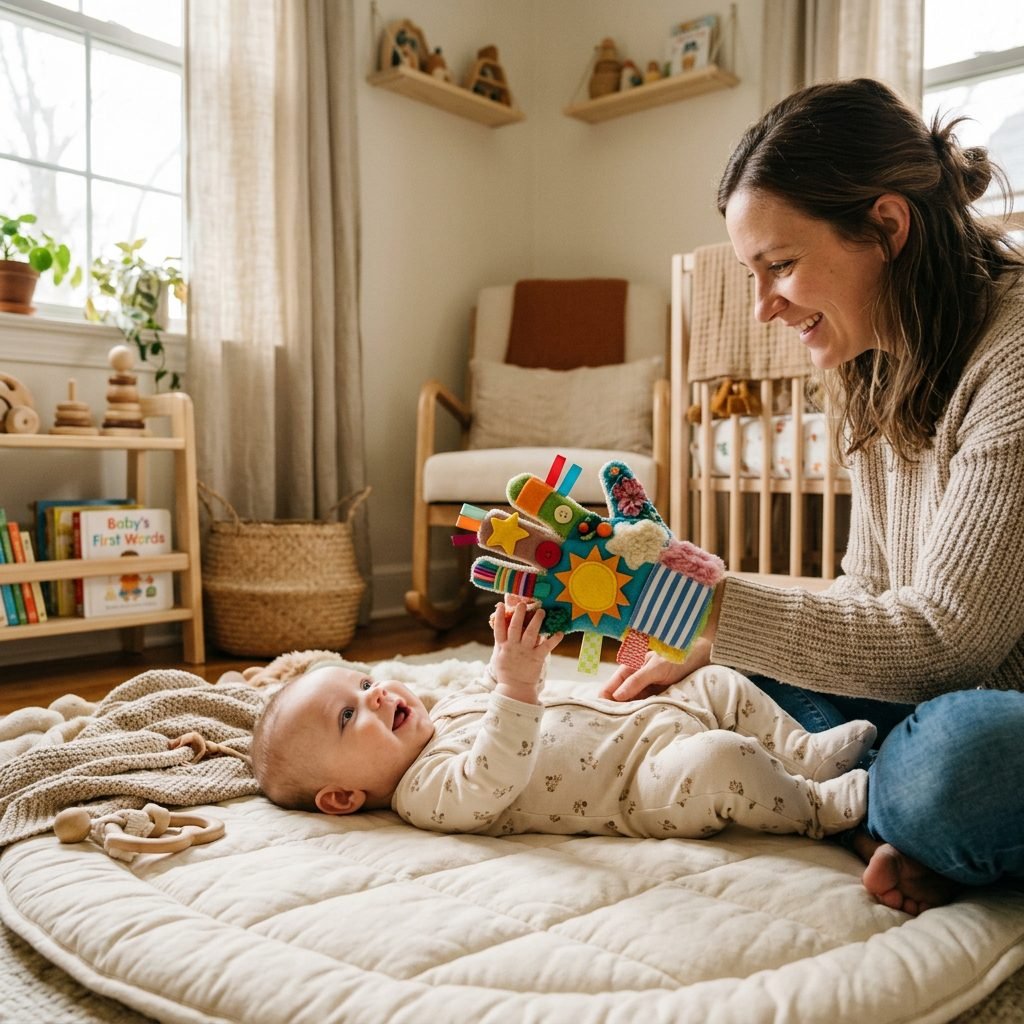
While your baby is on their back, put on the glove and hold your hand about 10 inches from their face. Slowly move your hand from left to right. Watch as their eyes lock onto the high-contrast ribbons. This builds ocular motor skills. When they successfully track, give them a big, warm smile—this reinforces the positive neural connection.
Tummy Time Distraction (3-6 Months)
Tummy time can be a struggle for many babies. Use the sensory glove to make it more bearable! Rest your gloved hand on the mat in front of them. Scratch the crinkle paper or jingle the bell. This encourages them to lift their head and eventually reach out with one hand, which is a precursor to crawling.
Diaper Change Savior
We’ve all been there—the ‘alligator roll’ during a diaper change. Keep your sensory glove near the changing table. Wiggling your gloved fingers in the air can provide just enough distraction to get that fresh diaper on without a struggle. It’s a practical, stylish hack that saves your sanity!
Safety, Maintenance, and Longevity
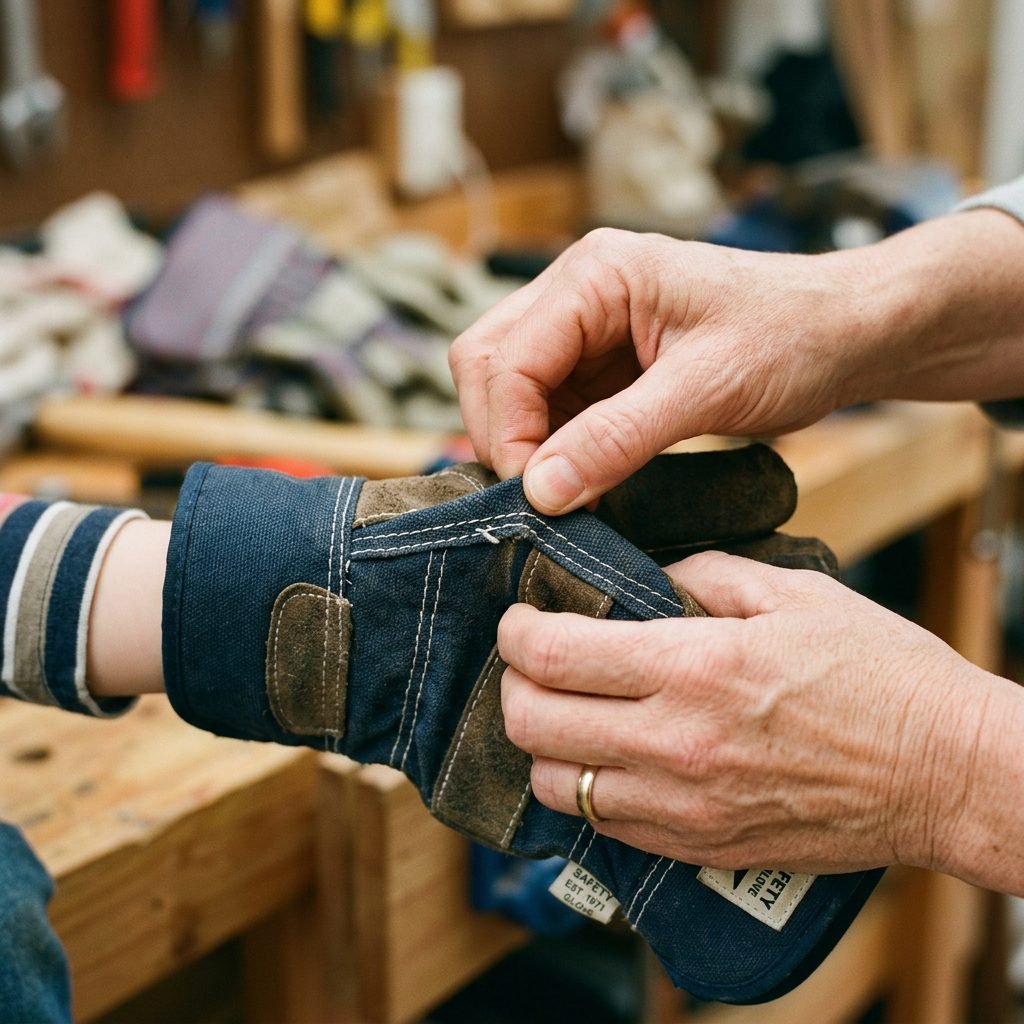
As a postpartum nurse and doula, I have to be the ‘safety police’ for a moment. Because this is a DIY item, it doesn’t undergo the same rigorous testing as store-bought toys. However, with a few simple habits, you can keep it perfectly safe.
- The Tug Test: Before every single play session, give every ribbon and bead a firm tug. If anything feels loose, fix it immediately or remove the glove from play.
- Washing Instructions: Since the glove will likely get drooled on, I recommend hand washing in a gentle, baby-safe detergent and air drying. This preserves the integrity of the glue (if used) and the delicate ribbons.
- Supervised Play Only: This is not a toy to leave in the crib with a sleeping baby. The sensory glove is designed for interactive, supervised play between you and your little one.
As your baby grows, you can ‘level up’ the glove. For a 6-9 month old, you might add different types of closures like a large, securely fastened snap or a piece of Velcro for them to pull apart. The possibilities are endless!
The Emotional Connection: More Than Just a Toy
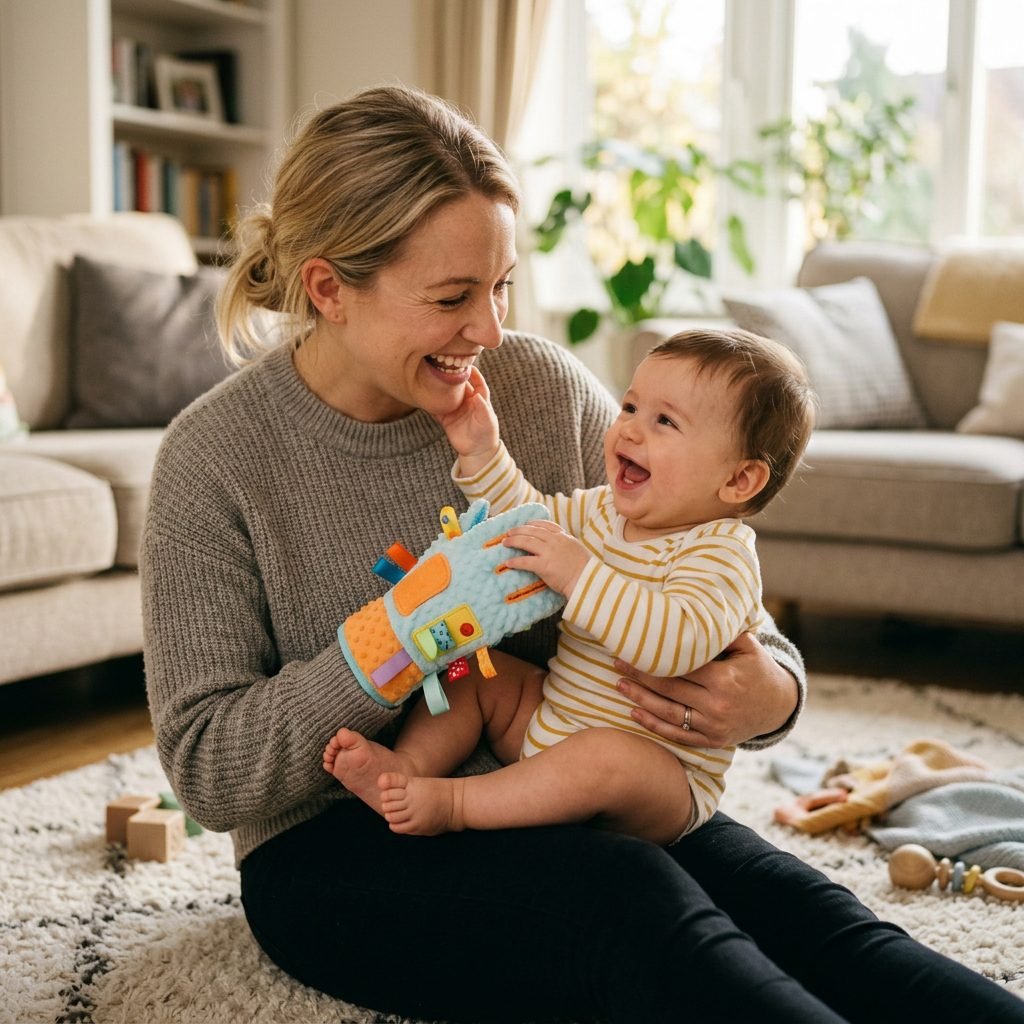
In our fast-paced world, it’s easy to feel like we need to constantly ‘do more’ for our children. But here is the truth: you are enough. This 10-minute craft is a physical manifestation of your care. When you wear this glove and play with your baby, you are practicing mindful parenting. You are putting down the phone, ignoring the laundry for a moment, and entering your baby’s world. This kind of ‘serve and return’ interaction is what builds a secure attachment. So, don’t stress if the glove is lopsided or if you only have one type of ribbon. The joy is in the shared moment, the giggles, and the quiet awe in your baby’s eyes as they discover something new.
Conclusion
Creating a DIY sensory glove is such a beautiful, simple way to support your baby’s development while honoring your own need for practical, quick solutions. In under 10 minutes, you’ve created a tool that stimulates the brain, encourages physical milestones, and strengthens the bond between you and your little one. Remember, mama, you don’t need to be a master crafter to be an incredible mother. Your presence, your touch, and your willingness to play are the greatest gifts you can give. Enjoy these fleeting moments of discovery. You’ve got this!