
Step-by-Step Guide: Capturing the Classic Parents’ Hands Newborn Portrait on Your iPhone
Welcome to the Magic of the Fourth Trimester, Mama
There is something truly ethereal about those first few weeks at home with your newborn. As a doula, I often tell my clients that this time is a ‘sacred blur’—a period of intense healing, hormonal shifts, and the most profound falling-in-love you will ever experience. But let’s be honest: in the midst of the 2:00 AM feedings and the hazy postpartum recovery, the details of how tiny they once were can start to fade faster than we’d like. That is why the classic parents’ hands portrait is more than just a photo; it is a visual anchor. It captures the staggering scale of your baby’s newness against the strength of your protection.
You don’t need a professional photographer or a thousand-dollar DSLR to capture this masterpiece. Your iPhone is a powerhouse of technology that, with a few ‘doula-approved’ tweaks, can produce gallery-worthy images. In this guide, we are going to walk through the process of setting up, posing, and editing this iconic shot right in the comfort of your nursery. We’ll focus on safety, comfort, and lighting, ensuring that the process is as gentle for your baby as it is rewarding for you. Grab a cup of tea (or your lukewarm coffee—I see you, mama!), and let’s create something beautiful together.
Creating the Perfect Nest: Lighting and Environment

Setting the Stage for a Calm Session
Before we even pick up the phone, we need to consider the environment. A newborn’s skin is incredibly sensitive to light and temperature. To get that soft, ‘pro’ look, we want to avoid the harsh overhead lights in your home, which can create yellow tones and unflattering shadows. Instead, we are looking for indirect natural light. Find a large window or a sliding glass door. The best time is usually mid-morning when the light is bright but not shining directly onto the floor.
Temperature and Comfort
Your baby is used to the 98.6-degree warmth of your womb. To keep them sleepy and cooperative for the photo, turn the thermostat up slightly or use a space heater (safely tucked away) to keep the room around 75 degrees Fahrenheit. We want them ‘milk drunk’ and cozy. A white noise machine running in the background can also help mimic the sounds of the womb, keeping them in that deep, photogenic sleep.
| Element | Ideal Condition | Why It Matters |
|---|---|---|
| Light Source | North or South facing window | Provides soft, even diffusion without harsh shadows. |
| Timing | 30 minutes after a full feed | Ensures a ‘milk drunk’ sleepy state for easier posing. |
| Background | Neutral, textured fabric | Cream, beige, or white linens keep the focus on the skin tones. |
iPhone Settings: Turning Your Phone into a Professional Camera
Unlocking Your iPhone’s Hidden Potential
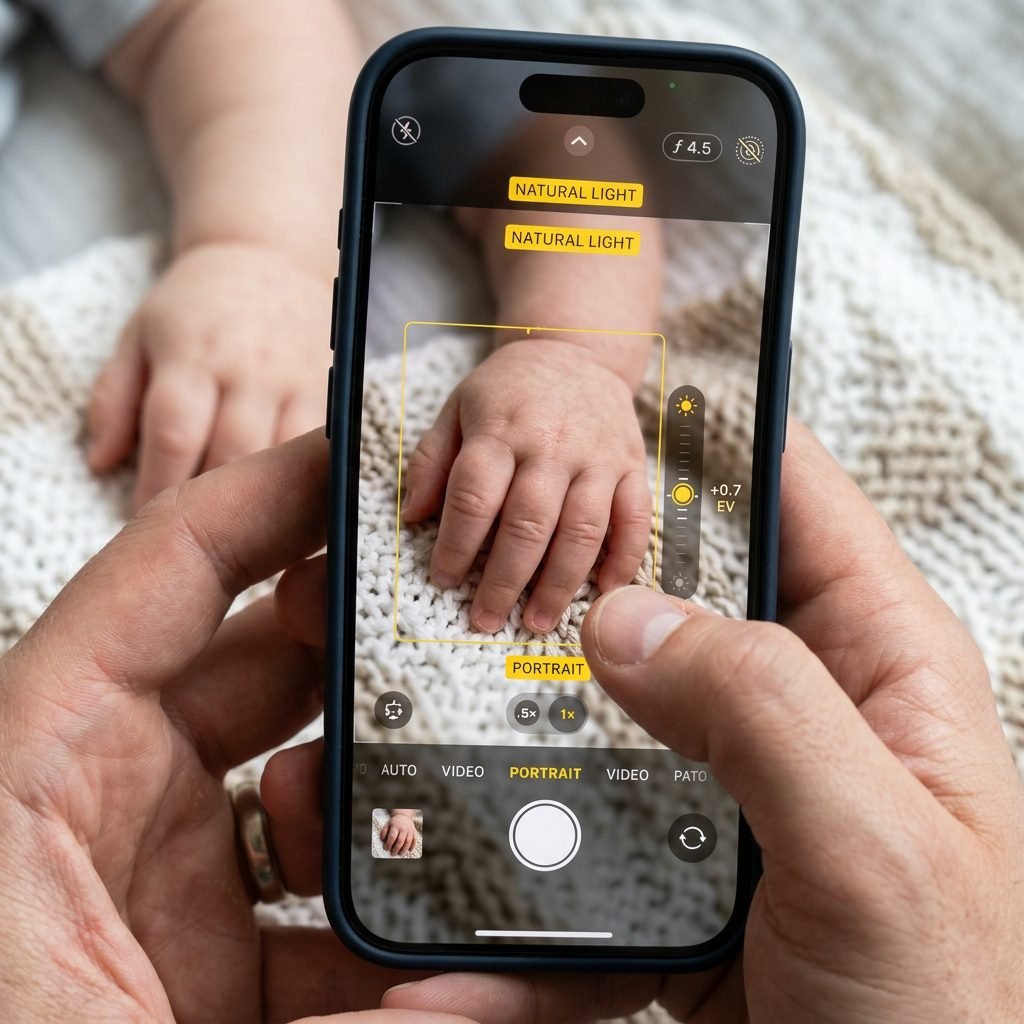
Most mamas just point and shoot, but to get that blurry background (known as bokeh) and those crisp details, we need to dive into the settings. If you have an iPhone 7 Plus or later, you have Portrait Mode, which is our secret weapon for this project. This mode uses the dual lenses to calculate depth, making the baby’s tiny features pop while softly blurring the parents’ wrists and the background.
The Technical Checklist
- Clean Your Lens: This sounds simple, but a quick wipe with a microfiber cloth removes the ‘postpartum finger-smudge’ and instantly sharpens your images.
- Turn Off the Flash: Natural light is our friend. The flash will flatten the image and potentially startle the baby.
- Exposure Compensation: When you tap the screen to focus on the baby’s foot or hand, a yellow box appears with a sun icon. Slide that sun upward slightly to brighten the image. This gives it that ‘airy’ and ethereal feel.
- Use the Grid: Go to Settings > Camera > Grid and turn it on. This helps you keep your horizons straight and follow the ‘rule of thirds’ for a more professional composition.
Pro Tip: If you are shooting solo, use the ‘Timer’ function (set for 3 or 10 seconds) so you can get your own hands into the frame after steadying the phone on a tripod or a stack of books.
The Poses: Step-by-Step Instructions for the Iconic ‘Hands’ Shot

Mastering the Art of Connection
The goal is to show the contrast between the weathered, protective hands of the parents and the velvet-soft, brand-new skin of the infant. Here are the three most successful ways to pose this shot:
1. The ‘Heart Hands’ Cradle
- Place your baby on their back on a soft, neutral surface.
- Parent 1 and Parent 2 bring their hands together, touching at the fingertips and the base of the palms to form a heart shape.
- Gently frame the baby’s feet or their entire head within that heart.
- The photographer (or the tripod) should be positioned directly above, looking straight down.
2. The ‘Pinky Promise’
This is a beautiful way to capture the grasping reflex. Place your pinky finger into the baby’s palm. When they wrap those tiny, translucent fingers around yours, have the other parent cup their hand underneath the baby’s arm for a sense of ‘stacking’ and support.
3. The ‘Cradled Feet’
Have one parent hold the baby’s feet from the bottom, while the other parent rests their hand over the top. This creates a ‘sandwich’ of love that highlights just how small those toes truly are. Make sure your nails are clean and neutral; we want the focus on the baby, not a bright manicure!
Styling and Textures: The Doula’s Aesthetic Guide
Choosing the Right Palette
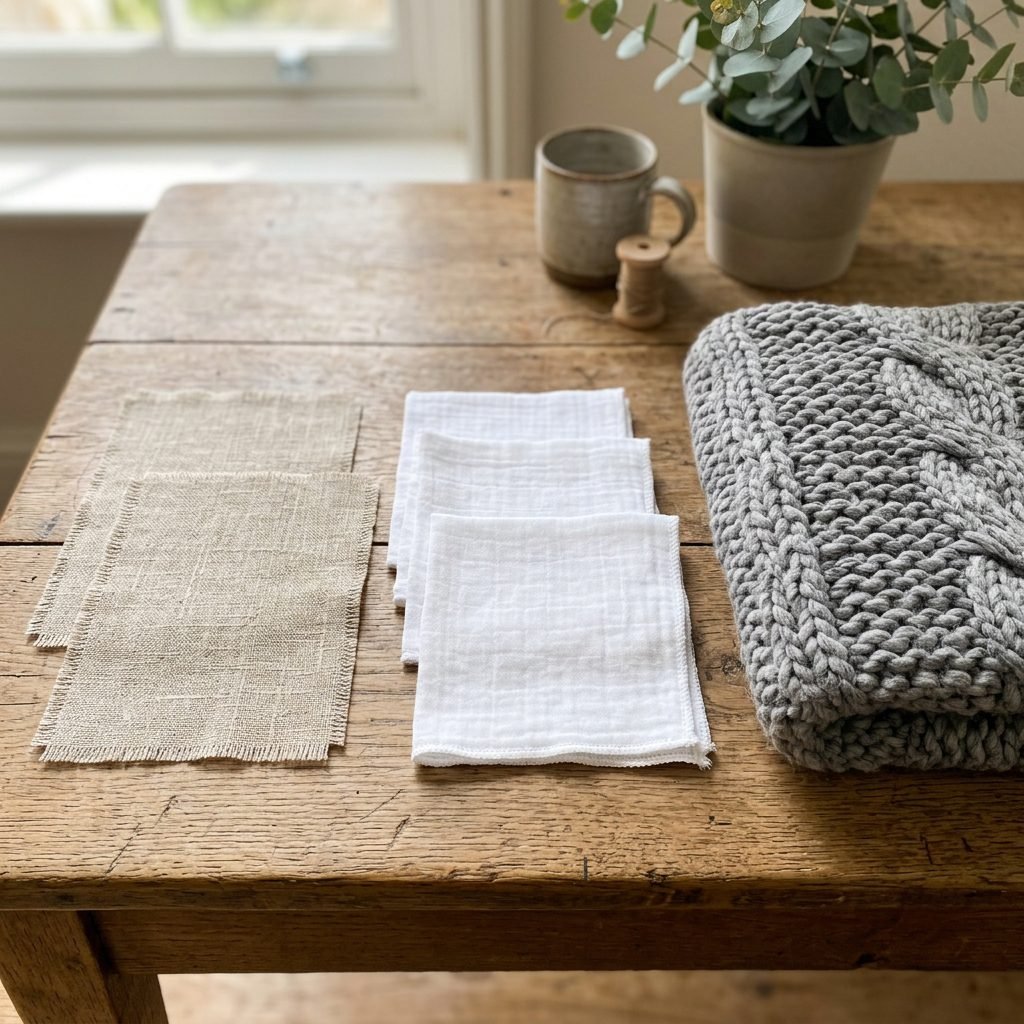
As a maternal stylist, I always recommend a ‘less is more’ approach for newborn photography. We want the textures to tell the story. Think linen, chunky knits, organic cotton, and muslin. These fabrics catch the light beautifully and add depth to the photo without being distracting. Avoid busy patterns, logos, or neon colors, as these can reflect unflattering tints onto the baby’s skin.
Wardrobe for the Hands
Since the ‘stars’ of this photo (besides the baby) are your hands, a little prep goes a long way. Postpartum skin can be dry, so apply a high-quality, non-greasy moisturizer about 15 minutes before the shoot. If you have ‘hospital band’ residue or scratches, don’t worry—we can fix that in editing, but a clean slate is always best.
| Do’s | Don’ts |
|---|---|
| Use neutral nail polish or bare nails. | Wear bright, distracting jewelry or watches. |
| Wear a simple gold wedding band. | Use heavy patterns on sleeves. |
| Choose cream, tan, or soft grey fabrics. | Use ‘high-definition’ makeup on hands. |
Editing Like a Pro: The Final Polish
Bringing the Image to Life
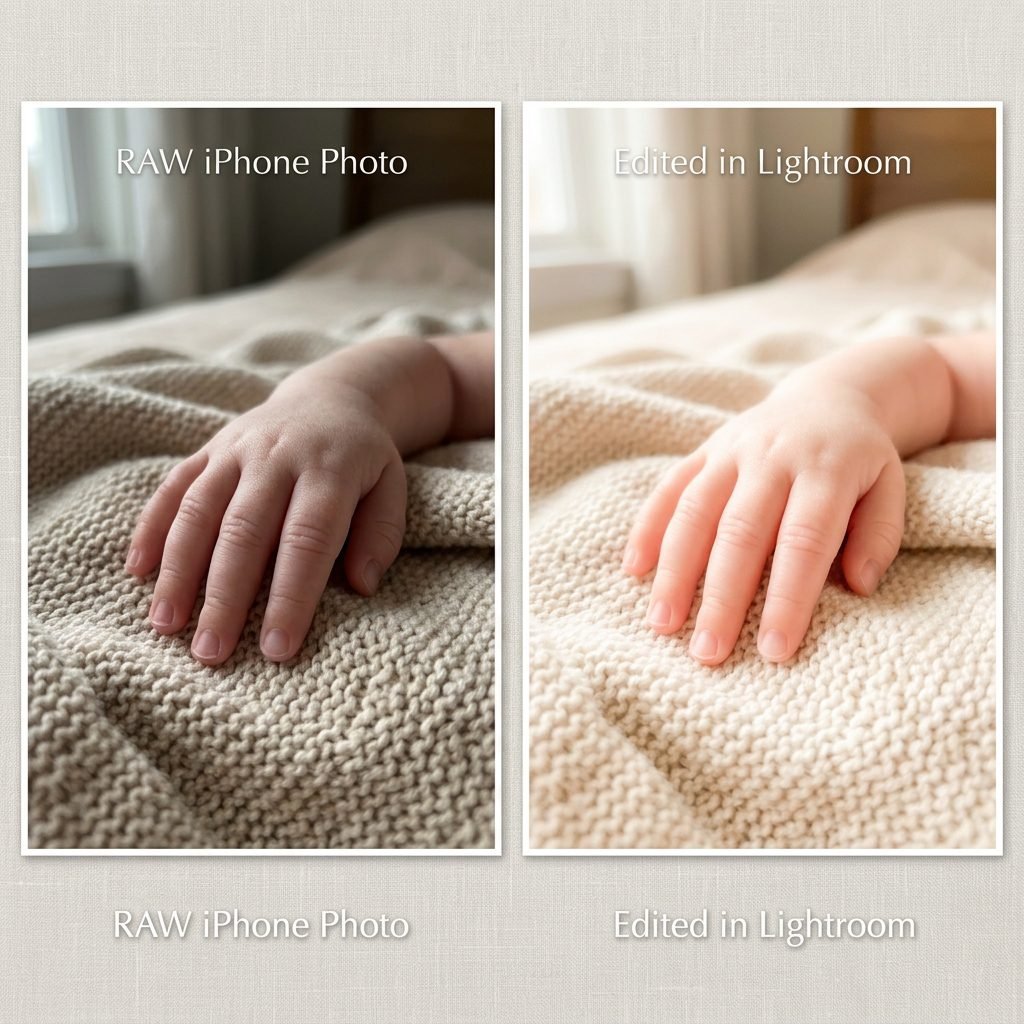
The secret to those ‘Pinterest-perfect’ newborn photos isn’t just the camera; it’s the post-processing. You don’t need Photoshop—the free Lightroom Mobile app or even the built-in iPhone ‘Edit’ features are plenty. When editing newborn skin, the goal is ‘soft and glowing.’
Step-by-Step Editing Workflow
- Brilliance and Exposure: Increase these slightly to blow out any distracting shadows in the background.
- Saturation vs. Vibrance: Decrease saturation by -5 but increase vibrance by +10. This prevents the baby’s skin from looking too ‘orange’ while keeping the healthy glow.
- Warmth: If the photo looks too ‘cold’ or blue, slide the warmth (tint) toward the yellow side just a hair.
- Definition and Sharpness: Be careful here! Too much sharpness can make a newborn’s skin look flaky. Keep these settings low for a dreamy, soft-focus effect.
Affirmation: “This photo is a record of my love. It does not need to be perfect to be precious.”
Safety First: The Doula’s Professional Reminder

Honoring Your Baby’s Limits
In the world of professional photography, there is a saying: ‘The shot is never worth the risk.’ As your virtual doula, I want to remind you that your baby’s comfort is the priority. Never force a baby into a position. If they are fussing, arching their back, or seem unsettled, stop and try again tomorrow. The best photos happen when the baby is relaxed and safe.
Positional Safety
When doing the ‘hands’ portrait, ensure that the parent who is not in the frame is acting as a ‘spotter.’ Even if the baby is on a flat surface, a hand should always be inches away. If you are doing a pose where the baby is being held, ensure their airway is always clear—chin off the chest and nose unobstructed. Listen to your maternal instinct; if a pose feels ‘off,’ it probably is.
- Check Circulation: Ensure hands aren’t gripping the baby’s limbs too tightly.
- Watch the Soft Spot: Be mindful of the fontanelle when framing the head.
- Stay Hydrated: Mama, you are recovering too! Don’t spend two hours on the floor. Set a 15-minute timer and then rest.
Conclusion
Your Memories, Captured Forever
There you have it, mama. With just your iPhone and a little bit of intentionality, you have captured a moment that will only become more valuable as the years go by. One day, you will look back at this photo and marvel at how those tiny feet have grown to run through the grass, and how those little hands have learned to hold yours back. This ‘Parents’ Hands’ portrait is a testament to the support system you are building for your child from day one.
Don’t worry if the first few shots aren’t perfect. The beauty of digital photography is that you can keep trying. The most important thing is that you are present, you are healing, and you are documenting this incredible journey. You are doing an amazing job, and these photos are just one small way to celebrate the miracle of your new family. Happy snapping, and enjoy those newborn snuggles!