Eco-Friendly & Unique: How to Make DIY Plantable Seed Paper Birth Announcements
Hello, sweet mama. If you are reading this, you are likely in that beautiful, hazy, and deeply transformative season of preparing for or celebrating a new life. Whether you are currently nesting and looking for a soulful project to ground your energy, or you are a new mother wanting to share your joy in a way that honors the earth, you have found the right place. As a doula, I often tell my clients that the arrival of a baby is like the planting of a garden—it requires patience, nurturing, and a whole lot of love. What better way to announce your little one’s debut than with plantable seed paper? This isn’t just an announcement; it is a living gift. When your friends and family receive this news, they won’t just see a photo; they will eventually plant the paper and watch flowers bloom in honor of your child. In this guide, we are going to walk through the gentle, tactile process of making your own seed paper from scratch. It is a meditative, sensory-rich activity that fits perfectly into the slow-living rhythm of the fourth trimester or the final weeks of pregnancy. Let’s roll up our sleeves and create something that grows right along with your baby.
The Soulful Why: Why Choose Seed Paper for Your Little One?
In a world of digital pings and disposable cardstock, there is something profoundly moving about a tactile, handmade announcement. For the eco-conscious mother, seed paper represents the circle of life. It is a zero-waste alternative that turns ‘clutter’ into a garden. Every time a loved one looks at the sprouts coming up in their window box or backyard, they will be reminded of your baby’s growth. This project is also a wonderful way to channel ‘nesting’ energy. Many expectant mothers feel a strong urge to create a safe, beautiful environment; working with natural fibers and seeds is a grounding way to connect with the earth during this transition.
Your baby is a seed of hope planted in the garden of your life; let their first message to the world be one that brings more beauty to the earth.
From a sensory perspective, the process of making paper—the cool water, the soft pulp, the scent of dried botanicals—can be incredibly therapeutic. It allows you to slow down, breathe, and focus on the present moment, which is the best preparation for labor and motherhood alike.
Gathering Your Earth-Friendly Supplies
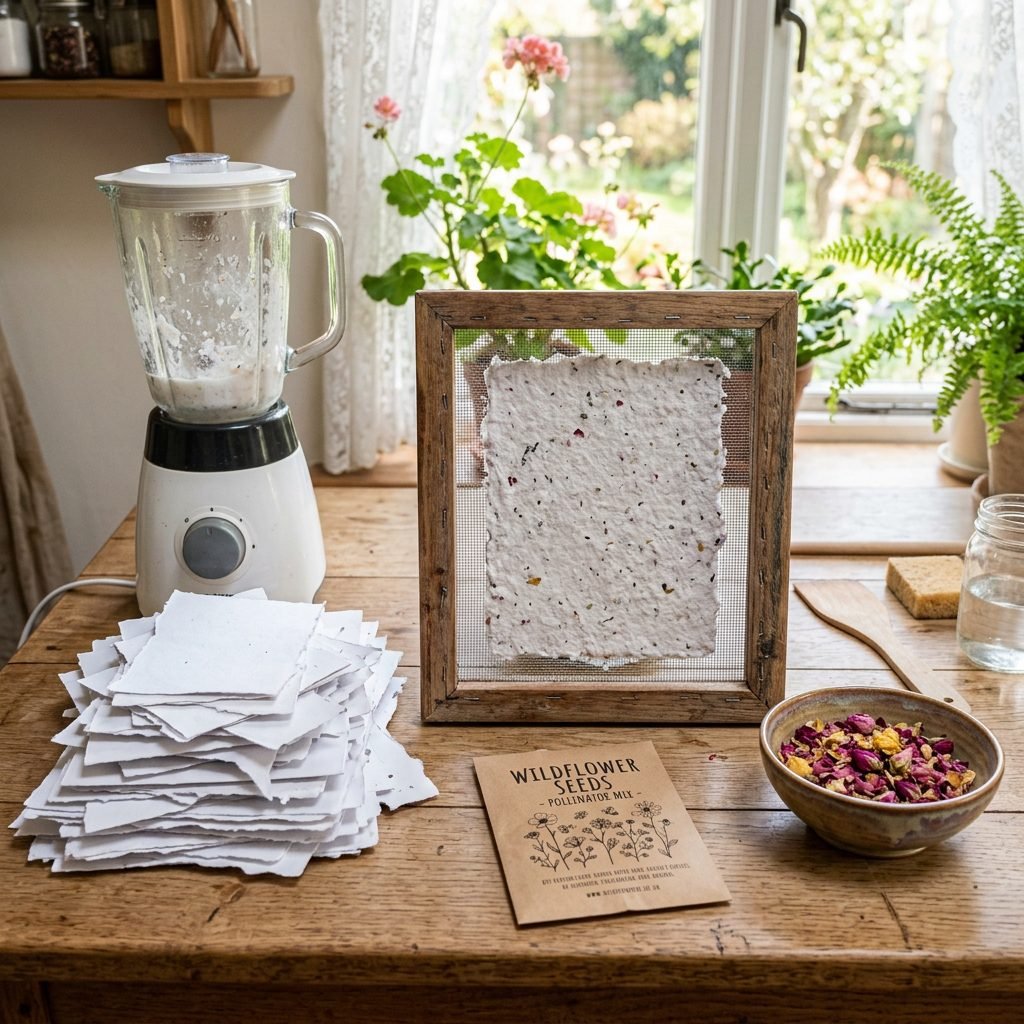
Before we dive into the ‘how-to,’ let’s make sure your workspace is set up for success. You don’t need expensive equipment; in fact, most of these items are likely already in your home or can be sourced sustainably. We want to ensure everything we use is non-toxic and safe for you and your home environment. Below is a breakdown of what you will need and the estimated cost for a batch of approximately 20 to 25 announcements.
| Material | Purpose | Estimated Cost |
|---|---|---|
| Recycled Paper (Scraps, Egg Cartons, Envelopes) | The base pulp for your new paper. | $0 (Upcycled) |
| Wildflower or Herb Seeds (Non-GMO) | To make the paper ‘plantable’. | $5 – $10 |
| Picture Frame + Fine Mesh Screen | To create the ‘mold and deckle’. | $8 – $15 |
| Blender | To break down the recycled paper into pulp. | $0 (Use an old one or thrifted) |
| Felt or Old Cotton Towels | For ‘couching’ (transferring) the wet paper. | $0 – $5 |
| Large Plastic Tub | To hold the water and pulp mixture. | $5 |
| Optional: Dried Petals or Essential Oils | For aesthetic and light fragrance. | $5 |
Pro-Tip: When choosing seeds, look for non-invasive wildflower mixes or easy-to-grow herbs like basil or chamomile. This ensures that when your guests plant the paper, they are supporting their local ecosystem rather than introducing aggressive plant species.
Step-by-Step: Crafting Your Seed Paper with Love
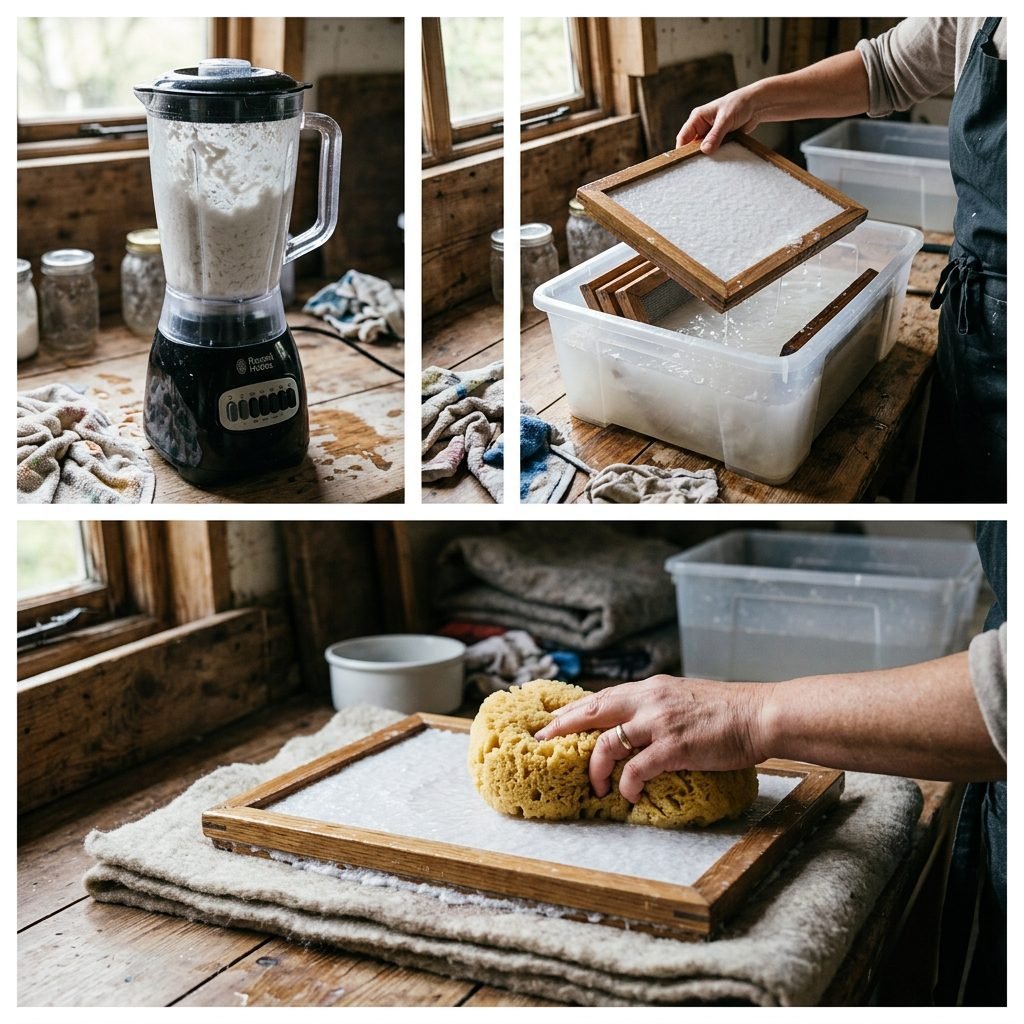
This process is simple but requires a bit of patience—much like the early days of breastfeeding or soothing a newborn. Follow these steps to create your base sheets.
- Prep Your Paper: Tear your recycled paper into small 1-inch squares. Soak them in a bowl of warm water for at least 2 hours (or overnight for a smoother pulp).
- Blend It Up: Fill your blender halfway with the soaked paper and halfway with fresh water. Pulse until it looks like a thick, watery soup or oatmeal. Do not blend the seeds! High-speed blades will damage them.
- Prepare the Vat: Fill your large plastic tub with about 3 to 4 inches of water. Pour in your blended pulp and stir. Now, gently sprinkle in your wildflower seeds and any dried petals. Stir with your hand to distribute them evenly.
- The Dip (Mold and Deckle): Hold your mesh frame (screen side up) at a 45-degree angle and dip it to the bottom of the tub. Level it out and lift it straight up. You will see a layer of pulp resting on the screen.
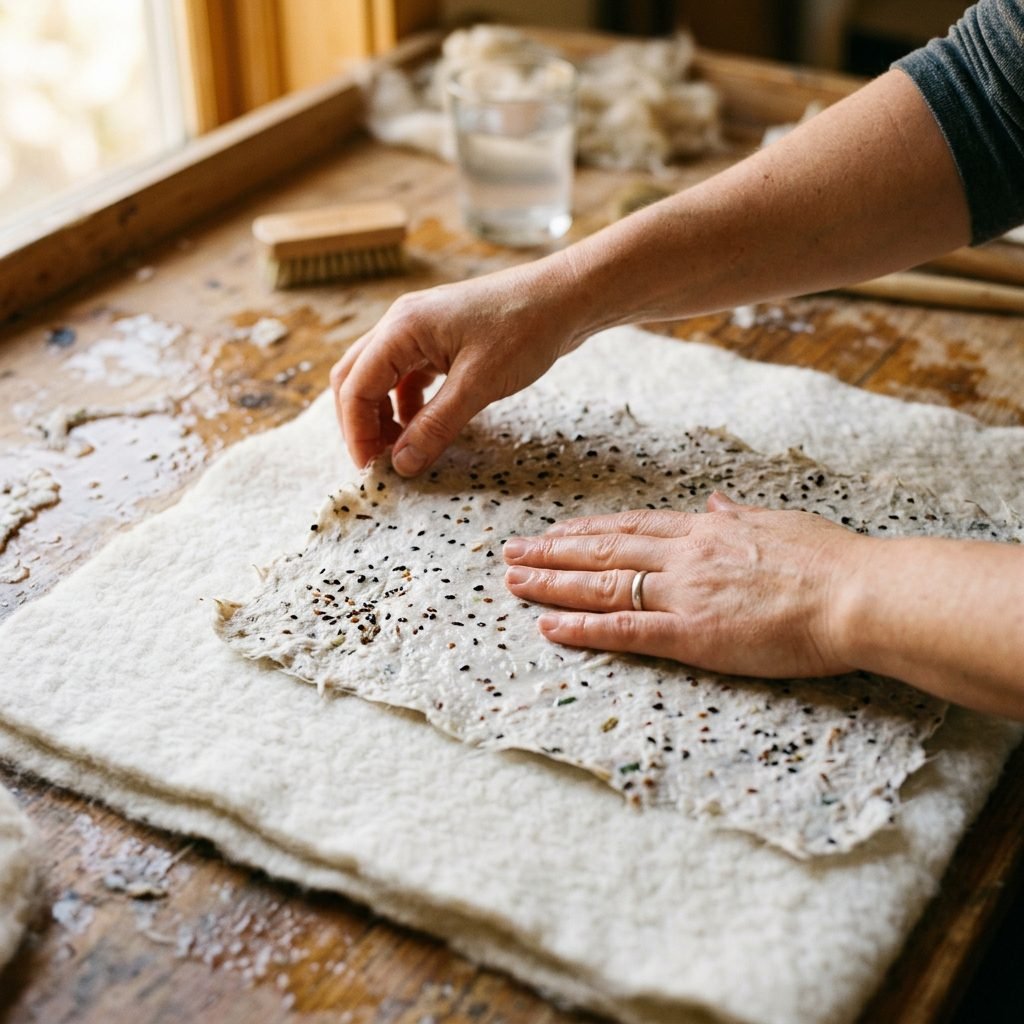
- Drain and Couch: Let the excess water drip off for 30 seconds. Carefully flip the frame onto a piece of dry felt or a towel. Press firmly with a sponge to soak up extra moisture, then gently lift the frame. Your wet sheet of paper should stay on the felt!
- Drying: Lay the felt sheets in a warm, dry place. Depending on humidity, it can take 24 to 48 hours for the paper to dry completely.
Be patient with the drying process, mama. Just as your body took time to grow your little one, these sheets need time to settle into their final form.
Designing Your Announcement: Ink, Font, and Style
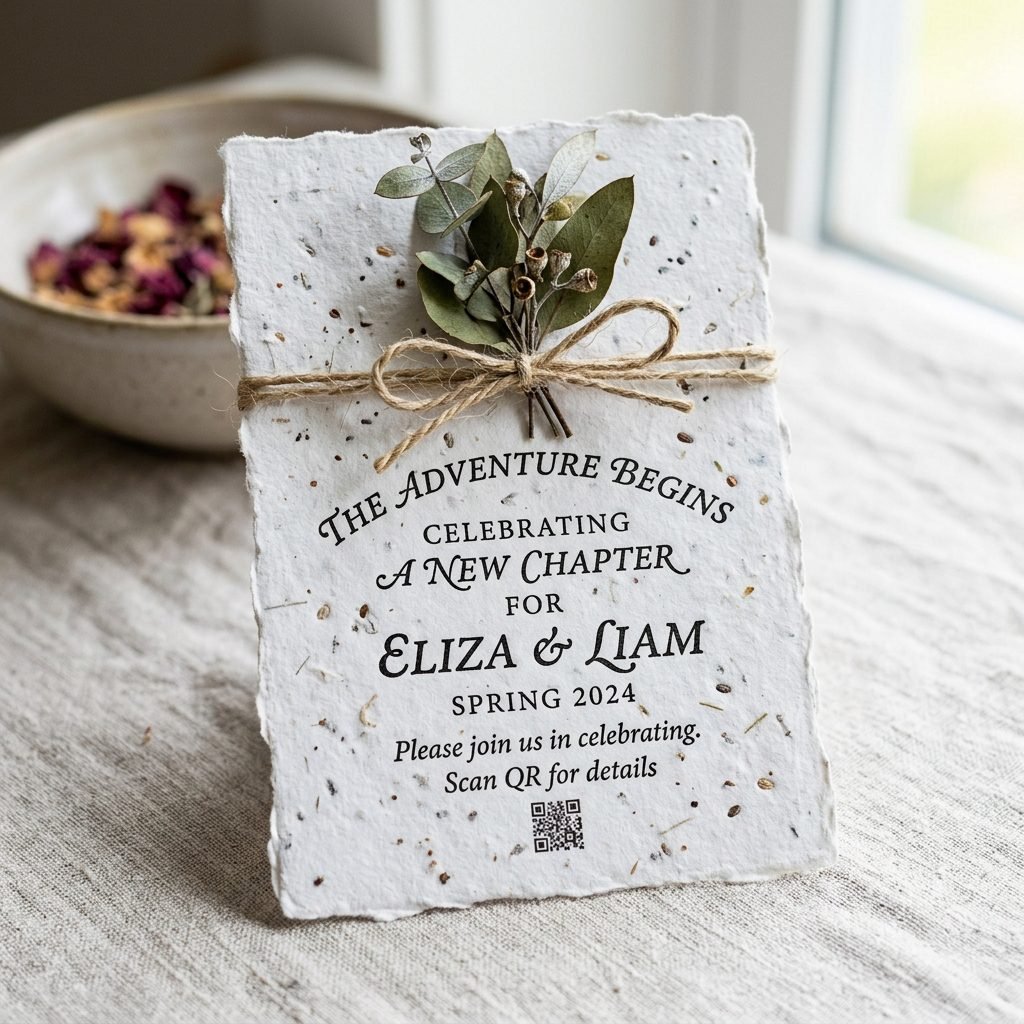
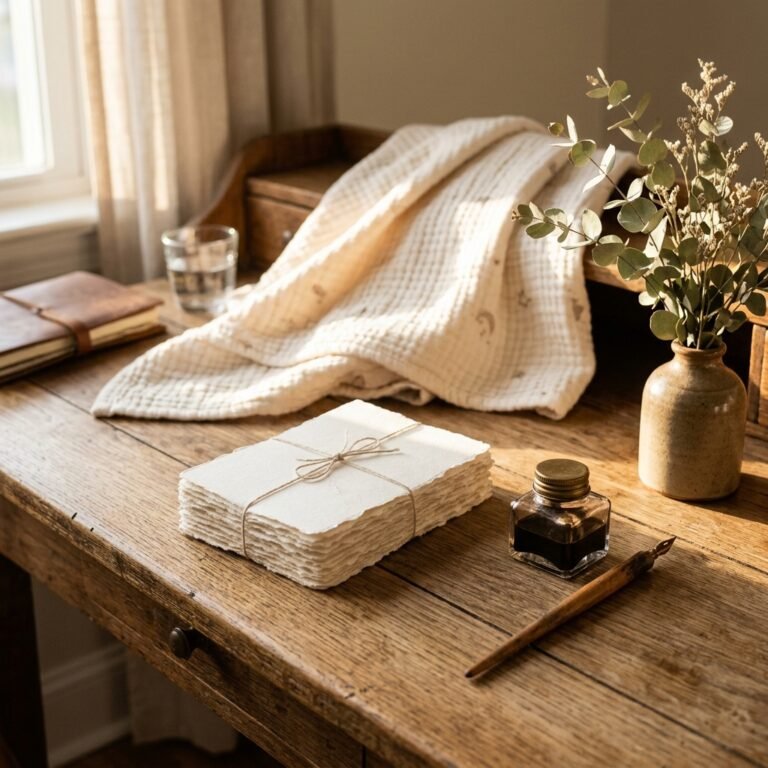
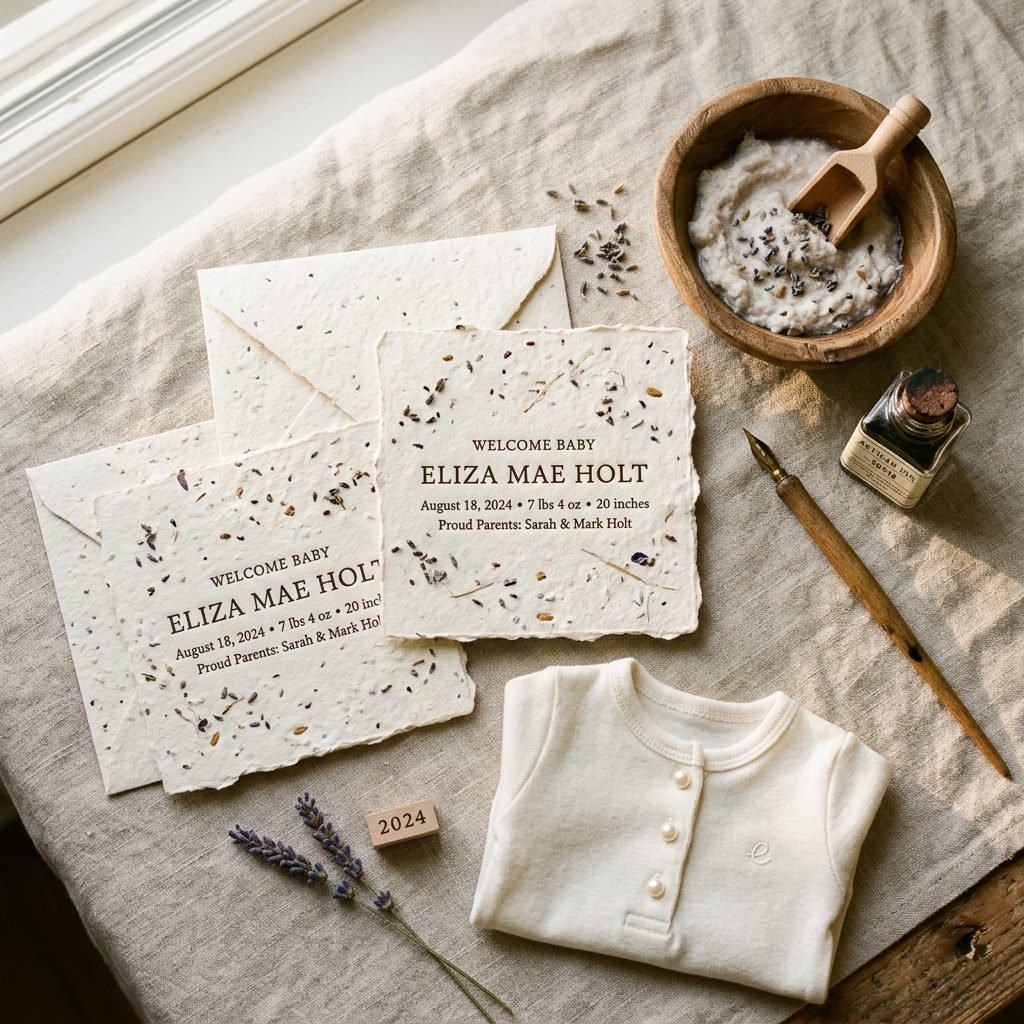
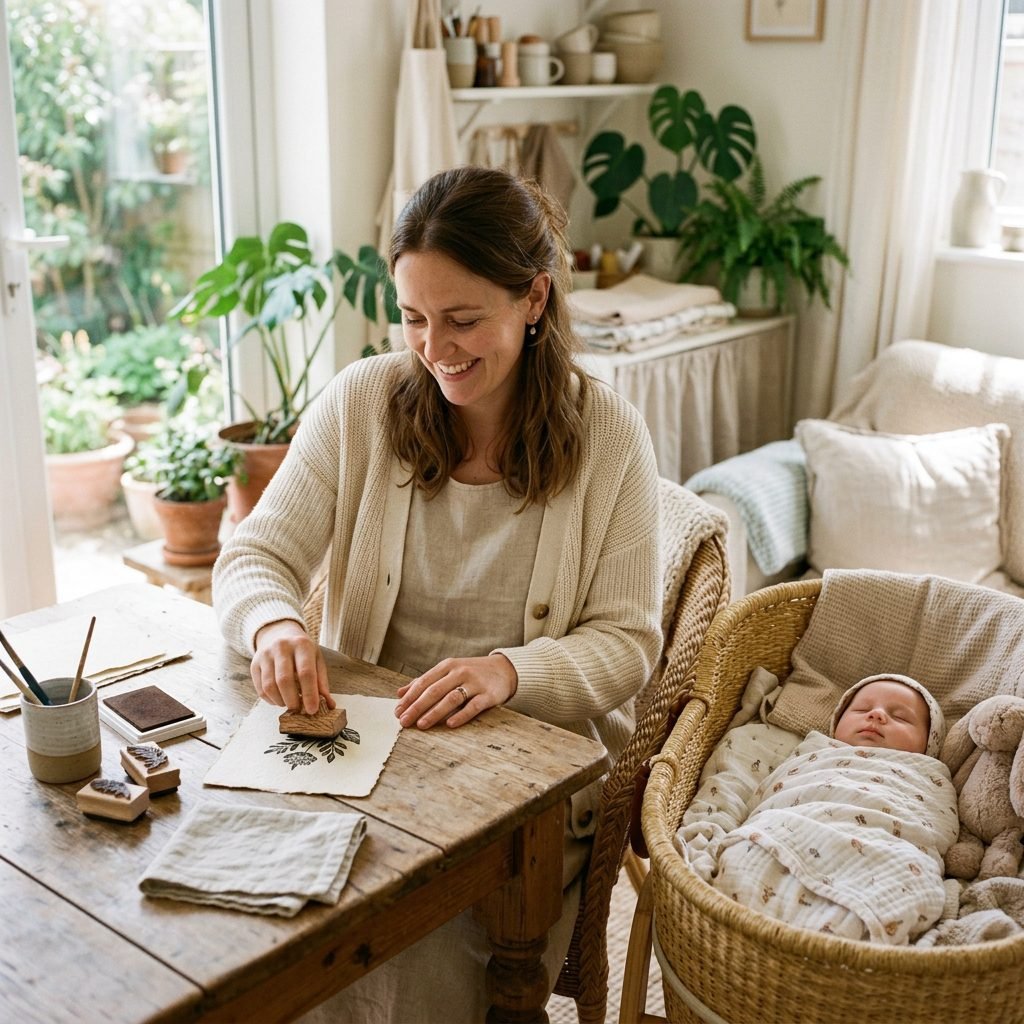
Once your paper is dry, you have a beautiful, textured canvas. Because the paper is handmade, it will have some ‘tooth’ (texture), which makes it unique. For printing, you have a few eco-friendly options. Standard inkjet printers can often handle handmade paper if it is pressed very flat, but I recommend hand-stamping or calligraphy for the most organic look. If you use a printer, ensure the ink is soy-based or water-based to remain eco-friendly.
Suggested Wording for Your Announcement
Keep the message simple and sweet to let the paper shine. Here are a few templates you can copy:
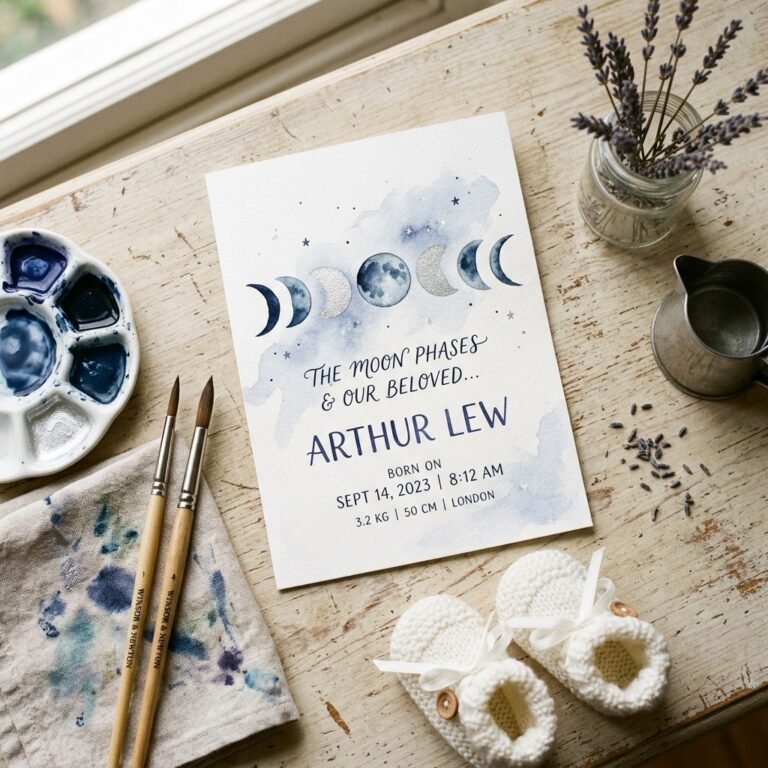
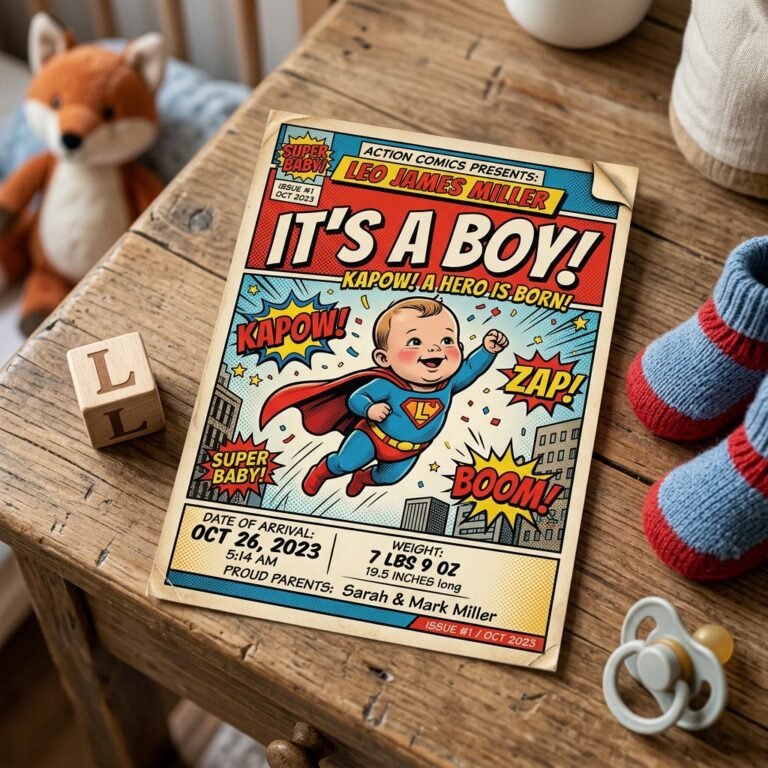
- The Growth Theme: “A new life has bloomed! Please join us in welcoming [Baby Name]. Plant this card and watch the love grow.”
- The Simple & Sweet: “Wild and Free. [Baby Name], born on [Date]. We are so in love.”
- The Earthy Doula Style: “Rooted in love, reaching for the sun. Welcome to the world, [Baby Name]. [Weight/Length].”
Make sure to include a small note at the bottom or on a separate recycled tag that says: “Soak this paper in water, plant under 1/8 inch of soil, and watch wildflowers bloom!” This ensures your guests know exactly what to do with their living gift.
Troubleshooting & Tips for Success
Handmade paper can be a bit temperamental, especially if you are balancing it with a newborn’s schedule! Here are some common issues and how to fix them:
- Paper is too thick: If your announcement looks more like a cracker than a card, add more water to your tub or use less pulp per dip. You want a thin, even layer.
- Seeds are falling out: This usually happens if the pulp is too thin or the seeds weren’t pressed in well. Try adding a tiny bit of cornstarch to your pulp mixture; it acts as a natural binder.
- Edges are fraying: This is actually the ‘deckled edge’ and is highly sought after in high-end stationery! Embrace the imperfections; they represent the beautiful messiness of motherhood.
- Ink is bleeding: If you are hand-writing, use a pigment-based pen rather than a Sharpie. If the paper is too absorbent, you can ‘size’ it by dipping the dry paper into a mixture of water and a little bit of gelatin or vegan agar-agar.
Storage Tip: If you make these before the baby arrives, store the finished cards in a cool, dry, dark place. Extreme heat or moisture can cause the seeds to germinate early or lose their viability.
The Planting Ritual: Teaching the Next Generation
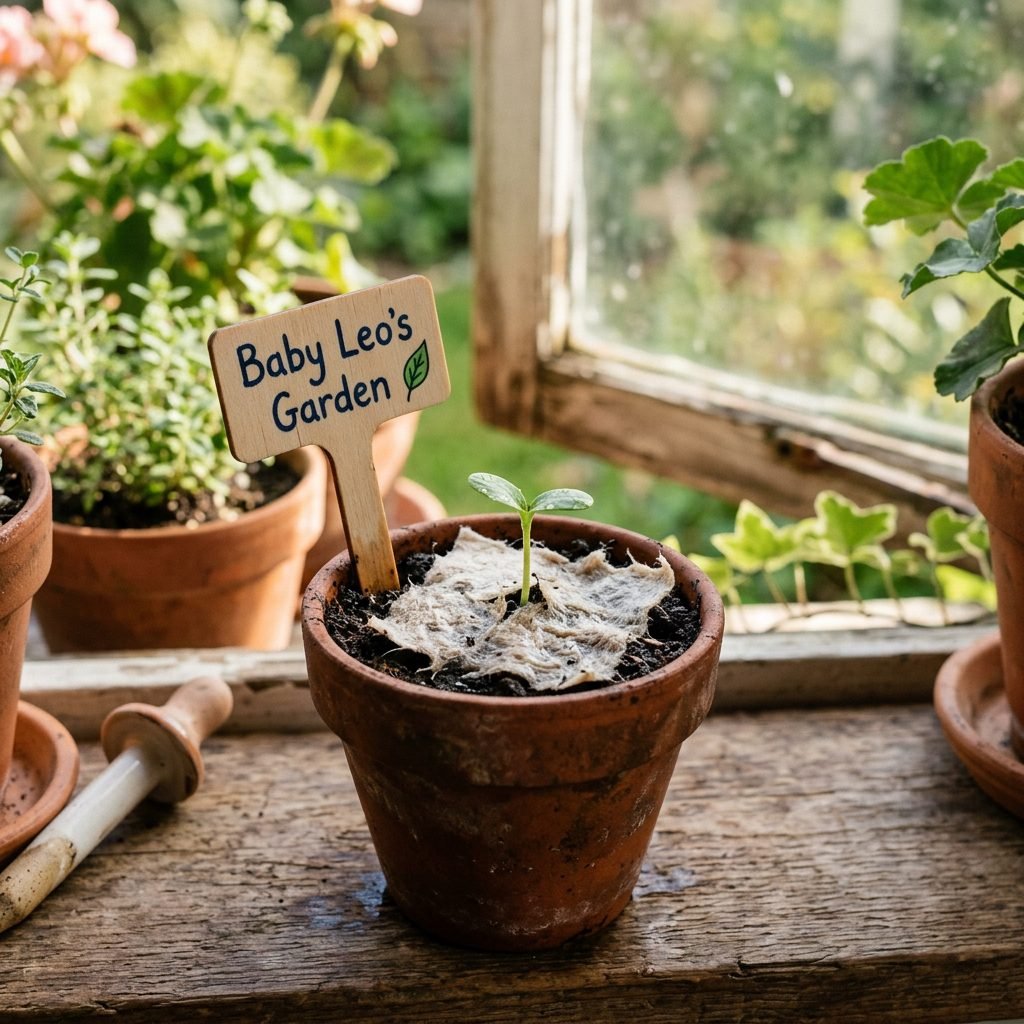
The final step of this journey happens in the homes of your loved ones. By sending these announcements, you are starting a conversation about stewardship and nature. I love the idea of keeping one of these announcements for your baby’s own memory book, but instead of just saving it, plant it together on their first birthday. It becomes a beautiful tradition—watching the flowers grow as your child transitions from a baby to a toddler.
There is no better way to celebrate a new beginning than by giving back to the earth that sustains us all.
When planting, remind your friends to keep the soil moist for the first 10 days. The paper will naturally biodegrade, providing a little extra mulch for the tiny seeds as they take root. It’s a perfect metaphor for the support system we all need during the postpartum period.
Conclusion
Creating DIY plantable seed paper birth announcements is more than just a craft; it is a labor of love that mirrors the journey of motherhood itself. From the messy, watery beginnings of the pulp to the beautiful, blooming result, every step is a testament to your creativity and your commitment to a better world for your child. As you send these out, know that you are spreading joy and life in the most literal sense. Take a deep breath, mama, and enjoy this creative pause. You are doing an amazing job, and your little ‘seed’ is so lucky to have you. Congratulations on your new arrival!