How to Make a Vintage Library Card Guestbook for Your Books for Baby Shower
Building a Legacy of Love, One Page at a Time
Oh, mama, there is something so incredibly magical about the scent of old books and the promise of a story yet to be told. When you’re planning a baby shower, you aren’t just planning a party; you’re curated the first chapter of your little one’s life. If you’ve chosen a ‘Books for Baby’ theme, you’re already giving your child the gift of imagination. But how do you capture the well-wishes of your loved ones in a way that feels as timeless as a classic bedtime story?
As a doula and a lover of all things organized and aesthetic, I’ve seen my fair share of guestbooks. Often, they end up tucked away in a drawer, rarely to be opened again. That’s why I am so obsessed with the Vintage Library Card Guestbook. It’s tactile, it’s nostalgic, and it fits perfectly into a nursery bookshelf. It’s a way for your friends and family to ‘check out’ a place in your baby’s heart. In this guide, we’re going to walk through exactly how to create this heirloom-quality keepsake, from the perfect cardstock to the styling of your guestbook station.
The Vision: Why a Library Card Guestbook Works for Every Mama
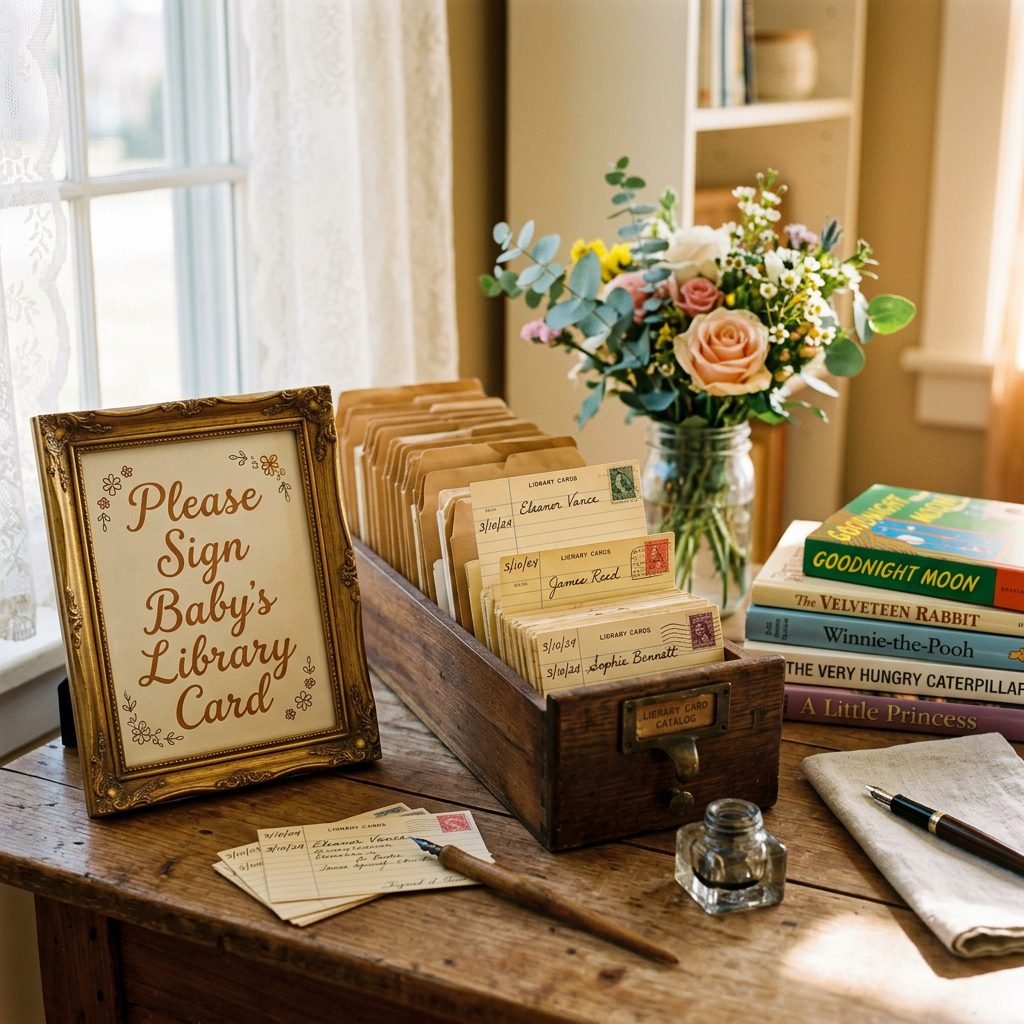
Before we dive into the glue and the glitter, let’s talk about the ‘why.’ A vintage library card guestbook serves two purposes: it’s a beautiful piece of interactive decor for your shower, and it becomes a functional part of your nursery organization later on. Instead of a bulky book, you have individual cards that can be tucked into the front covers of the books your guests bring, or kept in a charming wooden card catalog box.
Choosing Your Aesthetic
Depending on your nursery style, you might want to lean into different ‘vibrations’ of the vintage theme:
- The Academic Vintage: Think dark woods, typewriter fonts, and deep forest greens.
- The Whimsical Storybook: Think watercolor illustrations, pastel library pockets, and soft ribbons.
- The Minimalist Archive: Think clean manila cards, simple black ink, and a sleek acrylic box.
Your baby’s first library is a collection of voices—each book gifted by someone who loves them. This guestbook ensures those voices are never forgotten.
Gathering Your Supplies: The DIY Material List
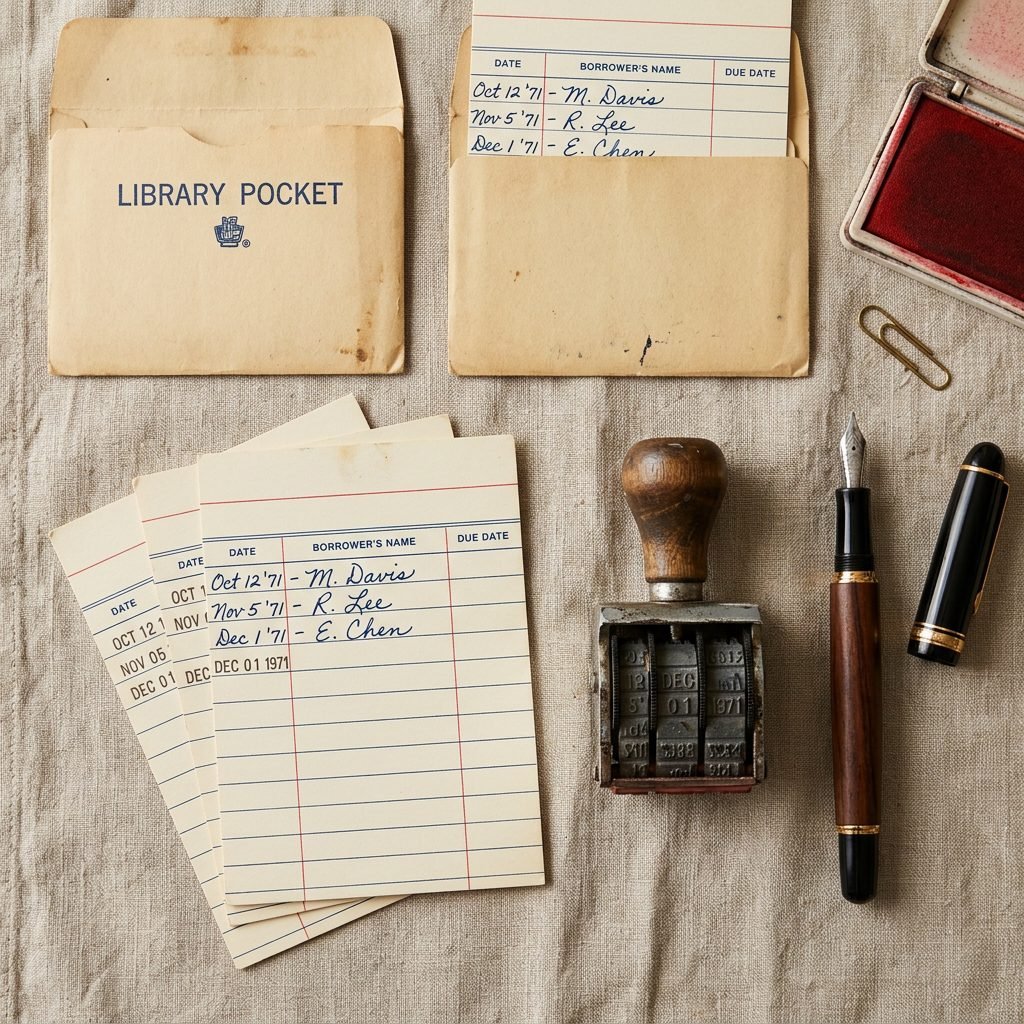
To make this project successful, you need materials that feel substantial. We want these cards to last through years of tiny hands flipping through them! I recommend using a heavy-weight cardstock (at least 110lb) so the ink doesn’t bleed through.
| Item | Purpose | Estimated Cost |
|---|---|---|
| Library Pockets | To hold the cards inside the books or box. | $10 – $15 (Pack of 50) |
| Library Cards | Where guests write their messages. | $8 – $12 (Pack of 50) |
| Wooden Card Box | To house the guestbook at the shower. | $15 – $25 |
| Date Stamper | To ‘stamp’ the shower date on each card. | $5 – $10 |
| Signage | Instructional sign for your guests. | $0 (DIY) – $10 |
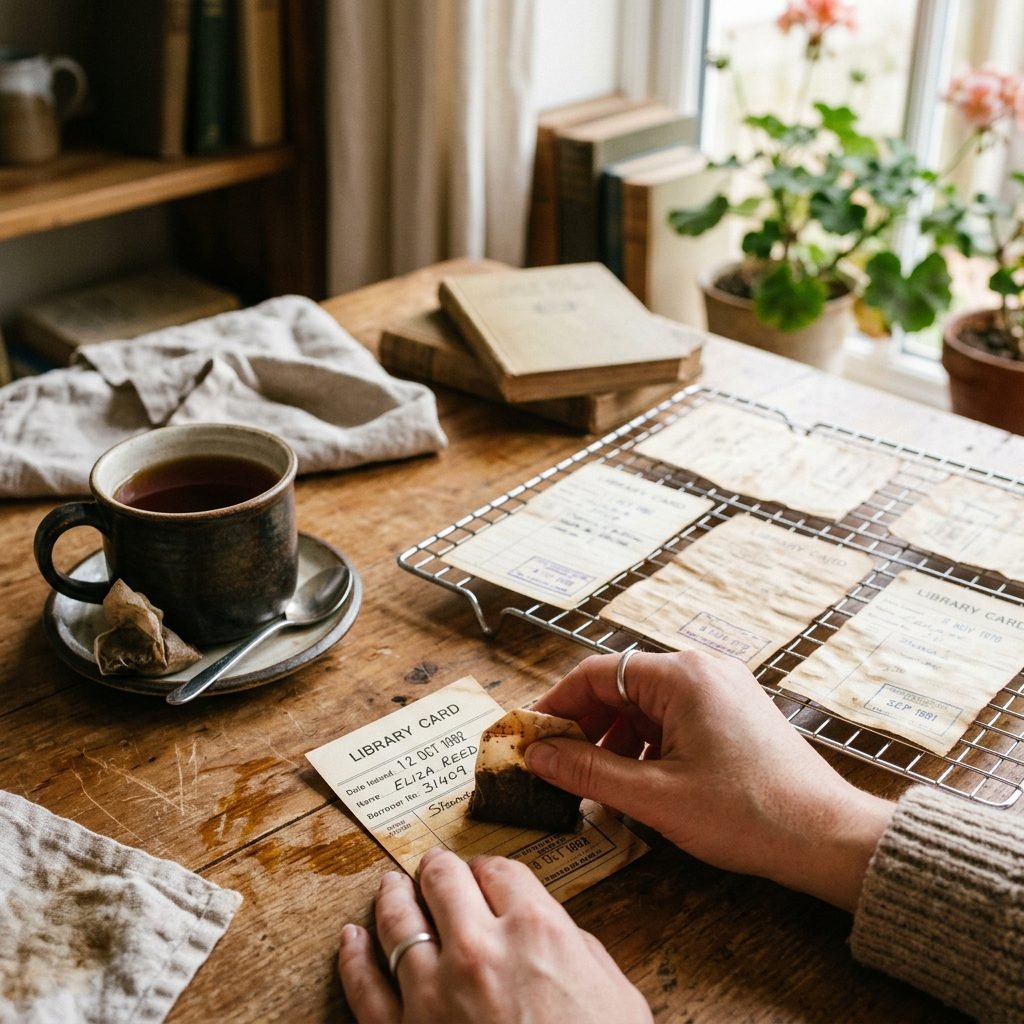
Doula Tip: If you are feeling extra ‘crafty-mom,’ you can tea-stain your library cards to give them that authentic 1950s yellowed look. Simply dip them in black tea for 30 seconds and let them dry on a cooling rack!
Step-by-Step: Crafting Your Vintage Guestbook
Ready to get your hands a little ink-stained? Follow these steps to create a cohesive look that will have your guests swooning.
- Design Your Cards: If you aren’t buying pre-printed cards, use a template to print ‘Author,’ ‘Title,’ and ‘Date Due’ lines on your cardstock. In the ‘Date Due’ column, guests can write the date of the shower or the baby’s due date.
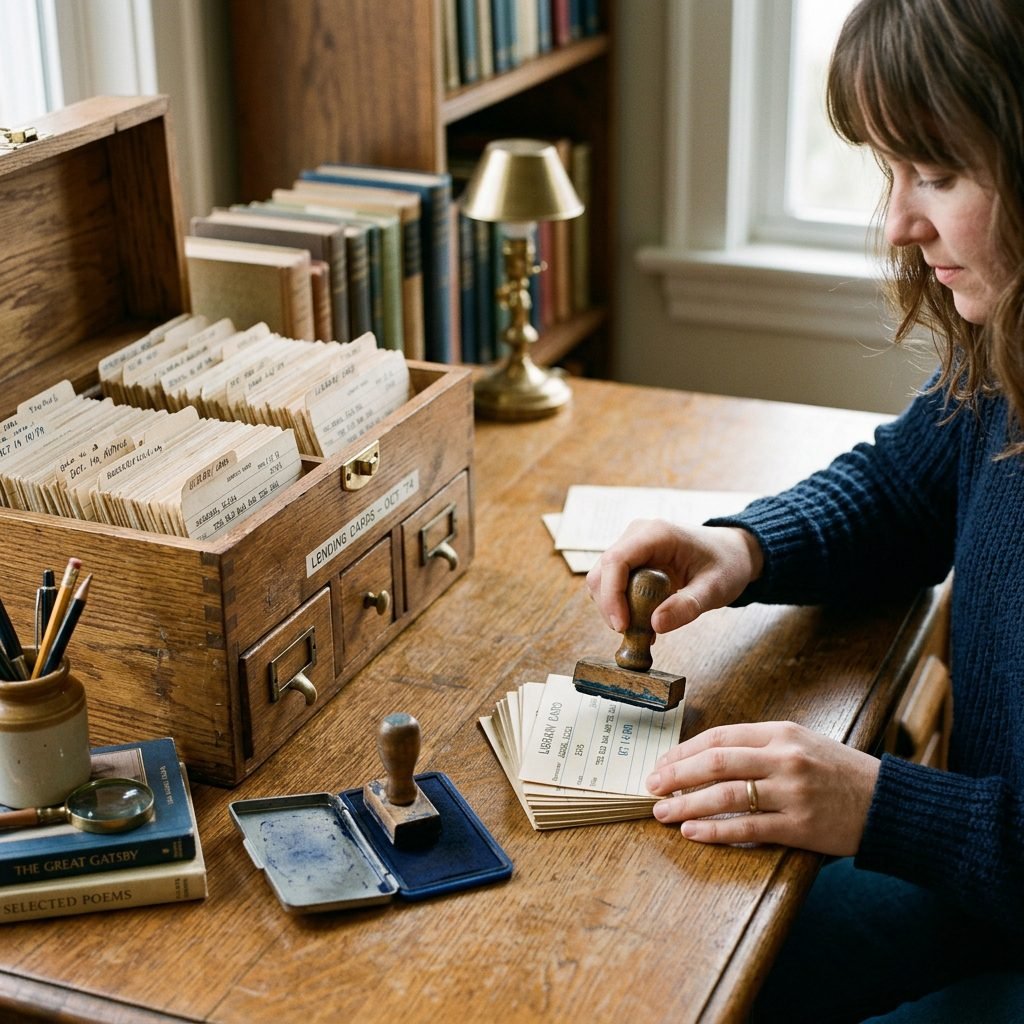
- Stamp the Date: Use your vintage date stamper to mark the shower date on the top right corner of every card. This adds an immediate ‘official’ library feel.
- Prepare the Pockets: If you are planning to have guests glue the pockets into the books they brought, provide acid-free adhesive runners. This ensures the books aren’t damaged over time.
- Create the Instruction Sign: You need a clear sign so guests know what to do. I love the phrasing: ‘Please sign baby’s library card with a wish, a prayer, or a piece of advice.’
- Set the Scene: Place your wooden box and a jar of high-quality pens (felt tip or archival ink is best) on a dedicated table.
Pro-Tip for Postpartum Storage
Once the shower is over, you can use these cards as a milestone tracker. On the back of the cards, write the first time your baby laughed or crawled while you read that specific book to them!
The ‘Books for Baby’ Invitation: How to Ask
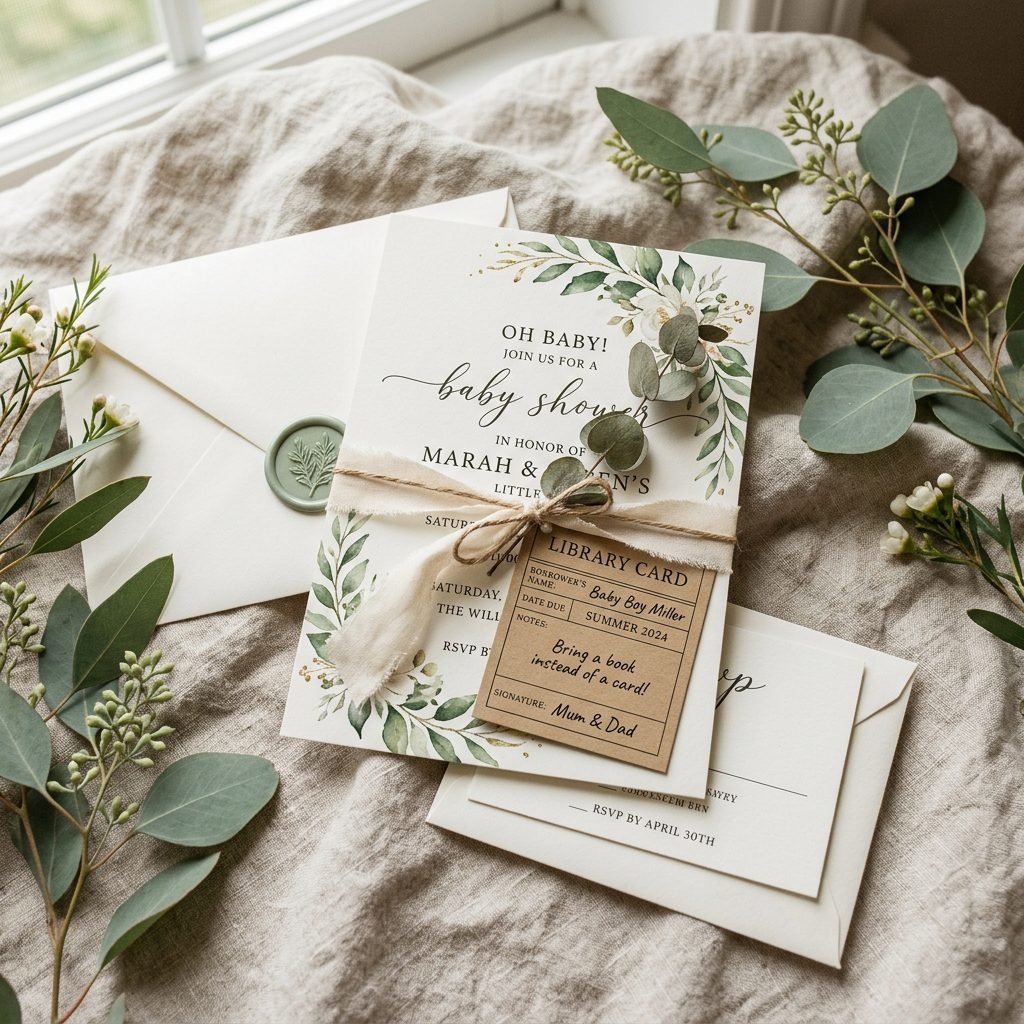
The key to a successful ‘Books for Baby’ shower is clear communication. You want your guests to feel excited about choosing a book that meant something to them. Include a small insert in your invitation explaining the library card concept.
The Library Card Poem:
One small request that won’t be too hard,
Please sign the enclosed library card.
Bring a book, old or new,
With a message inside from you to ‘Who?’
We’ll tuck it away in a pocket so neat,
To make baby’s library truly complete!
| Communication Method | Pros | Cons |
|---|---|---|
| Printed Insert | Feels formal and high-end. | Extra postage costs. |
| Digital Note | Eco-friendly and free. | Guests might miss the instructions. |
| QR Code | Links to a book registry. | Less ‘vintage’ feel. |
Styling Hint: Use a kraft paper envelope for the insert to match the vintage library aesthetic. It’s all in the details, mama!
Styling the Guestbook Station at the Shower
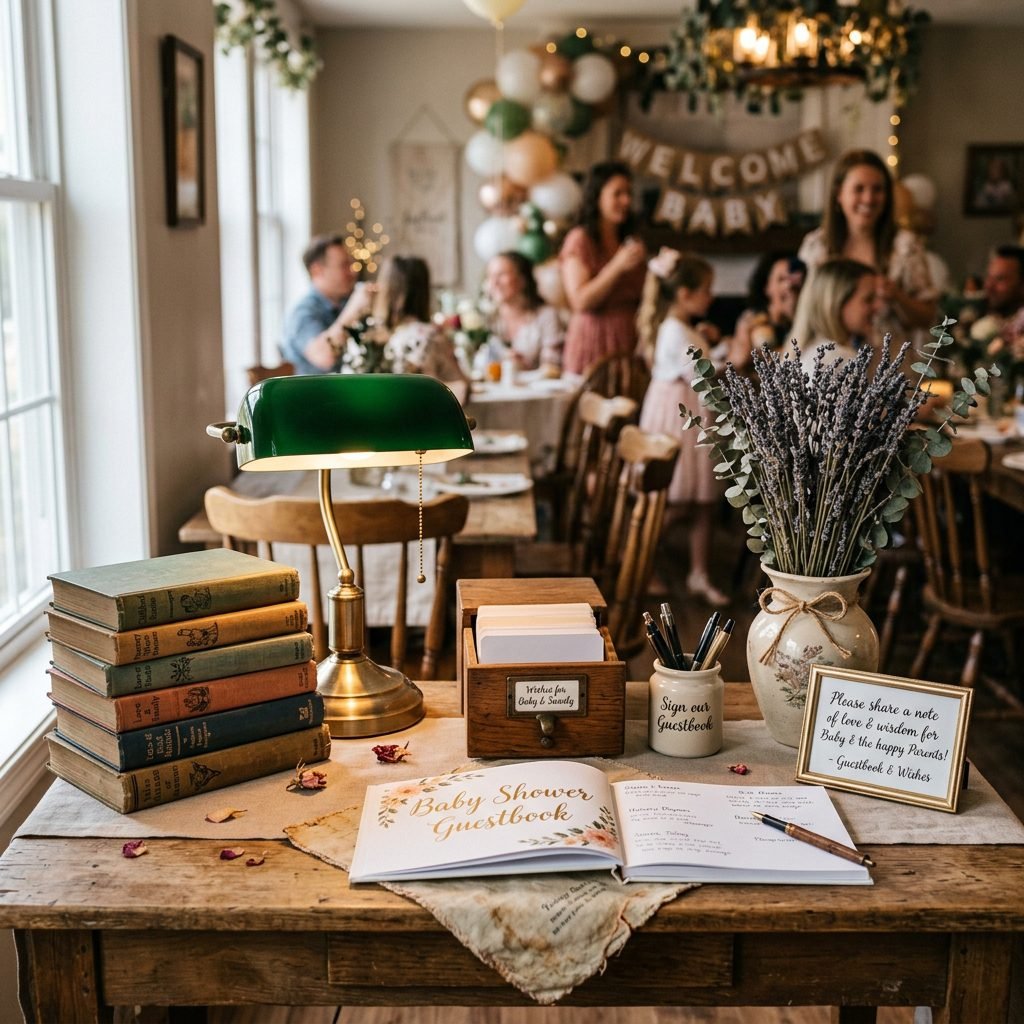
Your guestbook station should be a focal point of the room. It’s where the sentiment happens! To make it truly ‘Instagrammable’ while remaining functional, consider the following layout:
- Height Variation: Use stacks of vintage books (check your local thrift store for those beautiful linen covers) to create different levels for your box and sign.
- Lighting: If the venue is a bit dim, a small battery-operated ‘banker’s lamp’ can add a scholarly touch.
- Floral Touches: A simple mason jar with baby’s breath or dried lavender keeps the look soft and maternal.
- The Pen Choice: Avoid ballpoint pens which can skip. Offer fine-liner archival pens in black or navy blue for a professional, clean look.
Make sure there is enough space for two people to stand at the table comfortably. You don’t want a ‘traffic jam’ at the library!
Preserving the Memories: From Party to Nursery
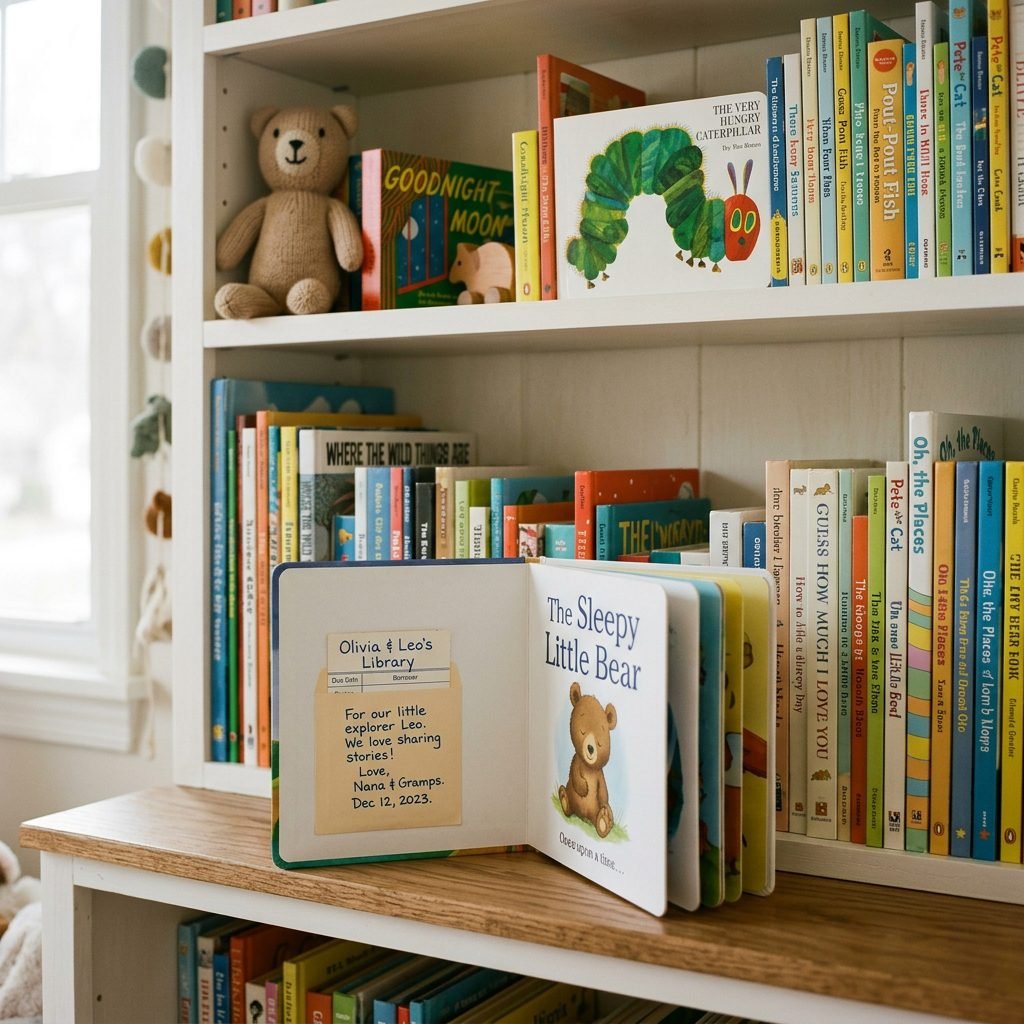
The shower is over, the cake has been eaten, and you are surrounded by a beautiful new library for your little one. Now what? As an interior organizer, I recommend two ways to integrate these cards into your nursery:
The ‘Active’ Library Method
Glue the library pockets into the inside front cover of each gifted book. When you pull a book off the shelf for a midnight feeding or a bedtime story, you’ll see the handwritten note from your aunt, your best friend, or your mother. It’s a constant reminder of the village that surrounds you.
The ‘Archive’ Box Method
If you prefer to keep the books pristine, keep the cards in their wooden box and place it on a floating shelf in the nursery. It becomes a ‘time capsule.’ On your baby’s 1st birthday, you can take the cards out and read the advice given to you while you were still waiting for them to arrive.
Mama, on those hard days when sleep is scarce, reading these cards will remind you that you are supported, loved, and exactly the mother your baby needs.
Conclusion
Your Story is Just Beginning
Creating a vintage library card guestbook is more than just a DIY project; it’s an act of love. It’s a way to bridge the gap between the world you knew before baby and the beautiful, book-filled life you are about to start. Whether you choose to glue them into the books or keep them in a special box, these cards will be a treasure for years to come. Remember, mama, you are the author of this new chapter. Take a deep breath, enjoy the process, and let the stories begin.
Happy crafting, and even happier reading!