The “Gross-Proof” Wash Routine That Makes Cloth Diapering Actually Doable
Oh, honey, I know that look. You are standing there with a beautiful stack of organic cotton prefolds or those adorable printed pocket diapers, and you’re feeling that familiar mix of excitement and absolute dread. You want to save the planet, you want to save thousands of dollars, and you want those soft, chemical-free fabrics against your sweet baby’s skin. But then, the ‘Gross Factor’ hits you. You’ve heard the horror stories: the ‘barnyard’ smell that lingers in the nursery, the dreaded ‘ammonia burn’ on tiny bums, and the vision of yourself scrubbing poop out of fabric in a dark bathroom at 3:00 AM.
As your doula and your sister-in-arms, let me tell you right now: it does not have to be that way. The reason most families give up on cloth diapering isn’t because of the extra laundry—it’s because they don’t have a routine that actually works. We are moving away from the old-school ‘soak bucket’ methods of our grandmothers and into the era of modern, high-efficiency science. In this guide, I’m going to walk you through a ‘Gross-Proof’ system that treats your diapers like the high-performance athletic gear they are. We’re going to talk about water chemistry, agitation, and the magic of the ‘Two-Wash’ system. By the time we’re done, you’ll feel like a laundry goddess, and your neighbors won’t even know you’re a cloth-diapering household. Let’s make this doable, mama!
Setting the Stage: The Infrastructure of a Stink-Free Nursery
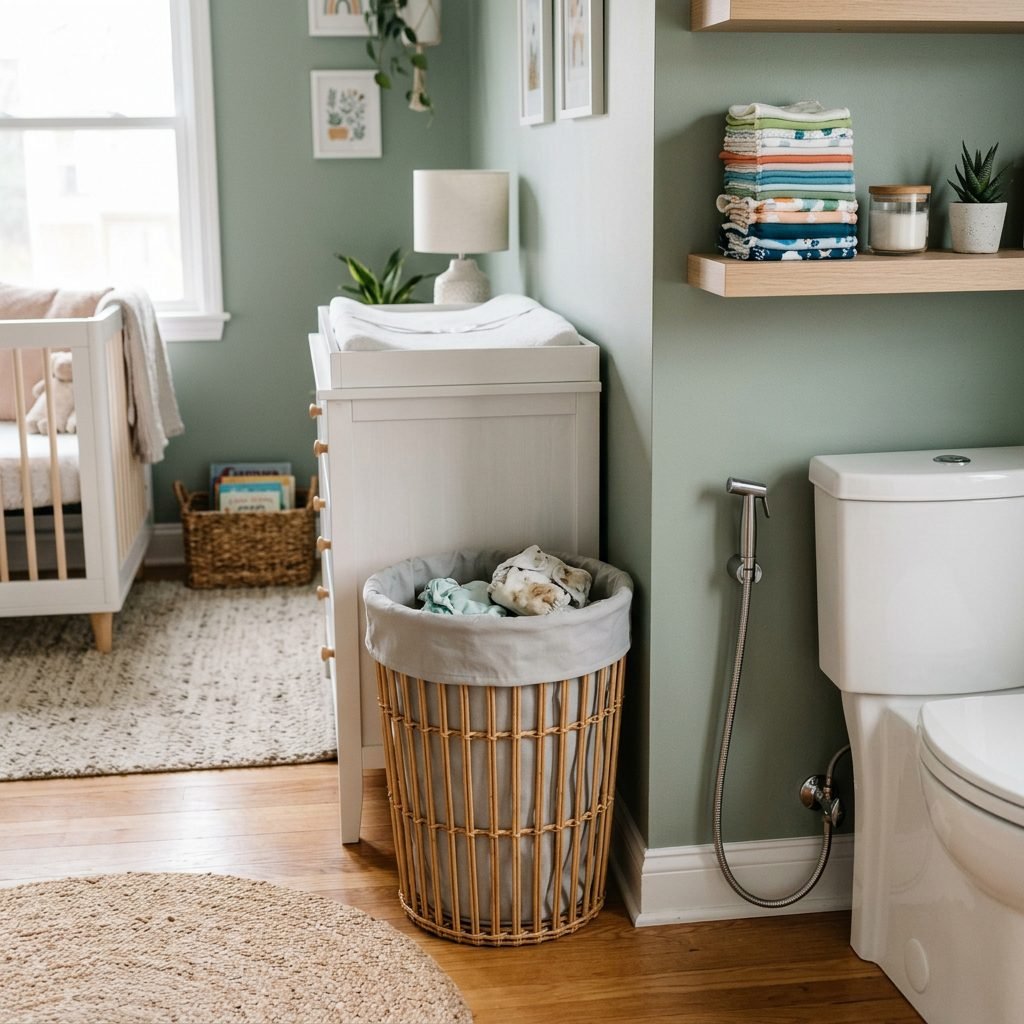
Before we even touch a washing machine, we have to talk about where those diapers live between washes. The biggest mistake new cloth parents make is keeping diapers in a sealed, airtight plastic bin. Why? Because bacteria thrive in anaerobic (airless) environments. When you trap moisture and waste in a sealed container, you are essentially creating a science experiment that will lead to ammonia buildup and smells that can peel paint.
The Dry Pail Method
Instead, we use the Dry Pail Method. This involves using a large, breathable laundry basket or a ‘wet bag’ that is left slightly open. This allows for airflow, which actually helps prevent the ammonia from becoming concentrated. If you’re worried about the smell, don’t be! Surprisingly, a breathable pail smells significantly better than a sealed one because it prevents the ‘fermentation’ of urine.
| Gear Item | Purpose | The ‘Doula’ Recommendation |
|---|---|---|
| Diaper Sprayer | Removing solids | High-pressure attachment for the toilet. |
| Spray Shield | The ‘Splatter Guard’ | A foldable shield to keep the mess in the toilet. |
| Large Wet Bags | Storage | PUL-lined bags that can be tossed in the wash. |
| Mesh Laundry Bags | Protecting elastics | Use for small inserts or cloth wipes. |
“Sisterly Tip: If you are exclusively breastfeeding, you get a ‘get out of jail free’ card! Breastfed poop is 100% water-soluble. You can toss those diapers directly into the wash without rinsing until your little one starts solids. It’s the golden era of cloth diapering!”
The Golden Rule: The ‘Two-Wash’ Science
If you only take one thing away from this guide, let it be this: One wash is never enough. Think about it—you wouldn’t wash your kitchen floor with the same water you just used to mop up a mudroom, right? Diapers are the filthiest laundry your house will ever produce, and they require a two-stage approach to get truly clean.
Step 1: The Pre-Wash (The ‘Get the Gross Out’ Phase)
The goal of the pre-wash is to remove the bulk of the waste and urine so that the main wash is actually cleaning the fabric, not just spinning in dirty water. This should be a short, cold or warm cycle with a small amount of detergent. Do not use a ‘Rinse and Spin’ cycle; you need agitation and detergent to break down the surface waste.
Step 2: The Main Wash (The ‘Deep Clean’ Phase)
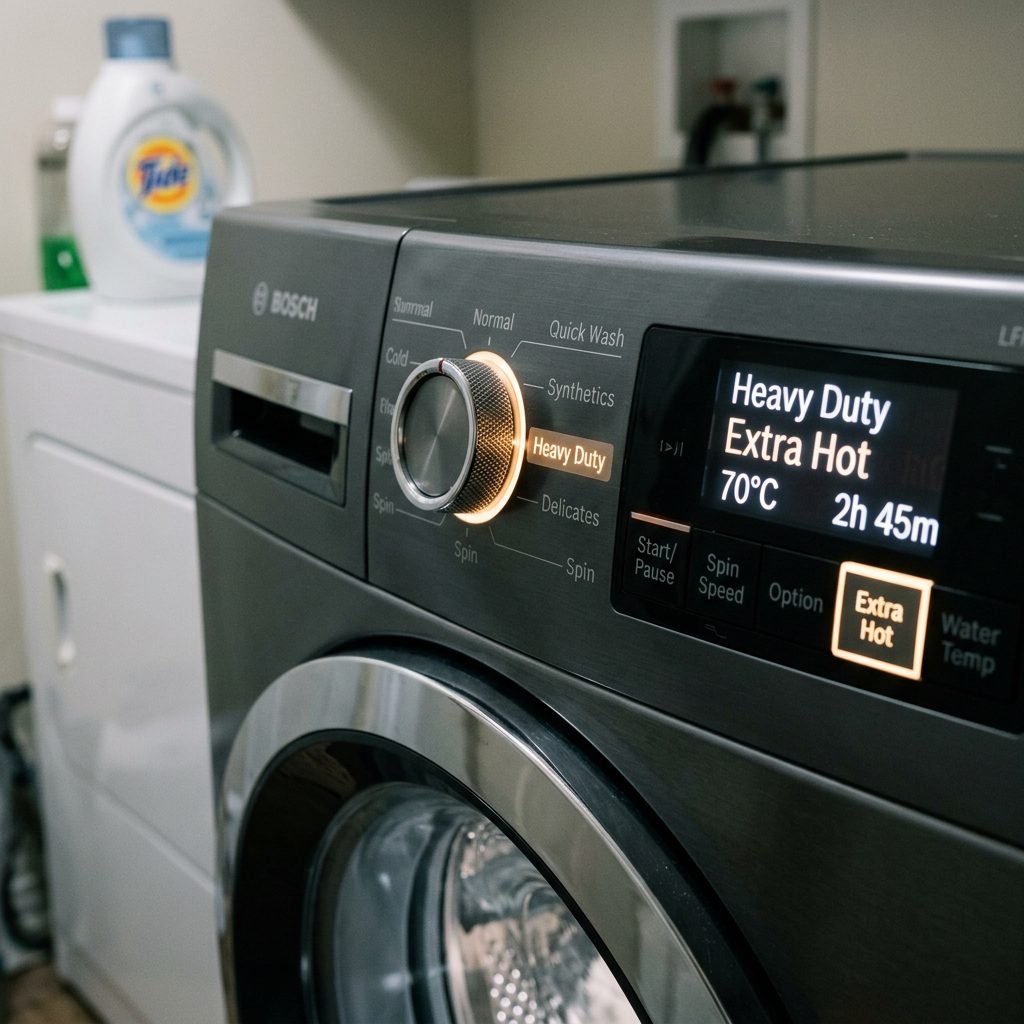
After the pre-wash is done, you’ll likely see that the diapers are still quite wet and heavy. Now it’s time for the heavy lifting. This should be your machine’s longest, hottest, and most aggressive cycle (often labeled ‘Heavy Duty’ or ‘Whites’). This is where the bulk of your detergent goes. You want enough water to allow the diapers to move freely, but enough ‘bulk’ so they rub against each other—this is called ‘stew consistency.’
- Load the machine: Ensure it is 2/3 to 3/4 full for optimal agitation.
- Add Detergent: Use a strong, synthetic detergent with enzymes (like Tide Original) for the best results.
- Temperature: Set to 60°C (140°F) for the main wash to kill bacteria.
- Extra Rinse: Only if you have soft water! In hard water areas, extra rinses can actually deposit minerals back into the fibers.
Water Chemistry 101: Hard Water vs. Soft Water
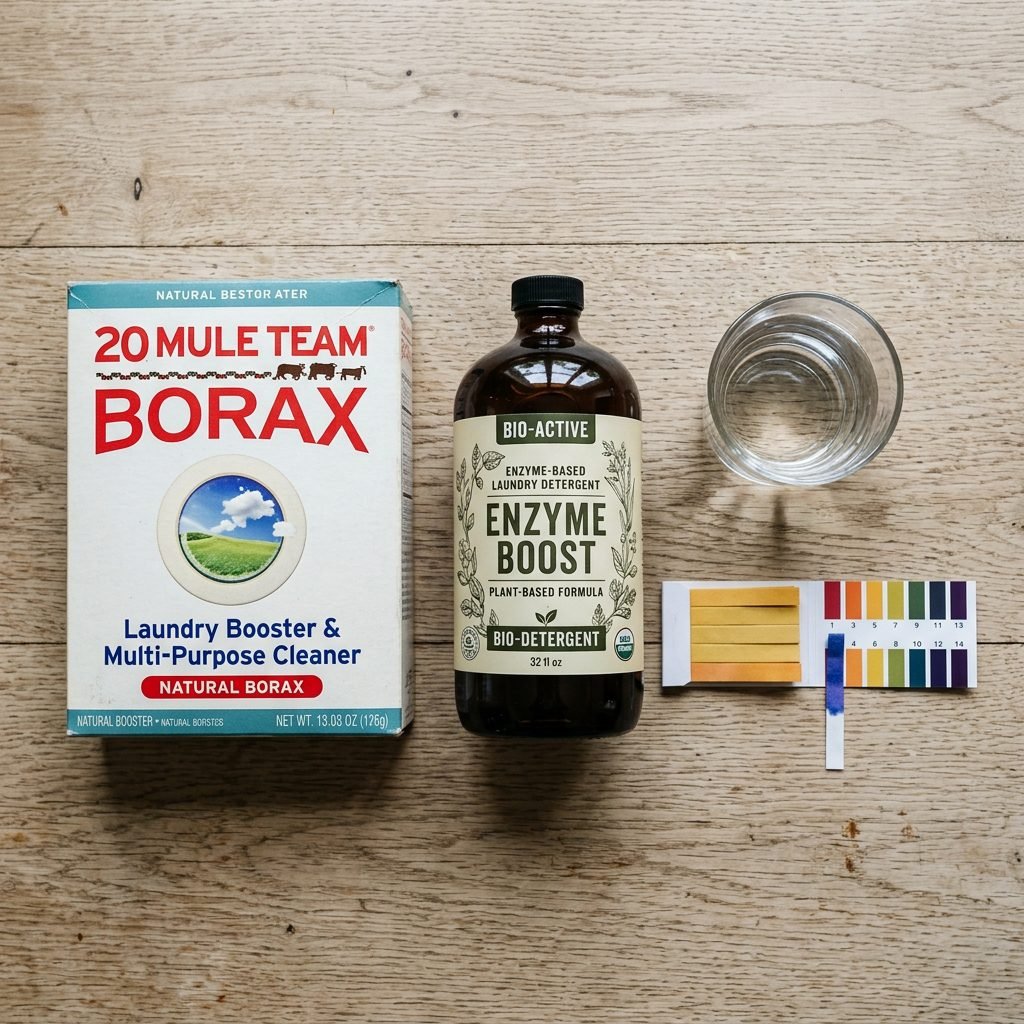
This is the ‘secret sauce’ that most people miss. Your water type dictates how much detergent you need and whether you need additives. Hard water contains minerals like calcium and magnesium. When these minerals react with detergent, they can create ‘scum’ that gets trapped in the diaper fibers, leading to smells and rashes.
Diagnosing Your Water
You can buy simple test strips online to check your water hardness. If your water is over 180 ppm, you have hard water and must use a water softener like Borax or Calgon in every wash. If you have soft water, you need to be careful with detergent amounts to avoid ‘sudsing’ issues that can cause leaks.
| Water Type | The Challenge | The Solution |
|---|---|---|
| Soft Water | Detergent buildup/Suds | Use less detergent; add an extra rinse. |
| Hard Water | Mineral deposits/Stink | Use more detergent; add Borax or Calgon; NO extra rinses. |
Why Enzymes Matter: Look for detergents that contain proteases, amylases, and lipases. These are biological ‘scissors’ that specifically cut through proteins (poop), starches, and fats (creams). Without enzymes, you are just moving the dirt around rather than dissolving it.
Troubleshooting the ‘Ick’: Dealing with Stains and Smells
Even with a perfect routine, life happens. Maybe you had a stomach bug go through the house, or maybe you forgot a wet bag in the car for three days (we’ve all been there, mama!). Here is how you handle the ‘Gross’ when it gets out of hand.
The ‘Barnyard’ Smell vs. The ‘Ammonia’ Smell
If your diapers smell like a farm when they get wet, you have bacteria buildup. This means your wash routine isn’t strong enough. You likely need more detergent or more agitation. If they smell like window cleaner (sharp ammonia) the moment your baby pees, you have mineral buildup or urea trapped in the fibers. This requires a ‘strip’ and a ‘bleach soak’ to reset the fabric.
Sunning: Nature’s Bleach
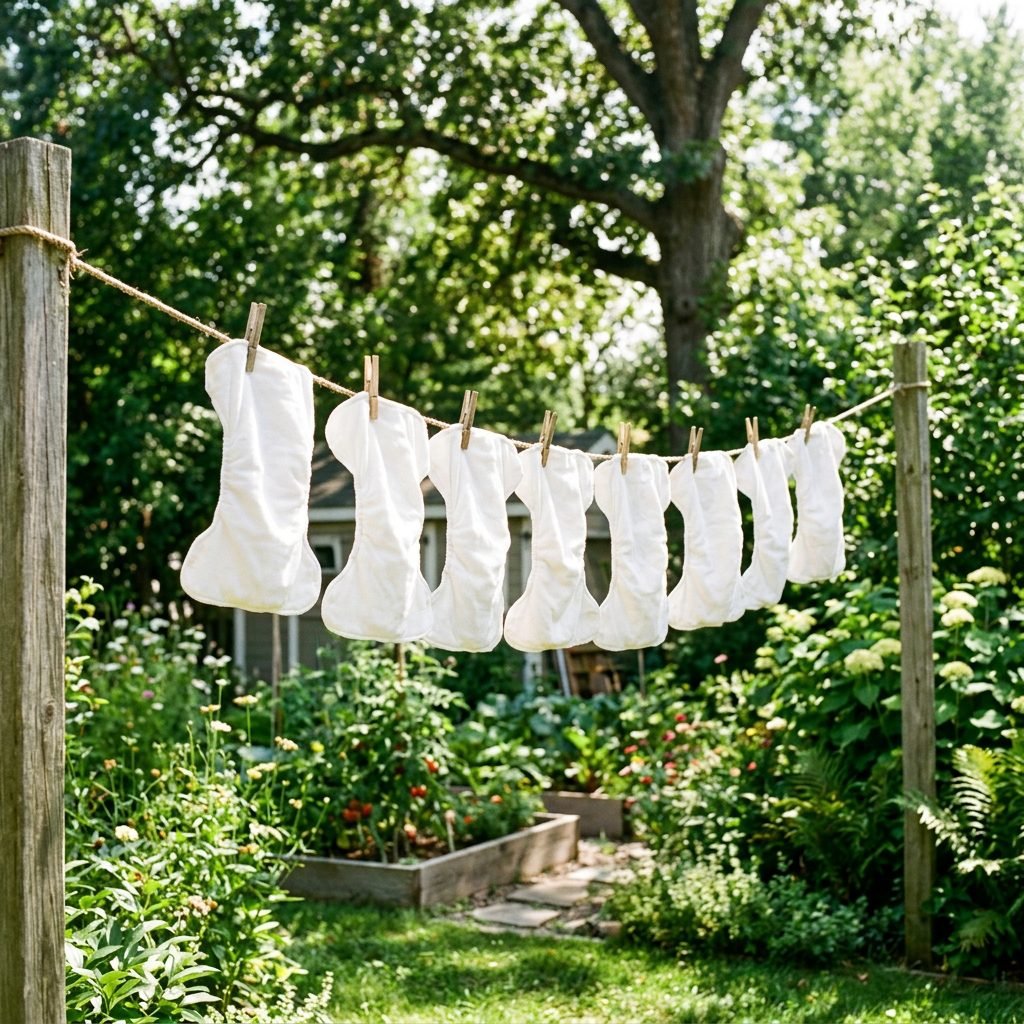
Before you reach for harsh chemicals for yellow stains, try the sun! The UV rays from the sun are incredibly effective at breaking down bilirubin stains. Simply lay your clean, wet diapers in the sun for a few hours. It’s like magic! Just remember that the sun won’t kill deep-seated bacteria; it only handles the visual stains.
“Affirmation: A stain is just a memory of a meal. It doesn’t mean the diaper is dirty. If it smells like nothing, it IS nothing! You are doing a great job.”
Fabric Science: Caring for Different Inserts
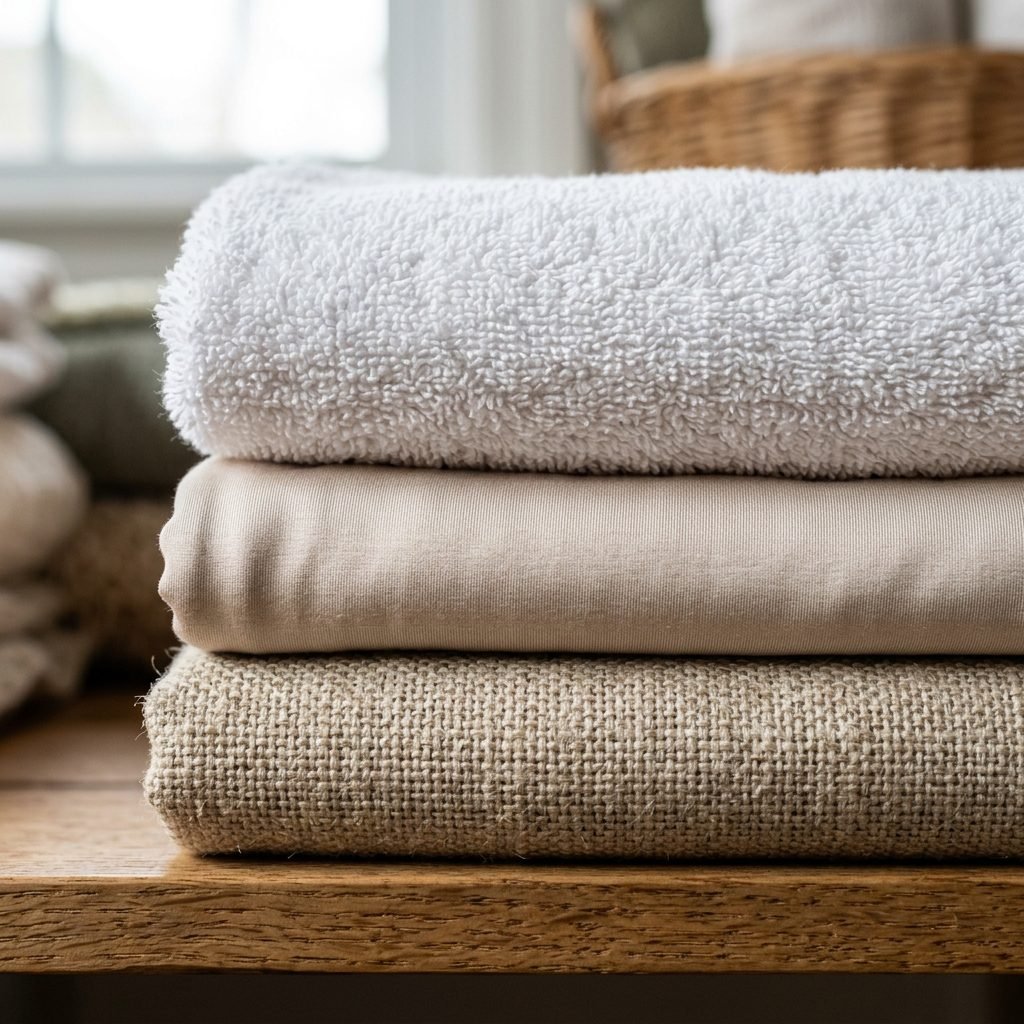
Not all cloth is created equal! The way you wash a microfiber insert is different from how you treat a hemp or bamboo one. Understanding the ‘thirst’ of your fabrics will help you dry them faster and keep them absorbent longer.
The Hierarchy of Absorbency
- Microfiber: Fast absorbing but prone to ‘compression leaks.’ It’s a synthetic that holds onto oils, so it needs plenty of detergent.
- Cotton: The old reliable. It’s sturdy, can handle high heat, and is easy to clean.
- Bamboo: Very soft and more absorbent than cotton, but it can be delicate. Avoid high heat in the dryer to prevent ‘balding.’
- Hemp: The heavyweight champion of absorbency. It takes a long time to dry and can get stiff, so a quick tumble in the dryer helps soften it up.
| Fabric Type | Dry Time | Durability | Best For |
|---|---|---|---|
| Microfiber | Fast | Medium | Daytime / Quick changes |
| Cotton | Medium | High | Everyday use |
| Bamboo | Slow | Medium | Sensitive skin |
| Hemp | Very Slow | Very High | Overnight / Heavy wetters |
Pro-Tip for Softness: If your natural fiber diapers (cotton/hemp) are coming off the line feeling like cardboard, toss them in the dryer with some wool dryer balls for 10 minutes. It ‘fluffs’ the fibers back up without the need for toxic fabric softeners, which actually ruin diaper absorbency by coating the fibers in wax.
Conclusion
Cloth diapering is a journey, not a destination, sweet friend. There will be days when the laundry pile feels like a mountain, and there will be days when you look at your baby in a fluffy, colorful diaper and feel like a total eco-warrior. By sticking to the Two-Wash System, respecting your Water Chemistry, and ditching the Air-Tight Pails, you have already conquered 90% of the ‘Gross Factor.’
Remember, your diapers are tools, not heirlooms. They are meant to be used, washed, and occasionally stained. If you ever feel overwhelmed, just take it one load at a time. You are saving money, protecting your baby’s skin, and doing something wonderful for the earth. You’ve got this, mama! Now, go pour yourself a cup of tea (or a glass of wine) while that machine does the hard work for you.