How to Set Up a Minimalist Seamless Paper Backdrop Maternity Photoshoot
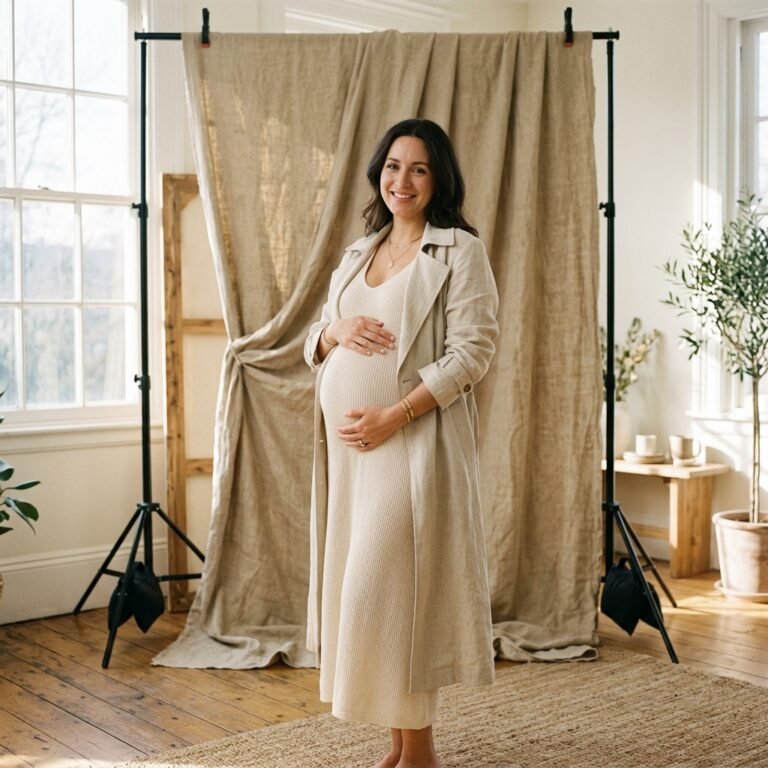
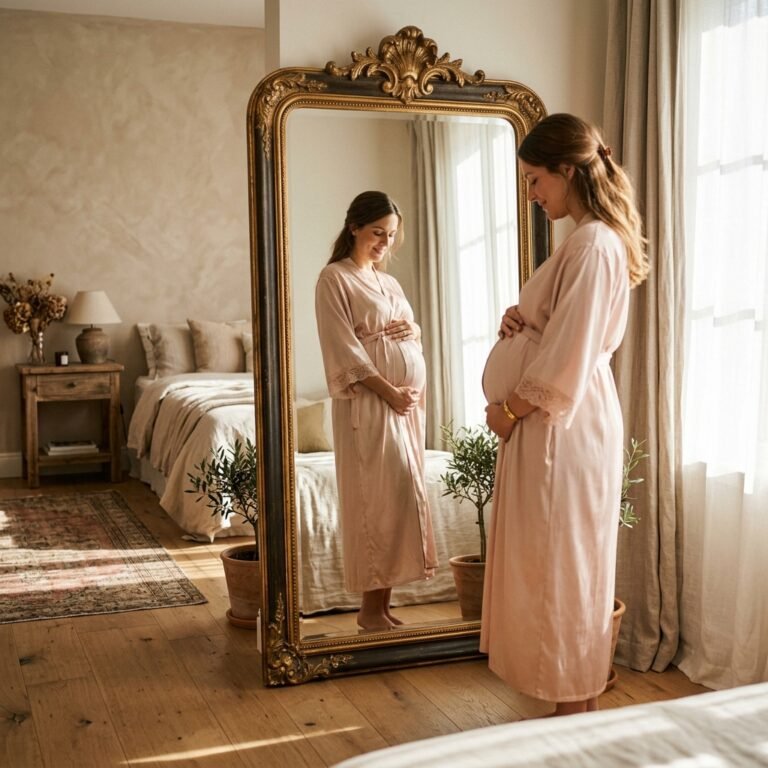
Oh, sweet mama, there is something so incredibly magical about the season of pregnancy. Your body is performing the ultimate miracle, weaving together life, breath, and a soul. As a doula and a lover of all things aesthetic, I know that while you might not always feel like a glowing goddess—especially when the heartburn kicks in or your ankles decide to swell—you are absolutely radiant. Capturing this fleeting moment is a gift to your future self and your little one. But you don’t need a high-priced studio or a complicated set to create timeless, high-end portraits. In fact, some of the most stunning maternity images I have ever seen were shot in a simple corner of a living room using nothing more than a roll of seamless paper and the soft glow of morning light. This minimalist approach strips away the noise and keeps the focus exactly where it belongs: on you and that beautiful bump. Today, I am going to walk you through every single step of setting up your own DIY minimalist studio, from choosing the right paper to posing with confidence. Let’s create some magic together, shall we?
The Essential Gear for Your Minimalist Home Studio
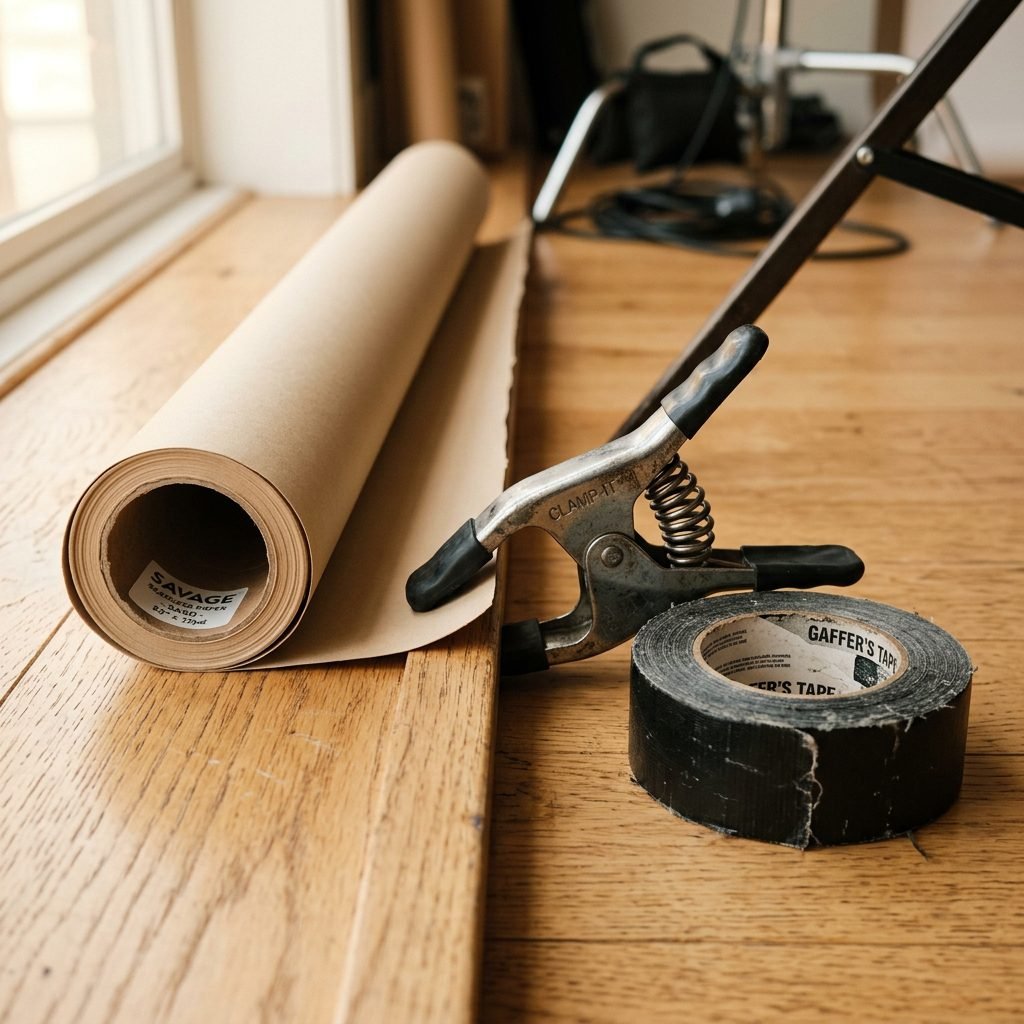
Setting up a home studio might sound intimidating, but for a minimalist maternity shoot, we are focusing on quality over quantity. You don’t need a room full of expensive equipment; you just need a few key pieces that provide a clean, professional finish. The star of the show is the seamless paper backdrop. Unlike fabric backdrops, paper doesn’t wrinkle or require steaming, giving you that perfectly smooth, ‘infinite’ look that makes portraits pop. For maternity photography, I recommend a width of at least 53 inches for tight portraits or 86 to 107 inches if you want more room to move or include a partner. Beyond the paper, you will need a sturdy way to hang it and a few small tools to keep everything safe and secure. Remember, mama, safety is our top priority, so we want to ensure the stand is weighted and the paper is taped down to prevent any slips or trips.
| Item | Purpose | Estimated Cost |
|---|---|---|
| Seamless Paper Roll | Provides a smooth, non-reflective background. | $30 – $60 |
| Backdrop Stand Kit | A telescopic crossbar and two upright stands. | $50 – $120 |
| Spring Clamps | Secures the paper roll to the crossbar to prevent unrolling. | $5 – $15 |
| Gaffer Tape | Tapes the paper to the floor securely without residue. | $15 – $20 |
| Sandbags or Weights | Stabilizes the base of the stands for safety. | $20 – $40 |
Choosing Your Color Palette
When selecting your paper color, think about the mood you want to evoke. Neutral tones are the gold standard for minimalist maternity shoots because they complement every skin tone and never go out of style.
- Super White: Clean, airy, and high-key. Perfect for a fresh, modern look.
- Fashion Grey: Sophisticated and moody. It creates beautiful shadows that define the bump.
- Beige or Sand: Warm, earthy, and organic. This is my personal favorite for a ‘boho-minimalist’ vibe.
- Black: Dramatic and artistic. Ideal for silhouette shots that highlight the curve of your belly.
Lighting Your Glow: Natural vs. Artificial Light
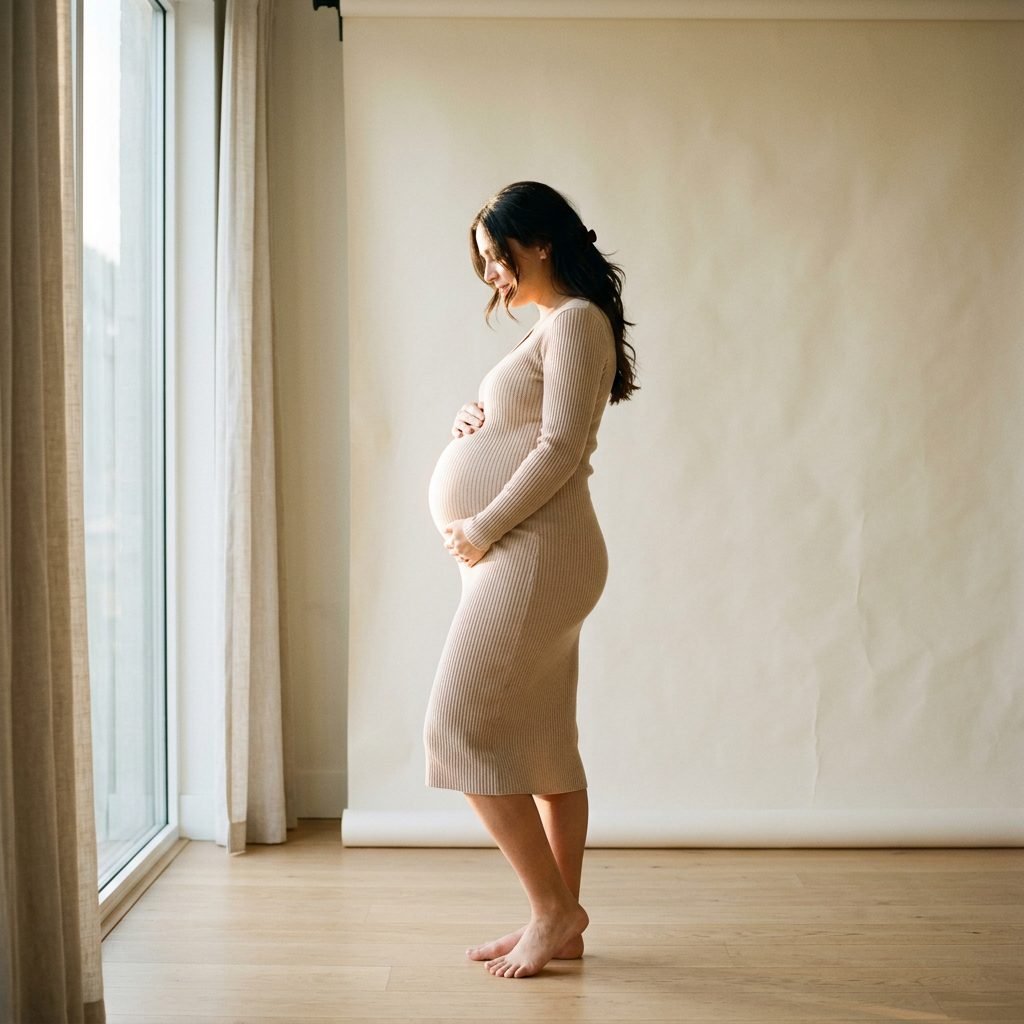
Lighting is the ‘secret sauce’ of photography. For a minimalist maternity shoot, you want light that is soft, flattering, and wraps around your curves. As a doula, I always suggest starting with natural light. It is free, gentle, and creates a soulful atmosphere that artificial lights sometimes struggle to replicate. Look for a large window in your home that doesn’t get direct, harsh sunlight. North or South-facing windows are usually best. If the light is too bright, you can hang a sheer white curtain to act as a giant diffuser. This will soften the shadows on your face and belly, giving you that ethereal ‘pregnancy glow’ we all love. If you are shooting in a darker space or want more control, a simple large softbox or an umbrella light can work wonders. The goal is to avoid ‘flat’ lighting; we want light coming from the side (about 45 degrees) to create gentle highlights and shadows that show off the three-dimensional beauty of your bump.
“Light is the brush that paints your story. Position yourself so the light kisses the top of your bump, and let the shadows tell the rest.”
| Lighting Type | Best For | Setup Tip | |
|---|---|---|---|
| Window Light | Soft, organic, airy portraits. | Stand 3-5 feet from the window at a 45-degree angle. | Sheer white sheet. |
| Single Softbox | Controlled, studio-quality look. | Place light slightly above eye level, angled down. | Move closer for softer light. |
| Reflector (DIY) | Filling in dark shadows. | Use a large piece of white foam board opposite the light. | Inexpensive and effective. |
The Step-by-Step Installation Guide
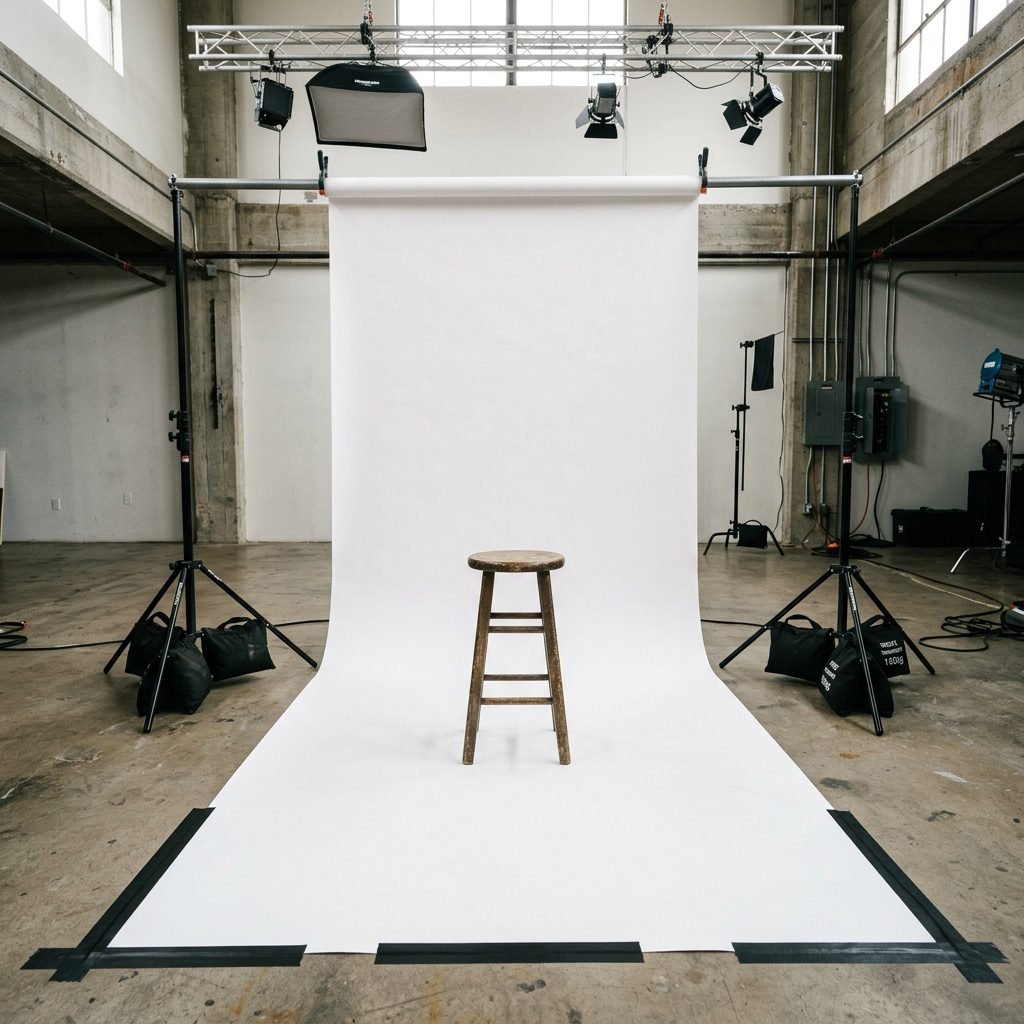
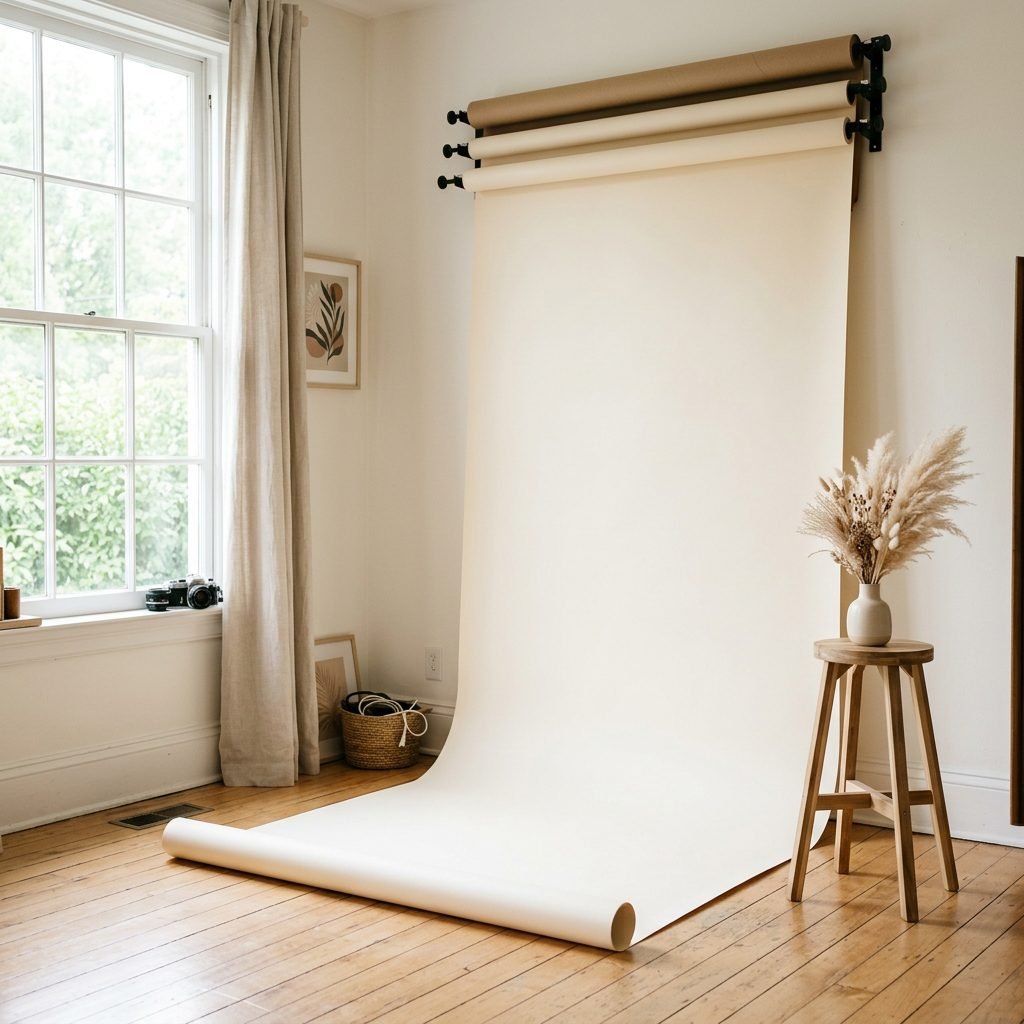
Now, let’s get that studio set up! You want to create what photographers call a ‘sweep.’ This is when the paper curves gently from the wall onto the floor, eliminating the harsh line where the wall meets the ground. This creates the illusion of infinite space and makes your photos look incredibly professional. Follow these steps to ensure a safe and beautiful setup:
- Clear the Space: Move all furniture out of the way. You need a space at least 8 feet wide and 10 feet deep to allow for the backdrop and your camera distance.
- Assemble the Stand: Set up your backdrop stands and attach the crossbar. Use your sandbags at the base of each stand immediately. This is non-negotiable, mama! We don’t want anything tipping over.
- Mount the Paper: Slide the paper roll onto the crossbar. Ensure the paper is rolling over the top toward you, not underneath.
- The Sweep: Slowly pull the paper down. Once it hits the floor, pull out another 5-6 feet so you have a flat area to stand on.
- Clamp and Tape: Use your spring clamps on the top of the roll to stop it from unrolling further. Then, use gaffer tape to secure the bottom edge of the paper to the floor. This prevents the paper from curling up and creates a safe, flat surface for you to walk on.
Safety First for Mama
Since you are likely in your second or third trimester, your center of gravity has shifted. Do not try to lift the heavy paper rolls alone. Ask a partner, a friend, or your doula to help with the heavy lifting. Also, ensure the floor area is free of stray cords or clutter. If you feel winded, take a break! This should be a joyful experience, not an exhausting one.
Styling the Bump: Fashion Formulas for Minimalist Portraits
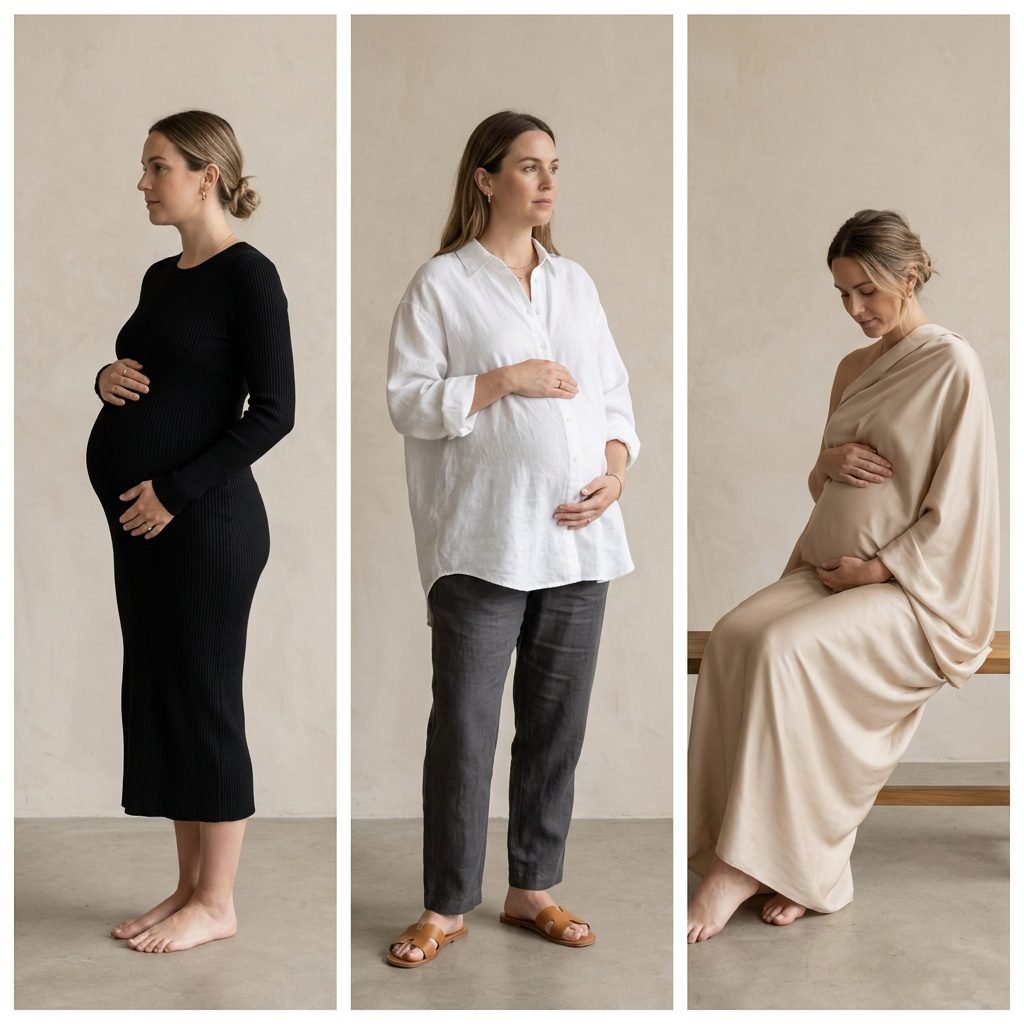
Minimalist photography is all about textures and silhouettes. When choosing your outfits, think about what makes you feel confident and comfortable. We want to highlight the bump without distracting patterns or loud colors. As a maternal stylist, I always recommend a ‘capsule wardrobe’ approach for your shoot. Choose 2-3 looks that offer variety: one body-conscious, one flowy and ethereal, and perhaps one intimate or ‘bare’ look. Fabrics like silk, ribbed knit, and sheer tulle photograph beautifully against paper backdrops because they catch the light in different ways. Don’t forget your undergarments! Seamless, nude-toned bras and undies are essential for a polished look.
| The Look | Outfit Formula | Vibe |
|---|---|---|
| The Modernist | Black ribbed bodycon dress + Bare feet. | Sleek, chic, and powerful. |
| The Goddess | Sheer white button-down shirt + Lace bralette. | Soft, intimate, and airy. |
| The Minimalist | High-waisted maternity leggings + Cropped tank. | Athletic, real, and raw. |
| The Ethereal | A length of silk fabric draped over the body. | Artistic, timeless, and high-fashion. |
Accessorizing with Intention
Keep accessories to a minimum. A simple pair of gold hoops or your wedding ring is often enough. If you want to add a prop, think organic: a single dried palm leaf, a ultrasound photo, or a pair of tiny baby shoes. The goal is to keep the focus on the connection between you and your baby. Pro-Tip: Moisturize your belly about 30 minutes before the shoot with a high-quality body oil to give the skin a healthy, subtle sheen under the lights.
Posing with Purpose: Celebrating Your Silhouette
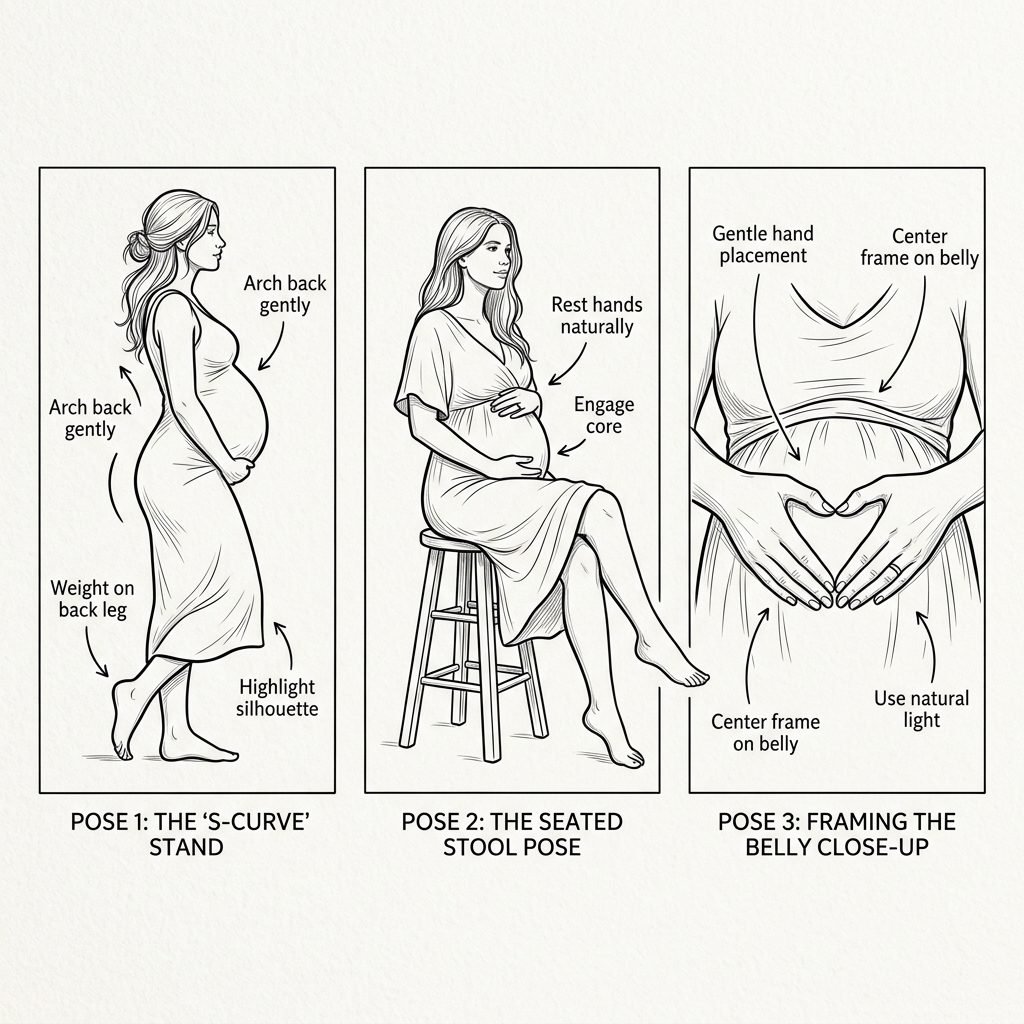
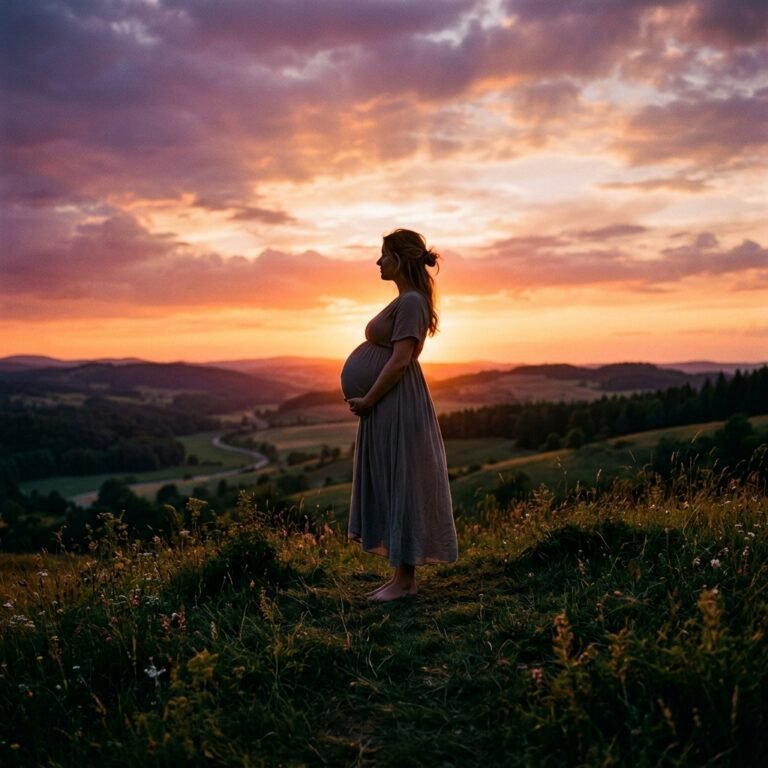
Many mamas feel a bit shy in front of the camera, and that is completely normal! My best advice is to breathe through the poses. Imagine you are sending breath down to your baby. This relaxes your shoulders and softens your expression. In minimalist photography, the profile shot is your best friend because it clearly defines the beautiful ‘D’ shape of your bump. Try the ‘S’ Curve: Stand sideways, bend the knee closest to the camera slightly, and shift your weight to your back leg. This creates a beautiful, fluid line from your head to your toes. Don’t be afraid to use your hands! Placing one hand on top of the bump and one underneath creates a ‘frame’ that draws the eye directly to your baby. It also conveys a sense of protection and maternal love.
- The ‘Looking Down’ Pose: Gently tuck your chin and look at your belly. This creates an intimate, quiet moment.
- The ‘Seated Power’ Pose: Sit on a minimalist stool, legs slightly apart or crossed at the ankles. This looks editorial and strong.
- The ‘Hands on Heart’ Pose: One hand on your chest, one on the bump. Connect your own heartbeat with your baby’s.
“Your body is a masterpiece in progress. Every curve, every stretch, and every movement is a testament to the life you are nurturing.”
The Post-Shoot Recovery & Celebration
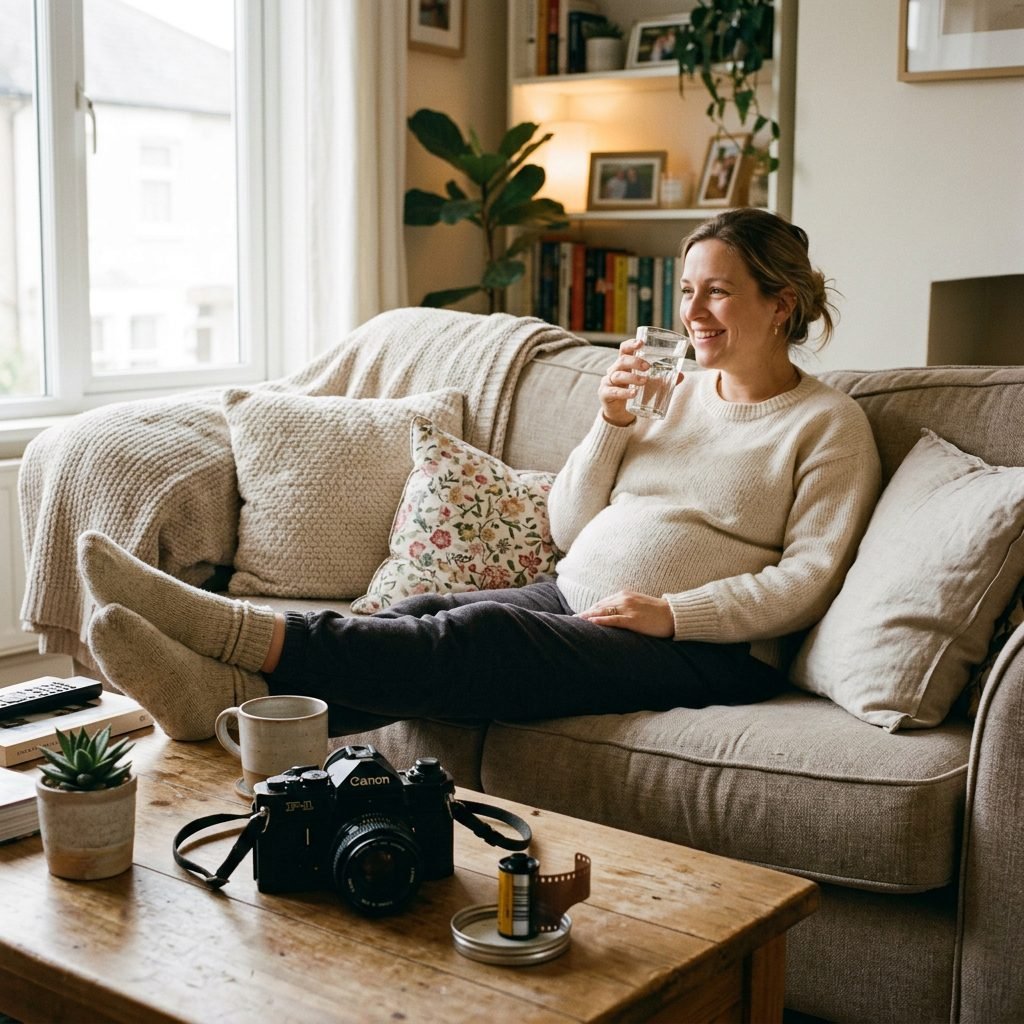
Once the last shutter clicks, it is time to take care of you. Standing for a photoshoot can be surprisingly taxing on a pregnant body. I want you to transition immediately into recovery mode. Drink a large glass of water with electrolytes, put your feet up to reduce any swelling, and have a protein-rich snack. You have just done a lot of physical and emotional work! If you used a partner to help, take a moment to look through the ‘behind the scenes’ photos together. These candid moments are often just as precious as the final portraits. When it comes to editing, keep it simple. A touch of brightness, a little contrast, and perhaps a classic black-and-white filter are all you need to enhance the minimalist beauty of your seamless backdrop shots. You’ve captured a moment in time that will never happen exactly like this again. Well done, mama.
| Recovery Step | Why it Matters |
|---|---|
| Hydration | Replenishes fluids lost during the ‘workout’ of posing. |
| Elevation | Reduces ‘pregnancy feet’ swelling from standing. |
| Snack | Stabilizes blood sugar after the adrenaline of the shoot. |
| Self-Compassion | Reminds you that the memories matter more than ‘perfection’. |
Conclusion
Creating a minimalist seamless paper backdrop maternity photoshoot is about more than just pretty pictures; it is about honoring the incredible journey of motherhood in its purest form. By stripping away the clutter and focusing on simple lines, soft light, and your own radiant presence, you create images that will stand the test of time. Whether you display these in a nursery gallery wall or keep them in a private album for your child to see one day, they serve as a powerful reminder of the strength and beauty of your body. Remember, mama, you don’t need to be a professional photographer to capture the soul of your pregnancy. You just need a little bit of paper, a lot of light, and the willingness to see yourself through the lens of love. You are doing an amazing job, and these photos are the proof. Happy shooting!