How to Build an Epic DIY Baked Potato Bar for a Budget-Friendly Baby Shower
Welcome to Your Stress-Free Celebration Strategy
Oh, sweet mama-to-be or the wonderful friend planning her big day! There is something so profoundly nurturing about a warm, fluffy baked potato. As a doula, I often talk about the importance of ‘grounding’ foods—those comforting, carbohydrate-rich staples that make us feel safe and satisfied. When it comes to hosting a baby shower, the pressure to provide a gourmet meal on a budget can feel overwhelming. That is exactly why I am so passionate about the DIY Baked Potato Bar. It is the ultimate maternal wellness meal: it is naturally gluten-free, incredibly affordable, and allows every guest—from the keto-loving aunt to the vegan best friend—to customize their plate to their heart’s content.
Building an ‘epic’ bar isn’t just about the food; it is about the experience. It is about creating a visual feast that feels abundant without draining your nursery fund. In this guide, we are going to walk through every single step of the process, from choosing the right spuds to styling your station like a professional event designer. We will even tackle the logistics of keeping everything hot while you are busy opening gifts or playing ‘guess the baby food’ games. Let’s dive into how we can make this humble root vegetable the star of your shower!
Planning a shower is an act of love. Remember, your guests are there to celebrate the new life you are bringing into the world, not to judge the price tag of the catering. A potato bar says, ‘I want you to be full, comfortable, and happy.’
The Foundation: Selecting and Prepping Your Spuds
Choosing the Right Variety
Not all potatoes are created equal, especially when they are the canvas for a masterpiece. For a potato bar, you want the Russet potato (also known as the Idaho potato). Why? Because their high starch content leads to that iconic fluffy, mealy texture that absorbs butter and sour cream like a dream. Aim for medium-sized potatoes; they are easier for guests to handle and leave room for more toppings! Plan for 1.25 potatoes per guest to account for those with extra-large appetites.
The Secret to the Perfect Skin
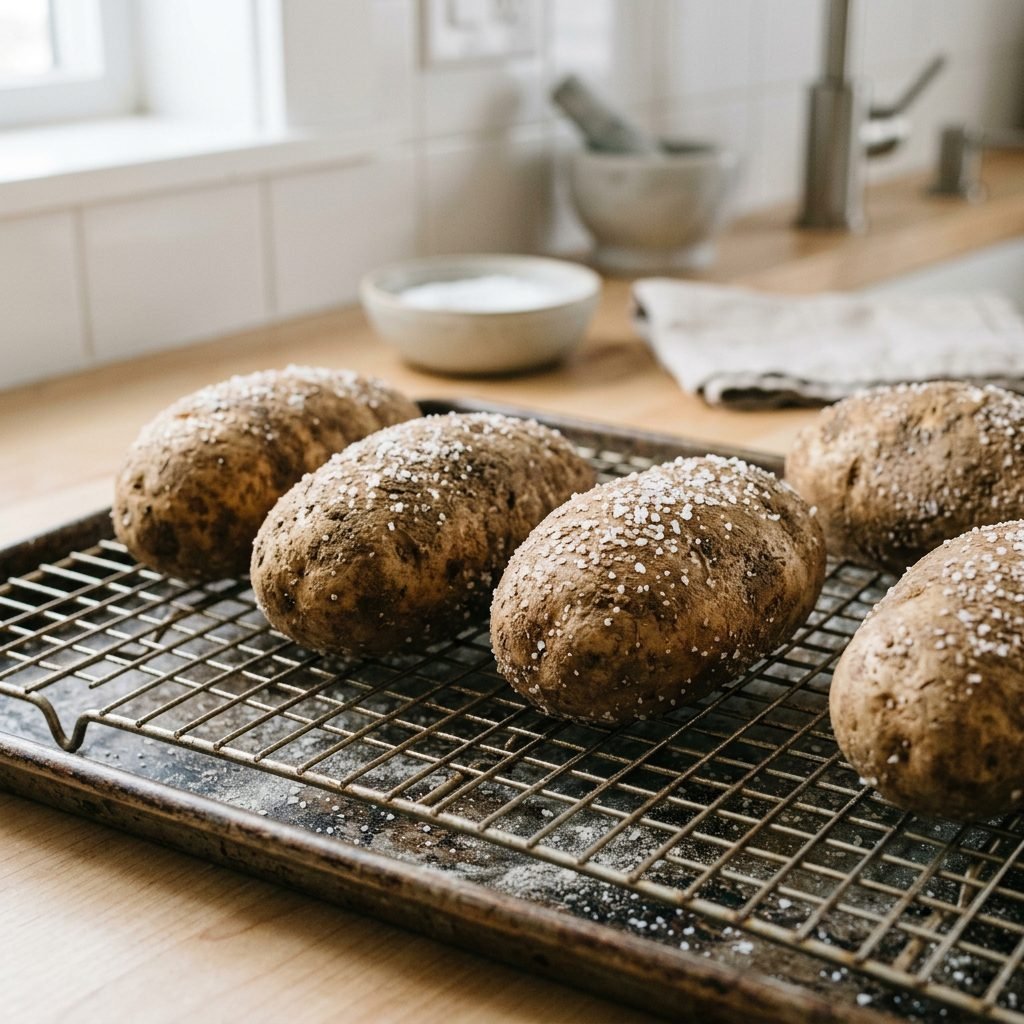
Many people make the mistake of wrapping potatoes in foil. While this is great for a campfire, it actually steams the skin, making it wet and rubbery. For an epic bar, we want crispy, salty skins that provide a satisfying crunch. Follow these steps for potato perfection:
- Scrub and Dry: Use a vegetable brush to remove all dirt, then pat them completely dry. Moisture is the enemy of crispiness!
- The Poke: Use a fork to prick each potato 4-5 times. This allows steam to escape and prevents ‘potato explosions’ in your oven.
- The Oil Rub: Massage each potato with a light coating of olive oil or melted tallow.
- The Salt Crust: Roll the oiled potatoes in coarse sea salt. This seasons the skin so beautifully that guests will actually want to eat it.
- Bake: Place them directly on the oven rack (with a tray on the rack below to catch drips) at 400°F (200°C) for about 45 to 60 minutes. They are done when the skin is brittle and a fork slides into the center with zero resistance.
The Topping Matrix: Designing Your Flavor Profiles
The Essential Categories
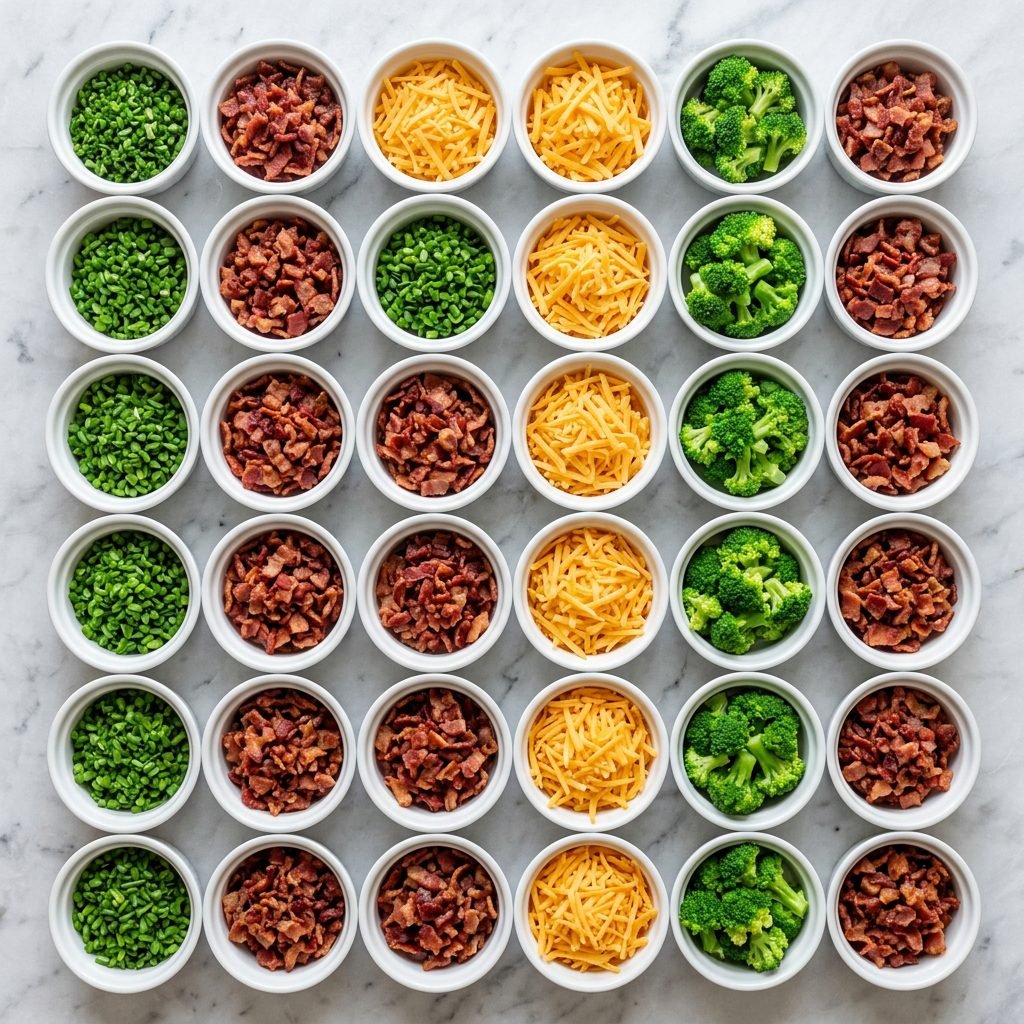
To make your bar feel ‘epic’ rather than ‘average,’ you need to categorize your toppings. This ensures a balance of fats, acids, crunches, and proteins. Use this structure to build your shopping list:
- The Creamy Base: Salted butter, full-fat sour cream (or Greek yogurt for a protein boost!), and perhaps a silky nacho cheese sauce.
- The Cheese Board: Sharp cheddar is a must, but consider adding crumbled feta, smoked gouda, or pepper jack for a little kick.
- The Protein Punch: Crispy bacon bits (real bacon only, please!), warm chili (meat or bean-based), shredded rotisserie chicken, or even pulled pork.
- The Garden Fresh: Sliced green onions, fresh chives, sautéed mushrooms, steamed broccoli florets, and pickled jalapeños.
- The Unexpected Twist: Diced avocado, black beans, corn salsa, or even a drizzle of truffle oil for the ‘fancy’ mama.
Dietary Considerations Table
As a hostess, you want everyone to feel seen. Use this table to ensure your topping choices cover all bases:
| Dietary Need | Safe Topping Options | Items to Watch Out For |
|---|---|---|
| Vegan | Avocado, chives, beans, salsa, vegan butter | Cheese, bacon, sour cream |
| Gluten-Free | Most natural toppings (potatoes are GF!) | Store-bought chili (check thickeners), crispy onions |
| Dairy-Free | Bacon, broccoli, salsa, olive oil, avocado | Butter, cheese, sour cream, ranch dressing |
Styling Your Station: Aesthetic and Functional Design
Creating Visual Height
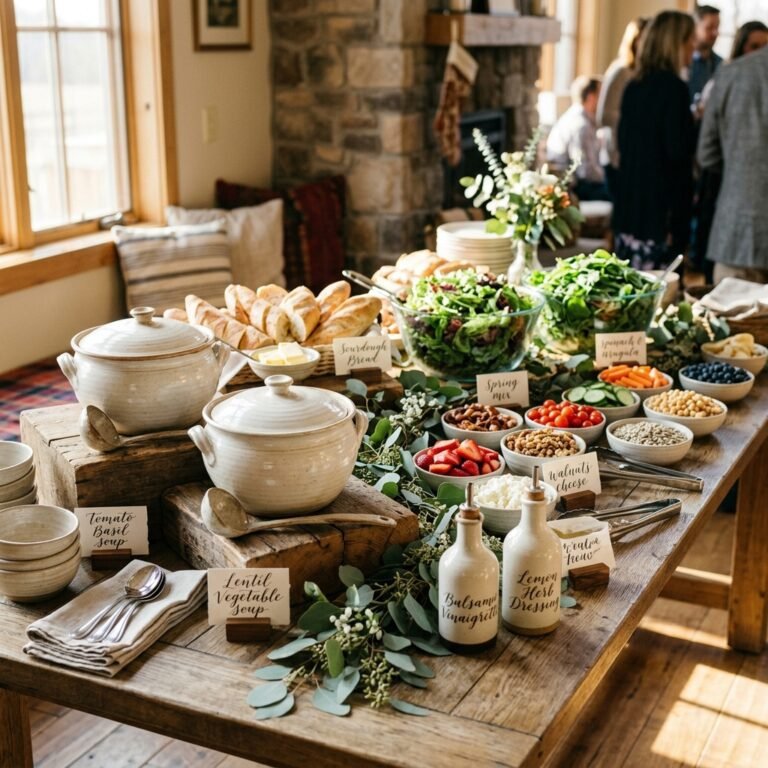
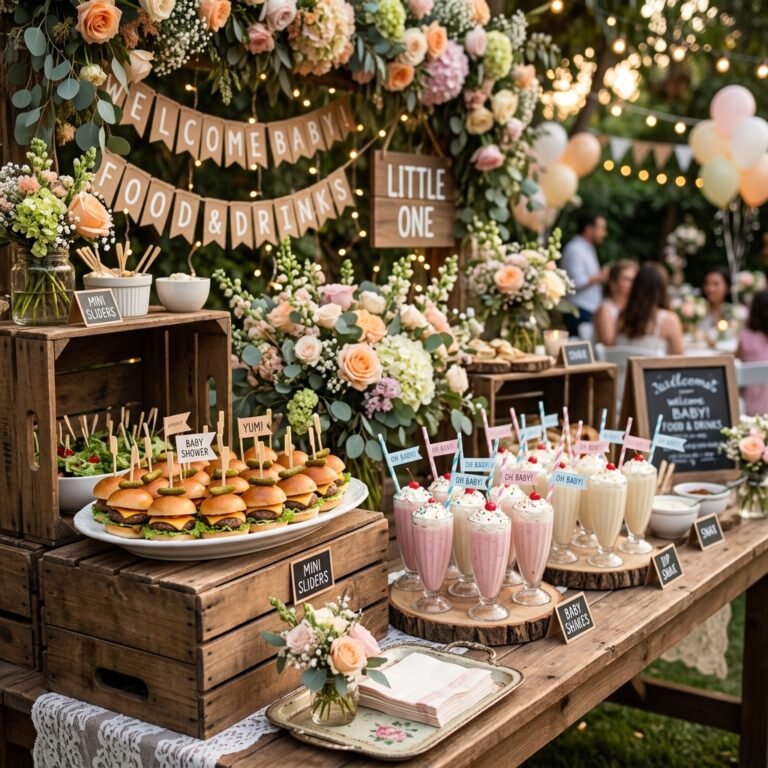
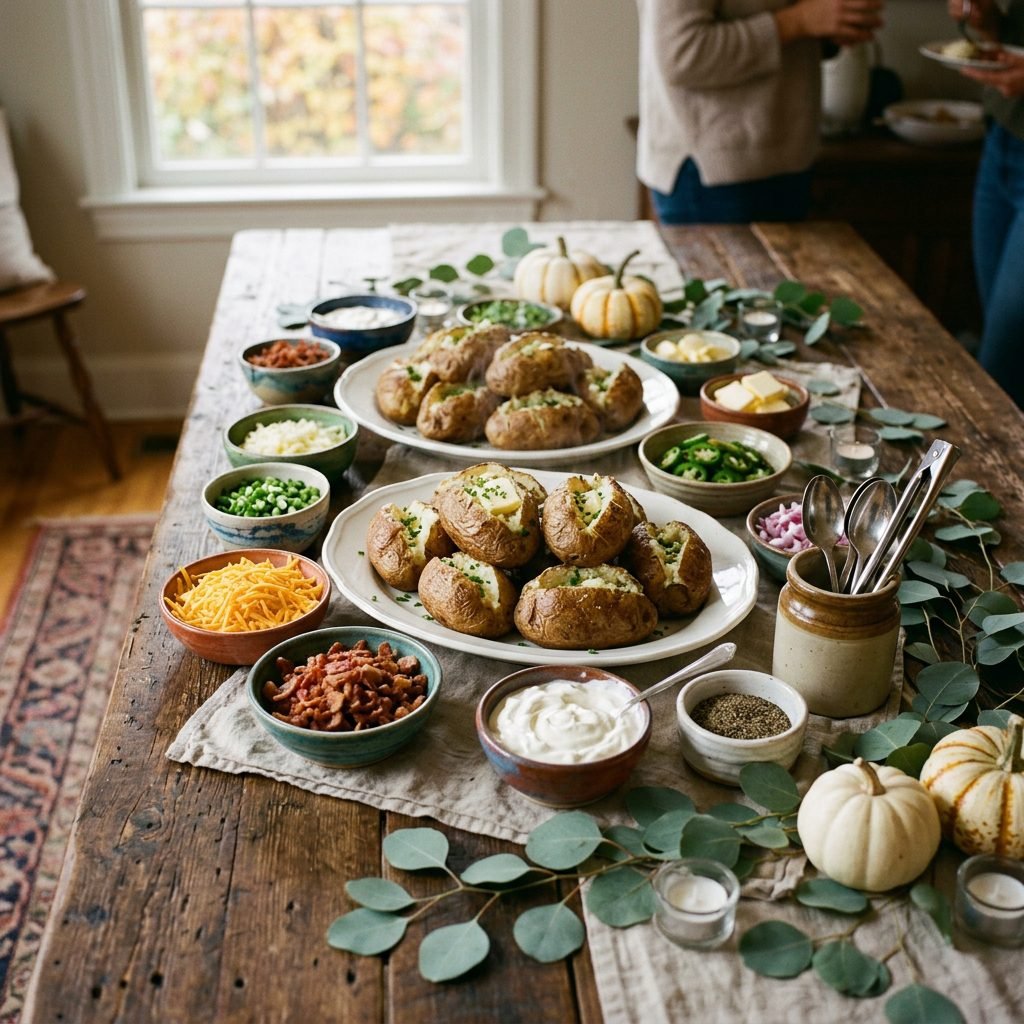
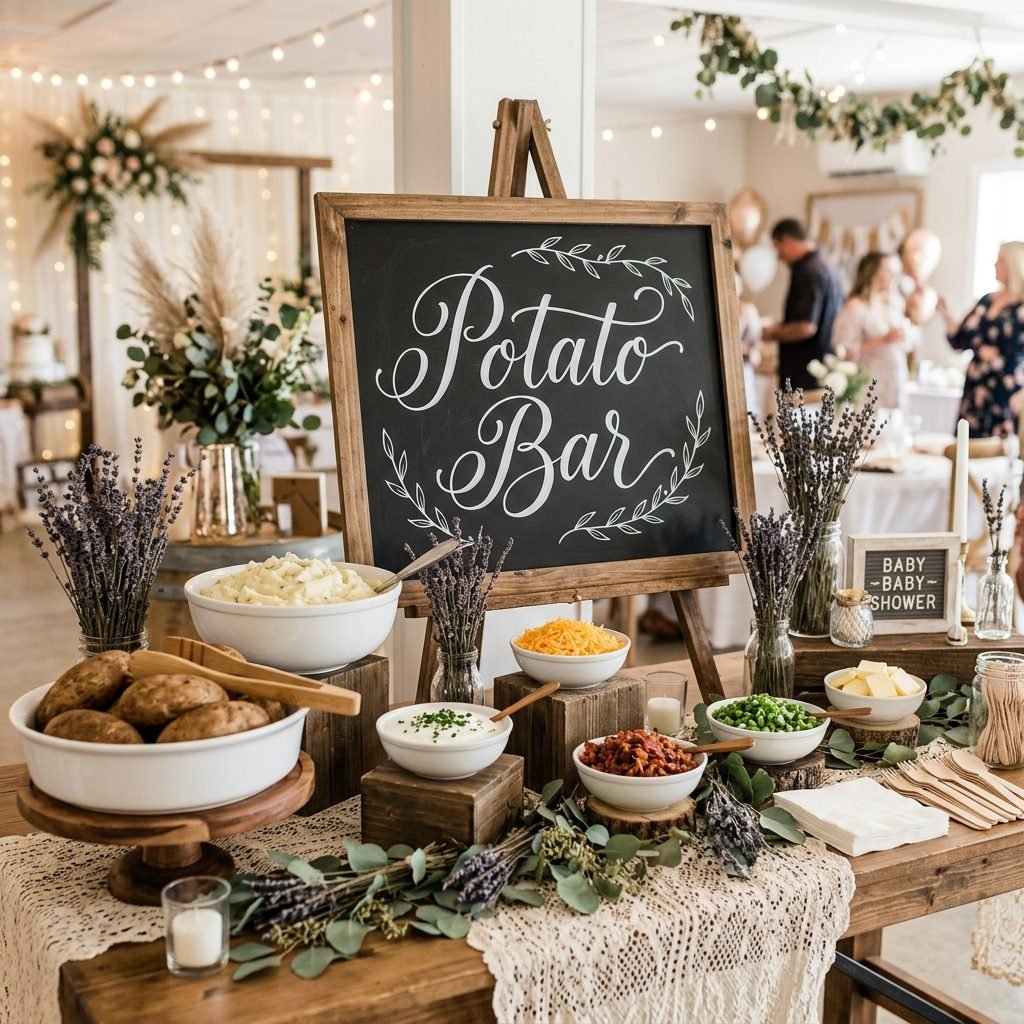
A flat table is a boring table. To give your potato bar that professional ‘catered’ look, use levels. Place some bowls on wooden crates, use tiered dessert stands for the smaller toppings, and keep the large potato basket as the focal point. This not only looks better in photos but also makes it easier for guests to reach over the front row of toppings.
Labeling with Love
Clear signage is your best friend. It prevents the ‘What is this?’ question from being asked 50 times. Use small chalkboard signs or elegant cardstock tents to label every topping. Pro-tip: Mark items as ‘Vegan,’ ‘Dairy-Free,’ or ‘Spicy’ directly on the labels to empower your guests to serve themselves safely.
The Flow of the Line
Think like an interior organizer. The flow should be logical to prevent bottlenecks:
- The Plates: Start with sturdy, large plates (compostable bamboo looks beautiful and is eco-friendly!).
- The Spuds: The main event comes next. Keep them in a thermal-lined basket or a slow cooker.
- The ‘Melters’: Butter and cheese should be immediately after the potato so they can start melting while the potato is hottest.
- The Heavy Toppings: Chili, proteins, and veggies.
- The Cold Toppings & Sauces: Sour cream, salsa, and herbs.
- The Utensils: Always place napkins and silverware at the end of the line so guests don’t have to fumble with them while serving themselves.
Logistics: Keeping the Feast Hot and Safe
The Temperature Challenge
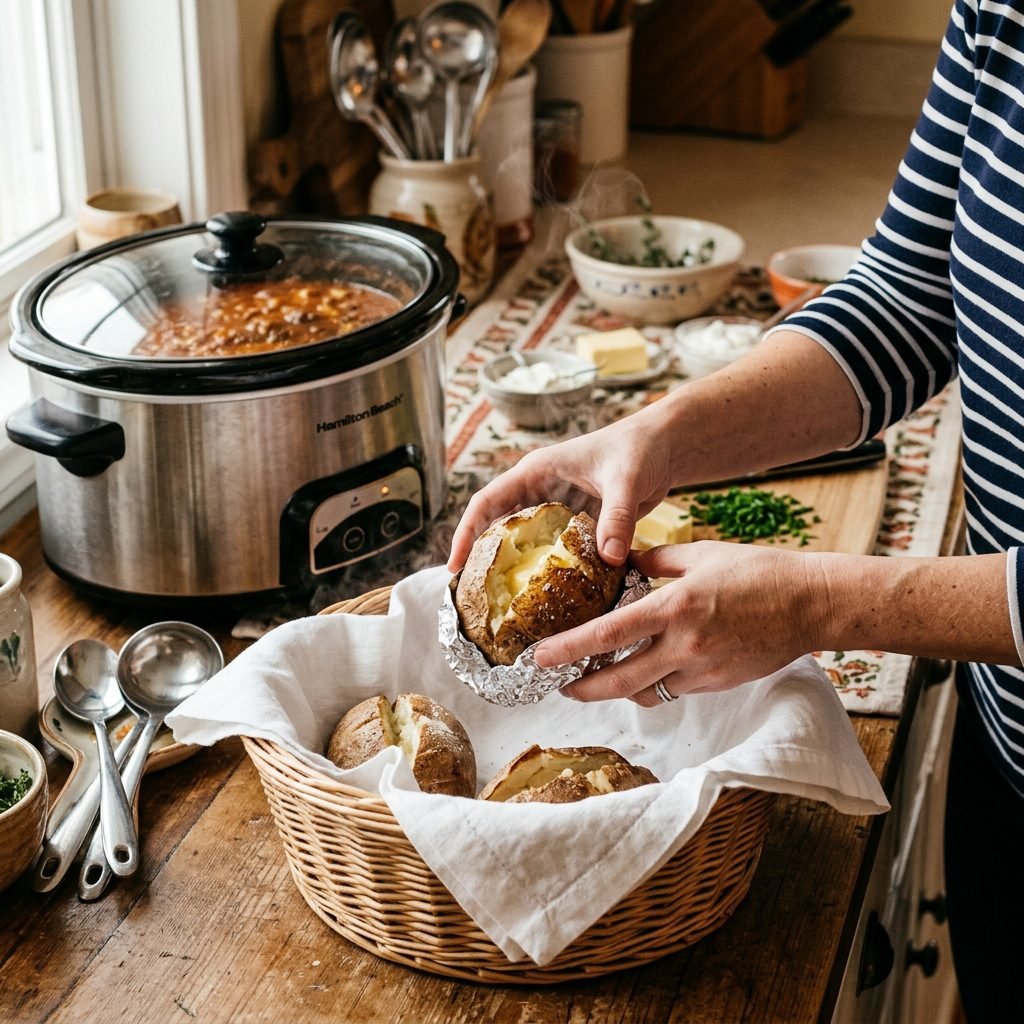
The biggest hurdle for a potato bar is heat. A cold baked potato is a sad baked potato! To keep things piping hot for the duration of the shower, use these doula-approved hacks:
- The Slow Cooker Method: You can actually ‘bake’ your potatoes in a slow cooker on high for 4-5 hours, or simply use the slow cooker on the ‘warm’ setting to hold pre-baked potatoes.
- The Chafing Dish: If you want a more formal look, a simple wire chafing dish with a tea light or Sterno flame underneath a pan of potatoes will keep them perfect for hours.
- The Insulated Cooler: Believe it or not, a clean, dry plastic cooler is an incredible ‘hot box.’ Line it with foil and towels, place your hot potatoes inside, and they will stay warm for up to 3 hours.
A Sample Timeline for the Hostess
| Time Before Party | Task to Complete |
|---|---|
| 2 Days Before | Grocery shopping and washing all produce. |
| 1 Day Before | Chop veggies, cook bacon, and shred cheese. Store in airtight containers. |
| 3 Hours Before | Prick and oil the potatoes; preheat the oven. |
| 1.5 Hours Before | Potatoes go into the oven. Set out non-perishable decor. |
| 15 Mins Before | Transfer potatoes to warming vessel; set out cold toppings. |
The Budget Breakdown: Maximum Impact, Minimum Cost
Why the Potato Wins the Budget Battle
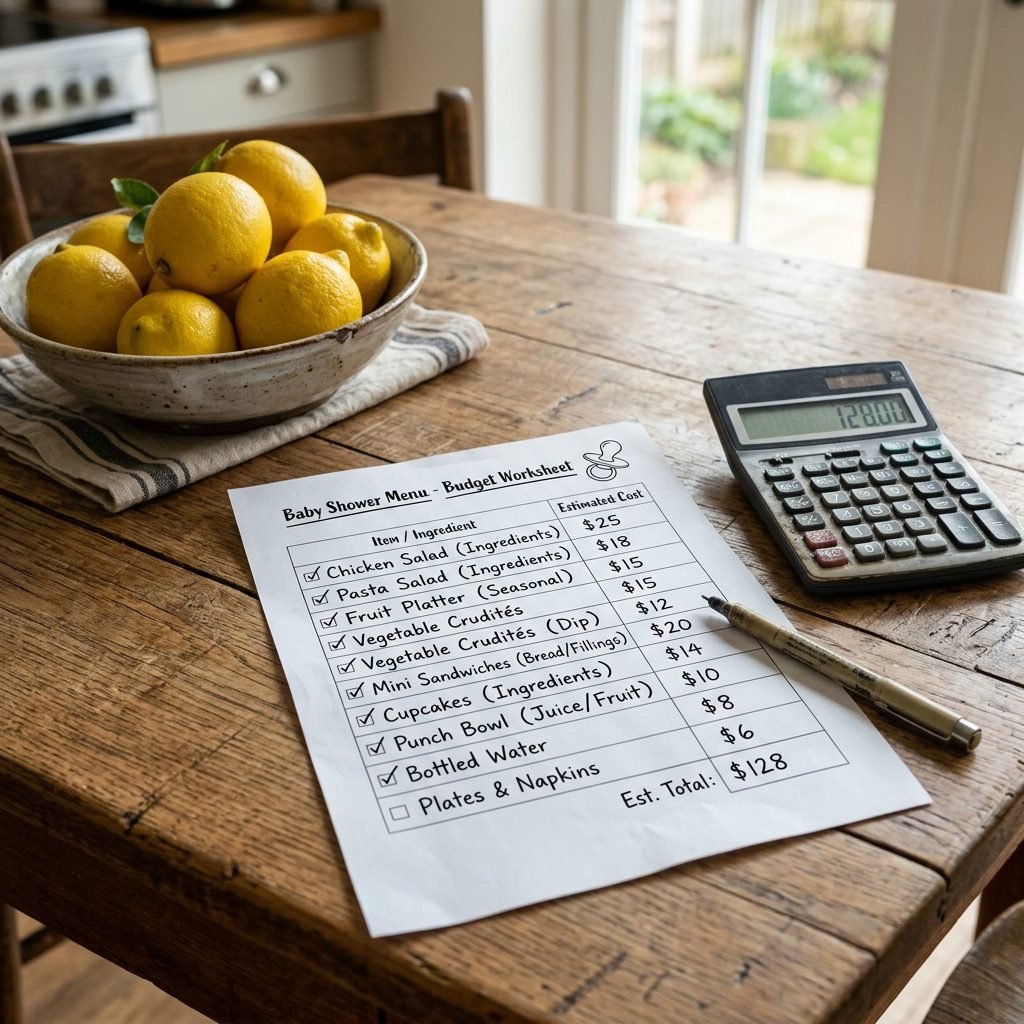
When you compare a potato bar to traditional catering or even a heavy appetizer spread, the savings are astronomical. You are essentially basing your meal on a crop that costs pennies per pound. This allows you to splurge slightly more on high-quality toppings like thick-cut bacon or organic avocados without blowing the budget.
Estimated Cost for 20 Guests
Here is a realistic look at what you might spend at a standard grocery store (prices may vary by region):
- Potatoes (25 lbs): $15 – $20
- Proteins (Bacon, Chili ingredients): $25 – $30
- Dairy (Butter, Sour Cream, Cheese): $20 – $25
- Produce (Green onions, Broccoli, Avocado): $15 – $20
- Total Estimated Cost: $75 – $95
That breaks down to less than $5 per person for a full, satisfying meal! Compare that to a $20/plate catering fee, and you’ve just saved $300 that can go toward a high-end stroller or the mama’s college fund for the little one.
Maternal Comfort and Flavor Pairings
The ‘Nourished Mama’ Bowl
For the guest of honor, we want to ensure she is getting those pregnancy-safe, nutrient-dense toppings. Encourage her to build a ‘Power Spud’ with avocado (healthy fats for baby’s brain), steamed broccoli (folate and fiber), and a dollop of Greek yogurt (protein and calcium). This isn’t just party food; it’s functional nutrition wrapped in a cozy potato skin.
Flavor Themes to Suggest
To help your guests navigate the bar, you can place a small ‘Menu Suggestions’ card on the table:
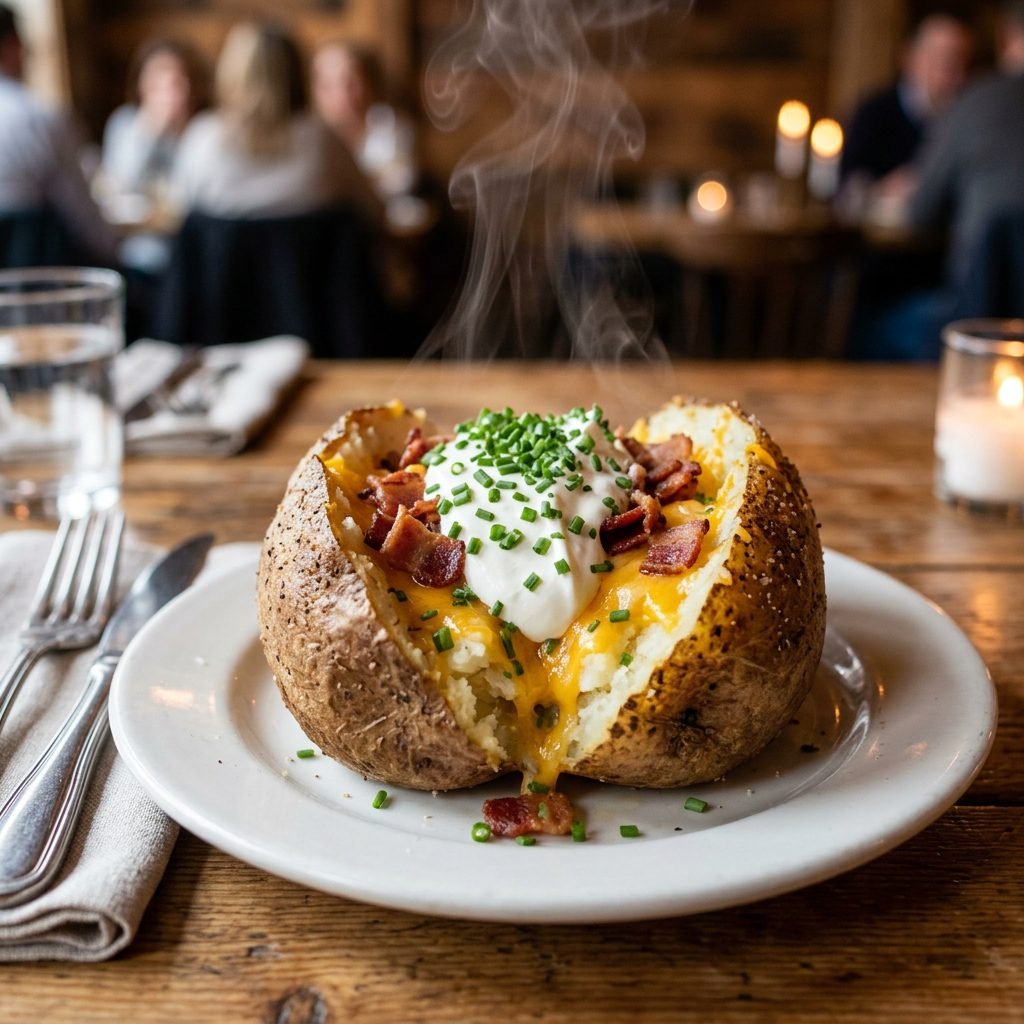
- The Loaded Classic: Butter, cheddar, bacon, sour cream, and chives.
- The Southwest Spud: Chili, pepper jack cheese, salsa, and jalapeños.
- The Veggie Delight: Broccoli, sautéed mushrooms, and extra avocado.
- The Breakfast Potato: Scrambled eggs (if it’s a brunch shower!), bacon, and cheese.
Your body is doing incredible work. Fueling yourself with warm, whole foods like this is a beautiful way to honor the transition into motherhood. Eat up, Mama!
Conclusion
A Celebration to Remember
Building an epic DIY baked potato bar is about more than just saving money—it is about creating an atmosphere of warmth, inclusivity, and abundance. By focusing on simple, high-quality ingredients and thoughtful presentation, you are providing a space where the mama-to-be feels supported and the guests feel genuinely cared for. As you pack up the leftovers (which make the best next-day hash browns, by the way!), you can rest easy knowing you hosted a beautiful, stylish, and nourishing event without the financial stress. You’ve got this, hostess! Now, go grab a potato for yourself—you’ve earned it.