DIY High Contrast Sensory Bag: An Easy, Mess-Free Toy for Newborns
Welcome to the Magic of Sensory Play, Mama
Oh, sweet mama, I see you. Whether you are currently nesting and prepping for your little one’s arrival, or you are in the thick of the fourth trimester with a tiny human who seems to only want to stare at the ceiling fan, you are doing a beautiful job. As a doula and a fellow mom, I know that those first few months can feel like a beautiful, exhausting blur. We want the best for our babies’ development, but we also don’t have the energy for complicated crafts or—heaven forbid—a mess to clean up.
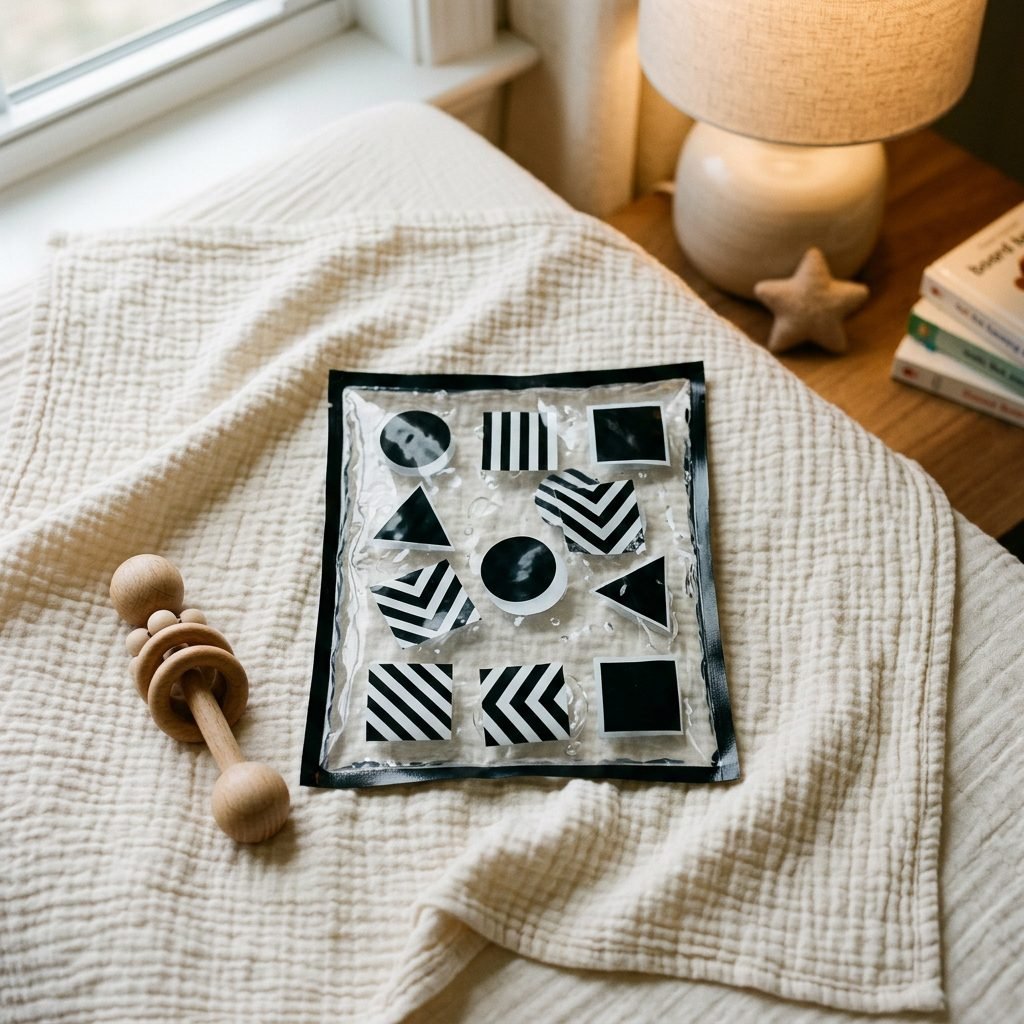
That is where the DIY High Contrast Sensory Bag comes in. It is a simple, budget-friendly, and completely mess-free way to engage your newborn’s developing brain. During those first few months, your baby’s world is a bit fuzzy, and their ability to see colors is limited. High-contrast patterns—specifically black and white—are like a beacon of light for their growing eyes. This little bag isn’t just a toy; it’s a tool to encourage tummy time, strengthen neck muscles, and spark those early neural connections. Let’s dive into how you can make one of these in under ten minutes using things you likely already have in your pantry or bathroom cabinet.
The Science of Sight: Why High Contrast Matters
Understanding Your Newborn’s Vision
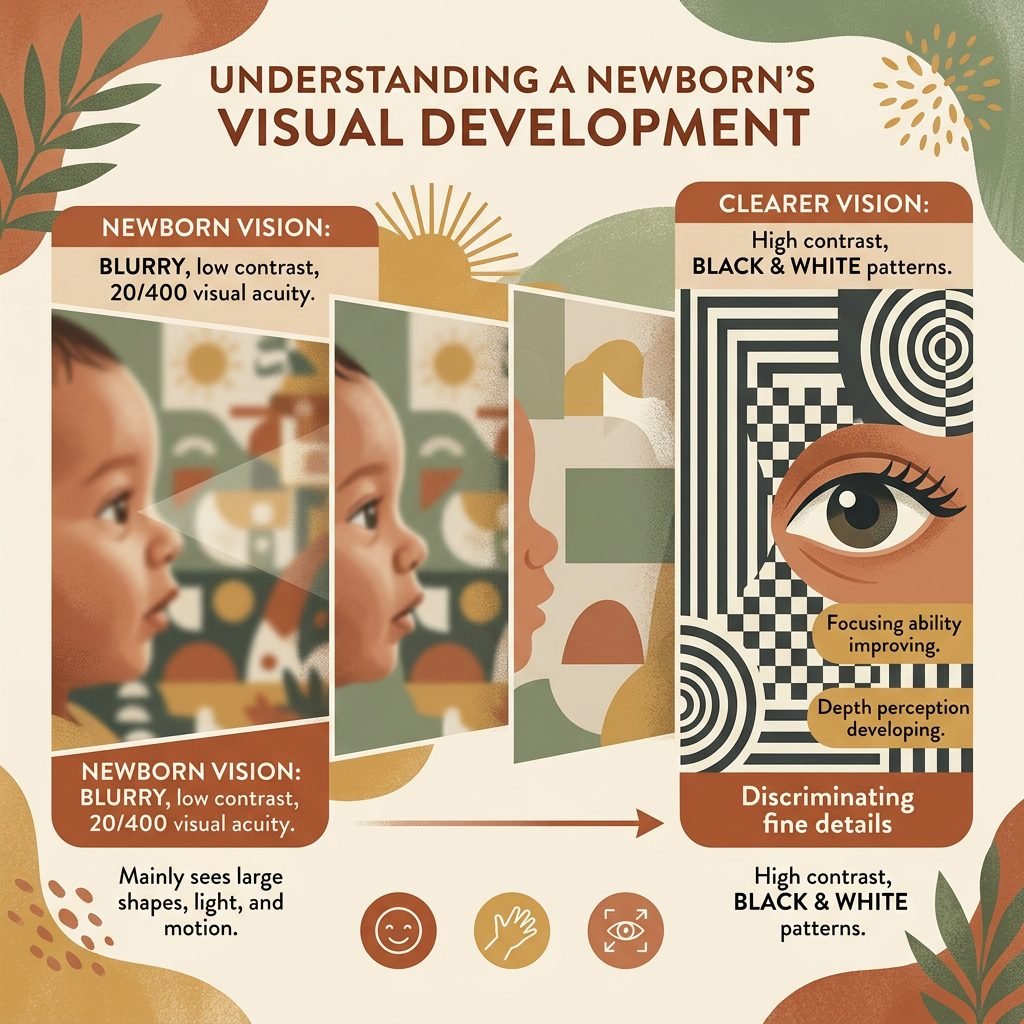
When your baby is born, their vision is the least developed of all their senses. They can only see clearly about 8 to 12 inches in front of their face—which, beautifully enough, is the exact distance to your face while you are nursing or cradling them. Because their retinas aren’t yet fully developed, they can’t easily distinguish between subtle shades of pastel pink or soft blue. Instead, they are naturally drawn to high-contrast images.
The Power of Black and White
Research shows that high-contrast colors send the strongest visual signals to a baby’s brain. These signals help the brain grow and the eyes to learn how to focus. When a baby looks at a bold black-and-white pattern, they are actually exercising their eye muscles and learning to track movement. This is why you’ll often see doulas and pediatricians recommending high-contrast cards or books.
“In the first few months of life, a baby’s brain is like a sponge, but their eyes need a clear map to follow. High-contrast play provides that map, allowing them to focus, calm down, and engage with the world around them.”
By placing these patterns inside a sensory bag, we add a tactile element. Even though they aren’t ‘playing’ with it with their hands quite yet in the early weeks, they are watching the shapes shift and slide, which adds a layer of visual tracking that static cards can’t provide.
Gathering Your Materials: A Budget-Friendly Breakdown
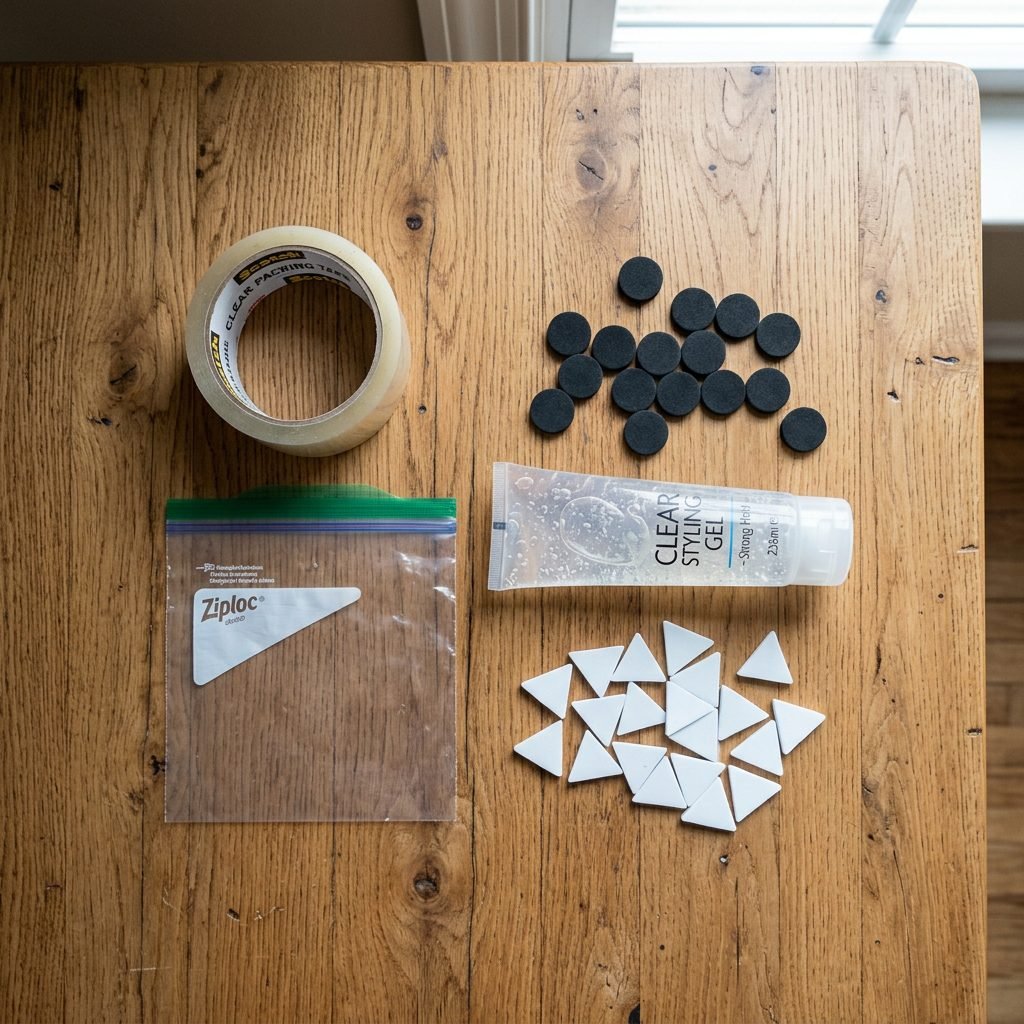
Simple Supplies for a Stimulating Toy
One of the best things about this project is that it costs almost nothing. You don’t need a fancy boutique toy to support your baby’s milestones. In fact, most of these items are probably sitting in your ‘odds and ends’ drawer right now. Here is exactly what you will need to create a high-quality sensory bag that is safe and engaging.
| Material | Purpose | Estimated Cost |
|---|---|---|
| Heavy-Duty Freezer Bag | The ‘container’ for the sensory play. Use a brand name like Ziploc for better seals. | $0.25 |
| Clear Hair Gel or Water | Provides the fluid medium for shapes to float in. Gel is slower and more ‘sensory.’ | $1.00 – $3.00 |
| Black & White Cutouts | Foam shapes, buttons, or laminated paper to provide the contrast. | $0.50 |
| Packing Tape or Duct Tape | To reinforce the seal and prevent any leaks. | $0.50 |
| Rubbing Alcohol (Optional) | To remove the brand logo from the plastic bag for a cleaner look. | $0.10 |
Choosing Your ‘Floaties’
When selecting what goes inside the bag, think about variety. Black buttons, white foam stars, or even black-and-white laminated photos work wonders. Avoid anything with sharp edges that could puncture the plastic. If you are using paper, make sure it is laminated or covered completely in clear tape so the moisture from the gel doesn’t turn it into mush!
Step-by-Step Instructions: Crafting the Perfect Bag
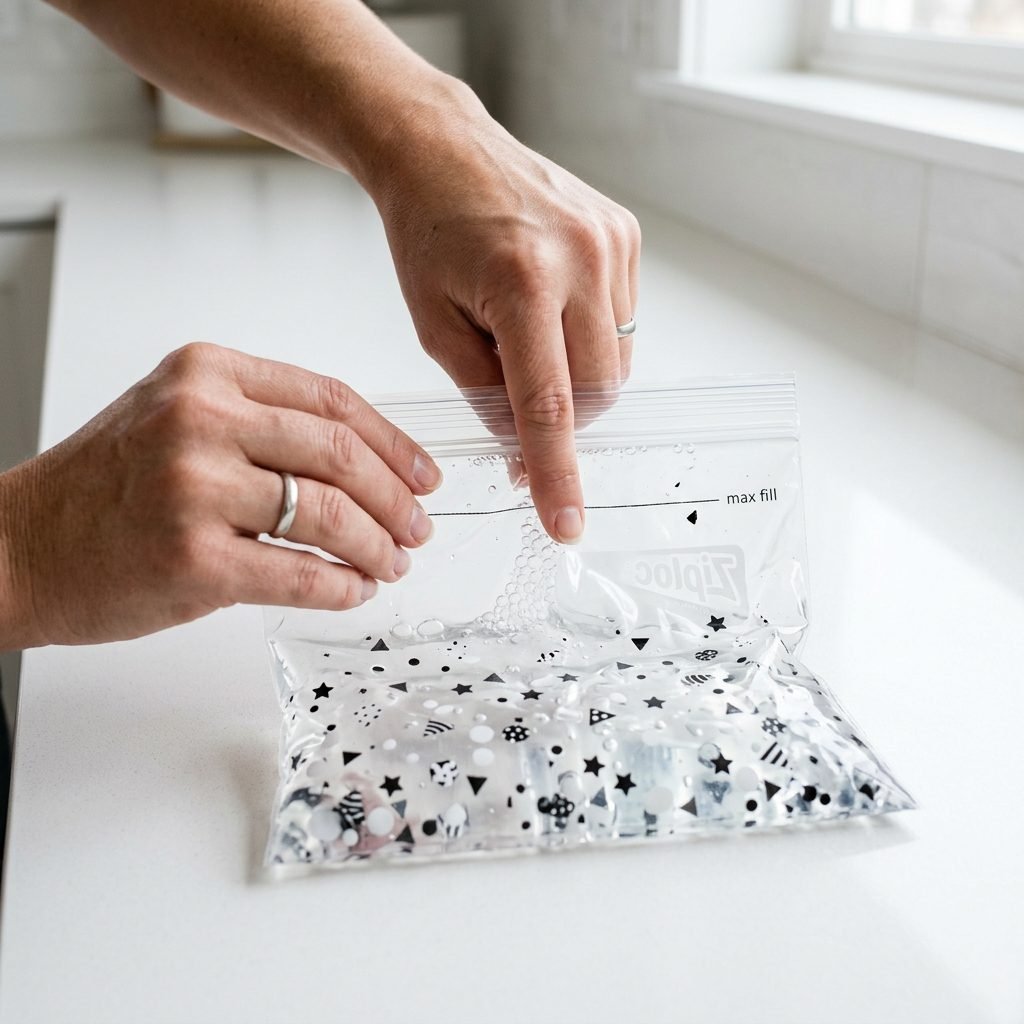
Easy Assembly for Busy Mamas
Follow these steps to ensure your sensory bag is durable, safe, and visually stunning for your little one. I recommend doing this while the baby is napping or while you’re enjoying a rare moment of quiet with a cup of tea.
- Prep the Bag: If you want a perfectly clear view, use a cotton ball soaked in rubbing alcohol to wipe off the white brand logo and expiration date stamp on your freezer bag.
- Add the Medium: Squeeze about 1 cup of clear hair gel into the bag. You don’t want it overfilled—it should be able to lay flat with about half an inch of thickness. If you don’t have gel, water works, but the shapes will move much faster.
- Insert the Contrast: Drop in your black and white shapes. I love using a mix of circles, squares, and triangles. Aim for about 10-15 items so the bag isn’t too crowded.
- Remove the Air: This is the most important step! Lay the bag flat on the counter and gently push all the air bubbles toward the opening before sealing it. A bag without air is much less likely to pop.
- Double Bag (The Pro Tip): For extra security, place your sealed bag inside a second freezer bag, with the seals facing opposite directions. This provides an extra layer of protection against leaks.
- Seal and Tape: Use heavy-duty packing tape to seal the top. For a ‘stylish’ look, you can use colorful duct tape or patterned washi tape to create a border around all four sides.
Safety Note: Always inspect the bag for leaks before every play session. While the materials are non-toxic, the plastic bag itself is a suffocation risk if left unattended.
Tummy Time Success: How to Use the Sensory Bag
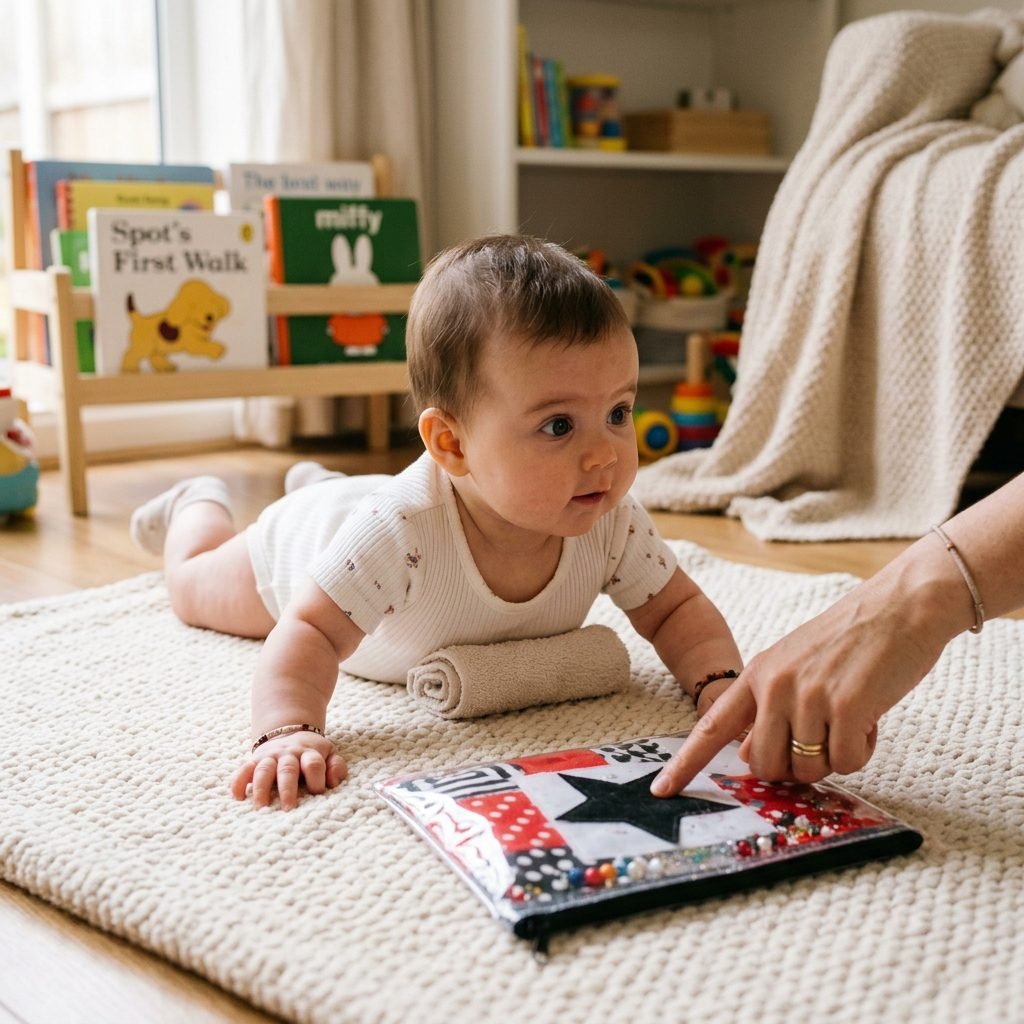
Transforming a Struggle into a Strength
We all know the ‘tummy time struggle.’ Some babies love it, but many find it frustrating and difficult. It’s hard work lifting that heavy head! The high-contrast sensory bag is the perfect distraction and motivation for those little neck muscles.
Positioning for Success
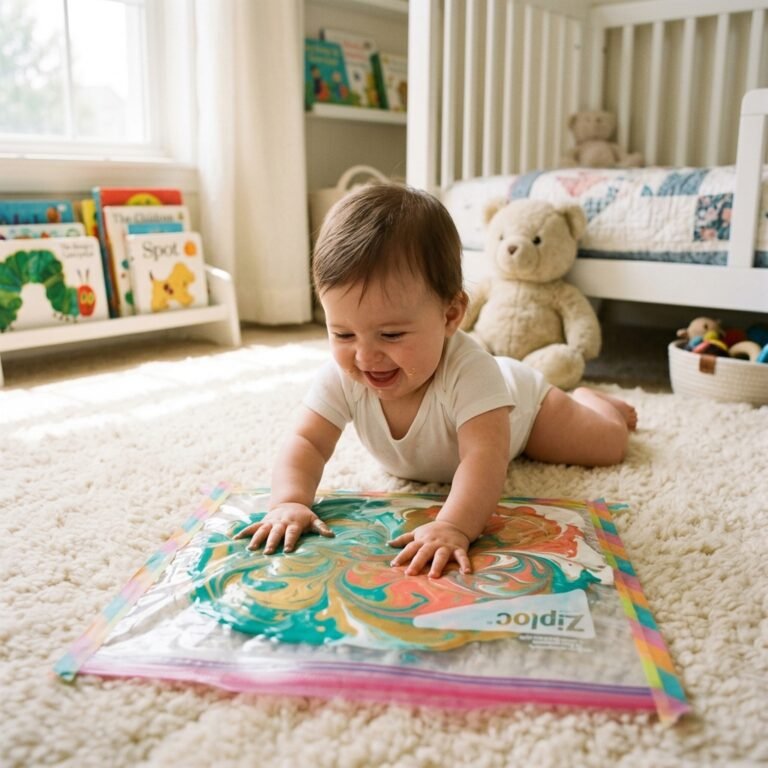
Place the bag on a flat surface—like a play mat or a clean hardwood floor. Lay your baby on their tummy with the bag directly in front of their face, about 8 inches away. As they look at the shapes, you can gently tap the bag to make the shapes move. This encourages visual tracking as they follow the black circles sliding through the clear gel.
Progressive Play Matrix
| Age Stage | How to Use | Developmental Goal |
|---|---|---|
| 0-2 Months | Stationary viewing during tummy time or held up during side-lying play. | Focus and neck strength. |
| 3-4 Months | Encourage baby to ‘bat’ at the bag with their hands. | Hand-eye coordination. |
| 5-6 Months | Tape the bag to a low window for ‘vertical play’ while sitting up. | Core stability and light exploration. |
If your baby gets fussy, don’t force it. Even 2 to 3 minutes of engagement with the bag is a win! You can also use the bag during diaper changes by taping it to the wall next to the changing table to keep those little eyes occupied while you work.
Customizing and Troubleshooting Your Sensory Bag
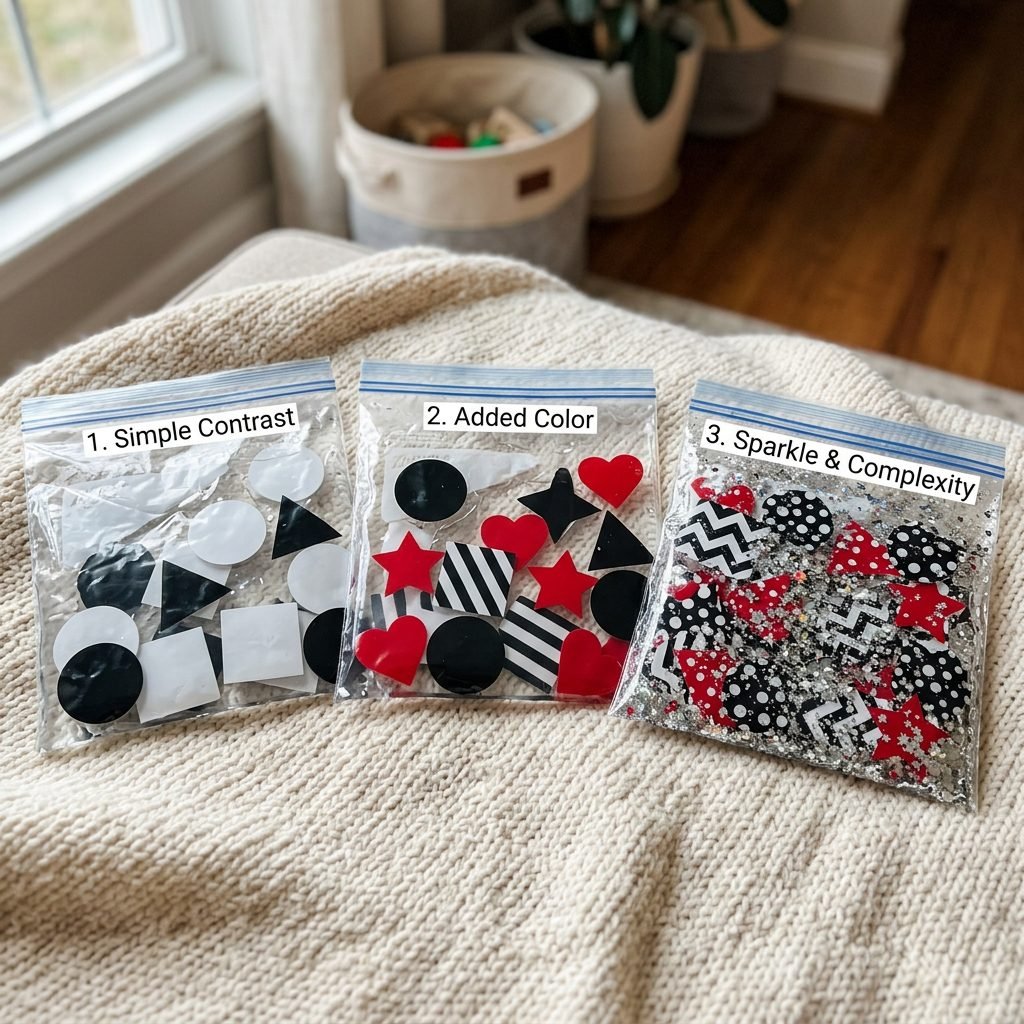
Keeping it Fresh and Functional
As your baby grows, their needs will change. One of the reasons I love this DIY project is how adaptable it is. You can easily create a ‘seasonal’ bag or a ‘milestone’ bag to keep things interesting.
Variations to Try
- The ‘Red’ Factor: After about 2-3 months, babies begin to see the color red. Try adding a few red foam hearts or beads to your black-and-white bag for a new ‘pop’ of color that will fascinate them.
- Texture Add-ins: Add a sprinkle of glitter or small sequins. The way they catch the light will help your baby practice focusing on smaller details.
- Temperature Play: On a warm day, you can pop the gel bag in the fridge for 10 minutes (not the freezer!) before play. The coolness offers a new sensory experience for their little hands to feel.
Troubleshooting Common Issues
If you find that your shapes are ‘clumping’ together, you likely have too much air in the bag or the gel is too thick. Simply open the seal, add a tablespoon of water to thin the gel, and re-seal while carefully pushing out the air. If the bag feels ‘sticky,’ wipe it down with a damp cloth and a drop of dish soap—sometimes the gel can leave a residue during the filling process.
The Doula’s Guide to Safe Sensory Exploration
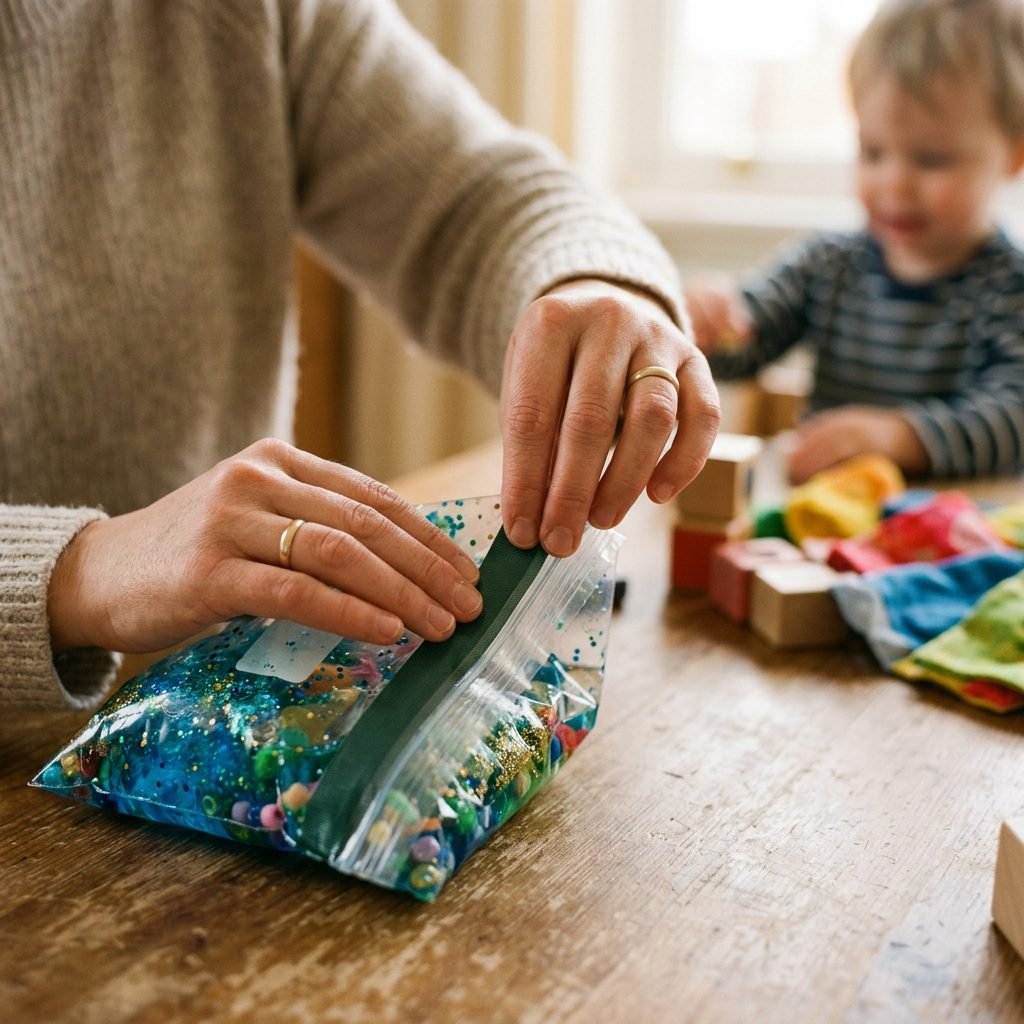
Prioritizing Your Baby’s Safety
As much as we love DIY toys, safety is always our top priority. Because this toy involves plastic bags and liquids, it must be handled with care. As a doula, I always remind my clients that ‘active supervision’ is the key to any sensory activity.
Safety Checklist
- Never Leave Unattended: This is not a ‘set it and forget it’ toy. You should be within arm’s reach of your baby the entire time they are using the sensory bag.
- Check the Seal: Before every use, give the bag a gentle squeeze to ensure the tape is holding and no gel is leaking. If a leak occurs, discard the bag immediately.
- Avoid Sharp Objects: Ensure that any items placed inside the bag are rounded. Even a sharp corner on a piece of laminated paper can eventually wear through the plastic.
- Surface Matters: Use the bag on a soft but firm surface. Avoid placing it on top of plush pillows where the bag could slide and potentially cover the baby’s face.
“Sensory play is a beautiful way to bond with your baby. Sit on the floor with them, describe what they are seeing, and enjoy the wonder in their eyes. Your voice is the best sensory input they have!”
Conclusion
You Are Your Baby’s Best Teacher
Creating a DIY High Contrast Sensory Bag is such a small act, but it carries so much love and intentionality. You are providing your baby with the building blocks of visual development, all while creating a calm, engaging environment for them to grow. Don’t feel pressured to have a house full of expensive gadgets; sometimes, a bag of gel and some black paper are all you need to spark a world of wonder.
Remember, mama, these days are fleeting. Whether your baby stares at the bag for ten seconds or ten minutes, you are doing enough. You are providing the stimulation they need and the comfort they crave. So, grab those freezer bags, find some black scraps, and enjoy this simple, mess-free way to play. You’ve got this!