How to Build a Modern DIY Wooden Baby Play Gym for Under $20
Hello, sweet mama. If you are currently nesting, dreaming of your baby’s first milestones, or simply looking for a way to create a beautiful, nourishing environment without spending a fortune, you are in the right place. As a doula and a lover of intentional design, I know that the ‘stuff’ we surround our babies with matters. We want items that are safe, functional, and—let’s be honest—beautiful enough to sit in our living rooms.
A baby play gym is one of those essential items that supports your little one’s visual tracking, hand-eye coordination, and gross motor skills. While high-end boutique versions can easily cost upwards of $80 to $120, I am here to tell you that you can build a modern, high-quality wooden version for under $20. This project is more than just a craft; it is a labor of love that provides a dedicated space for your baby to explore the world safely from their back or during tummy time. Let’s roll up our sleeves and create something wonderful for your little love.
The Developmental Magic of Sensory Play
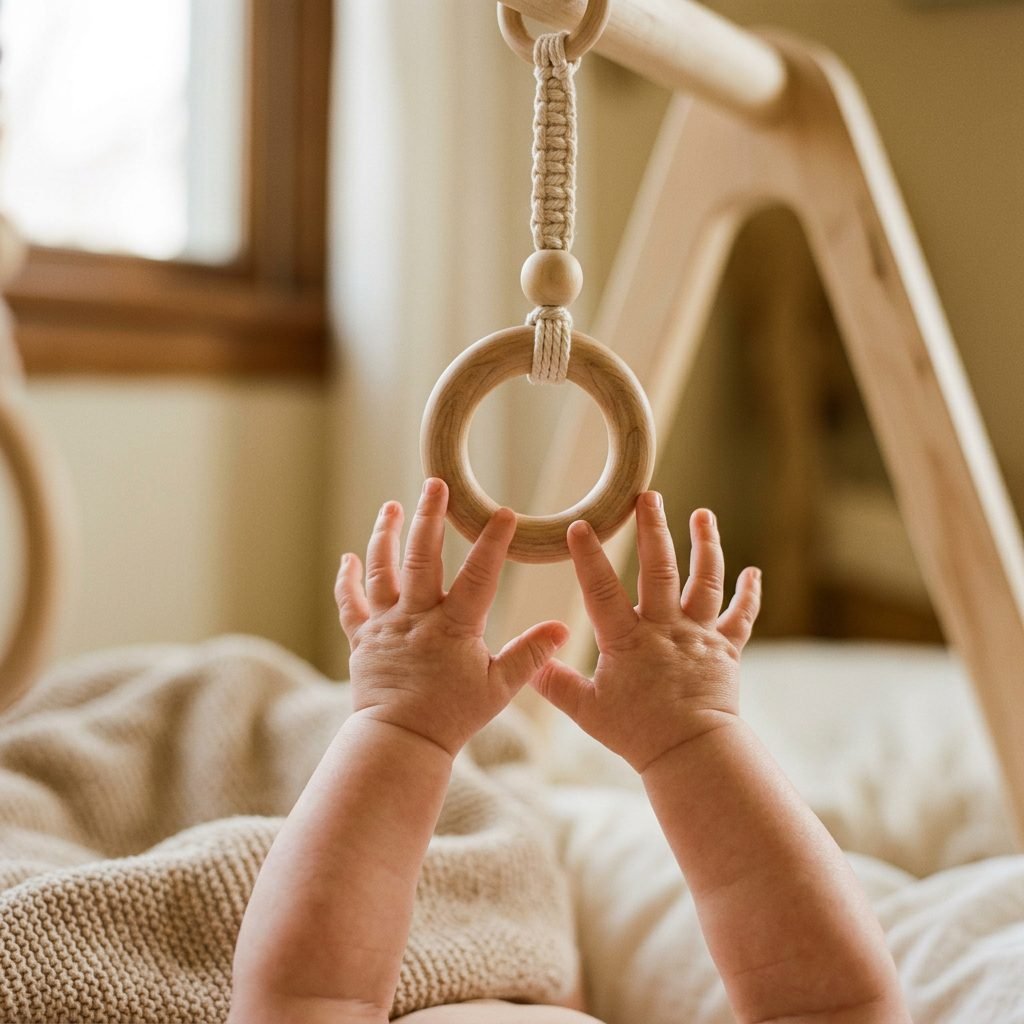
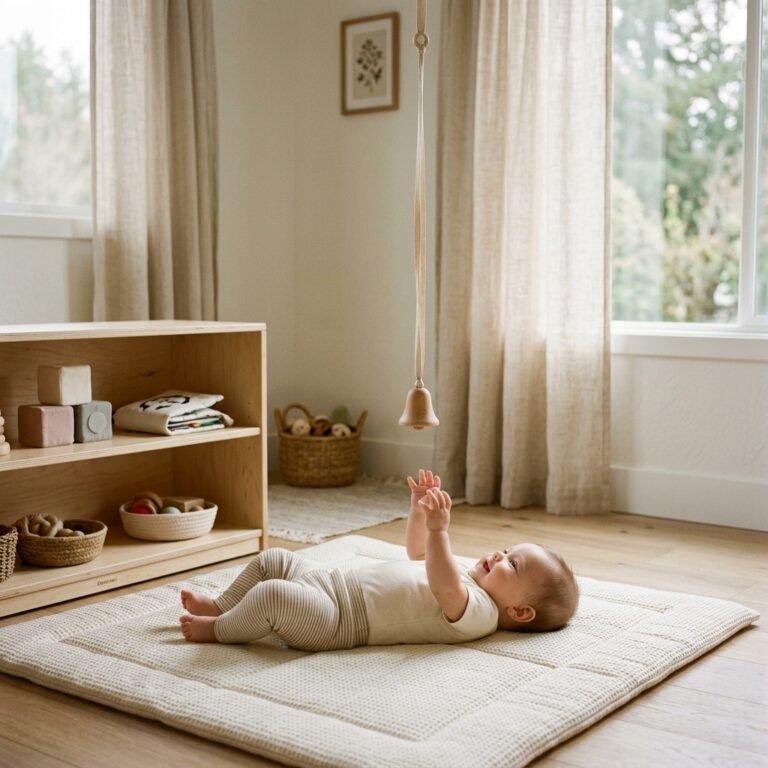
Before we pick up the drill, let’s talk about why this piece of equipment is a staple in the doula and pediatric world. From about two months old, your baby begins to move beyond the ‘fourth trimester’ fog and starts noticing the world around them. A play gym serves as their first ‘gymnasium,’ encouraging them to reach, grasp, and kick.
Why Wood Over Plastic?
- Tactile Feedback: Natural wood provides a different sensory experience than plastic. It has a weight, a temperature, and a texture that helps babies ground themselves.
- Visual Calm: Many plastic toys are ‘over-stimulating’ with flashing lights and loud sounds. A wooden gym allows you to curate the hanging toys, focusing on high-contrast patterns or soft bells that encourage focus rather than distraction.
- Sustainability: Building your own means you know exactly what finishes are used, ensuring a non-toxic environment for those inevitable moments when the gym legs become chew toys.
Your baby’s environment is their first teacher. By choosing natural materials and simple designs, you are creating a space that respects their developing nervous system.
Materials and Budget Breakdown
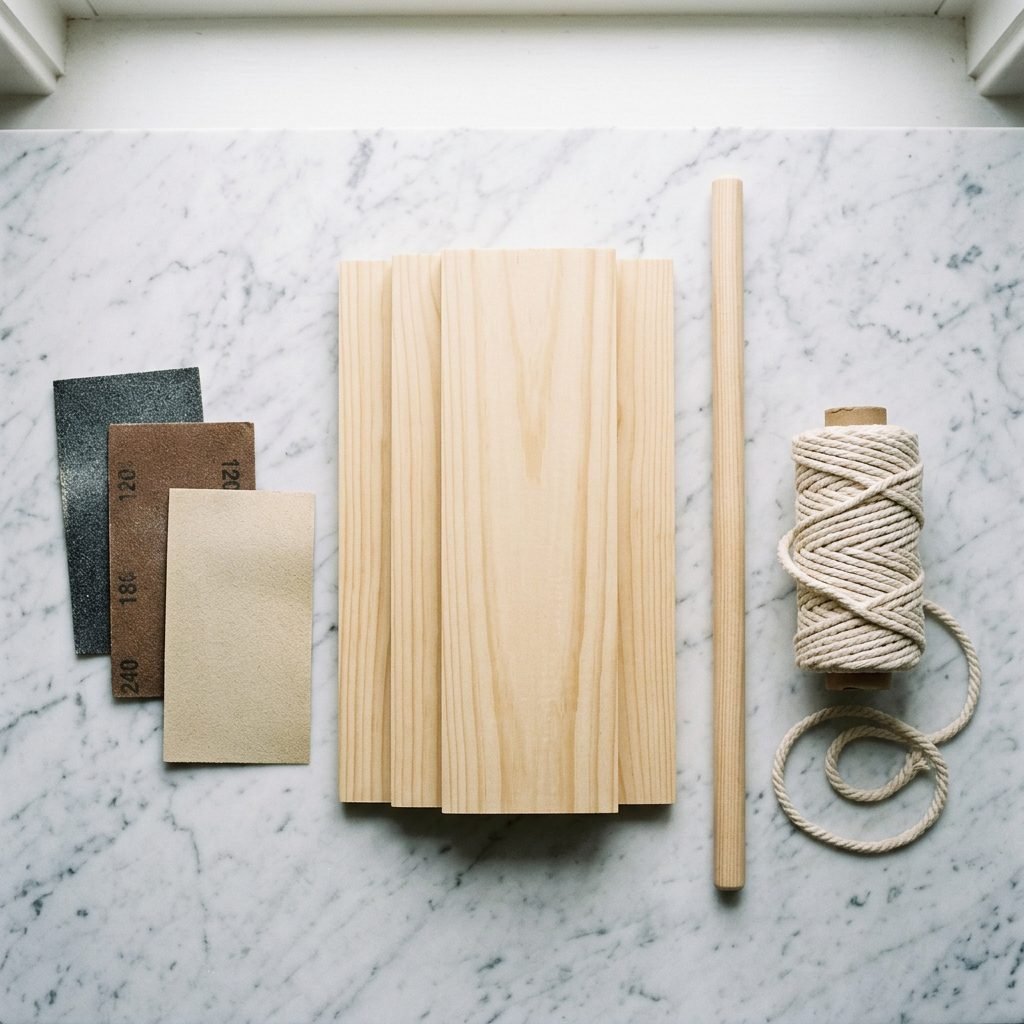
Creating a stylish nursery doesn’t require a massive budget—it requires a little bit of ‘DIY magic’ and a trip to your local hardware store. The beauty of this modern A-frame design is its simplicity. We are using pine wood, which is affordable, sturdy, and easy to sand to a buttery-smooth finish.
Here is exactly what you need to stay under that $20 mark. Prices may vary slightly by region, but these are standard estimates for big-box hardware stores like Home Depot or Lowe’s.
| Item | Specifications | Estimated Cost |
|---|---|---|
| Pine Wood Strips (4) | 1″ x 2″ x 8′ (cut into 24″ pieces) | $6.50 |
| Wooden Dowel (1) | 3/4″ diameter, 36″ long | $4.00 |
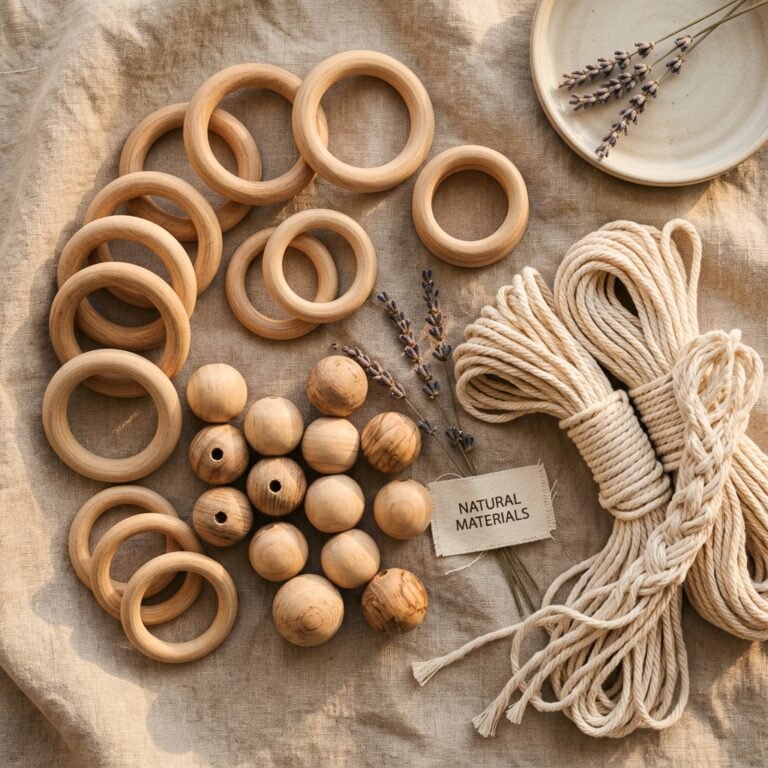
| Cotton Rope or Suede Lace | Natural, unbleached cotton | $3.00 |
| Sandpaper | 120 and 220 grit multipack | $4.00 |
| Wood Glue | Non-toxic / Food-safe | $2.00 |
| Total Estimated Cost | $19.50 |
Pro-Tip: Most hardware stores will actually cut the wood for you for free or for a few cents per cut. If you don’t own a saw, ask them to cut your 1×2 boards into four 24-inch lengths and your dowel to 26 inches.
Step-by-Step Construction Guide
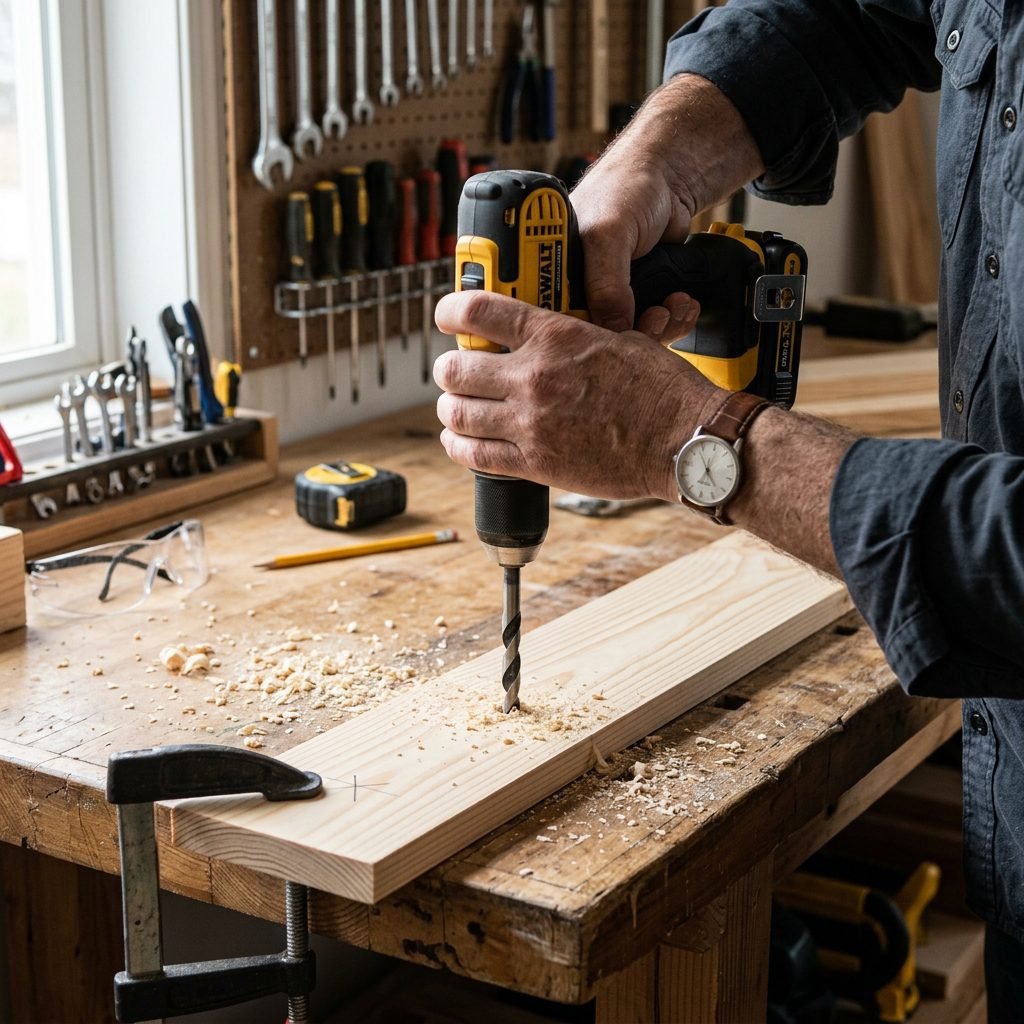
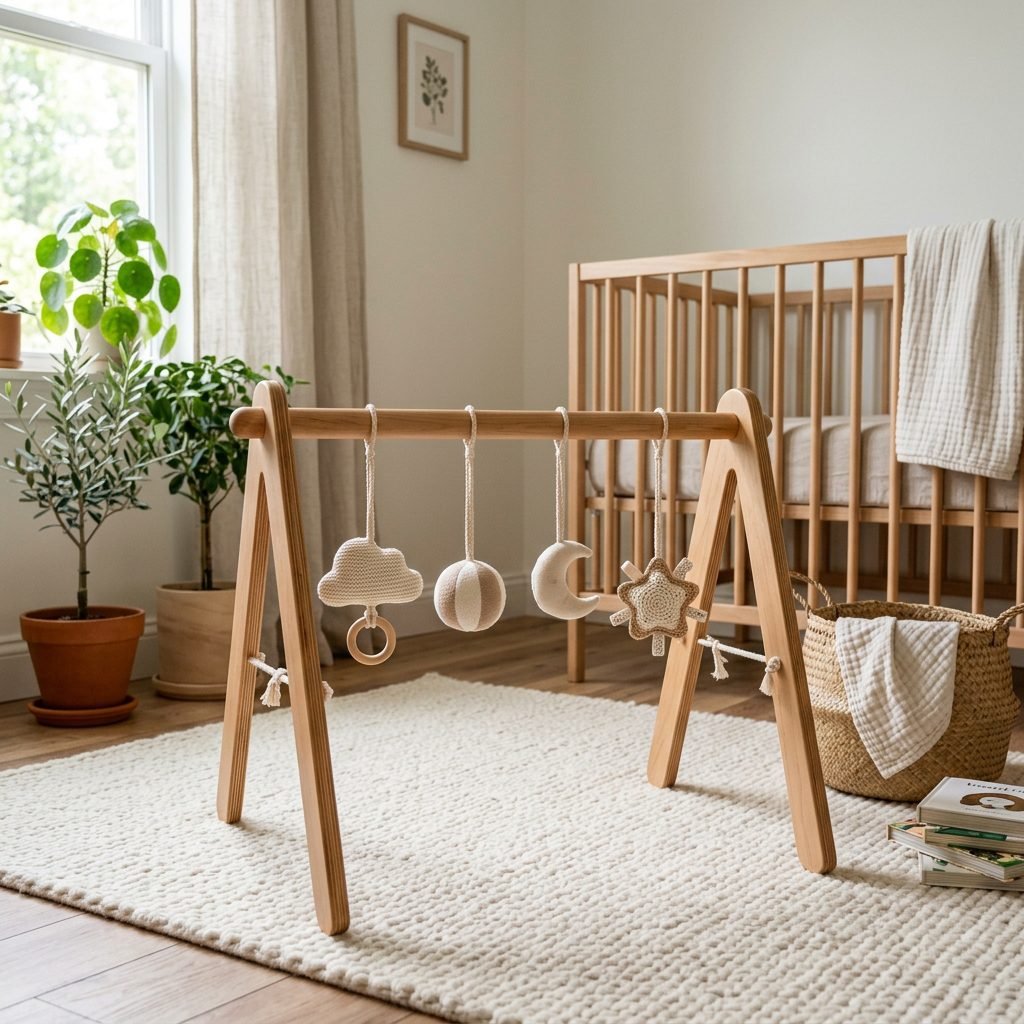
Now, let’s build! This process is straightforward, even if you aren’t a seasoned woodworker. We are creating a foldable ‘A-frame’ that can be tucked away under a sofa when not in use.
1. Prep the Legs
Take your four 24-inch pine boards. On one end of each board, you’ll want to round the corners using your sandpaper or a jigsaw if you have one. This prevents sharp edges near the baby. Measure 2 inches down from the top of each board and mark the center. This is where your dowel will pass through.
2. Drill the Dowel Holes
Using a 3/4-inch spade bit or Forstner bit, drill a hole through each of the four boards at your mark. Make sure the hole is just slightly larger than your dowel so it can rotate for folding, but not so loose that it wobbles.
3. Sanding for Safety
This is the most important step for a baby product. Start with 120-grit sandpaper to remove any splinters or rough patches. Finish with 220-grit until the wood feels like silk. Do not skip this! Babies have incredibly sensitive skin, and eventually, they will try to pull themselves up using these legs.
4. Assembly
- Slide two legs onto one side of the dowel and two onto the other.
- To keep the legs from sliding off the dowel, you can either drill a tiny hole through the dowel and insert a wooden peg, or simply wrap a thick rubber band or decorative leather cord on the outside of the legs.
- The Safety Rope: Drill a small hole halfway down each leg. Thread your cotton rope through the front leg and back leg on each side, tying a secure knot. This prevents the gym from ‘pancaking’ or sliding open too far while the baby is underneath.
Customizing with Non-Toxic Finishes
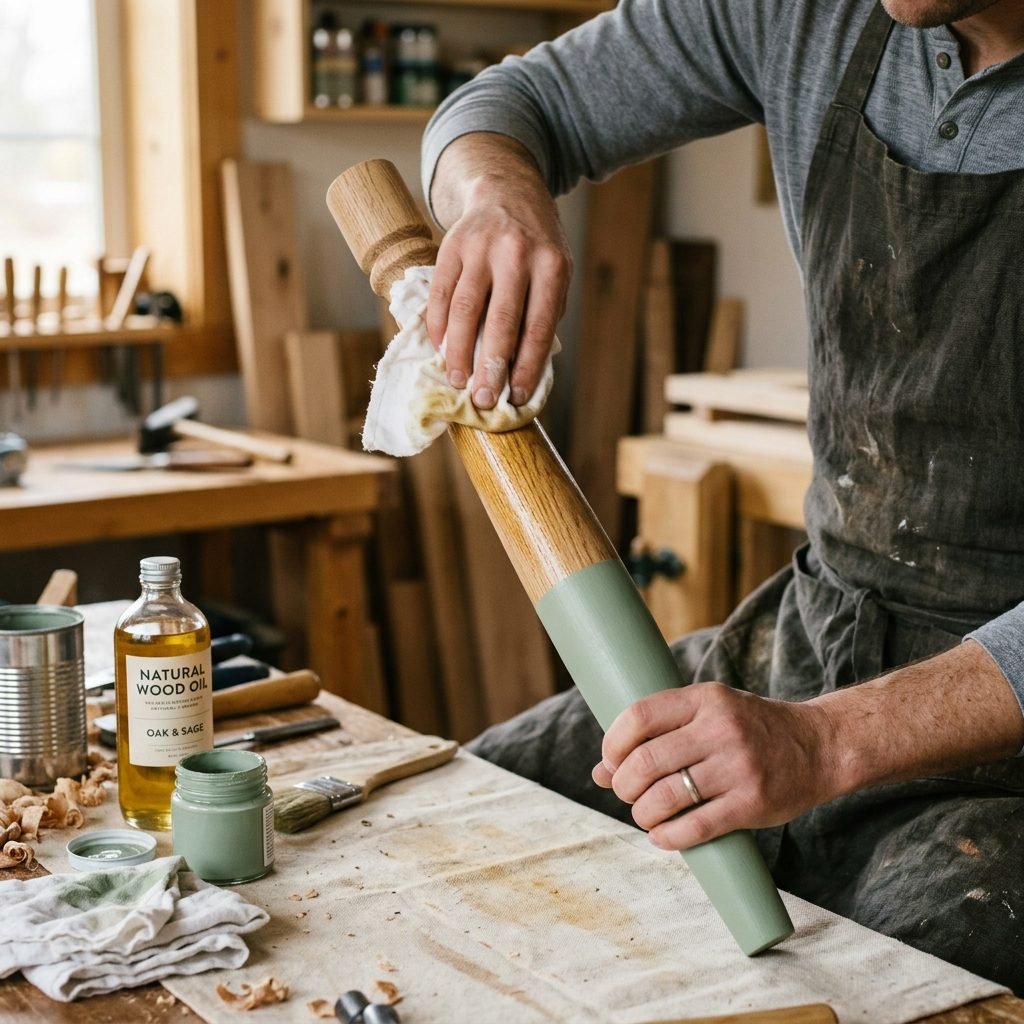
Since we are keeping things modern and minimalist, you might choose to leave the wood raw. However, if you want to add a pop of color or protect the wood, you must use baby-safe finishes. Standard stains and varnishes emit VOCs (volatile organic compounds) that aren’t ideal for a nursery.
Safe Finishing Options:
- Beeswax and Olive Oil: A classic, food-safe polish that brings out the warmth of the pine.
- Milk Paint: True milk paint is made from milk protein, lime, and natural pigments. It’s 100% biodegradable and non-toxic.
- Food-Grade Mineral Oil: The same stuff used for cutting boards is perfect for baby toys.
For a ‘modern’ look, consider painting just the bottom 4 inches of the legs (the ‘socks’) in a soft sage green, terracotta, or cream. This adds a designer touch while keeping the majority of the wood natural.
Curating the Sensory Toys
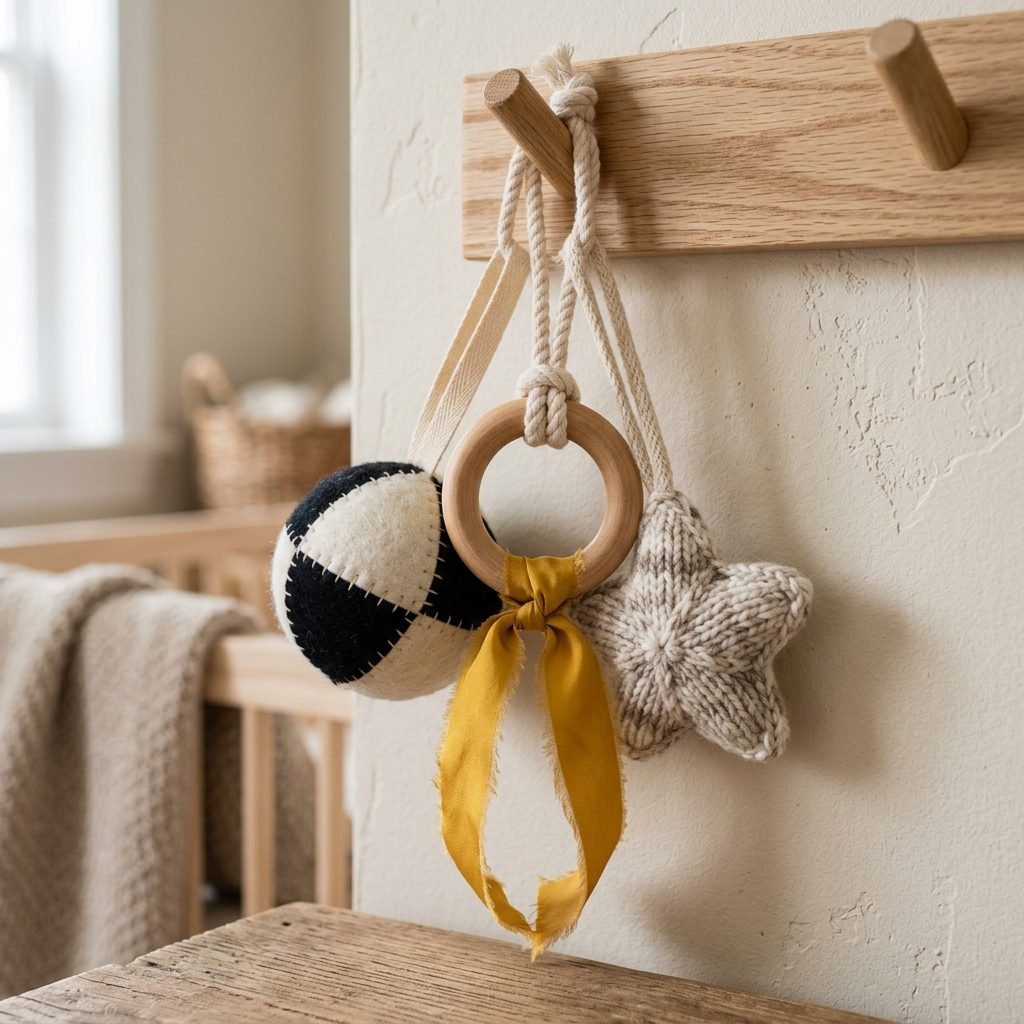
The gym is the skeleton; the toys are the soul. To keep within our $20 budget, you can DIY the toys as well. Think about texture, sound, and contrast.
DIY Toy Ideas:
- Wooden Rings: Simple unfinished maple rings tied with strips of scrap jersey fabric or muslin.
- High-Contrast Cards: Print black and white geometric shapes, laminate them (or cover with clear packing tape), and hang them at baby’s eye level.
- Crocheted Hearts or Stars: If you or a grandma-to-be crafts, small stuffed shapes with a tiny bell inside provide wonderful auditory feedback.
Safety Warning: Ensure all hanging elements are securely fastened. Toys should hang about 8 to 10 inches above the floor—close enough for baby to bat at, but not so low that they are resting on their chest. Always use a soft play mat or sheepskin underneath the gym for comfort.
Safety Checks & Milestone Tracking
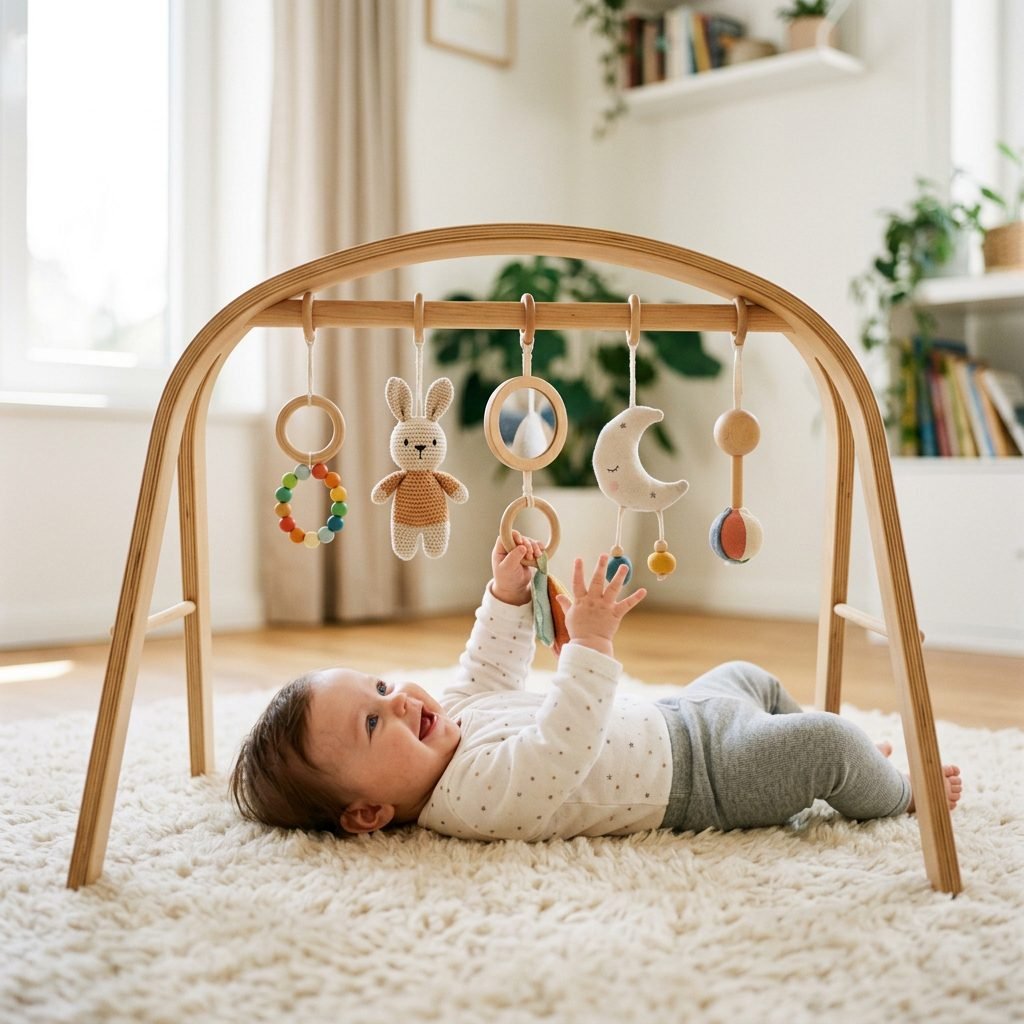
As a doula, safety is my heartbeat. Before you place your precious little one under your new creation, perform a ‘Stress Test.’ Push down on the center of the dowel to ensure the legs are stable and the safety ropes are holding tight. Check for any loose knots or potential finger-pinch points at the top where the legs cross.
Using the Gym Through the Stages:
| Age Range | Play Focus | Activity Tip |
|---|---|---|
| 0-2 Months | Visual Tracking | Hang high-contrast black and white cards. Keep it simple. |
| 3-4 Months | Reaching & Grasping | Add toys with different textures (silicone, wood, fabric). |
| 5-6 Months | Kicking & Core Strength | Lower the toys slightly to encourage leg lifts and ‘tummy time’ reaches. |
Once your baby starts to push up on hands and knees or attempts to sit up independently, it is time to retire the play gym. At this stage, they may try to use it to pull themselves up, which can cause the gym to tip. But don’t worry—this beautiful piece can be passed on to a friend or stored away for a future sibling!
Conclusion
Building your own modern wooden play gym is a beautiful way to transition into motherhood with intention. It proves that you don’t need a designer budget to provide a high-quality, developmentally appropriate, and stylish environment for your baby. Every time you see your little one reach for a toy or track a movement on this gym, you’ll feel that extra bit of pride knowing you built it with your own two hands.
Enjoy these quiet moments of observation, mama. They grow so fast, but the memories of these early days—and the love you poured into their nursery—will last a lifetime. Happy crafting!