How to Use a Canvas Dropcloth to Create Professional High-End Studio Maternity Photos at Home
Welcome, sweet Mama. There is something truly sacred about the season of pregnancy—the way your body shifts, the quiet strength you carry, and the incredible miracle growing within. As a doula and a lover of all things aesthetic, I know how much we want to freeze these moments in time. But let’s be honest: between the nursery furniture, the endless supply of diapers, and the prenatal appointments, a $1,000 professional photography session isn’t always in the cards. What if I told you that you could achieve that timeless, high-end ‘Vogue’ maternity look right in your living room for under $50?
The secret weapon used by professional photographers for decades isn’t a fancy silk curtain or an expensive studio rental—it’s a simple canvas dropcloth from the hardware store. Its heavy weight, natural texture, and neutral cream tone create a sophisticated depth that makes your skin glow and your silhouette pop. In this guide, we are going to walk through every step of creating your own home studio, from prepping the fabric to posing your beautiful bump with confidence and grace.
The Canvas Aesthetic: Why a Hardware Store Find is Your Best Friend
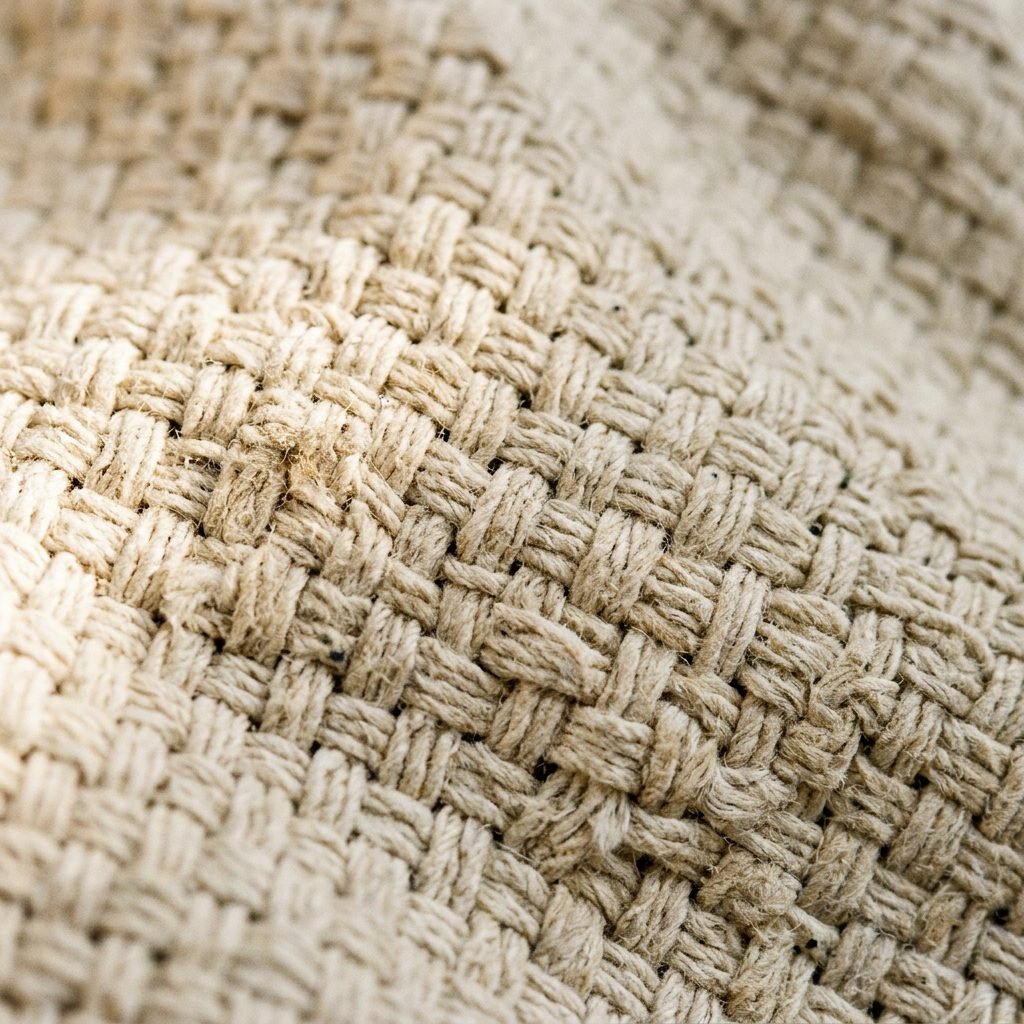
When you look at high-end maternity portraits, you’ll notice they often feature rich, textured backgrounds that look like hand-painted masterpieces. These professional backdrops can cost hundreds of dollars. However, a 9×12 foot heavy-duty canvas dropcloth provides nearly the same aesthetic for a fraction of the price. The natural fibers catch the light in a way that flat paper or thin sheets simply can’t.
Why Canvas Works for Maternity
- Texture: The weave of the canvas adds a tactile, ‘organic’ feel to the photo, which complements the soft curves of a pregnancy.
- Neutral Palette: The natural oatmeal or cream color is universally flattering for all skin tones.
- Durability: Unlike paper backdrops that tear, canvas is heavy enough to hang beautifully and can be used for years of milestone photos.
Your body is a work of art in this season. You deserve a backdrop that highlights your strength and softness without distraction.
Gathering Your Toolkit: The Budget-Friendly Shopping List
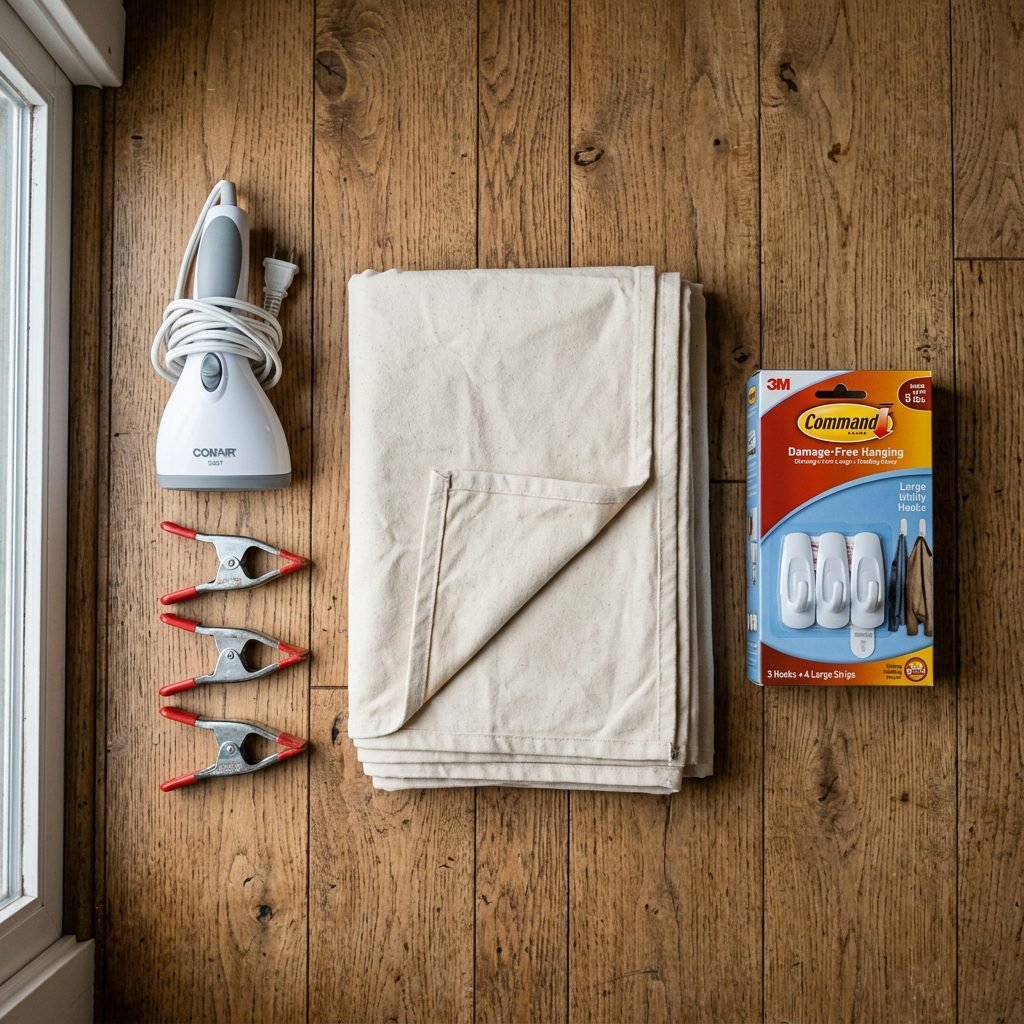
Before we start hanging fabric, we need to gather our supplies. You don’t need a degree in photography to get this right; you just need a few key items from your local hardware store and a bit of creativity. Below is a breakdown of what you’ll need to create your high-end look without the high-end price tag.
| Item | Purpose | Estimated Cost |
|---|---|---|
| 9′ x 12′ Canvas Dropcloth | The main backdrop and floor covering. | $25.00 |
| Heavy-Duty Spring Clamps | To secure the cloth to a rod or furniture. | $6.00 |
| Handheld Fabric Steamer | To remove harsh fold lines for a smooth look. | $20.00 |
| Command Hooks or Curtain Rod | To hang the backdrop if you don’t have a stand. | $12.00 |
| Natural Light (Window) | Your primary and most flattering light source. | $0.00 |
Pro-Tip: Look for a dropcloth that is ‘seamless’ if possible. Some larger sizes have a seam running down the middle, which can be edited out later, but a seamless one makes your life much easier!
Setting the Stage: Prepping and Hanging Your Backdrop
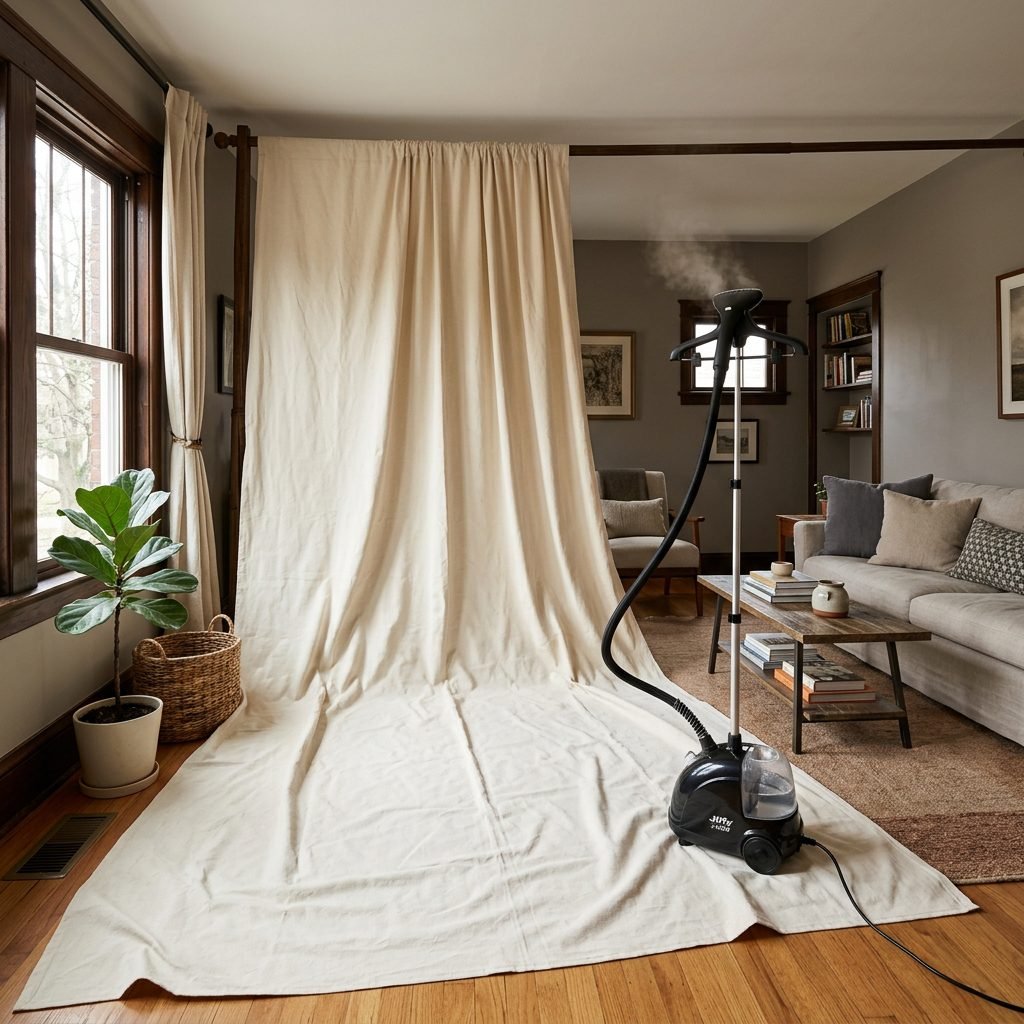
Preparation is the difference between a photo that looks like a ‘DIY project’ and one that looks like ‘Studio Chic.’ Follow these steps to ensure your canvas looks professional.
- The Wash and Dry: When you first pull the dropcloth out of the package, it will be stiff and smell a bit like a warehouse. Toss it in the wash with a gentle, baby-safe detergent and plenty of fabric softener. Dry it on a medium heat setting. This softens the fibers and gives it that luxurious, draped look.
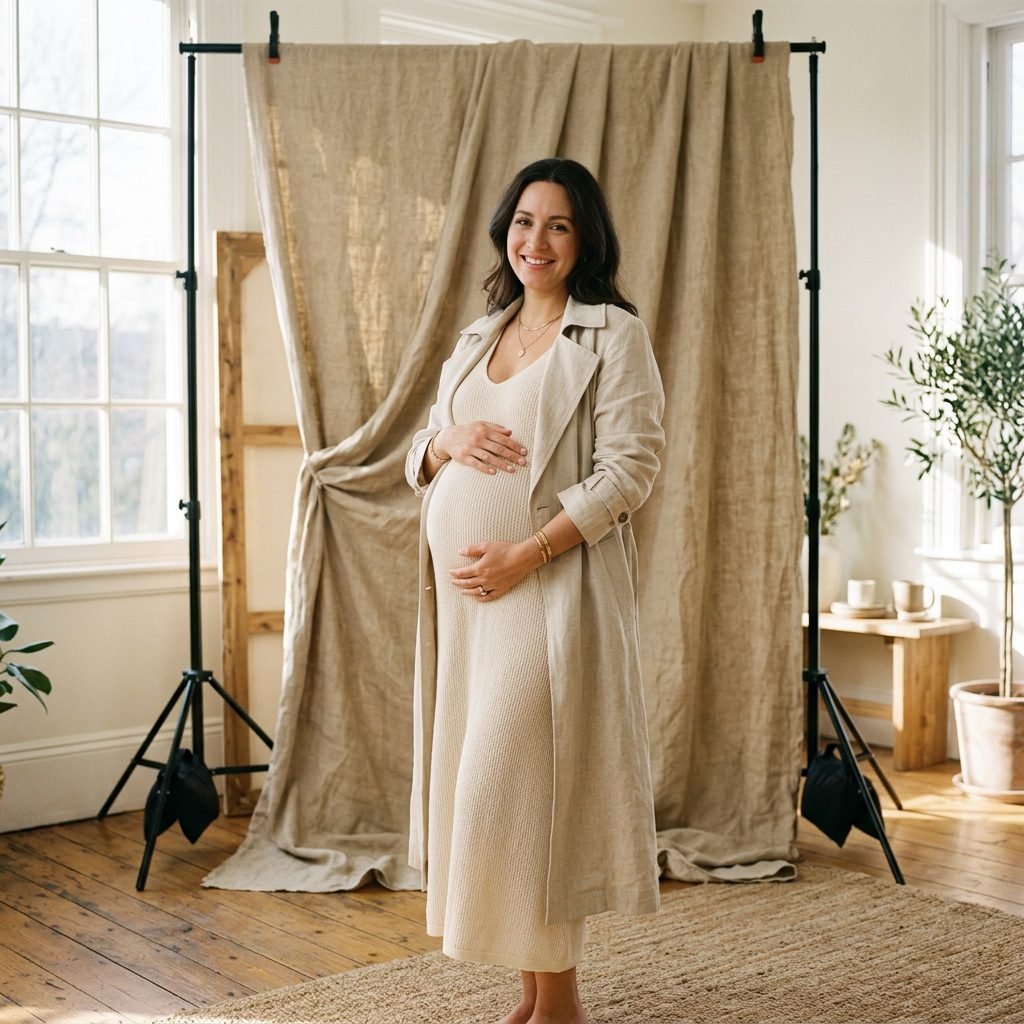
- Hanging the Cloth: Find a wall with at least 6 to 8 feet of clear space. If you don’t have a photography stand, you can use a sturdy curtain rod or even large Command hooks. Drape the cloth so that at least 4 feet of it spills onto the floor. This creates a ‘seamless’ transition where you will stand or sit.
- Steaming the Shadows: Once hung, use your fabric steamer to get rid of the major fold lines. Do not worry about making it perfectly flat. A few gentle ripples add to the high-end, organic aesthetic.
Remember, Mama, we want the focus on you. The backdrop should feel like a soft hug behind you, not a distracting wall of wrinkles.
Mastering the Light: The ‘Golden Hour’ Indoors
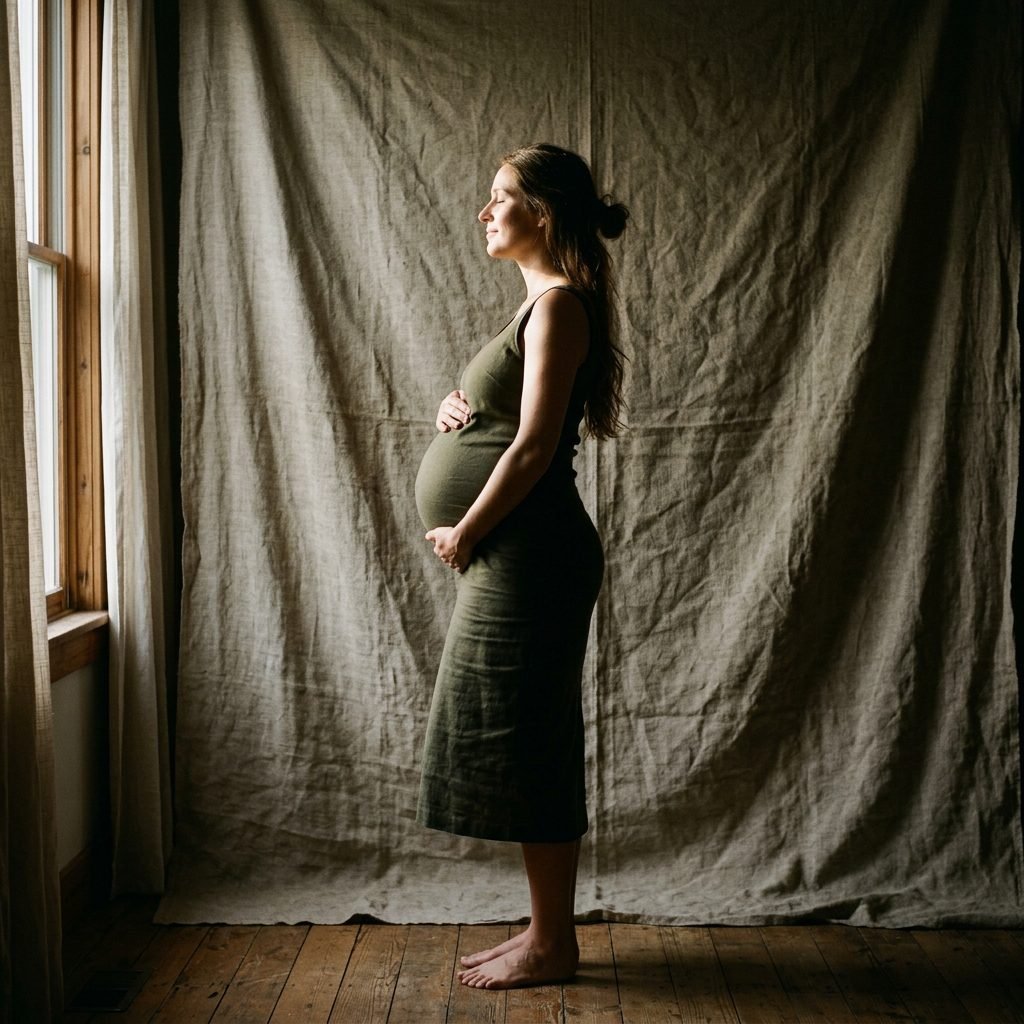
Light is the most important element of any photo. For maternity shots, we want ‘soft’ light that wraps around the belly, highlighting the roundness without creating harsh shadows. The best light is natural window light.
Positioning for the Best Glow
- Side Lighting: Position your canvas setup at a 90-degree angle to a large window. This allows the light to hit one side of your body and softly fall off on the other, creating a beautiful 3D effect on your bump.
- The Sheer Trick: If the sunlight is too bright or ‘harsh,’ hang a sheer white curtain over the window. This acts as a giant softbox, mimicking a professional studio light.
- Timing: Aim for mid-morning or late afternoon when the sun is not directly overhead. This is when the light is most ‘painterly.’
Think of the light as a gentle touch on your skin. We want it to be soft, warm, and inviting.
Posing with Purpose: A Doula’s Guide to Body Confidence
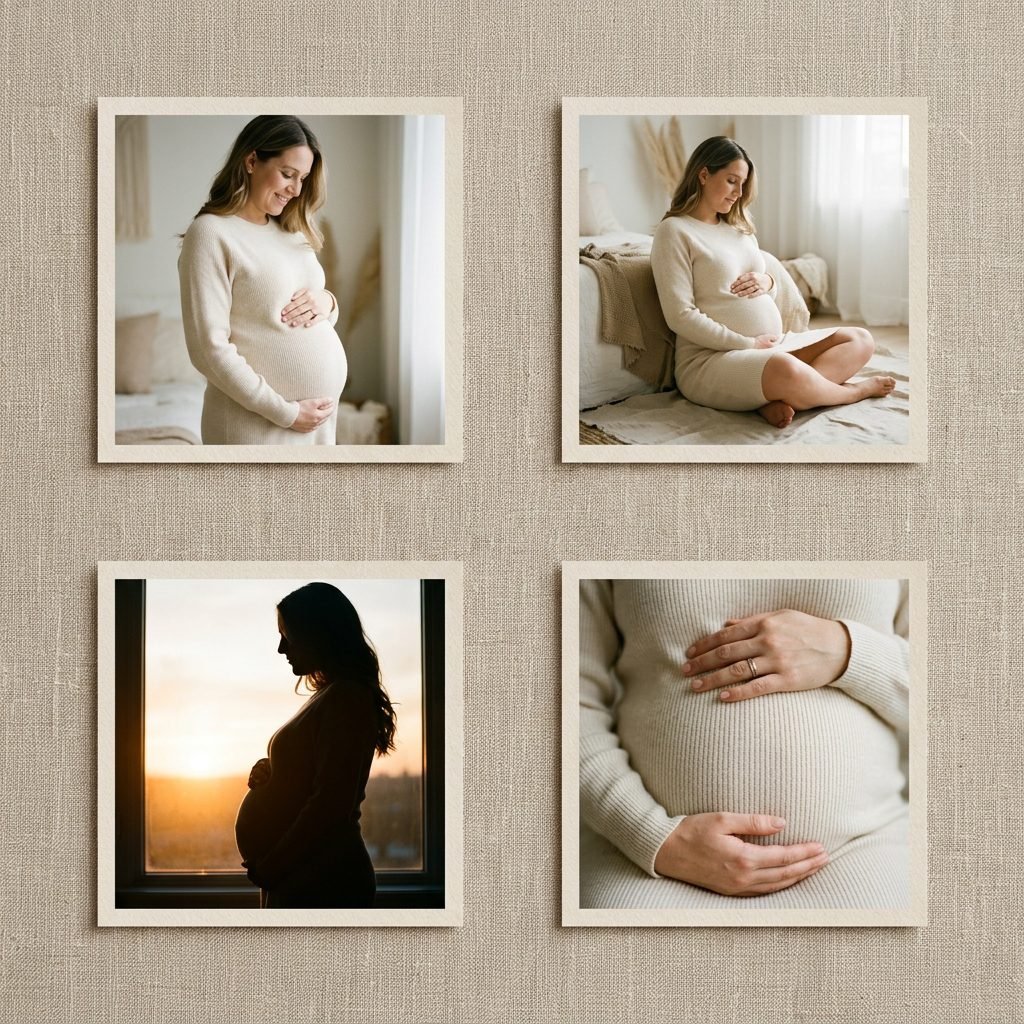
I know that as your body changes, you might feel a little awkward in front of the camera. As your virtual doula, I want you to remember: you are powerful. These poses are designed to help you feel comfortable while showcasing your journey.
| Pose Name | Instruction | Best For… |
|---|---|---|
| The Classic ‘C’ Curve | Stand in profile, hands cradling the top and bottom of the bump. | Showing the full size of the belly. |
| The Soft Seated Pose | Sit on the canvas floor, legs tucked, back straight. | Late third trimester when standing is tiring. |
| The Silhouette | Stand directly in front of the light source, belly turned to the side. | Creating a dramatic, artistic outline. |
| The ‘Looking Down’ | Gently tuck your chin and look at your belly with a soft smile. | Capturing the emotional connection. |
Doula Tip: Keep your movements slow and take deep, belly breaths. If you feel a ‘lightning crotch’ or a Braxton Hicks contraction, stop and rest. This is your time, and there is no rush. Keep a bottle of water and a small snack nearby to keep your energy up!
Styling Your Shoot: Minimalist and Timeless Fashion
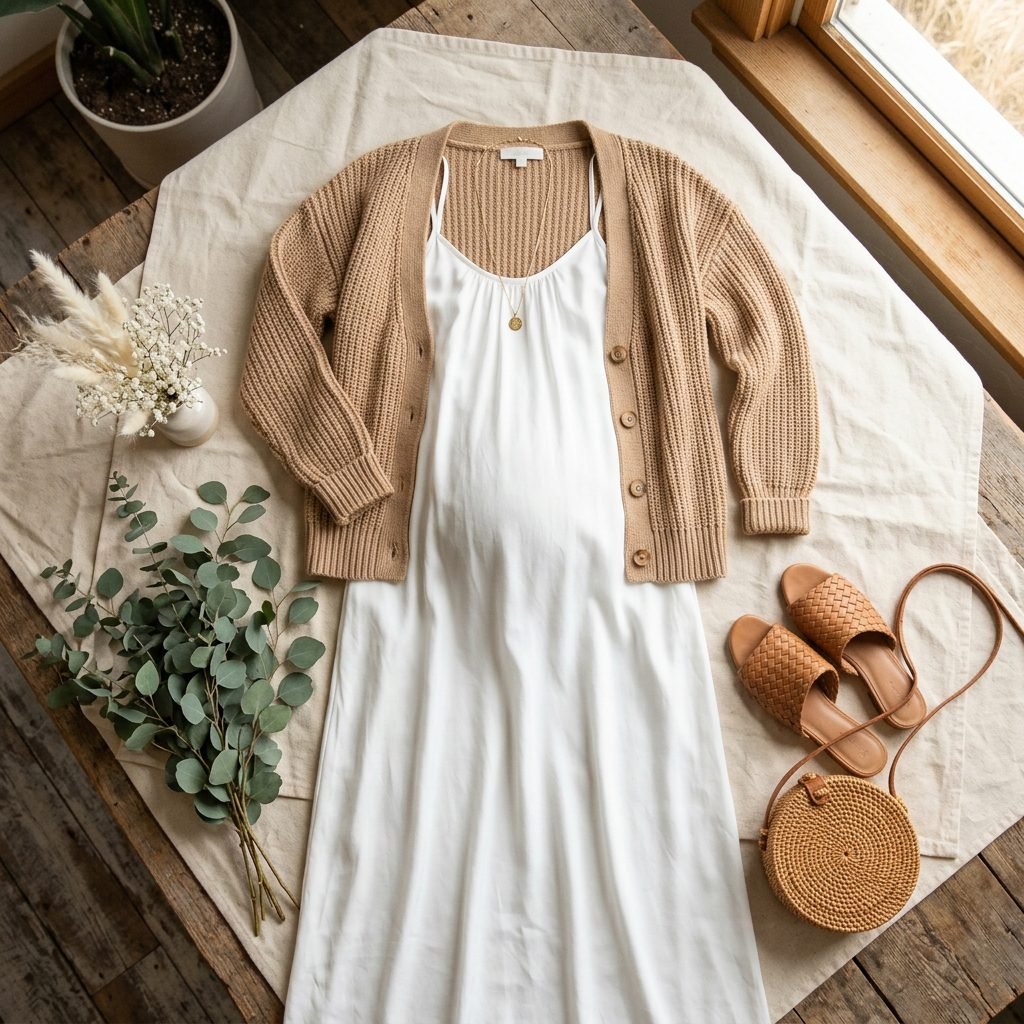
To keep the look ‘high-end,’ less is almost always more. We want to avoid busy patterns or trendy clothing that will look dated in five years. Think about textures that complement the canvas backdrop.
Wardrobe Ideas for the Canvas Backdrop
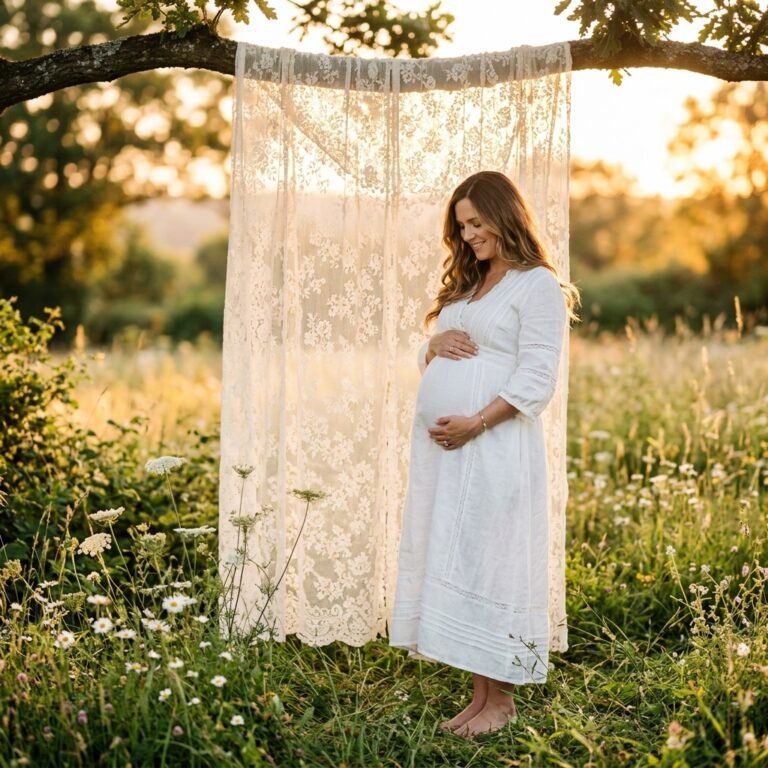
- The Oversized White Button-Down: Borrow one from your partner or use a maternity version. Leave the bottom buttons open to expose the bump. It’s classic, chic, and effortless.
- The Silk Slip Dress: A satin or silk dress in champagne, bronze, or black looks incredibly expensive against the matte texture of the canvas.
- The ‘Bare’ Look: If you are comfortable, a simple set of matching neutral lingerie or even just a beautiful piece of fabric draped strategically can create a stunning, fine-art look.
- Knitwear: A chunky, oversized cardigan worn off the shoulders adds a cozy, maternal feel to the image.
Style Secret: Go barefoot! It grounds the photo and keeps the focus on the natural beauty of your pregnancy. Avoid shoes, which can look clunky against the soft canvas floor.
Conclusion
Mama, I hope you feel empowered to take these photos. You don’t need a massive budget or a professional crew to capture the magic of this time. With a simple canvas dropcloth, some beautiful natural light, and your own radiant glow, you have everything you need to create a gallery of memories that you will cherish for a lifetime. When you look back at these photos years from now, you won’t see a hardware store cloth—you’ll see the woman who grew a life with grace and strength. You are doing an incredible job. Now, go hang that canvas and let your light shine!