
How To Use Kinesio Tape To Erase Pregnancy Back Pain Instantly
Welcome to Your Pregnancy Comfort Sanctuary, Mama
Hello, sweet friend. If you have found your way to this guide, chances are you are currently carrying the beautiful miracle of life, but also carrying the heavy, aching, and exhausting burden of pregnancy-related back pain. First, let me wrap you in a massive, virtual hug. You are doing an incredible job. Growing a human is no small feat, and the physical toll it takes on your body is profound. As your baby grows, your center of gravity shifts dramatically forward, pulling on your lower back, straining your round ligaments, and putting immense pressure on your pelvis. Combine this with the hormone relaxin—which brilliantly softens your ligaments to prepare for birth but unfortunately leaves your joints feeling like loose rubber bands—and it is a recipe for deep, persistent aches. But hear me now: you do not just have to “suffer through it.” As a doula and maternal wellness expert, I am here to share one of my absolute favorite, drug-free, instantly relieving secrets: Kinesiology Tape (or KT Tape). This stretchy, colorful, magical tape is about to become your new best friend. It acts like a gentle, supportive hammock for your belly and a stabilizing hug for your lower back, offering instant relief without restricting your movement. In this comprehensive guide, we are going to walk through exactly how to use kinesio tape to erase pregnancy back pain, support your heavy bump, and help you get back to feeling like yourself again. Grab a cup of red raspberry leaf tea, get comfortable, and let us dive into the wonderful world of pregnancy taping.
Deep breath in, deep breath out. Your body is doing exactly what it was designed to do, and it is okay to ask for support along the way. You deserve to feel comfortable in your pregnant body.
The Magic Behind the Tape: How Kinesio Taping Actually Works for Pregnancy
Understanding the Science of Support
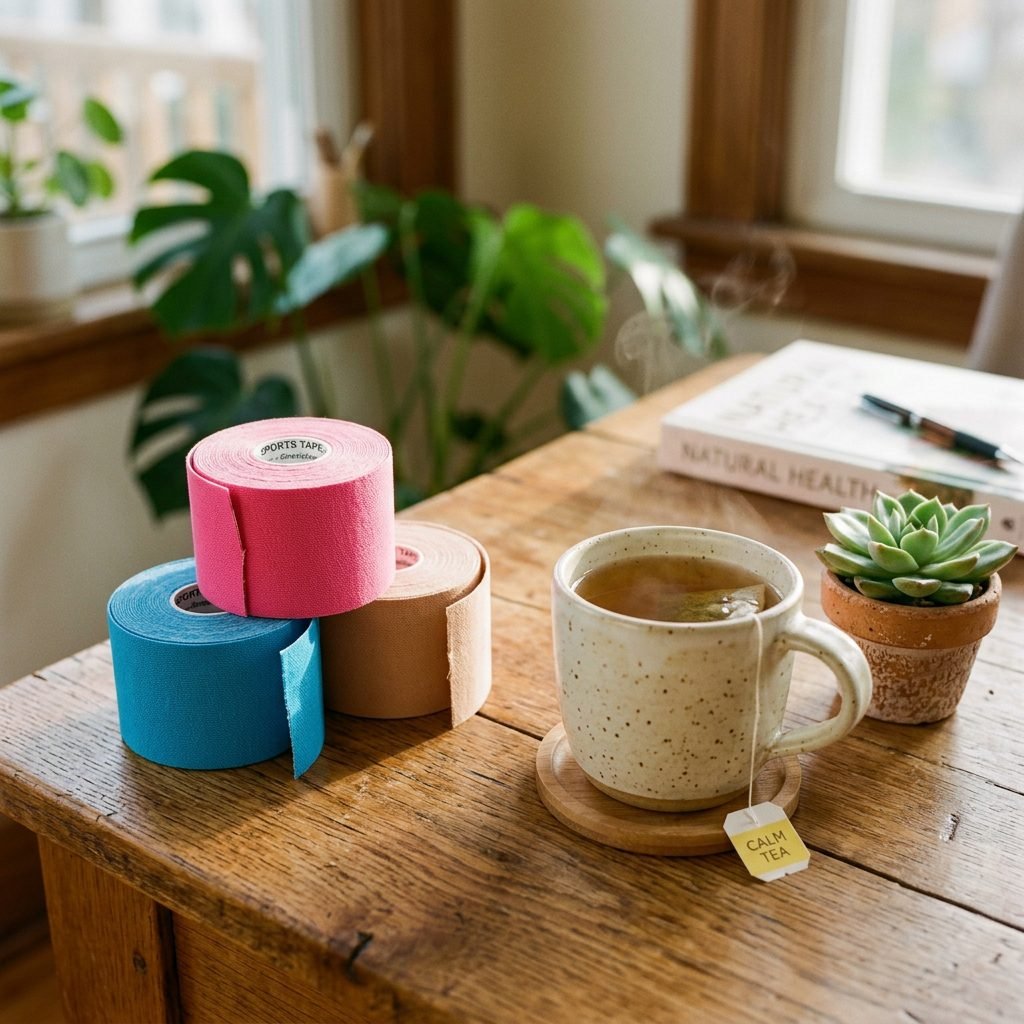
Before we start sticking tape all over your beautiful bump, let us talk about why this works so incredibly well. Kinesiology tape is not just a glorified band-aid; it is a highly engineered, medical-grade therapeutic tool. Made from a blend of cotton and nylon with a hypoallergenic acrylic adhesive, it is designed to mimic the exact elasticity and thickness of human skin. When applied correctly, kinesio tape gently lifts the top layer of your skin (the epidermis). This microscopic lifting action creates vital space underneath the skin, which does three miraculous things for a pregnant body. First, it increases blood flow and lymphatic drainage, which helps to rapidly flush out inflammation and reduce swelling. Second, it takes the pressure off of your nociceptors (your body’s pain receptors), which is why so many mamas report an instant reduction in lower back and pelvic pain. Third, it provides proprioceptive feedback to your brain. This means the gentle tug of the tape on your skin constantly reminds your body to adjust its posture, naturally encouraging you to stand taller and tuck your pelvis, counteracting that heavy forward pull of your baby.
Why It Beats Traditional Maternity Belts
You might be wondering, “Why not just wear a maternity belly band?” Maternity belts absolutely have their time and place, especially during rigorous activity. However, they can be incredibly bulky, hot, and visible under your clothing. Furthermore, wearing a rigid belt for too long can actually cause your core muscles to become slightly “lazy” because the belt is doing all the work. Kinesio tape, on the other hand, is dynamic. It supports your muscles and joints while still requiring them to engage and do their jobs. It moves with you, stretches with you, and breathes with you. You can wear it in the shower, you can sleep in it, and it feels virtually weightless. A single application can last for 3 to 5 days, providing round-the-clock, 24/7 support while you work, rest, and sleep. It is the ultimate invisible doula holding your belly up while you go about your day.
Prep Work: What You Need to Know Before Taping Your Bump

Skin Preparation is Everything
To get that glorious 3 to 5 days of wear out of your tape, the preparation of your skin is crucial. Pregnancy hormones can change your skin’s texture, making it more prone to oiliness or sensitivity. Start with completely clean, dry skin. After your shower, avoid applying any lotions, body oils, or stretch mark creams to the areas where you plan to apply the tape. The adhesive needs a pristine surface to grip onto. If you have already applied belly oil, simply take a cotton pad with a little rubbing alcohol and gently wipe down the specific anchoring points on your lower back and under your belly. Let it dry completely before proceeding.
The Golden Rules of Cutting and Handling Tape
When measuring and cutting your tape, there is one non-negotiable rule you must follow: always round the corners. Take your scissors and snip the harsh square edges off every single strip you cut. Rounding the corners prevents the tape from catching on your clothes and peeling up prematurely. Additionally, when you peel the paper backing off the tape, avoid touching the adhesive with your fingers as much as possible. The oils from your fingertips can degrade the glue. Instead, tear the paper backing about 2 inches from the end, creating a small “tab” that you can hold onto.
The Pregnancy Patch Test
Because pregnancy makes your skin uniquely sensitive, I highly recommend doing a patch test if you have never used kinesio tape before. Cut a tiny 1-inch square of tape, apply it to the side of your belly or your forearm, and leave it on for 24 hours. If you experience any redness, intense itching, or burning, remove it immediately with baby oil. It is rare, but some mamas do have slight sensitivities to the acrylic adhesive. If you pass the patch test, you are ready to move on to the magical relief!
Pro-Tip from your Doula: Keep your tape stored in a cool, dry place. Leaving it in a hot car can melt the adhesive and make it much harder to apply smoothly!
Step-by-Step Taping Techniques for Lower Back and Bump Support

The Under-Bump Sling (For Round Ligament and Pelvic Pressure)
This is the holy grail of pregnancy taping. It acts like a supportive hammock, lifting the weight of the baby off your pelvis and easing round ligament pain. For this, you will need one long strip of tape (about the length from one hip bone, down under your belly, to the other hip bone).
- Measure and Cut: Measure the tape from your left hip bone, tracing the “smile” line under your baby bump, over to your right hip bone. Cut the tape and round all four corners.
- Tear the Center: Instead of peeling from the ends, tear the paper backing right in the middle of the strip. Peel back the paper to expose about 4 inches of adhesive in the center.
- Apply the Anchor: Stand up straight but relaxed. Place the exposed center of the tape directly under the heaviest part of your belly (right above your pubic bone). Rub it gently to activate the adhesive. Apply 0% stretch here.
- Stretch and Lift: Now, take the left side of the tape. Peel the paper back, leaving just the last 2 inches covered. Give the tape a gentle 25% to 50% stretch, pulling it upward toward your left hip bone. As you pull, lay it down smoothly on the skin.
- Anchor the Ends: For the last 2 inches of the tape, lay it down with absolutely 0% stretch. (Stretching the ends will cause the tape to peel and blister your skin). Repeat this exact same stretching and anchoring process on the right side.
- Activate: Vigorously rub the entire strip of tape with your hands. The heat from your friction activates the medical-grade adhesive.
The Lower Back Anchor (For Sciatic and Lumbar Pain)
If your lower back feels like it is constantly screaming at you, this technique will provide profound relief by decompressing the lumbar spine. You will need two shorter strips of tape (about 6 to 8 inches each).
- Measure and Cut: Cut two identical strips and round the corners.
- Position Yourself: Lean slightly forward, resting your hands on a table or having your partner support you. This gentle forward flexion stretches the skin on your lower back.
- Apply the Anchors: Tear the paper backing off the bottom 2 inches of your first strip. Apply this anchor with 0% stretch on the left side of your lower spine, just above your tailbone.
- Stretch Upward: Peel the rest of the paper backing, leaving the top 2 inches. Give the tape a 25% to 50% stretch and pull it straight up alongside your spine. Lay it down smoothly.
- Anchor the Top: Lay the final 2 inches down with 0% stretch.
- Repeat on the Right: Do the exact same thing on the right side of your spine. You should now have two parallel racing stripes on either side of your lower spine, supporting the muscles and lifting the fascia. Rub vigorously to activate!
Dos, Don’ts, and Safety Guidelines for Pregnancy Taping
Navigating Tape Safety Like a Pro
While kinesio tape is incredibly safe and non-invasive, pregnancy requires us to be extra mindful of our bodies. The skin stretches and thins as your baby grows, making it more susceptible to irritation. The most common mistake I see mamas make is applying too much tension. Kinesio tape is highly elastic; it can stretch up to 140% of its original length! But for pregnancy, we never want to exceed a 50% stretch. Too much tension can cause the tape to recoil aggressively, which can lead to friction blisters or skin tearing. Always remember the golden rule: the first two inches and the last two inches of every strip must have absolutely zero stretch. This anchors the tape safely to your body. Below is a comprehensive guide to keep you safe and comfortable.
The Ultimate Tape Safety Checklist
| What’s Safe & Recommended (The Dos) | What to Avoid Completely (The Don’ts) |
|---|---|
| Do leave the tape on for 3 to 5 days, even while showering or swimming. | Do not use a hair dryer to dry the tape after a shower (it will melt the glue). Pat dry only! |
| Do round all corners of the tape with scissors before applying to prevent peeling. | Do not apply tape over broken skin, rashes, eczema flare-ups, or fresh stretch marks that are sore. |
| Do apply 0% tension/stretch to the first and last 2 inches of every strip (the anchors). | Do not stretch the tape to its maximum capacity. Keep stretch between 25% and 50%. |
| Do vigorously rub the tape after applying to activate the heat-sensitive adhesive. | Do not rip the tape off quickly like a band-aid. This can cause severe skin tearing. |
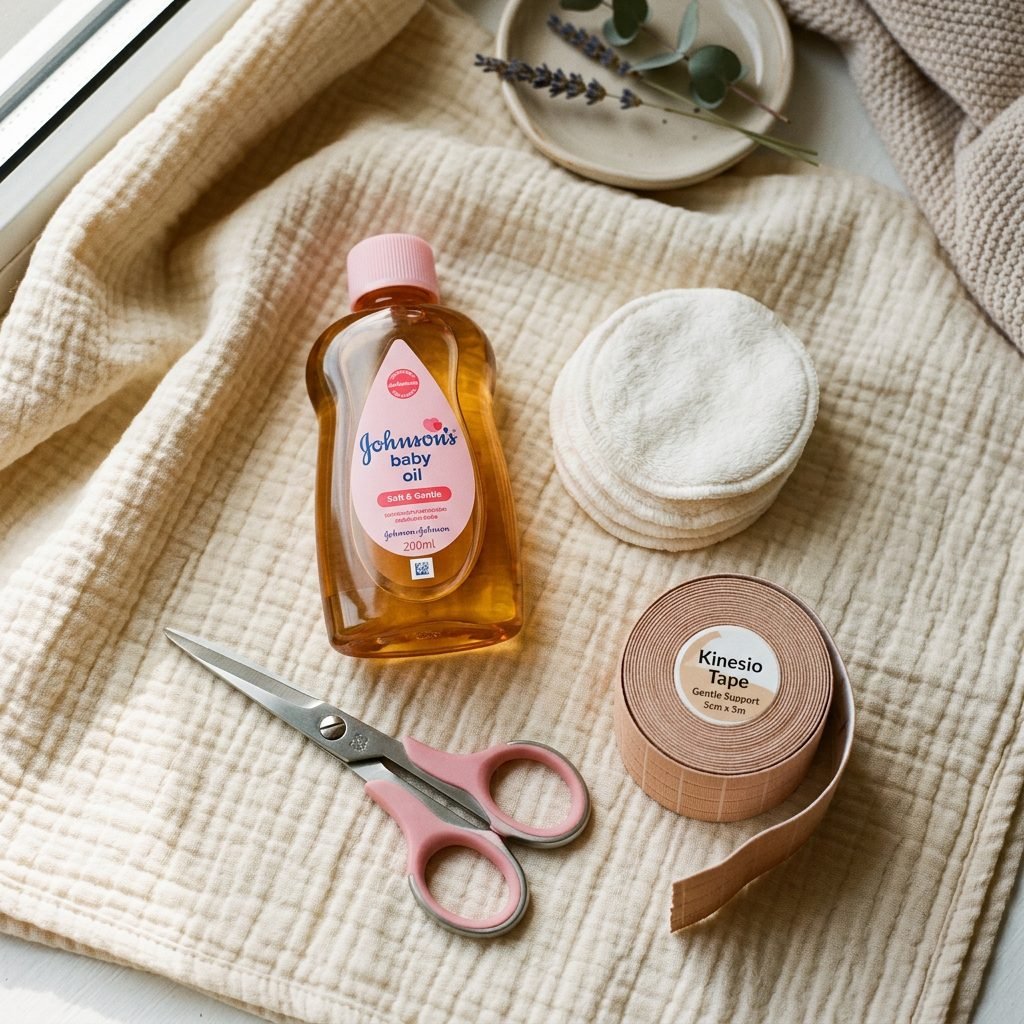
| Do soak the tape in baby oil or coconut oil for 15 minutes before removing it. | Do not apply the tape right after using heavy belly butters or body lotions. |
The Art of Pain-Free Removal
When it is time to take the tape off, please listen to your doula: do not rip it off dry! Your pregnancy skin is delicate. To remove the tape safely, generously saturate the entire strip with baby oil, olive oil, or coconut oil. Let it sit and marinate for about 10 to 15 minutes. The oil breaks down the acrylic adhesive. Once it is saturated, start at the top corner and gently roll the tape down upon itself. Instead of pulling the tape away from your skin, use your fingers to gently press your skin away from the tape. If you feel any resistance, add more oil. Take your time, mama. Your skin will thank you.
Combining Kinesio Tape with Holistic Doula-Approved Comfort Measures

Building Your Ultimate Comfort Toolkit
Kinesio tape is a fantastic tool, but it is just one piece of the beautiful puzzle that is your prenatal wellness. To truly erase pregnancy back pain and prepare your body for a smooth labor, we want to combine the physical support of the tape with holistic, body-balancing practices. Think of the tape as your foundation, and the following practices as the building blocks to ultimate comfort. When your pelvis is aligned, your muscles are hydrated, and your ligaments are supported, you create the optimal environment for your baby to settle into a great birthing position.
Hydration and Magnesium: The Muscle Whisperers
First and foremost, let us talk about hydration. Your blood volume increases by nearly 50% during pregnancy! Dehydrated muscles cramp easily and lack elasticity. Aim for at least 80 to 100 ounces of water a day. Pair this with a high-quality magnesium supplement or topical magnesium lotion (always check with your provider first). Magnesium is nature’s muscle relaxant. It helps calm spasming back muscles and can even improve your sleep quality. When you combine the physical lift of the kinesio tape with the internal relaxation of magnesium, the relief is profound.
The Magic of the Birth Ball and Pelvic Tilts
While wearing your tape, I highly encourage you to incorporate a large exercise ball (often called a birth ball) into your daily routine. Swap your desk chair or couch for the birth ball for at least 30 minutes a day. Sitting on the ball with your knees slightly lower than your hips naturally aligns your pelvis and opens your pelvic outlet. While sitting, practice gentle pelvic tilts: slowly rock your pelvis forward and backward, and then in large, slow circles. This movement lubricates the joints in your lower back, eases sciatic nerve compression, and encourages your baby into an anterior position.
- Daily Pelvic Tilts: Do 20 forward/backward tilts and 20 circular tilts each day on your birth ball.
- Cat/Cow Poses: Get on your hands and knees (the tape will comfortably support your belly hanging down) and gently arch and round your back to relieve spinal pressure.
- Side-Lying Rest: When sleeping, use a pregnancy pillow to keep your top leg parallel to your hip, preventing your pelvis from twisting and straining your lower back overnight.
Remember, mama: Pain is your body’s check-engine light. By using tape, hydration, and gentle movement, you are answering that call with love, support, and profound care. You are preparing beautifully for birth.
Conclusion
You Are Supported, Mama
Pregnancy is a miraculous, transformative journey, but it is undeniably demanding on your physical body. By introducing kinesio tape into your daily routine, you are taking a proactive, loving step toward reclaiming your comfort. Whether you are using the under-bump sling to ease round ligament pain or the lower back anchors to soothe a screaming sciatic nerve, remember that these techniques are designed to support you so you can focus on the joy of growing your little one. Take your time with the application, always prep your skin, and never rush the removal process. Combine this taping magic with plenty of water, gentle birth ball movements, and lots of self-compassion. You are incredibly strong, your body is incredibly wise, and you are doing a magnificent job. Keep breathing, keep trusting yourself, and know that you are deeply supported every step of the way.