How to Make a No-Glue Fabric Sensory Board for Baby’s Tummy Time
Hello, beautiful mama. Let us talk about a phrase that often strikes a tiny bit of dread into the hearts of new parents everywhere: Tummy Time. If your little one treats the floor like it is made of hot lava the second you roll them onto their belly, please take a deep breath and know that you are absolutely not alone. As a doula and pediatric sleep consultant, I hear this struggle daily. Babies are born with relatively heavy heads and weak neck muscles, making tummy time a genuine, exhausting workout for them. It is no wonder they often protest!
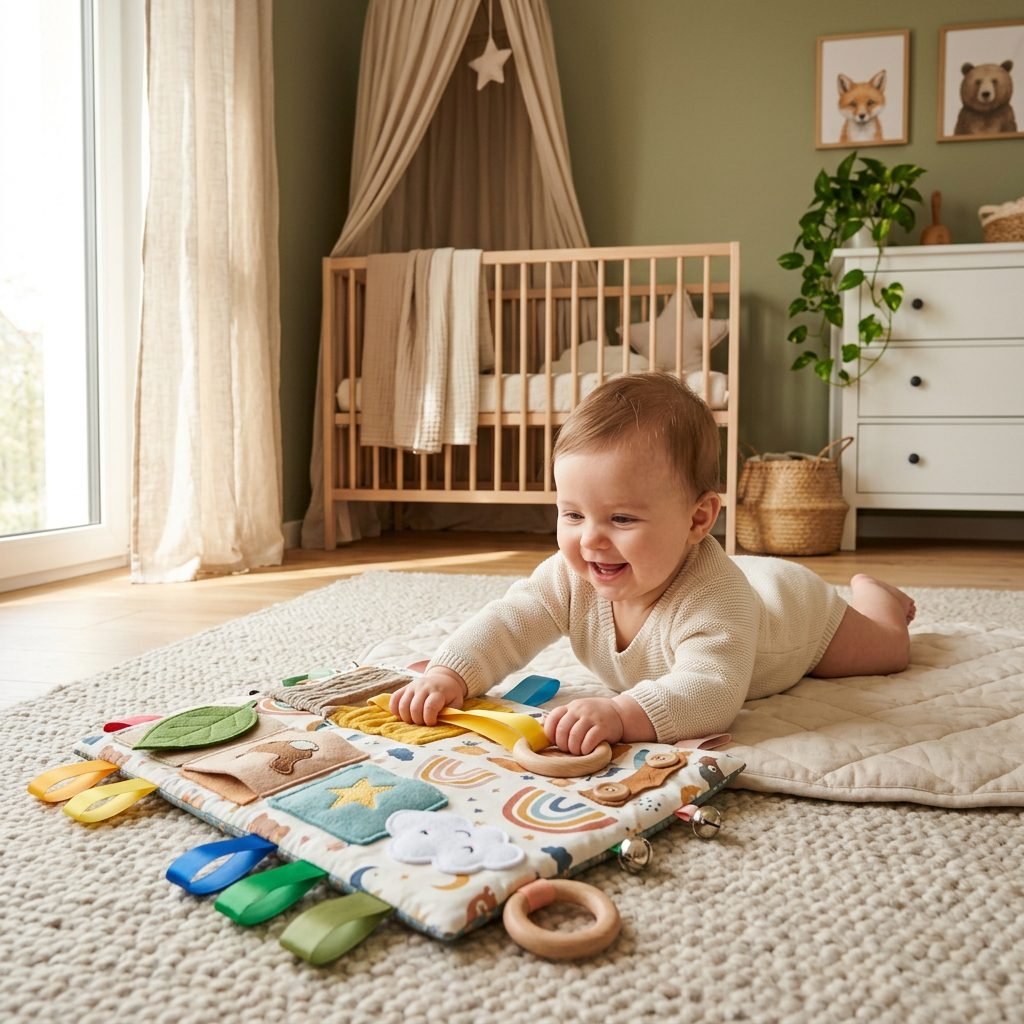
But here is the magical secret to extending those tummy time minutes without the tears: distraction through sensory engagement. When a baby’s brain is captivated by contrasting colors, fascinating textures, and satisfying sounds, they momentarily forget the physical effort required to hold their heavy little heads up. This is where a sensory board becomes your absolute best friend.
However, when we look at DIY sensory boards online, many of them rely heavily on hot glue or harsh chemical adhesives to attach objects to a wooden board. For a baby who explores the world primarily through their mouth, this is a significant safety hazard. Dried hot glue can easily snap off, creating a terrifying choking risk, and commercial adhesives often off-gas harsh chemicals that we simply do not want near our babies’ delicate respiratory systems.
That is why we are going to make a No-Glue Fabric Sensory Board. This method is incredibly safe, surprisingly simple, and allows you to create a customized, washable, and stylish developmental tool that will grow with your baby. Grab a cup of warm tea, mama, and let us dive into a crafty, comforting project that will make tummy time a joyous part of your daily routine.
Why Sensory Play is a Tummy Time Game-Changer
Before we pull out the scissors and fabric, it is vital to understand exactly why this project is so beneficial for your little one’s rapid development. In the first year of life, your baby’s brain is creating millions of neural connections every single second. Sensory play is the bridge that helps form and strengthen those vital pathways.
1. Distraction and Endurance
Tummy time is essential for building the neck, shoulder, and core strength required for rolling, crawling, and eventually walking. It also helps prevent plagiocephaly (flat spots on the back of the head). However, it is hard work! A sensory board placed just within your baby’s line of sight provides a compelling reason for them to lift their head, pivot their neck, and reach out. The textures and colors distract them from the physical exertion, naturally extending the length of time they are willing to stay on their tummies.
2. Fine Motor Skill Development
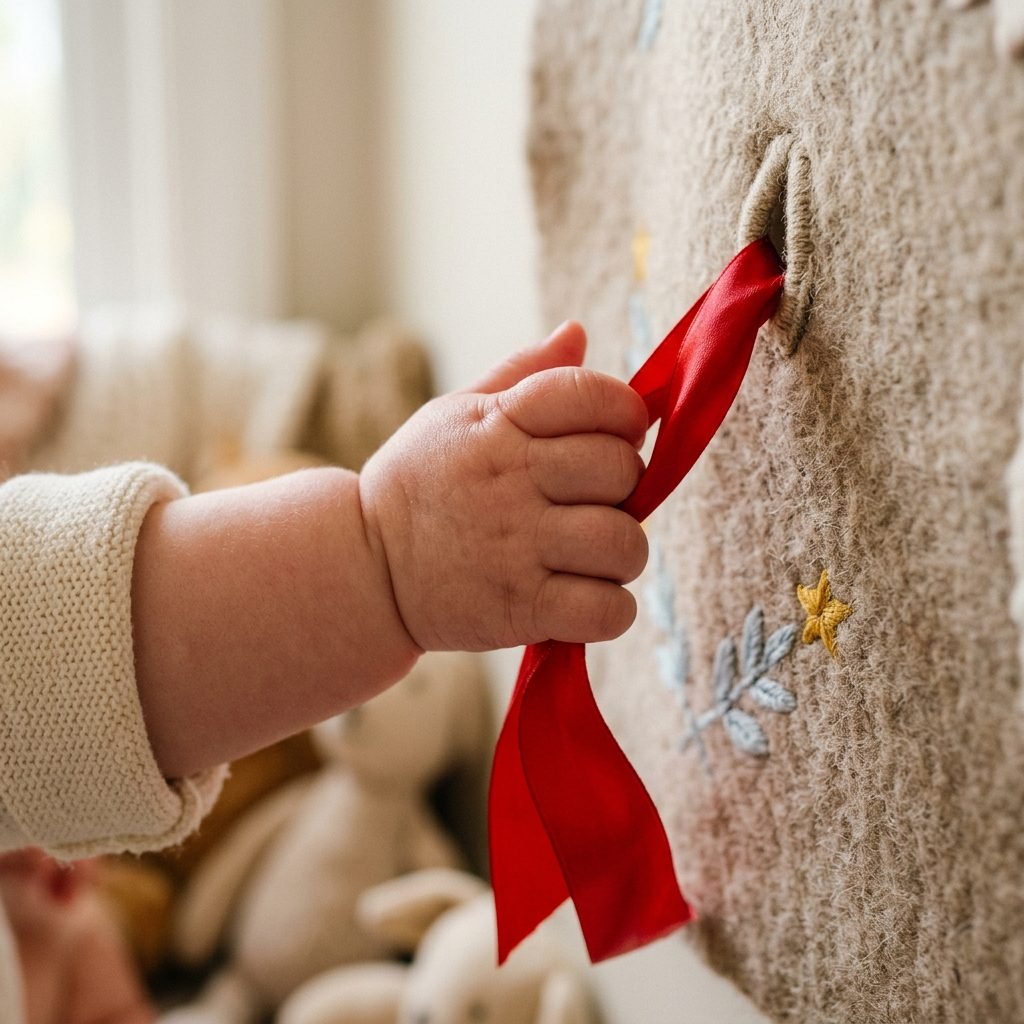
When your baby reaches out to grasp a piece of crinkly fabric or tug on a satin ribbon, they are practicing their hand-eye coordination and fine motor skills. Initially, you will see a “raking” grasp where they use their whole hand to paw at the board. Eventually, as they interact with the distinct elements you sew onto this board, they will begin to develop the sophisticated “pincer grasp” (using the thumb and index finger), which is crucial for self-feeding later on.
3. Cognitive and Tactile Stimulation
Babies learn about their environment through touch. Offering a variety of textures—smooth satin, bumpy corduroy, soft fleece, and rigid wooden rings—teaches them about the physical properties of the world. Additionally, incorporating elements that make noise, like crinkle paper hidden inside a fabric flap, teaches them the foundational concept of cause and effect: “When I smack this specific square, it makes a sound!”
“Sensory play is not just about keeping your baby busy; it is about providing the raw data their developing brain needs to understand the world. You are literally helping them build their brain, one texture at a time.”
The Safety First Rule: Why We Skip the Glue
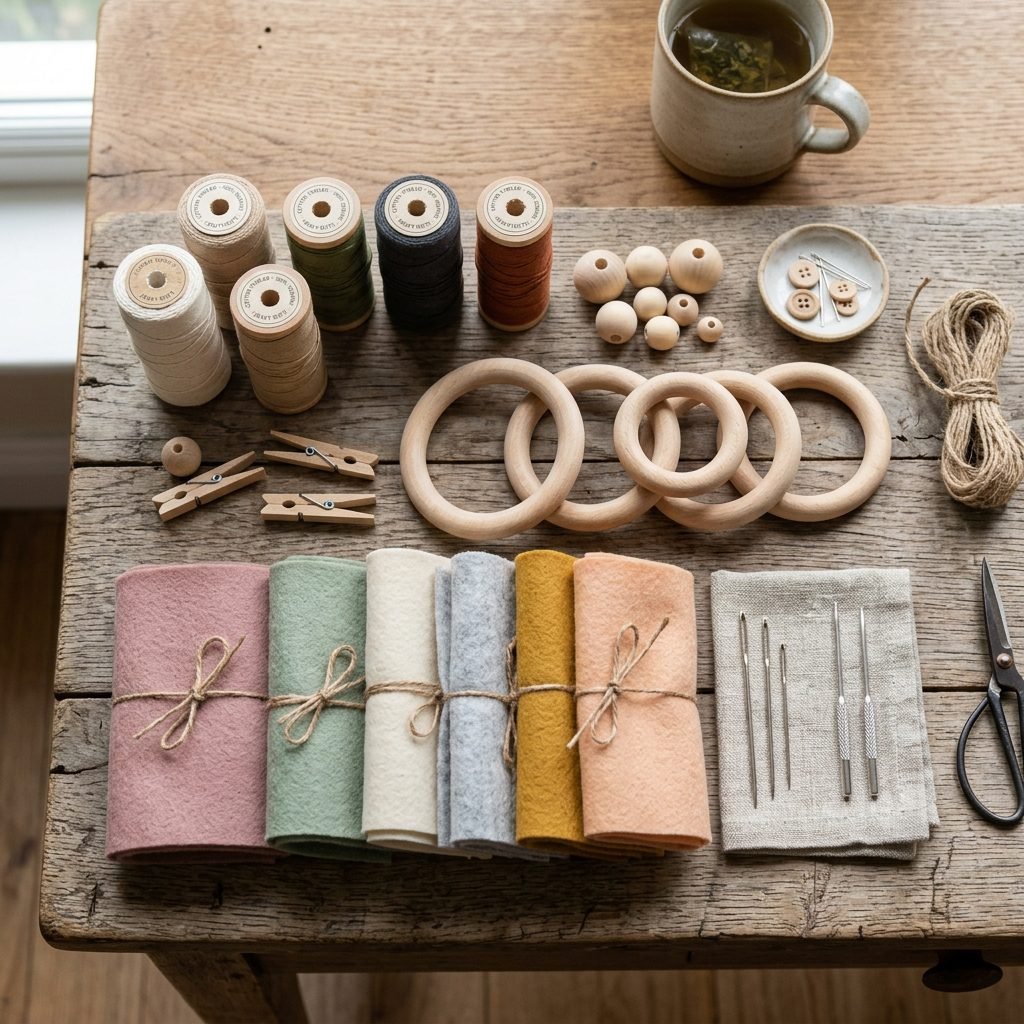
As a postpartum expert, my number one priority is always your baby’s safety and your peace of mind. The internet is full of gorgeous, Pinterest-perfect sensory boards made by hot-gluing hardware store items (like zippers, locks, and caster wheels) to a piece of plywood. While these look incredibly cool, they are fraught with hidden dangers for infants under the age of three.
The Danger of the Mouthing Phase
Babies experience the “oral stage” of development, meaning their mouths are their primary tool for exploration. Their lips and tongues have more nerve endings than their fingertips, so mouthing an object gives them the most detailed information about it. If you put a sensory board in front of a baby, you must assume they are going to try to lick, bite, and suck on every single piece of it.
Why Adhesives Fail
Hot glue is fantastic for adult crafts, but it is a brittle adhesive. When it dries and is subjected to the repeated yanking, pulling, and chewing of a determined infant, it can easily crack and break away. This leaves behind hard, sharp nuggets of dried glue that pose an immediate, severe choking hazard. Furthermore, the object that was glued down is now loose and potentially dangerous.
Liquid fabric glues and industrial adhesives (like E6000) are incredibly toxic. They off-gas volatile organic compounds (VOCs) that can irritate a baby’s lungs, and they are absolutely not safe for ingestion or aggressive mouthing.
The No-Glue Solution
By exclusively using heavy-duty sewing techniques, tightly knotted ribbons, and concealed zip-ties (with the ends filed smooth and hidden inside the board structure), we eliminate the chemical risks and the choking hazards associated with brittle glues. A fabric-based, sewn board is also infinitely superior because it is soft; if your baby’s little arms get tired and they face-plant onto the board, they will land on plush fleece rather than a metal door hinge.
Gathering Your Materials (Budget-Friendly & Baby-Safe)
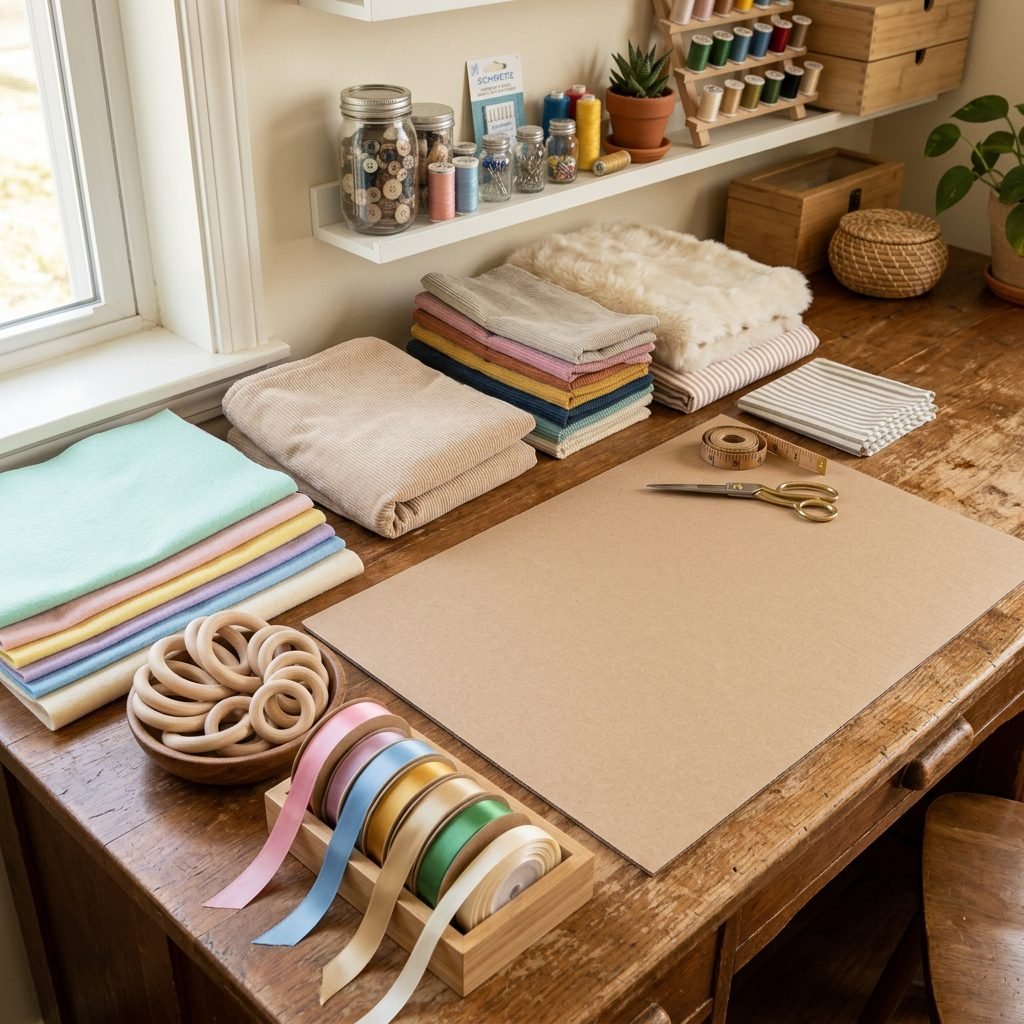
The beauty of this project is that you likely already have most of these items lying around your house or sitting in your scrap fabric bin. If you do need to purchase supplies, they are incredibly inexpensive. Let us look at what you need to create a sensory wonderland for your little one.
The Base and the Mechanics
Instead of heavy wood, we are going to use a thick piece of cardboard or a sturdy foam core board. This keeps the project lightweight and soft. To attach our elements without glue, we will use a “poke and tie” method, using an awl (or a sharp pen) to poke holes through the cardboard, threading heavy-duty embroidery floss or small zip-ties through, and securing them tightly at the back.
The Sensory Elements
You want to aim for high-contrast colors (black, white, and red are best for newborns up to 3 months; brighter primary colors are great for 4+ months) and a wide variety of textures. Here is a breakdown of what you need:
| Material | Sensory Purpose | Estimated Cost | Baby-Safe Notes |
|---|---|---|---|
| Sturdy Cardboard (18×24 inches) | Provides the structural base | $0.00 (Repurpose a shipping box) | Ensure it is clean and free of staples or sharp edges. |
| Fleece or Thick Felt (1/2 yard) | Soft background covering | $4.00 – $6.00 | Washable, does not fray when cut, soft for face-plants. |
| Assorted Ribbons (Satin, Grosgrain, Velvet) | Visual tracking and pincer grasp practice | $3.00 (or use scraps) | Cut into short lengths (under 4 inches) to prevent strangulation risks. |
| Empty Cereal Bag / Wipes Wrapper | Auditory stimulation (Crinkle sound) | $0.00 (Repurpose) | Must be thoroughly washed, dried, and securely sewn completely inside a fabric pocket. |
| Wooden Teething Rings | Hard texture, soothing for gums | $5.00 (Pack of 5) | Must be untreated, natural wood. Do not use varnished craft rings. |
| Heavy-Duty Thread & Zip-Ties | Secure fastening (The “No-Glue” secret) | $4.00 | Use thick embroidery floss or upholstery thread. File zip-tie ends smooth. |
A Quick Note on Upcycling: Look inside your closet! An old chunky knit sweater, a piece of faux leather from an old purse, or the fuzzy pocket of an old jacket make phenomenal sensory elements. Just ensure everything is thoroughly washed in baby-safe, unscented detergent before you begin.
Step-by-Step Instructions: Assembling Your No-Glue Board
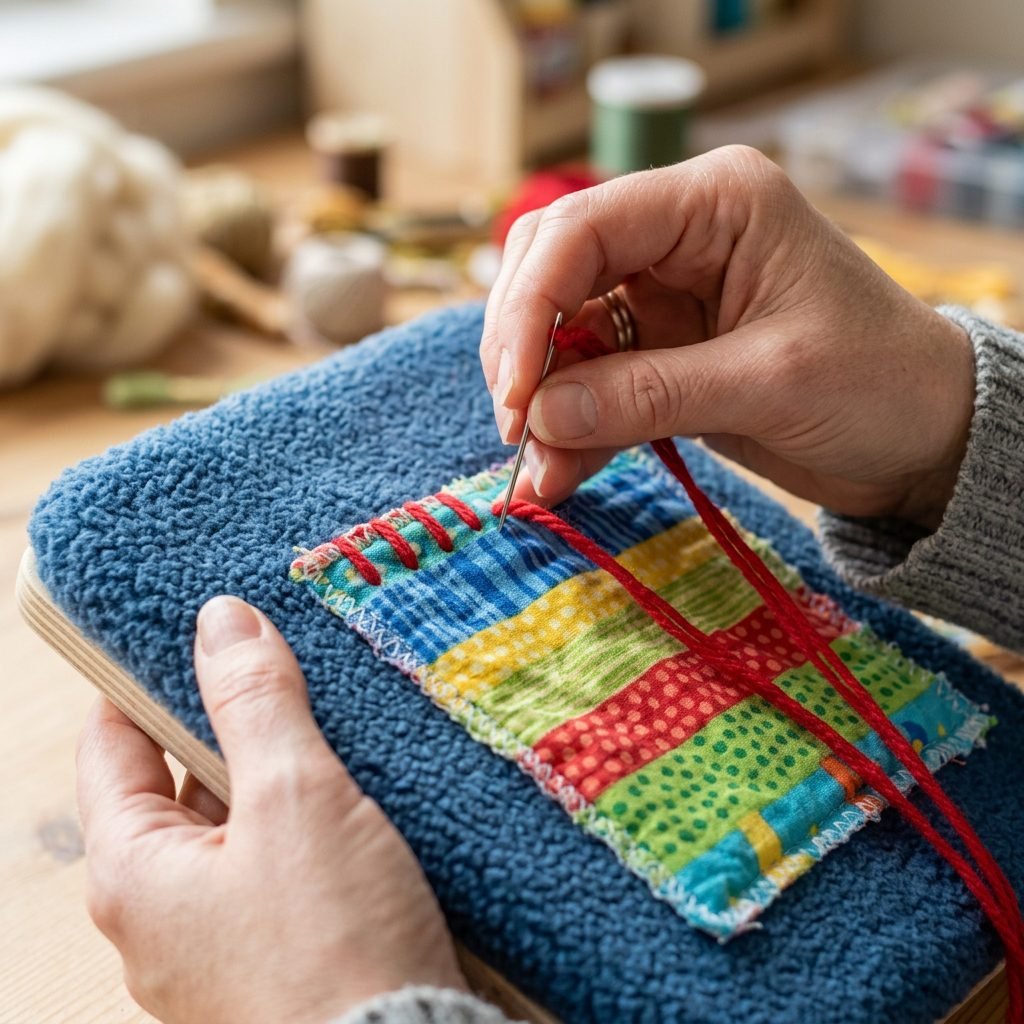
Now comes the fun part, mama! Pour yourself some sparkling water, put on a relaxing playlist, and let us craft. You do not need a sewing machine for this; basic hand-stitching and knot-tying are all that is required.
Step 1: Prep and Cover the Base
- Cut your cardboard: Trim your sturdy cardboard to your desired size. I recommend 18×24 inches—large enough to be engaging, but small enough to easily slide under the sofa when not in use.
- Wrap the background: Lay your large piece of fleece or felt flat on the table. Place the cardboard on top. Wrap the fabric around the edges of the cardboard tightly, just like you are wrapping a present.
- Secure the back: Using a thick needle and heavy-duty thread, use long basting stitches to lace the edges of the fabric together across the back of the cardboard. Pull it taut. (Do not worry about the back looking messy; we will cover it later!)
Step 2: Create the Sensory Elements
Before attaching anything, lay out your design on the front of the board. Here are three incredibly engaging elements you can easily create:
- The Crinkle Flap: Cut two identical squares of fabric (e.g., 4×4 inches). Cut a piece of your clean, empty cereal bag slightly smaller. Sandwich the plastic between the fabric squares. Whip-stitch around three sides to create a little pocket, then sew the fourth side closed. You now have a washable crinkle pad!
- The Ribbon Pulls: Cut 4-5 pieces of different textured ribbons. Crucial Safety Step: Keep them short! No ribbon should extend more than 3-4 inches from the board to eliminate any wrapping/strangulation hazard. Fold each ribbon in half to create a loop.
- The Peek-a-Boo Pocket: Take a square of contrasting felt and plan to sew it down on only three sides, leaving the top open so baby can stick their hands inside.
Step 3: The “Poke and Tie” Attachment Method
This is where our no-glue magic happens. We are going to anchor every single element completely through the cardboard base.
- Position the element: Place your crinkle flap, ribbon loop, or wooden ring on the front of the board.
- Poke the holes: Using an awl, a metal skewer, or the tip of a pen, poke two holes side-by-side through the fabric and the cardboard, right where you want to attach the item.
- Thread and Anchor: If attaching a ribbon loop or a soft fabric piece, thread your heavy-duty needle with embroidery floss. Go down through the first hole, up through the second hole, and tie a tight, triple square knot on the back of the cardboard.
- Securing Heavy Items: For the wooden teething rings, use a small plastic zip-tie. Push the zip-tie down through the first hole, wrap it around the wooden ring, and pull it up through the second hole. Zip it tightly on the back of the board. Snip the excess plastic and file the nub down with an emery board so it is perfectly smooth.
Step 4: Seal the Backing
Once all your elements are securely tied and anchored, the back of your cardboard will be covered in knots and zip-ties. To ensure baby cannot access these, take a second, slightly smaller piece of thick felt. Lay it over the entire back of the board, covering all your handiwork. Whip-stitch this backing piece to the edges of your front fabric. Now, your board is completely enclosed, soft on all sides, and incredibly durable!
Maximizing Engagement: How to Introduce the Board
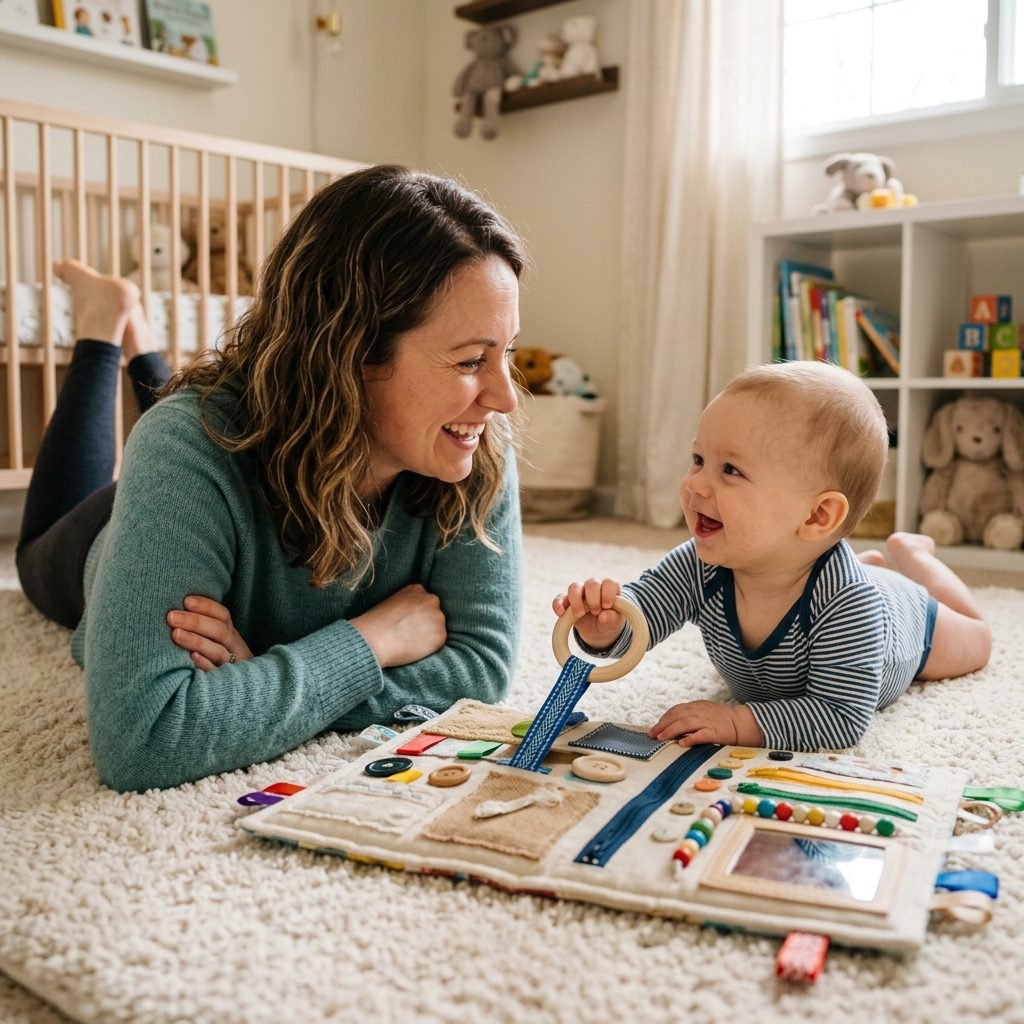
You have created a masterpiece! Now, how do we use it to actually make tummy time enjoyable? Introducing the board correctly is just as important as making it.
Timing is Everything
Never initiate tummy time when your baby is hungry, overly tired, or right after a full feed (unless you want a massive spit-up puddle on your lovely new creation!). The sweet spot is usually about 20-30 minutes after they wake up from a nap and have been fed and burped.
Get Down on Their Level
Babies are naturally wired to look for faces. Place the sensory board flat on the floor, or slightly propped up against a nursing pillow. Lay your baby on their tummy facing the board. Then—and this is the most important part—get down on the floor with them. Position yourself on the other side of the board so they can see your face. Tap the crinkle flap, shake the wooden ring, and use an excited, high-pitched voice to draw their attention to the textures.
“Look at this, sweetie! Listen to the crinkle! Can you feel how soft this is?” Your enthusiastic narration is the perfect complement to the sensory board.
The Propping Technique
If your baby is still building the strength to lift their head and gets frustrated easily, use a rolled-up receiving blanket or a nursing pillow tucked under their chest and armpits. This elevates their upper body, taking some of the weight off their neck and making it much easier for them to reach out and grab the ribbons and flaps on the board.
Follow Their Lead
Watch for baby’s cues. If they are happily swiping at the board, let them play! If they start to root around, cry, or lay their head down in exhaustion, tummy time is over. Even 2 to 3 minutes of engaged, happy tummy time with the sensory board is a massive victory. Pick them up, offer a warm cuddle, and try again during their next wake window.
Conclusion
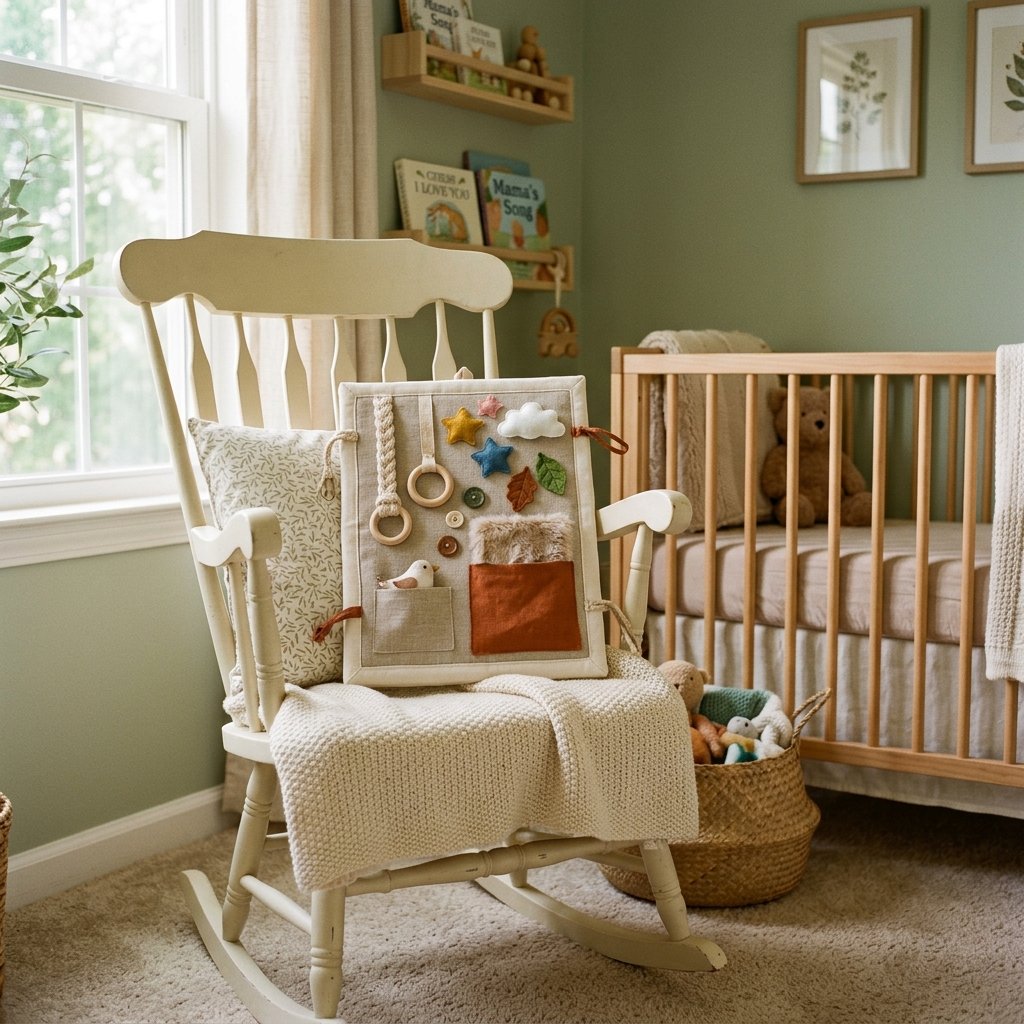
Motherhood is a journey of a thousand tiny, beautiful adjustments. If tummy time has been a source of stress in your home, I hope this project brings a wave of relief and joy to your daily routine. By taking the time to craft this no-glue fabric sensory board, you are not just making a toy; you are creating a safe, loving tool that actively supports your baby’s neurological and physical development.
Remember to give yourself grace, mama. Some days, tummy time will be a 10-minute magical exploration of textures and giggles. Other days, it might last exactly 45 seconds before the tears start. Both days are normal, and on both days, you are doing a spectacular job. Keep offering the board, keep getting down on the floor with them, and watch in awe as your little one grows stronger and more curious every single day.
Conclusion
Motherhood is a journey of a thousand tiny, beautiful adjustments. If tummy time has been a source of stress in your home, I hope this project brings a wave of relief and joy to your daily routine. By taking the time to craft this no-glue fabric sensory board, you are not just making a toy; you are creating a safe, loving tool that actively supports your baby’s neurological and physical development.
Remember to give yourself grace, mama. Some days, tummy time will be a 10-minute magical exploration of textures and giggles. Other days, it might last exactly 45 seconds before the tears start. Both days are normal, and on both days, you are doing a spectacular job. Keep offering the board, keep getting down on the floor with them, and watch in awe as your little one grows stronger and more curious every single day.