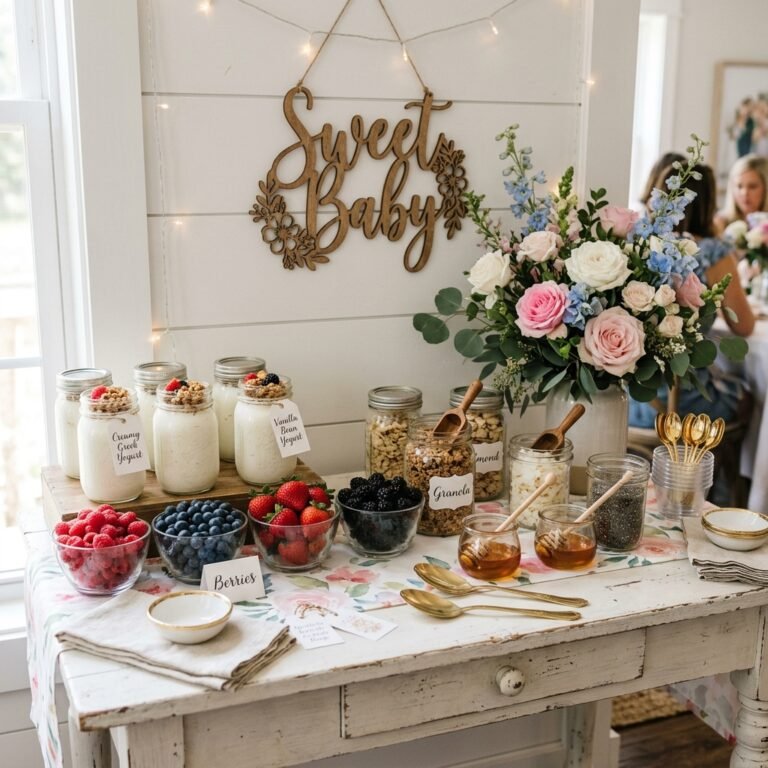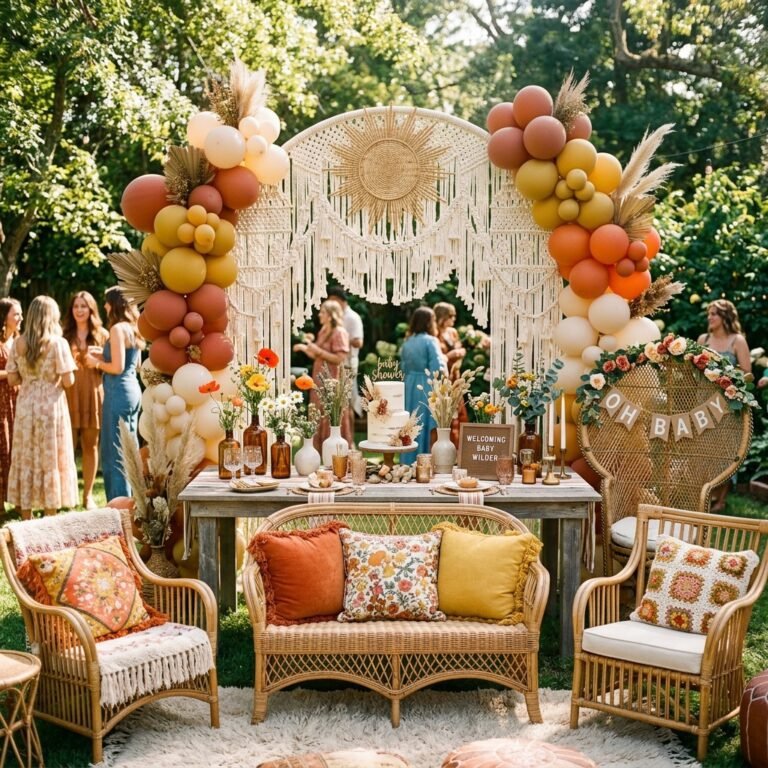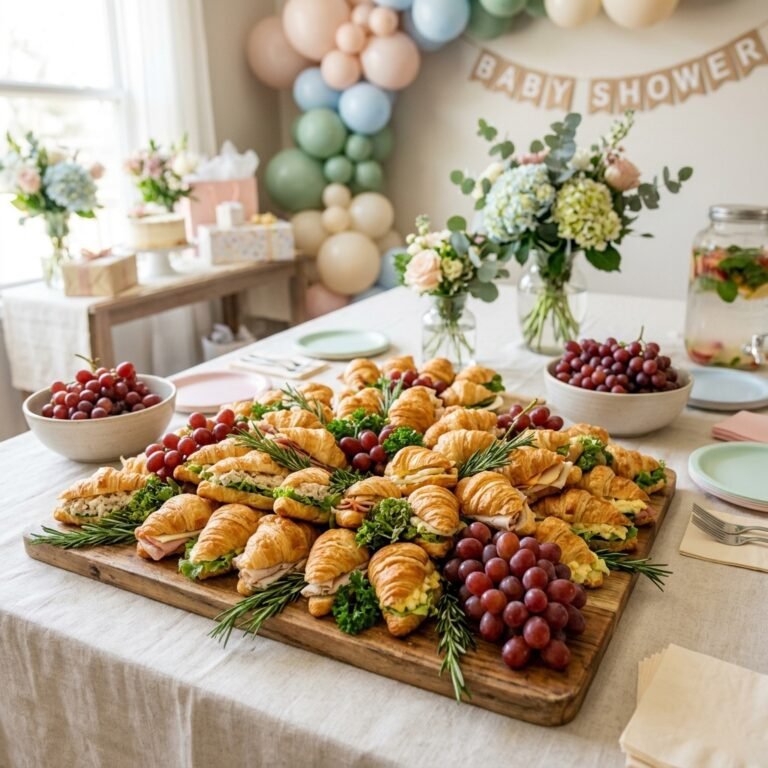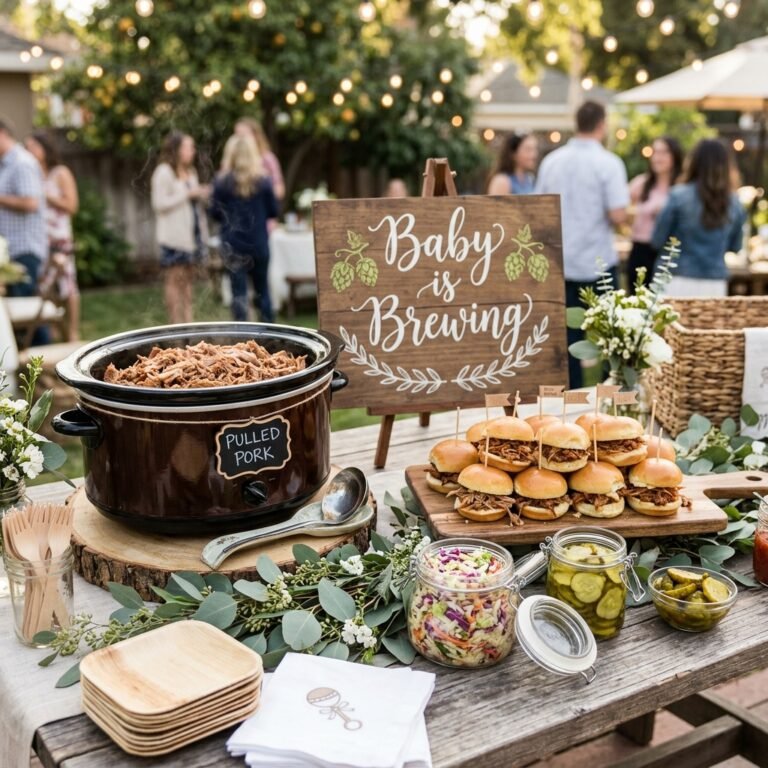
Whimsical Peter Rabbit Baby Shower Decorations You Can Make Yourself
Welcome, sweet mama-to-be and dear friends. There is something profoundly soul-soothing about the world of Beatrix Potter. As a doula, I often talk about the importance of the ‘nesting’ phase—that sacred time when we prepare our homes and hearts for a new arrival. Planning a baby shower is a beautiful extension of that nesting. Choosing a Peter Rabbit theme isn’t just about the adorable bunnies; it’s about invoking a sense of nostalgia, innocence, and the gentle rhythm of nature. It’s about creating a space that feels like a warm hug, a soft English garden where we can celebrate the new life soon to bloom.
In this guide, we aren’t just looking at decorations you can buy; we are focusing on the whimsical, handmade touches that infuse a party with love. Whether you are the guest of honor looking for a low-stress creative outlet or a devoted best friend planning the perfect surprise, these DIY projects are designed to be accessible, budget-friendly, and breathtakingly stylish. We will lean into earthy textures, botanical elements, and that iconic Peter Rabbit blue to transform any space into Mr. McGregor’s garden—minus the grumpy gardener, of course!
“Even the smallest one can change the direction of the future.” — Beatrix Potter
So, grab a cup of red raspberry leaf tea, put your feet up, and let’s walk through the garden gate together. We’re going to create a celebration that is as gentle on your nervous system as it is beautiful for your photos.
Cultivating the Garden: Your Whimsical Color Palette and Textures
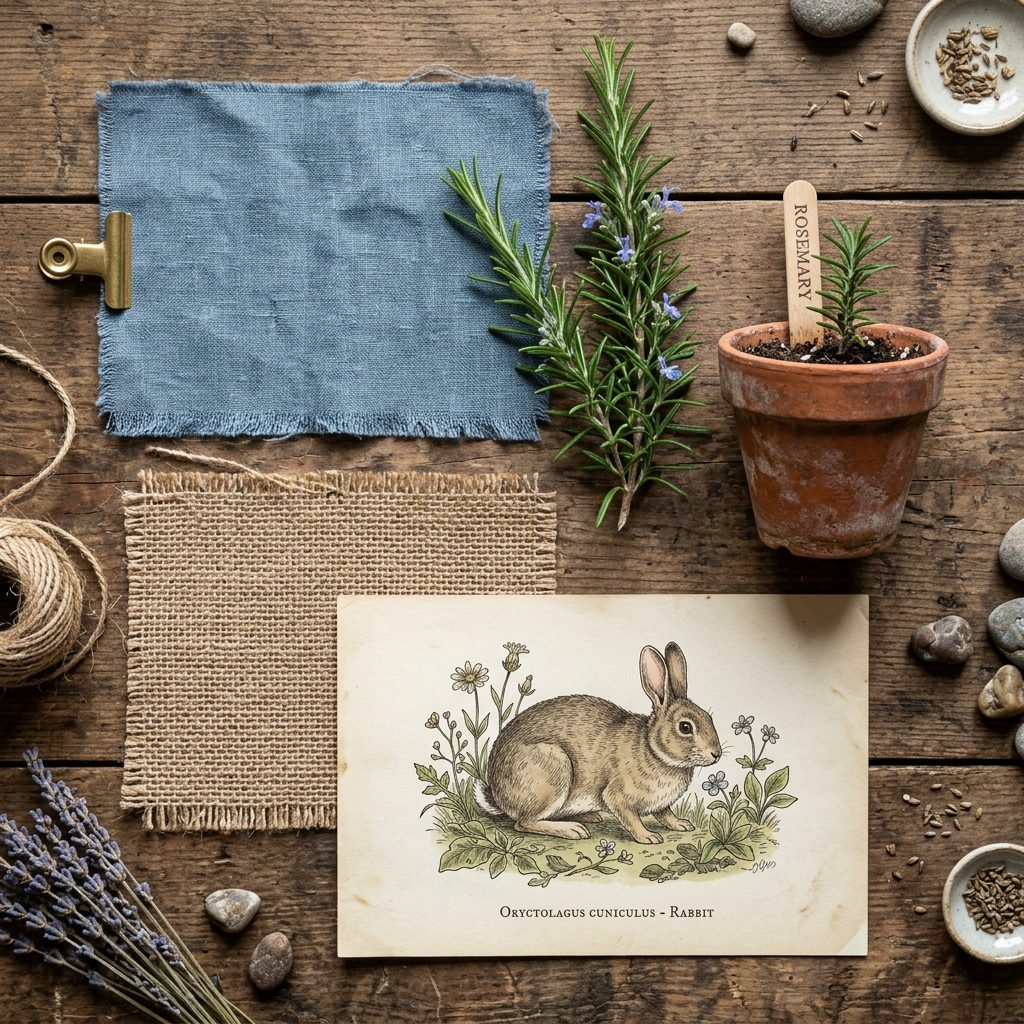
Before we pick up a glue gun, we must ground ourselves in a cohesive aesthetic. The magic of a Peter Rabbit theme lies in its organic, muted tones. We want to avoid anything too neon or artificial. Think of the colors you’d see in a vegetable patch at dawn. The primary anchor is, of course, Peter’s Blue—a soft, dusty cornflower shade that feels both classic and fresh. We pair this with Sage Green, Carrot Orange, and plenty of Kraft Paper brown to represent the earth.
The Texture Matrix
To achieve that high-end ’boutique’ look on a DIY budget, you need to layer your textures. Use burlap runners to mimic garden soil, velvet ribbons for a touch of luxury, and torn-edge cotton for a vintage feel. Incorporating natural elements like dried moss and unfinished wood creates a sensory experience that feels grounded and intentional. Remember, mama, your environment impacts your mood; keeping the colors soft and natural helps maintain a calm, serene atmosphere for everyone involved.
| Element | DIY Material Suggestion | Vibe |
|---|---|---|
| Peter’s Blue | Chalk-painted mason jars | Soft & Nostalgic |
| Garden Greenery | Fresh Eucalyptus & Rosemary | Aromatic & Organic |
| Earth Tones | Burlap & Kraft Paper | Rustic & Grounded |
| Whimsical Sparkle | Twinkle lights in birdcages | Magical & Ethereal |
DIY Mr. McGregor’s Garden Centerpieces
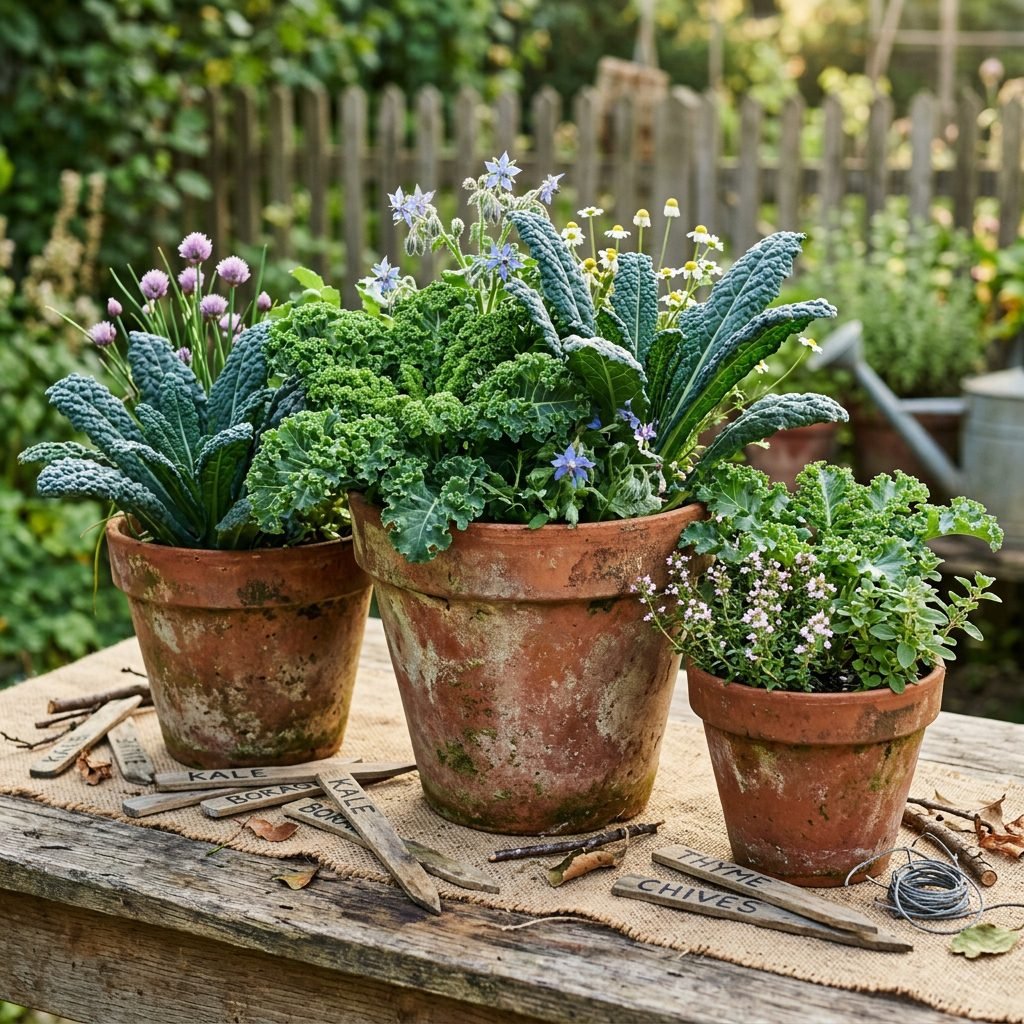
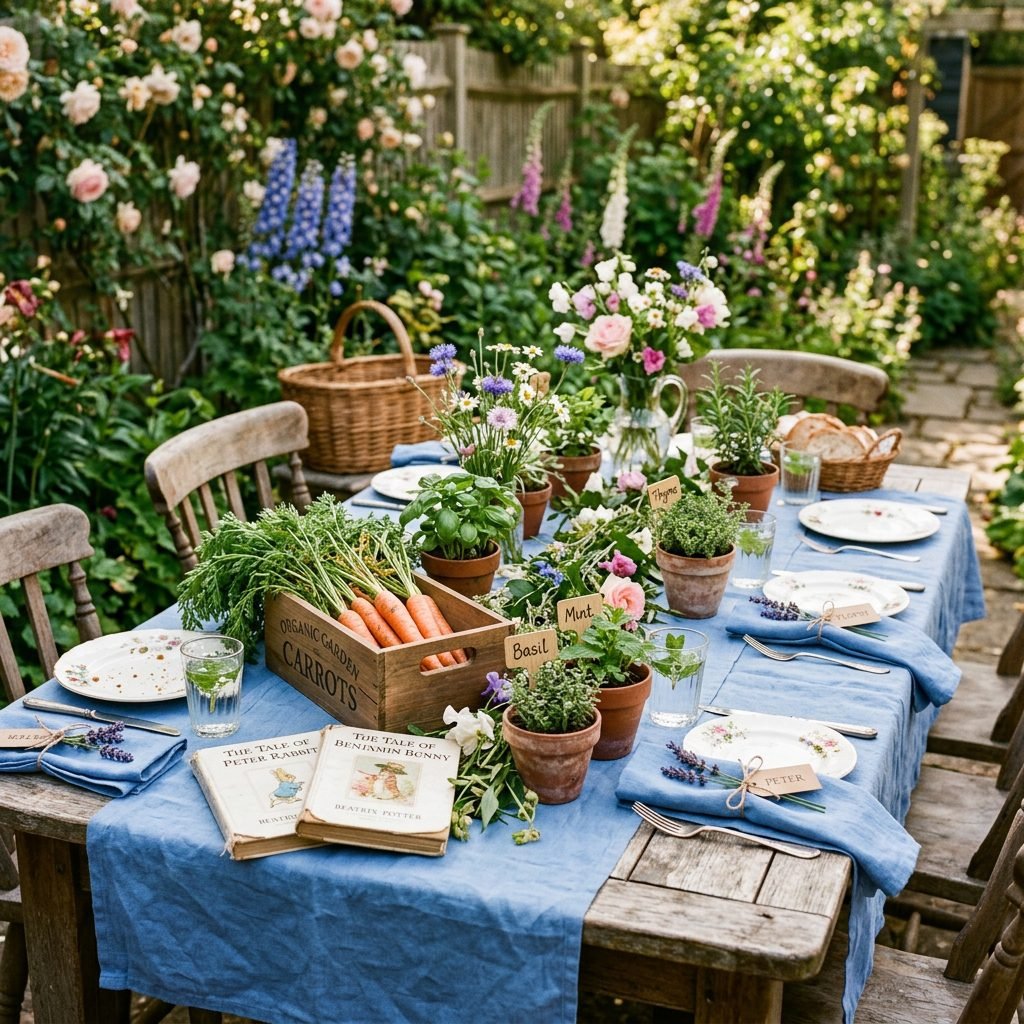
The centerpiece is the heart of your guest tables. Instead of expensive floral arrangements that wilt, we are going to create living centerpieces that guests can actually take home and plant. This is a beautiful way to symbolize growth and the ‘rooting’ of this new little life. Using terra cotta pots is the most cost-effective way to achieve this look. You can buy them in bulk and ‘age’ them yourself for a weathered, vintage garden look.
How to Age Your Pots (The ‘Instant Antique’ Method)
- Mix white acrylic paint with a little bit of water to create a wash.
- Dab a sponge into the wash and lightly coat the terra cotta pot, focusing on the rim and base.
- While wet, sprinkle a little cinnamon or potting soil onto the paint to create a ‘mossy’ or ‘dirty’ texture.
- Once dry, fill with fresh mint, parsley, or small cabbages.
For an extra touch of whimsy, insert small wooden stakes with hand-written labels like ‘Radishes’ or ‘Blackberries’ using a calligraphy pen. You can even glue a small blue felt jacket onto a clothespin and clip it to the side of the pot to represent Peter’s famous coat left behind in the garden.
The Tale of the Bunting: Handcrafted Paper Decor
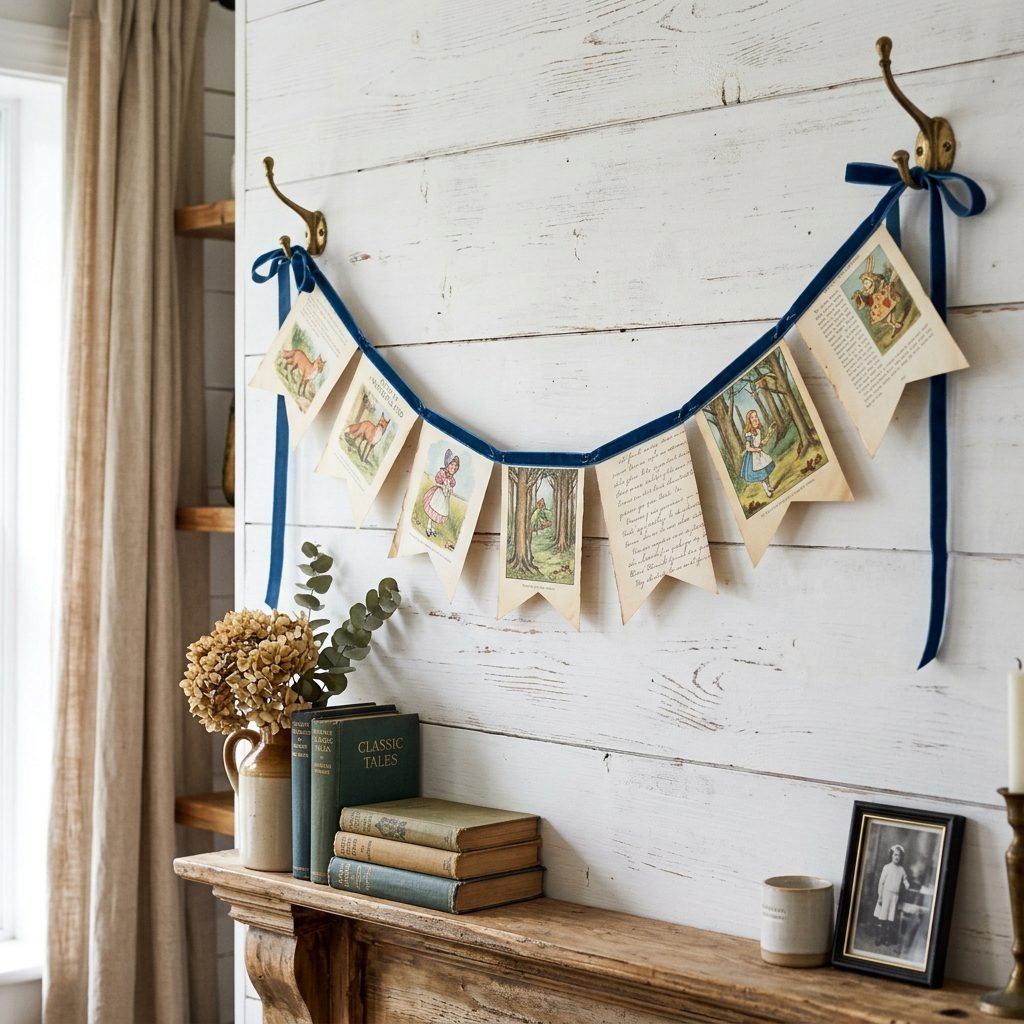
Nothing says ‘celebration’ like bunting, but we’re moving away from the plastic store-bought versions. To capture the essence of Beatrix Potter, we want decor that feels like it was pulled from the pages of a classic storybook. One of my favorite DIY hacks is using damaged vintage books. Check your local thrift stores for old copies of ‘The Tale of Peter Rabbit’ that might have torn spines but beautiful interior pages.
Creating the Storybook Garland
- Step 1: Cut the book pages into uniform triangles or ‘swallowtail’ shapes.
- Step 2: Use a hole punch on the top corners of each page.
- Step 3: Thread jute twine through the holes, alternating the book pages with strips of blue ribbon and white lace.
- Step 4: If you don’t want to cut up books, you can print high-resolution public domain illustrations of Peter, Benjamin Bunny, and Jemima Puddle-Duck onto cardstock.
Hang these garlands across the gift table, the fireplace, or even the back of the mama-to-be’s chair. It provides a stunning backdrop for photos and costs next to nothing. Pro-tip: Use miniature wooden clothespins to hang ‘onesies’ in shades of blue and white along the same twine for a functional and adorable decor piece.
“I remember the sunshine and the shadows and the flowers and the bees.” — Beatrix Potter
A Feast for Little Bunnies: The Dessert & Refreshment Station
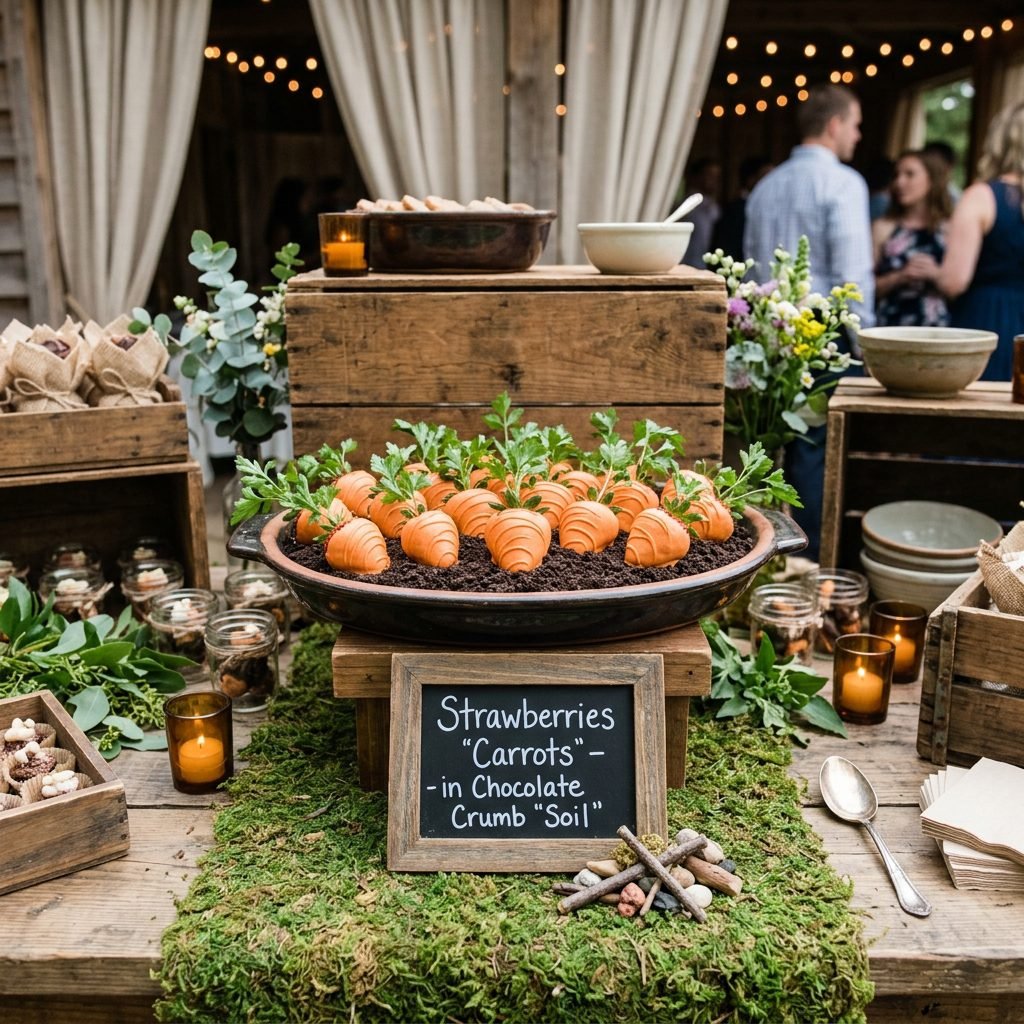
The food station is often the focal point of the shower. For a Peter Rabbit theme, we want to lean into the ‘farmer’s market’ aesthetic. This is where you can get really creative with DIY food styling. Instead of a traditional tiered cake stand, use wooden crates turned on their sides to create different levels. Cover the surface with artificial moss runners to give the illusion of a forest floor.
The ‘Carrot’ Patch & Garden Treats
You can make ‘carrots’ out of almost anything! One of the most popular DIY treats is chocolate-covered strawberries. Dip them in orange-tinted white chocolate and place them in a bed of crushed Oreo ‘dirt’. Another gorgeous idea is serving individual veggie cups with hummus at the bottom and upright sticks of carrots and celery, looking like they are growing out of the ground.
| Menu Item | Whimsical Name | DIY Presentation Tip |
|---|---|---|
| Strawberries | Mr. McGregor’s Carrots | Serve in a mini wooden wheelbarrow |
| Lemonade | Flopsy’s Blackberry Fizz | Add fresh blackberries & mint sprigs |
| Sandwiches | Benjamin Bunny’s Bites | Cut into rabbit shapes with a cookie cutter |
| Popcorn | Appley Dapply’s Corn | Serve in small kraft paper cones |
Don’t forget the refreshment station! A large glass dispenser filled with water, sliced cucumbers, and lemon looks beautiful and keeps everyone hydrated. As a doula, I always remind my mamas to stay hydrated, and making the water look this pretty makes it much easier!
The Doula’s Guide to a Stress-Free Hosting Timeline

As your ‘party doula,’ I want to ensure you actually enjoy the day. The secret to a whimsical, handmade shower isn’t just the decor—it’s the planning. Trying to do all these DIYs the night before is a recipe for ‘pregnancy brain’ meltdowns and exhaustion. We want you feeling like a glowing mama, not a frazzled gardener! Use this timeline to delegate tasks to your ‘flock’ (friends and family).
4-Week Preparation Strategy
- 4 Weeks Out: Finalize the guest list and send out ‘garden-themed’ invitations. Start scouting thrift stores for vintage books and terra cotta pots.
- 3 Weeks Out: Order any bulk materials like burlap, twine, and moss. Start the ‘aging’ process on your pots—they can sit in the garage once finished!
- 2 Weeks Out: Create your paper bunting and banners. These can be stored flat in a box. If you’re making DIY favors (like seed packets), assemble them now.
- 1 Week Out: Buy your plants (herbs/succulents) and pot them. They only need a little water to stay fresh for the big day.
- 2 Days Out: Prepare any non-perishable food items. Set up the ‘bones’ of the decor (the crates, the table linens).
- Day Of: Add the fresh greenery, the food, and most importantly—take a nap before the guests arrive!
Remember, the goal is connection, not perfection. If a bunny ear on a cupcake is crooked, it just adds to the ‘whimsical’ charm. Your guests are there to celebrate you and the new life you are carrying.
The Library for Little Bunnies: A Meaningful Guest Book DIY
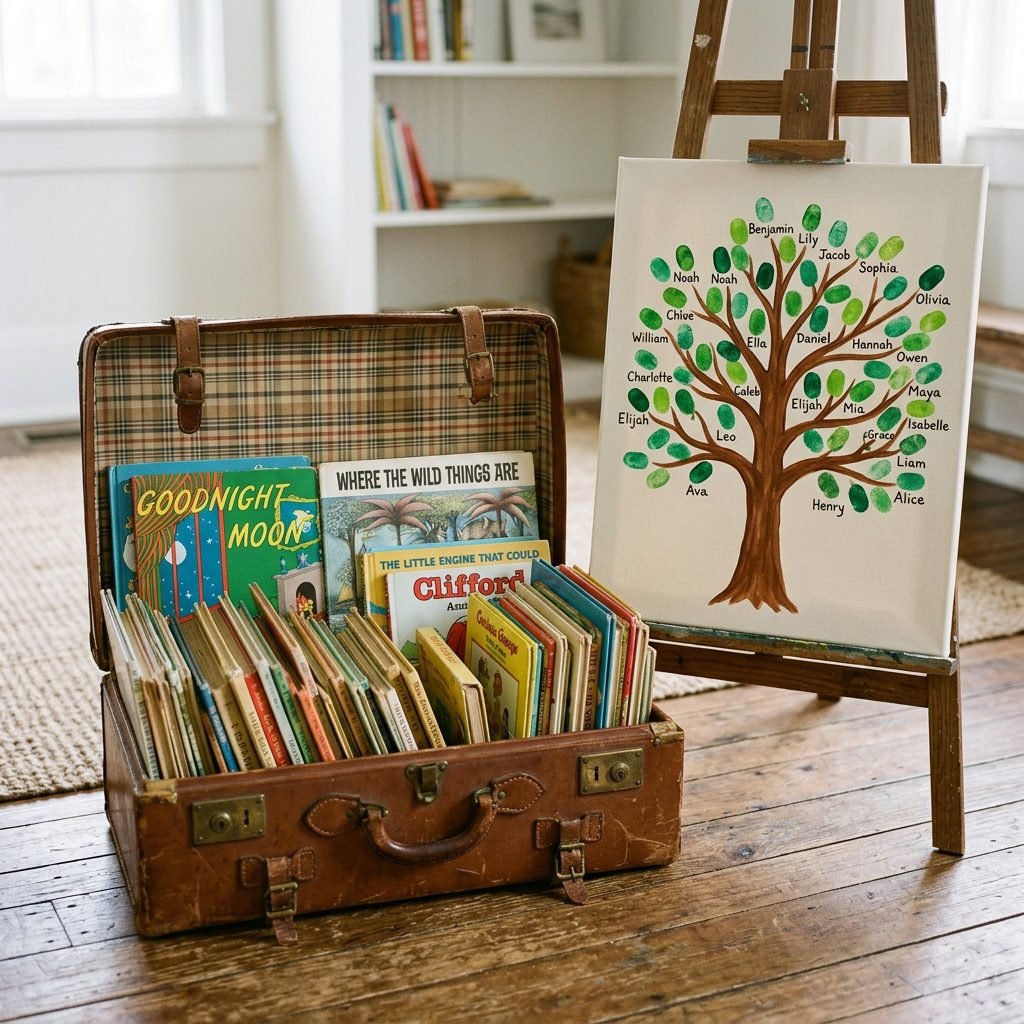
Instead of a traditional guest book that gets tucked away in a drawer, why not create a ‘Library for Little Bunnies’? This is a wonderful way to start the baby’s first library while providing a sentimental activity for guests. Ask each guest to bring a favorite childhood book instead of a card, and have them write their well-wishes on the inside cover.
DIY Guest Book Station
Set up a small table with a vintage suitcase (open it up to hold the books). Create a sign that says ‘Please sign a leaf for the family tree.’ You can buy a large wooden tree cutout or draw one on a canvas. Provide sage green ink pads and have guests leave a thumbprint ‘leaf’ on the branches, signing their name next to it. This becomes a beautiful piece of nursery art that reminds the baby of all the people who loved them before they even arrived. It’s these intentional, crafty moments that turn a party into a core memory for the mother-to-be.
Conclusion
Creating a Whimsical Peter Rabbit Baby Shower is about more than just aesthetics; it’s about honoring the journey of motherhood with beauty, simplicity, and a touch of magic. By choosing to DIY your decorations, you are putting your own energy and love into the space where you will be celebrated. From the earthy scent of fresh rosemary to the nostalgic sight of Peter’s blue coat, every detail tells a story of a new beginning.
Mama, as you prepare for this celebration, remember to breathe, move slowly, and let others help you. You are growing a whole human, and that is the most incredible ‘DIY project’ of all! I hope these ideas inspire you to create a garden of joy for your little one. You’ve got this, and it’s going to be absolutely enchanting.