How to Make Beautiful DIY Pressed Fern Framed Art for a Vintage Nursery
Hello, mama. If you have found yourself standing in the middle of your future baby’s room, hands resting on your belly, dreaming of exactly how you want this sacred space to feel, you are right in the thick of the beautiful, deeply instinctual phase we call nesting.
As a doula and maternal wellness guide, I see this all the time. Around the third trimester, an overwhelming urge washes over you to prepare the physical environment for your little one. It is not just about folding tiny onesies; it is about creating a sanctuary. A space that will soothe your baby, yes, but more importantly, a space that will soothe you during those middle-of-the-night feedings and tender postpartum days.
Bringing elements of nature indoors—a concept known as biophilic design—has been shown to lower heart rates, reduce anxiety, and promote a profound sense of calm. What better way to achieve this than with a touch of vintage woodland charm? Today, we are going to channel that beautiful nesting energy into a low-stress, highly rewarding project: DIY pressed fern framed art.
This craft is perfect for expectant mothers. It requires no heavy lifting, no harsh chemicals, and allows you to sit, breathe, and create something timeless for your baby’s vintage-inspired nursery. Let us walk through this process together, step-by-step, like sisters preparing the nest.
Gathering Nature: How to Mindfully Forage for Ferns
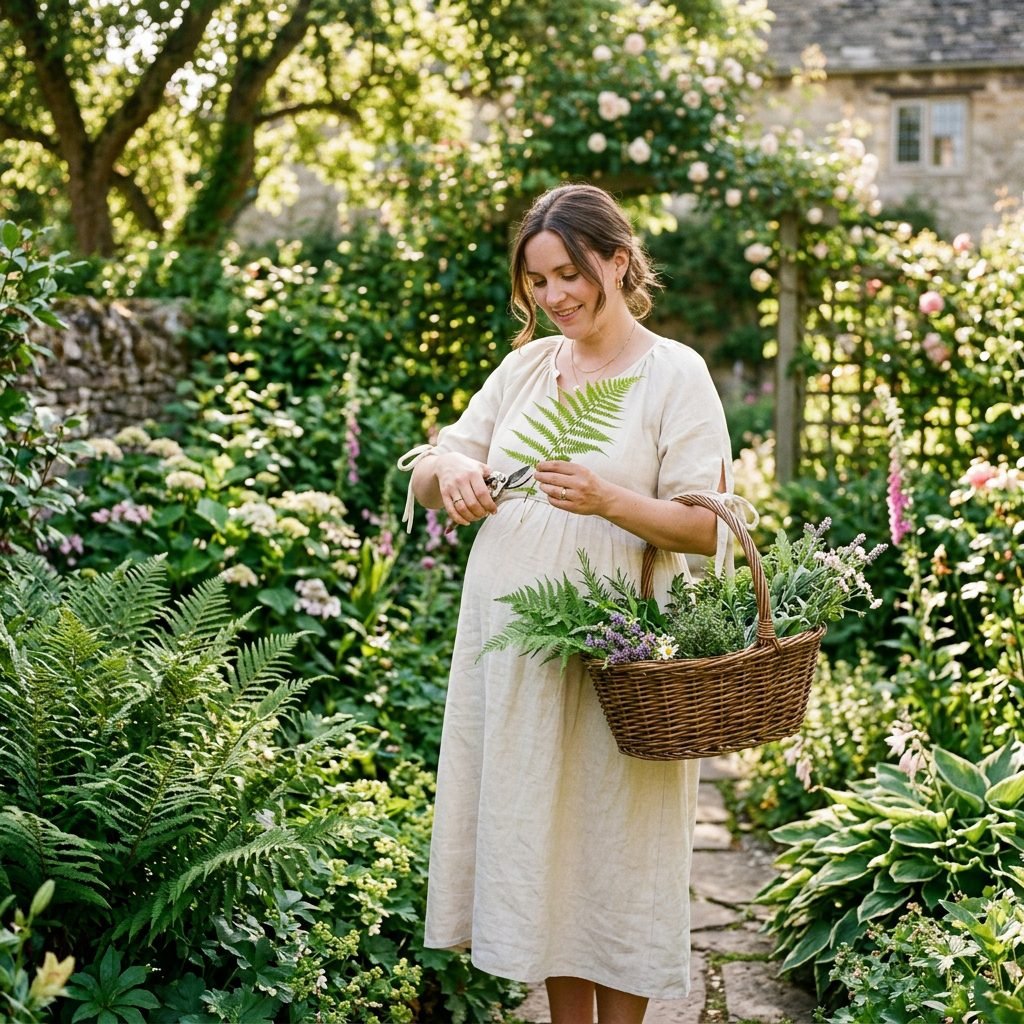
The first step in our botanical journey is gathering the ferns. This is a wonderful excuse to get outside, take a gentle walk, and breathe in some fresh air. Gentle walking during your third trimester is fantastic for encouraging your baby to engage in the pelvis, and the fresh air is a natural remedy for pregnancy fatigue.
Selecting the Perfect Fronds
When you are looking for ferns, you want to focus on the shape, health, and moisture content of the leaves. Here is what you need to keep in mind:
- Look for mature leaves: Very young, bright green shoots hold too much moisture and are prone to molding during the pressing process. Look for darker, mature fronds.
- Check for blemishes: Inspect the leaves for brown spots, insect damage, or tears. The pressing process will highlight any imperfections.
- Consider the frame size: Snip a variety of sizes. You will want some large statement fronds and a few delicate, wispy pieces (like Maidenhair ferns) for smaller frames.
- Forage ethically and safely: Only take what you need, never strip a plant bare, and ensure you are foraging in an area free of harsh pesticides.
“Every leaf you gather is a quiet promise to your baby—a promise of a beautiful, peaceful world waiting for them. Take your time, breathe deeply, and enjoy this quiet moment of connection.”
If you live in an urban area or do not have access to wild ferns, do not worry! You can easily purchase a small potted fern from your local nursery or even ask a local florist for a few loose stems. The magic remains the same.
What You Need: A Low-Stress, Budget-Friendly Craft
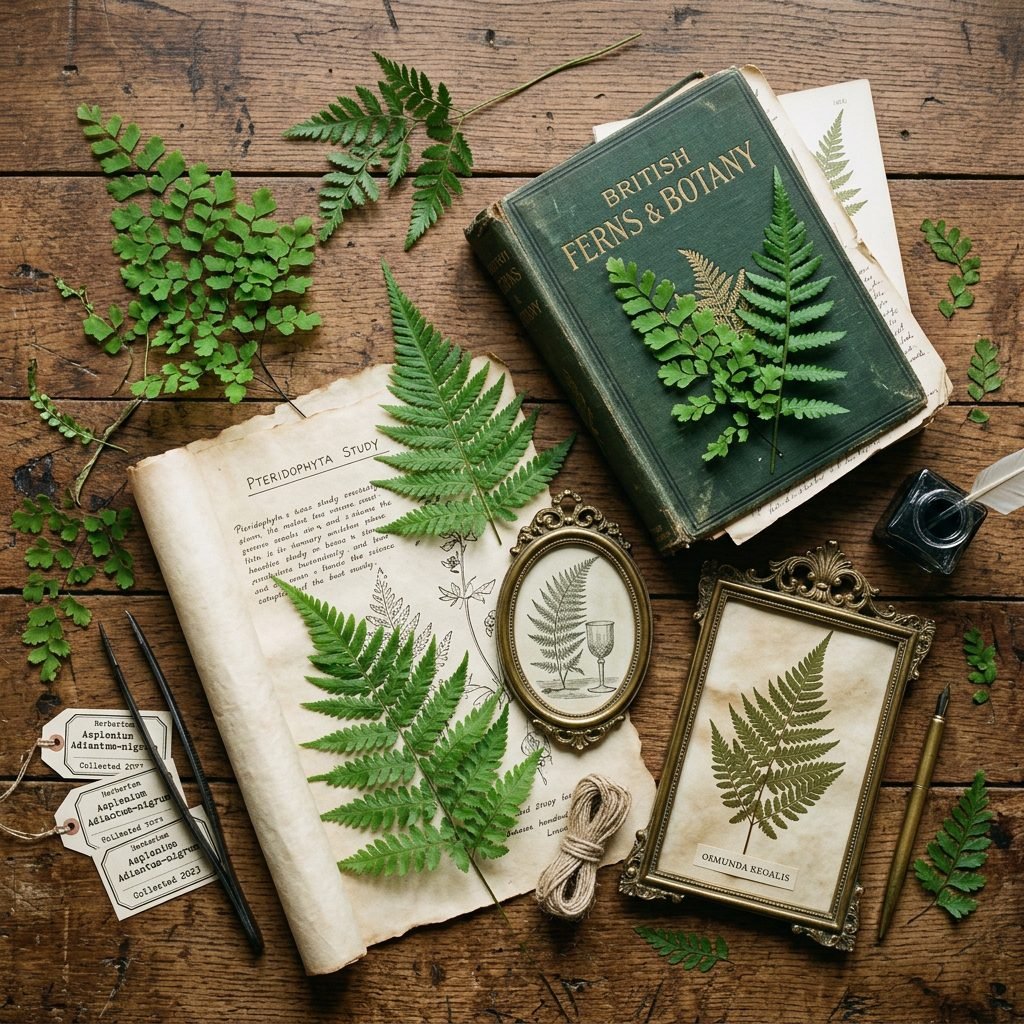
One of the most overwhelming parts of preparing for a baby is the sheer cost of everything. Nursery decor, especially vintage or boutique art, can come with a hefty price tag. This DIY project is a breath of fresh air for your budget.
You likely already have most of the pressing materials in your home. The only real investment is the frames, and this is where you can get incredibly creative. Thrift stores, estate sales, and antique shops are treasure troves for ornate, vintage brass or carved wood frames.
Your Botanical Art Supply List
Here is a breakdown of what you will need, along with a realistic budget to help you plan. Remember, nesting should bring joy, not financial stress!
| Material | Purpose | Estimated Cost |
|---|---|---|
| Fresh Fern Fronds | The star of your artwork | $0 – $5 (Foraged or bought) |
| Heavy Old Books | To provide even pressure for flattening | $0 (Use what you have) |
| Parchment or Wax Paper | To absorb moisture and protect book pages | $3 – $4 (Grocery store) |
| Paper Towels or Cardboard | Extra moisture absorption for thick leaves | $0 – $2 |
| Vintage Frames | To display your pressed art | $5 – $20 (Thrifted per frame) |
| Acid-Free Paper or Glass | Background for mounting the ferns | $5 – $10 (Craft store) |
| Tweezers & Craft Glue | For delicate positioning and securing | $5 (If not already owned) |
A quick pregnancy safety tip: If you are thrifting old frames, they may be dusty or grimy. Wear a mask while gently cleaning them with a pregnancy-safe mixture of warm water and mild dish soap. Avoid harsh chemical brass cleaners; a simple paste of baking soda and lemon juice works wonders for shining up vintage metal safely!
Patience and Pressure: Step-by-Step Fern Pressing
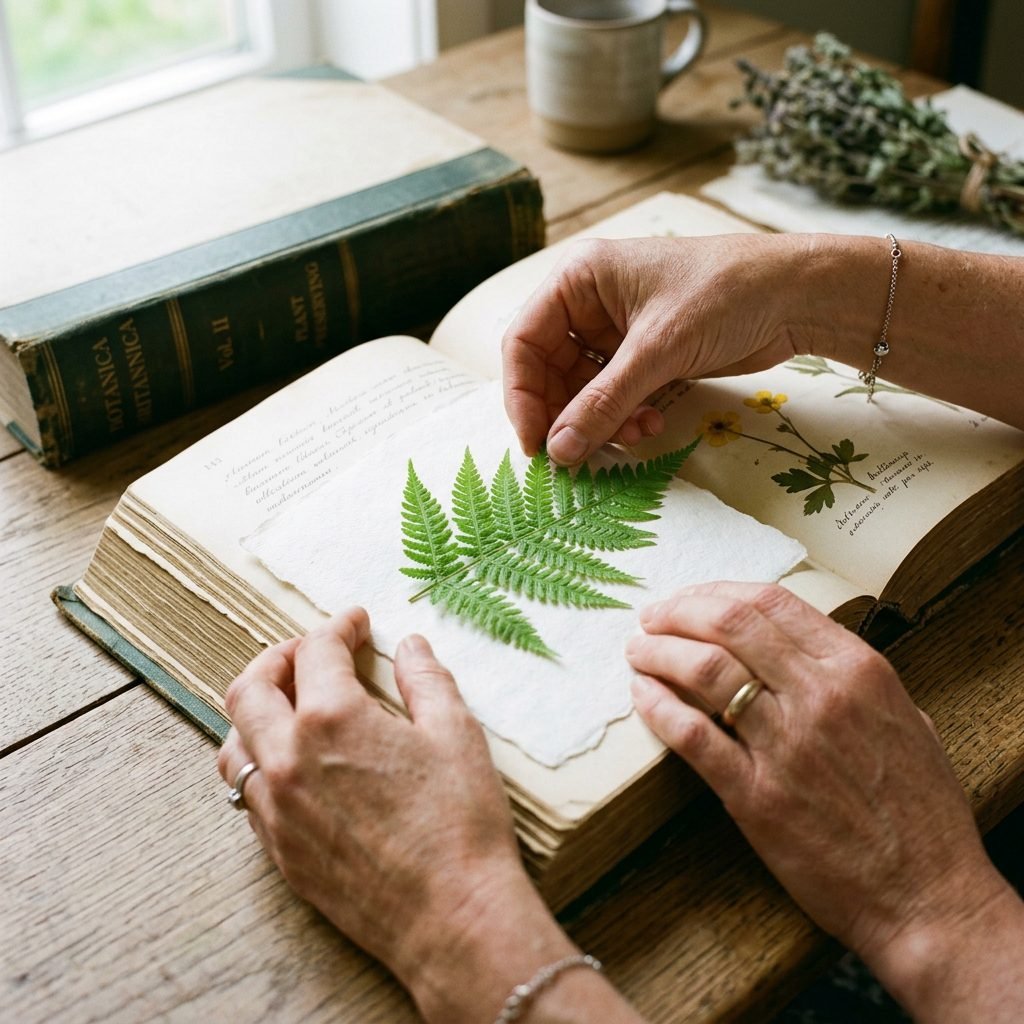
Now comes the fun, albeit slow, part. Pressing flowers and leaves is an exercise in patience. It requires you to slow down—a beautiful metaphor for pregnancy itself. You cannot rush the pressing process, just as you cannot rush the blooming of your beautiful baby.
The Traditional Book-Pressing Method
This is the most reliable, foolproof method for creating perfectly flat, beautifully preserved ferns.
- Prep your workspace: Clear a table and lay out your heavy books. Dictionaries, encyclopedias, or heavy coffee table books work best.
- Create your pressing layers: Open a book to the middle. Lay down a piece of cardboard, then a piece of paper towel, and finally a piece of parchment paper. This creates a highly absorbent bed for your fern.
- Position the fern: Carefully lay your fern frond flat on the parchment paper. Use tweezers to gently arrange the individual little leaves (pinnae) so they aren’t folded over each other. Note: Once they dry, they will be locked in this position forever!
- Seal the layers: Place another piece of parchment paper over the fern, followed by a paper towel, and then cardboard. Gently close the book.
- Add weight: Stack 3 to 5 heavy books on top of the book containing your fern. You want significant, even pressure.
- The Waiting Game: Leave the ferns completely undisturbed for 14 to 21 days. I know it is tempting to peek, but opening the book too early can cause the leaves to wrinkle or lose their color.
“Patience, mama. Just as your body is quietly, miraculously building a life in the dark, these leaves are transforming in the quiet pages of your books. Trust the process.”
If you live in a particularly humid climate, you may want to carefully change the parchment paper and paper towels after the first 7 days to prevent mold growth. Just be incredibly gentle, as the half-dried leaves will be fragile.
Creating the Vintage Aesthetic: Framing & Styling
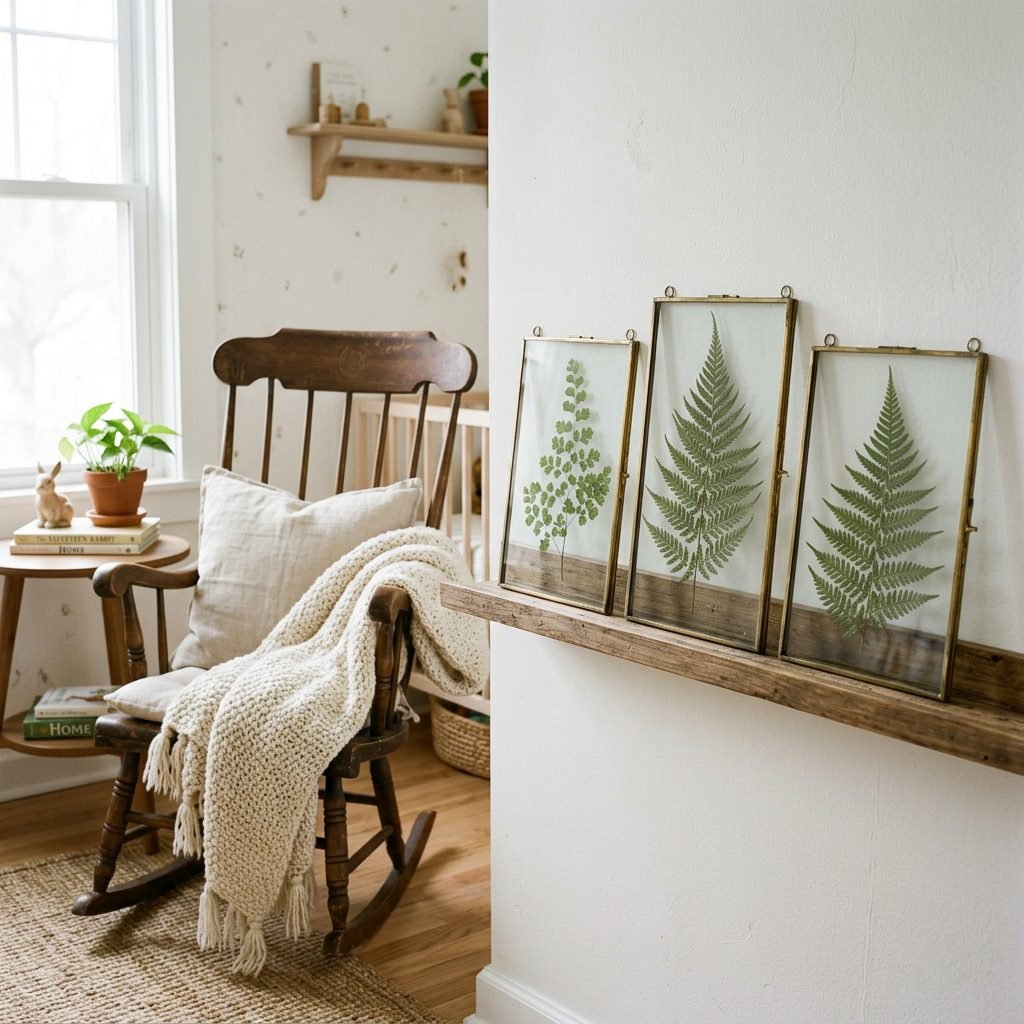
After three weeks of patient waiting, the day has finally arrived! Opening your books to reveal the delicate, paper-thin, perfectly preserved ferns is incredibly satisfying. Now, it is time to turn these botanical specimens into heirloom nursery art.
Choosing Your Mounting Style
There are two main ways to style your pressed ferns to achieve that nostalgic, vintage nursery aesthetic:
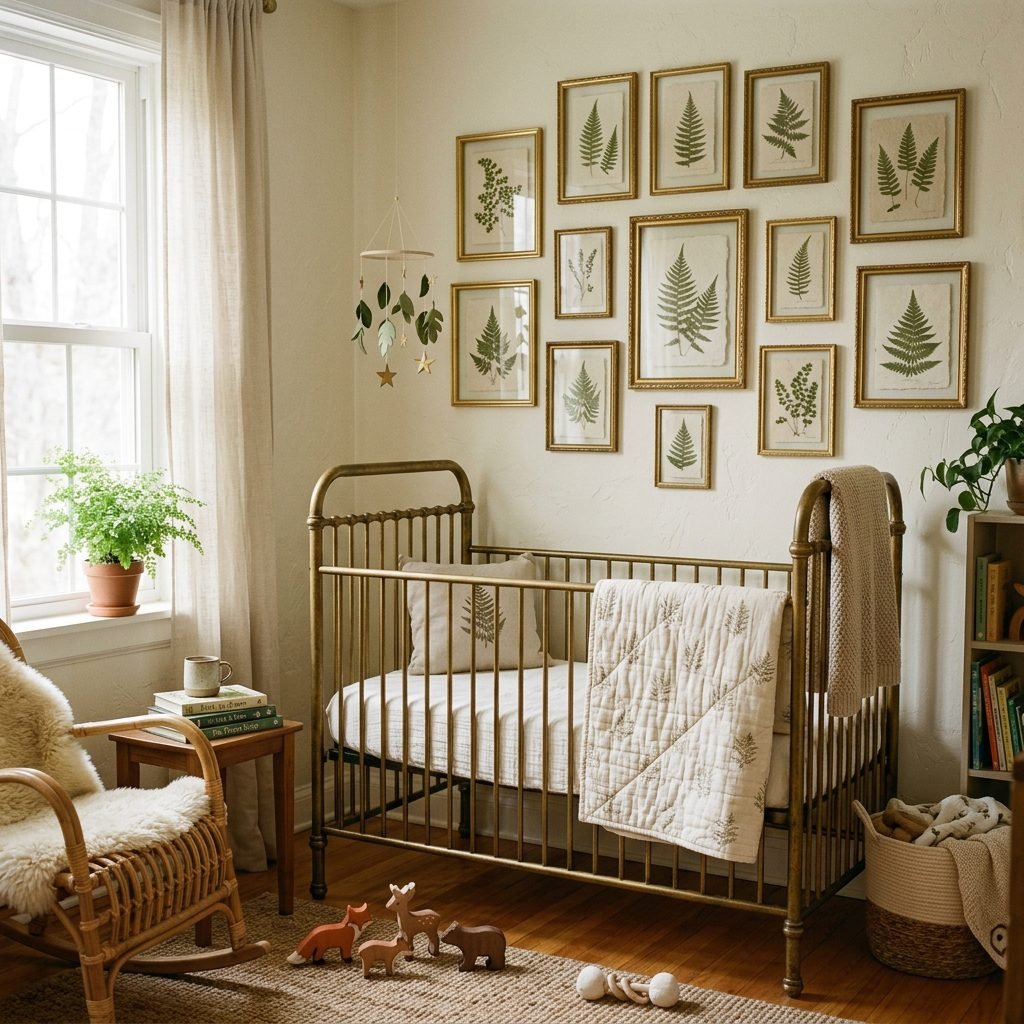
- The Floating Glass Method: This is wildly popular for vintage aesthetics. You sandwich the pressed fern between two panes of glass in a brass frame. The wall color of your nursery shows through, giving the art a light, airy, and magical feel. Tip: Use a tiny dab of clear craft glue on the back of the stem to keep the fern from slipping down the glass over time.
- The Traditional Botanical Mount: For a more academic, antique look, mount your fern on high-quality, acid-free watercolor paper. You can even use a fine-tip pen to write the Latin name of the fern at the bottom, mimicking an 18th-century botanical field guide.
Designing Your Gallery Wall
When hanging your art, consider the visual weight of the room. If you have a large, empty wall above a dresser or a nursing chair, a gallery wall of 3 to 5 framed ferns is stunning.
For a cohesive look, mix and match frame sizes (e.g., one large 11×14, two 8x10s, and a few 5x7s) but keep the frame material consistent—like all antique gold or all distressed wood. When spacing your frames, keep them 2 to 3 inches apart so they feel connected as a single collection rather than scattered pieces.
Nursery Safety: Hanging Your Botanical Art Securely
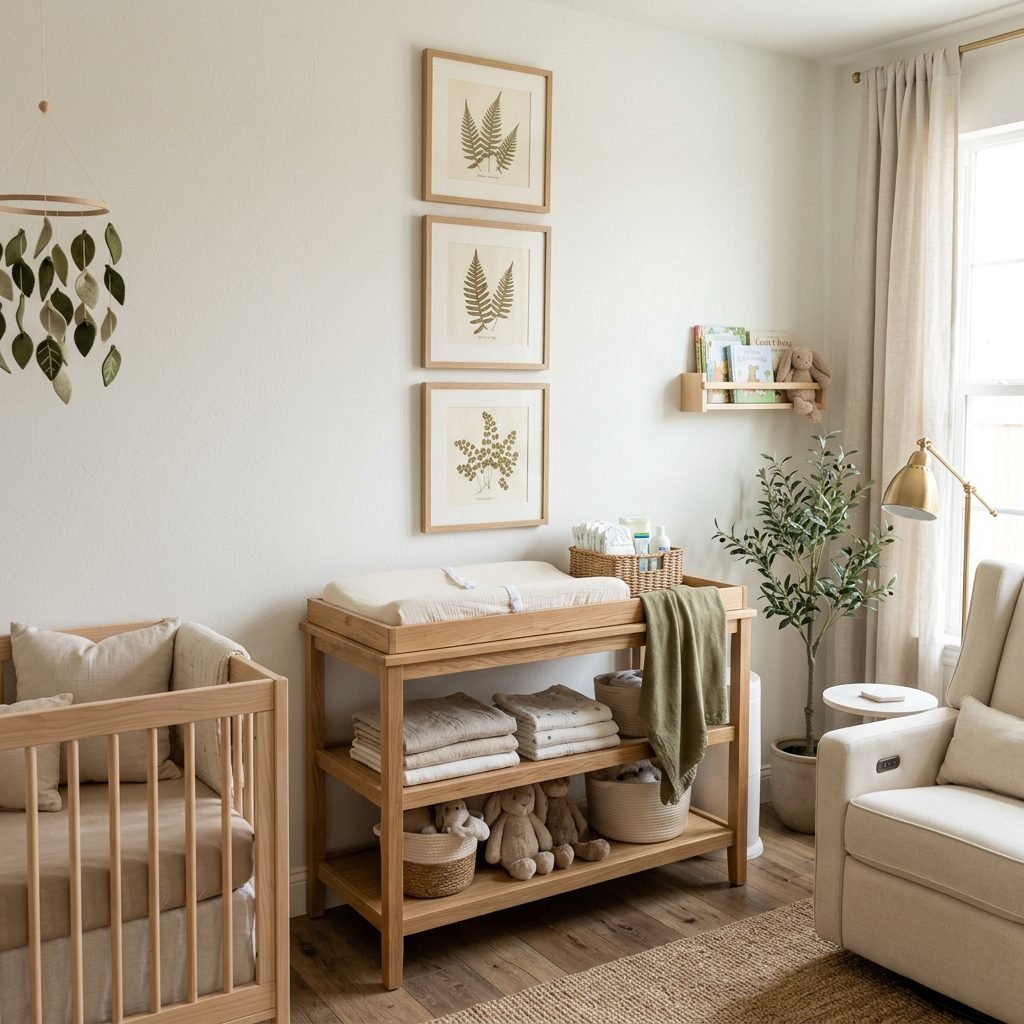
As a doula and pediatric sleep consultant, I always have to put my safety hat on when we talk about nursery design. We want your baby’s room to be beautiful, but above all, it must be a safe haven. As your little one grows from a sleepy newborn into an active, curious toddler, their environment needs to be secure.
Vital Safety Guidelines for Nursery Art
Please keep these crucial safety rules in mind when hanging your beautiful new fern art:
- Never hang heavy glass or heavy frames directly over the crib. If you live in an earthquake-prone area, or even if you just have a door that slams hard, things can fall. If you must decorate the wall behind the crib, opt for lightweight canvas, fabric tapestries, or soft felt art instead.
- Use proper wall anchors. Do not just rely on a simple nail in the drywall. Use drywall anchors and screws to ensure the frames are locked into the wall.
- Consider plexiglass alternatives. If you love the look of floating frames but are worried about shattered glass, many craft stores sell frames that use clear, shatterproof acrylic or plexiglass instead of traditional glass.
- Mind the changing table reach. Babies get surprisingly grabby around the 6-month mark. Ensure that any art hung near the changing pad is high enough that a sudden, flailing little arm cannot pull it down.
By following these simple safety steps, you can relax in your nursing chair, look at your beautiful handmade art, and know that your baby is surrounded by both beauty and absolute safety.
Conclusion
Creating this DIY pressed fern framed art is so much more than just a decorating task. It is an act of love, a tangible manifestation of your nesting instinct, and a beautiful way to spend quiet, reflective time during your pregnancy or early postpartum days. Every time you rock your baby to sleep beneath those delicate green fronds, you will be reminded of the patience, care, and love you poured into their very first room.
Remember, mama, there is no such thing as a “perfect” nursery. The most beautiful thing in that room will always be the bond between you and your baby. But adding a touch of vintage, handmade nature certainly makes those long nights a little more peaceful. Happy crafting, and take gentle care of yourself during this magical season of waiting.