Documenting the Bump: Creative Weekly Flat Lay Maternity Photo Ideas
Oh, mama, congratulations! Whether you are just seeing those two pink lines or you are already feeling those first sweet flutters, your body is doing something absolutely miraculous. As a doula, I have seen so many mothers look back and wish they had captured more of the quiet, everyday magic of their pregnancy. But let’s be real: between the morning sickness, the doctor appointments, and the sheer exhaustion of growing a human, a full-blown professional photoshoot every week just isn’t in the cards for most of us.
That is where the maternity flat lay comes in. It is the ultimate low-stress, high-style way to document your bump’s growth from the comfort of your own home. You don’t even have to put on makeup or find a dress that fits! Flat lay photography is simply the art of arranging objects on a flat surface and taking a photo from directly above. It is intimate, creative, and a beautiful way to tell the story of your baby’s journey before they even arrive. In this guide, we are going to walk through everything you need to create a stunning weekly series that you will treasure forever.
Master the Art of the Flat Lay: Set the Stage for Your Bump Journey
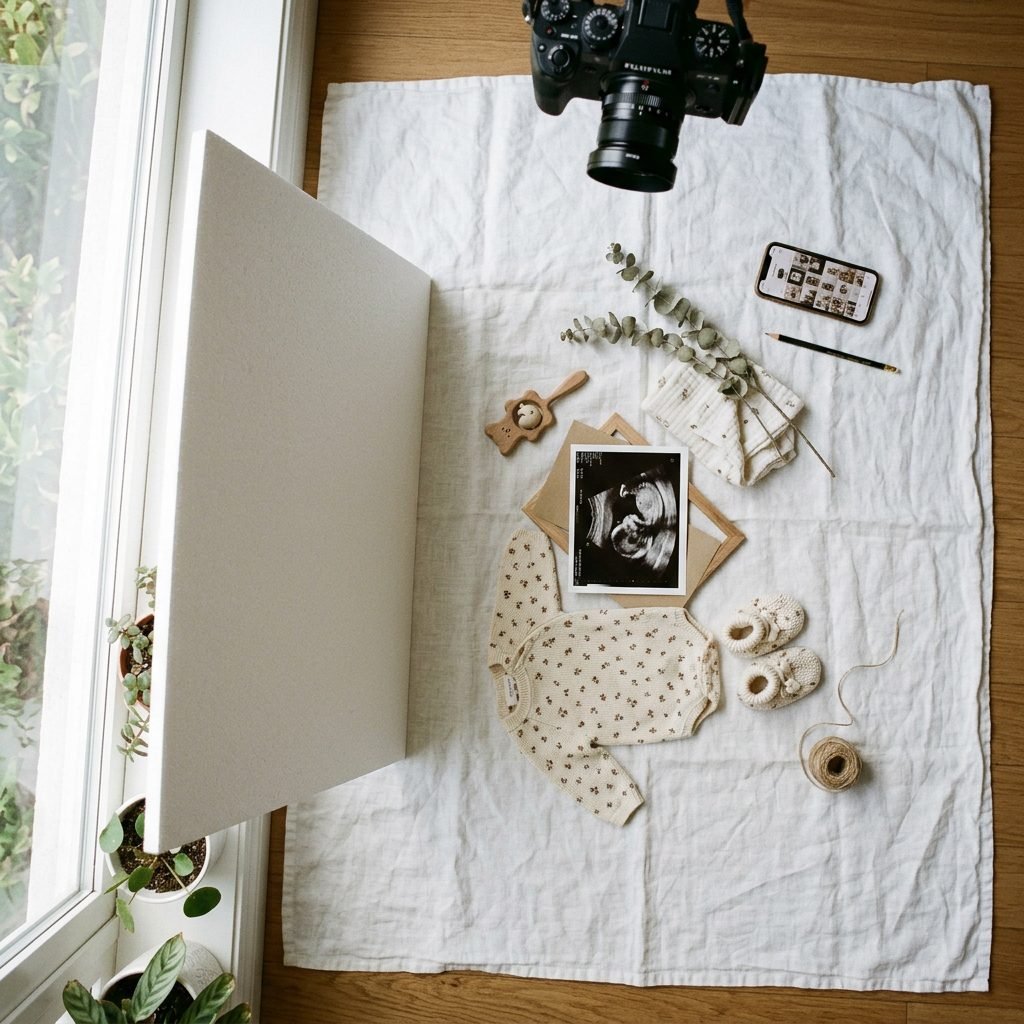
Before we dive into the creative themes, let’s talk about the foundation. You don’t need a professional studio to get magazine-quality shots. You just need a little bit of intentionality and some good light. As your sister-in-wellness, I want this to be a joyful ritual, not another chore on your to-do list. Set aside 15 minutes on the same day each week—perhaps ‘Bump Day Wednesday’—to keep your series consistent.
Choosing Your Backdrop
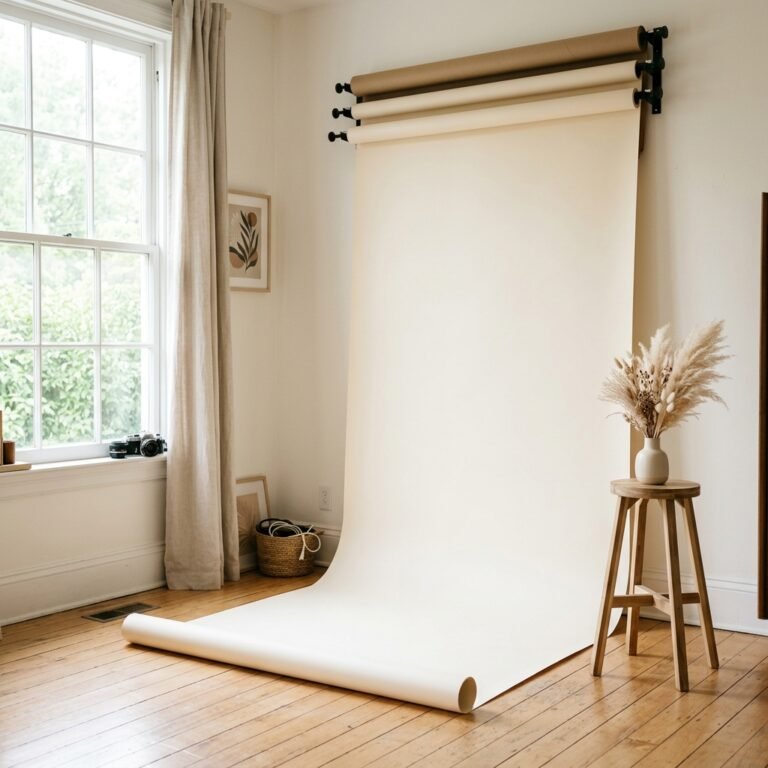
Your background sets the mood. For a warm, organic feel, look for natural textures. A light wood floor, a linen bedsheet, or even a large piece of neutral poster board can work wonders. Consistency is key here; using the same background every week allows the changing props (and your baby’s growth!) to be the star of the show.
Lighting is Your Best Friend
Always use natural, indirect light. Position your setup near a large window, but avoid harsh, direct sunlight which creates deep shadows. The best time is usually mid-morning or late afternoon. If the light is too bright, a sheer white curtain can act as a beautiful diffuser.
Pro-tip: If you are struggling with shadows, use a white foam board (available at any craft store) held opposite the window to bounce light back onto your arrangement. It works like magic!
| Material Needed | Purpose | Estimated Cost |
|---|---|---|
| Neutral Linen or Wood Floor | Base Backdrop | $0 – $20 |
| Wooden Letter Board | Weekly Milestone Text | $15 – $25 |
| Natural Window Light | Illumination | $0 |
| White Foam Board | Light Reflector | $5 |
The ‘Sweetest’ Growth Chart: Documenting with Fruits and Vegetables

This is a classic for a reason! Comparing your little one to the size of a fruit or vegetable is a whimsical way to visualize their development. It’s also a great way to involve older siblings if this isn’t your first rodeo. Every week, you’ll head to the grocery store to find your ‘baby’ of the week.
How to Style the Produce
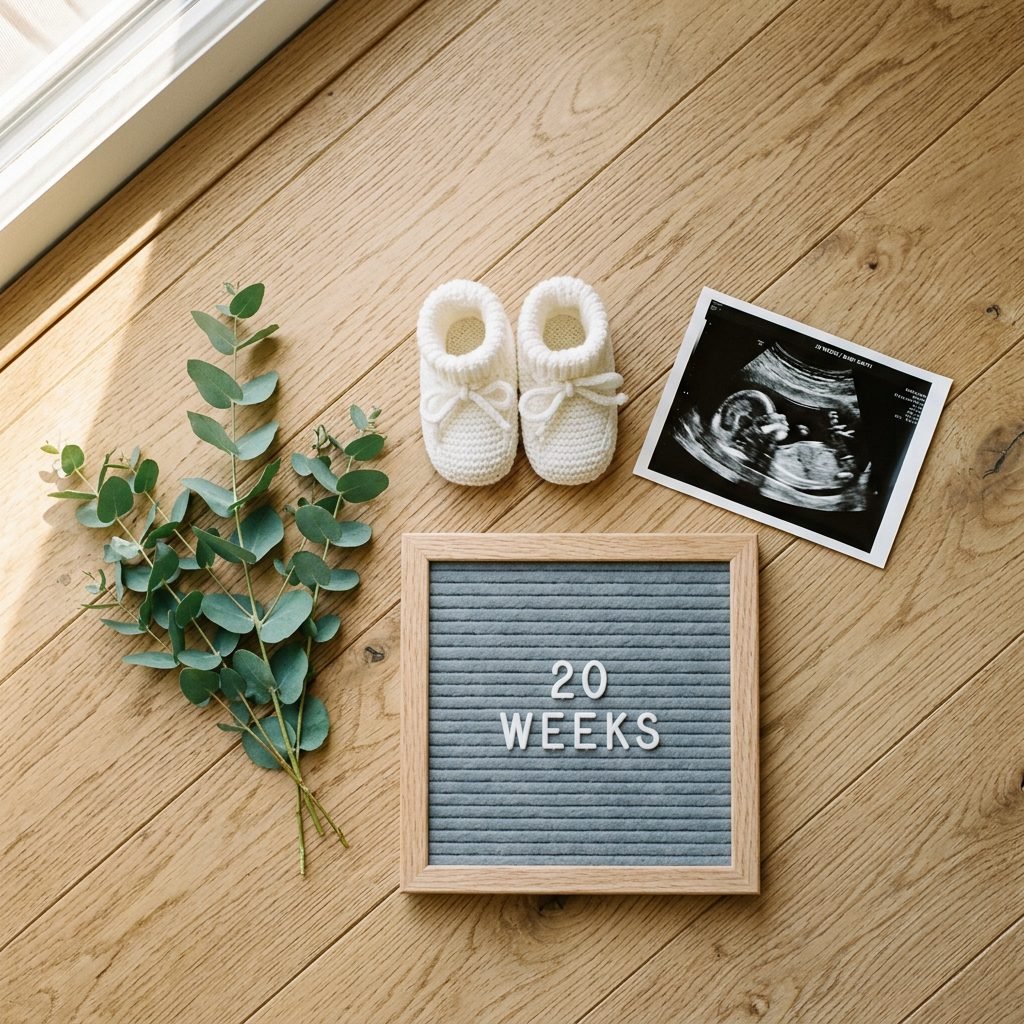
Don’t just toss a lemon on the floor! Place the fruit alongside a consistent element, like a pair of baby shoes or a sonogram, to provide a sense of scale. As the produce gets larger—from a tiny poppy seed to a heavy watermelon—the visual impact of your journey becomes truly breathtaking.
| Week | Fruit/Vegetable Size | Styling Tip |
|---|---|---|
| 8 Weeks | Raspberry | Place in a tiny ceramic bowl. |
| 12 Weeks | Lime | Pair with a bright green ribbon. |
| 16 Weeks | Avocado | Slice one open for a pop of color! |
| 20 Weeks | Banana | Great for showing length. |
| 28 Weeks | Eggplant | Use a dark, moody background. |
| 35 Weeks | Honeydew | Requires a larger backdrop area. |
| 40 Weeks | Watermelon | The grand finale! |
Safety Note: If you’re using heavy produce like pumpkins or watermelons toward the end of your pregnancy, please be careful with your back! Ask your partner or a friend to help you move items into place. Your physical comfort is always the priority.
Seasonal Blooms and Earthy Textures: A Natural Aesthetic
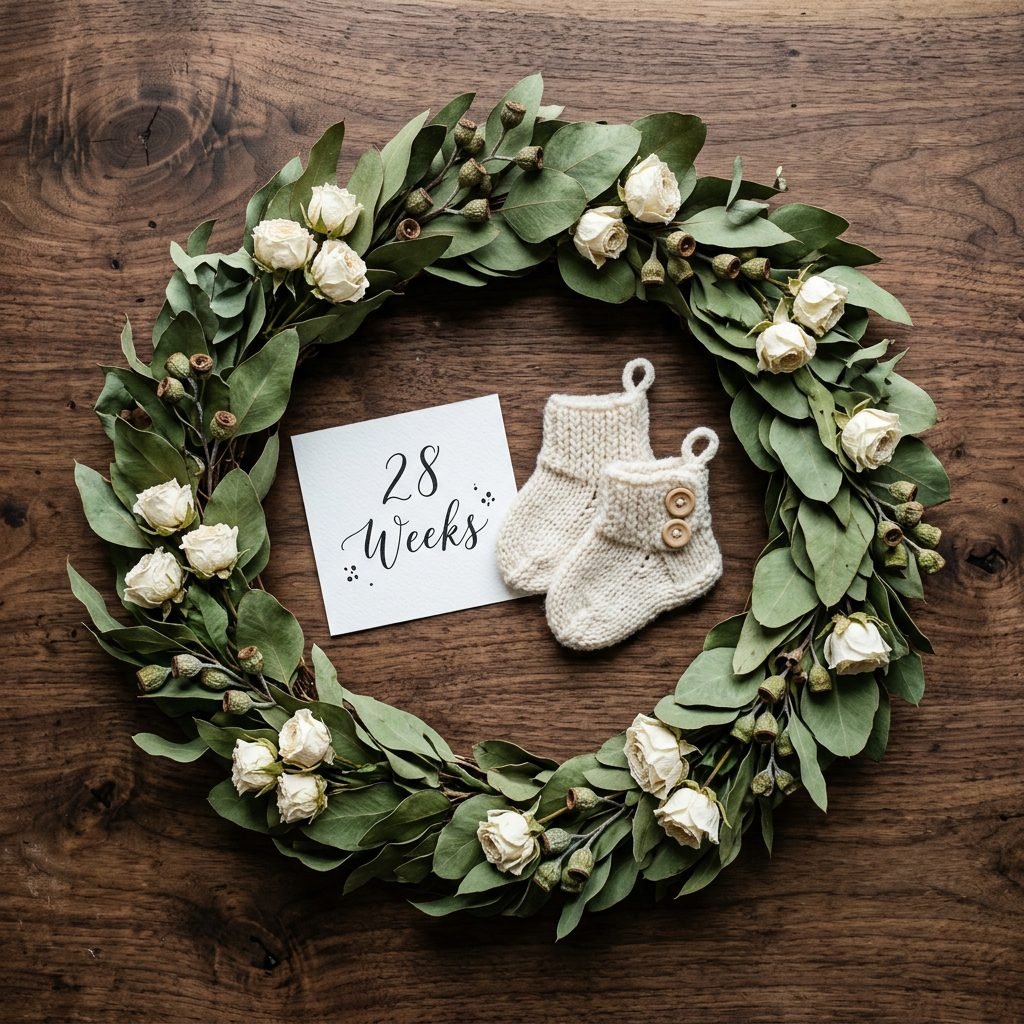
For the mama who loves a bohemian or romantic vibe, using florals and natural elements is a stunning choice. This theme evolves beautifully as the seasons change during your nine-month wait. It’s like a living diary of the time of year your baby was growing inside you.
Curating Your Botanical Elements
- Spring: Use tulips, daffodils, or cherry blossoms.
- Summer: Think sunflowers, eucalyptus, or dried lavender.
- Autumn: Deep orange leaves, pinecones, and dried wheat.
- Winter: Evergreen sprigs, holly berries, or even a dusting of faux snow.
Arrange the flowers in a wreath shape around your weekly number, or create a ‘crescent’ of blooms on one side of the frame. This adds a soft, feminine touch that feels both high-end and deeply personal. If you’re a crafty mom, you can even press some of these flowers later to include in a physical baby book!
Remember, mama: There is no ‘perfect’ way to do this. If a flower is wilted or a leaf is torn, it just adds to the authentic beauty of the season. Just like pregnancy, it’s perfectly imperfect.
Minimalist Chic: Focus on Fashion and Ultrasounds
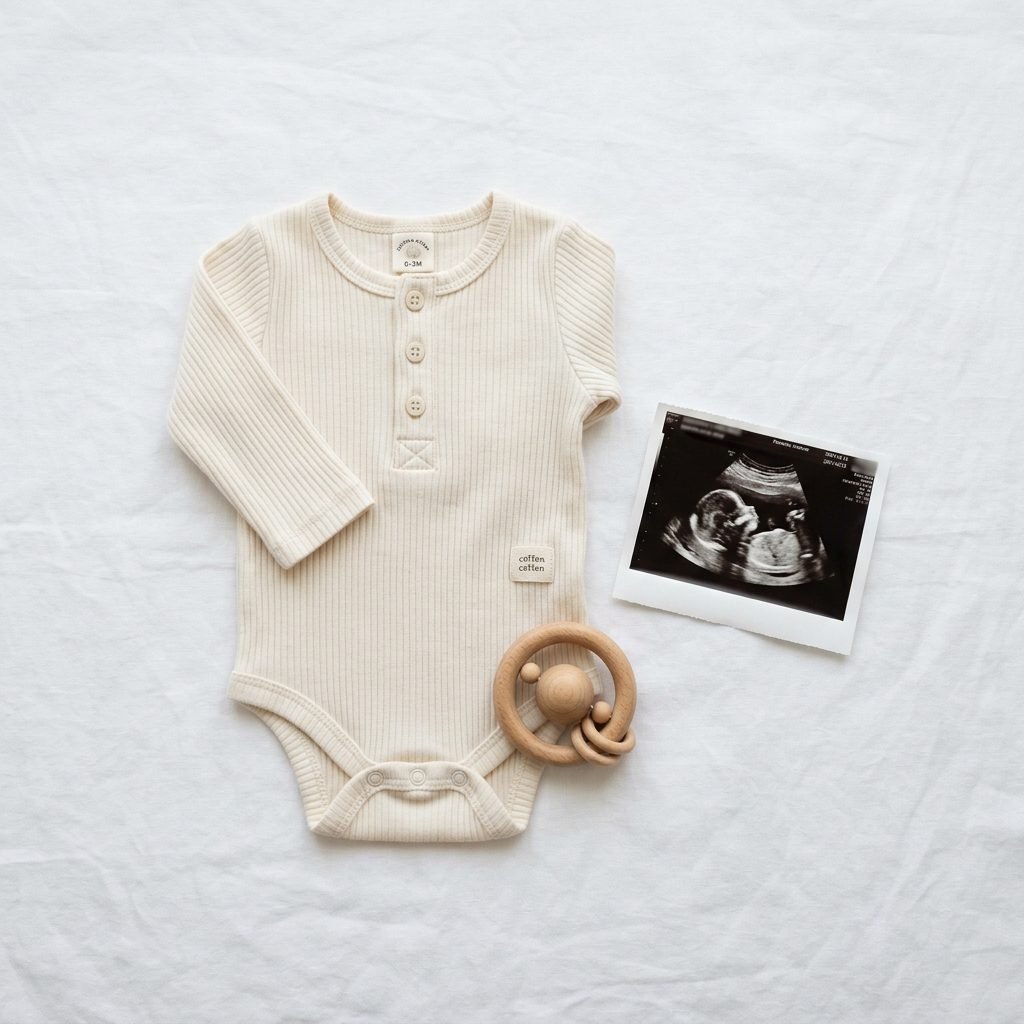
Sometimes, less is truly more. If you prefer a clean, modern aesthetic, focus your flat lays on the items you are actually preparing for the baby. This is a wonderful way to document your ‘nesting’ process. Instead of external props, use the tiny outfits, the nursery decor, and the medical milestones that mark your progress.
The ‘Coming Home’ Outfit Series
One of my favorite ideas is to feature a different piece of the baby’s future wardrobe each week. Start with a tiny hat, then a onesie, then a pair of leggings, building up to the full ‘coming home’ outfit in the final weeks. This creates a beautiful narrative of preparation and anticipation.
Incorporating Your Ultrasound Photos
Your sonogram photos are the first ‘portraits’ of your little one. To keep them looking their best in photos:
- Avoid using a flash, as it will reflect off the glossy paper.
- Use a small piece of double-sided tape to keep the photo from curling.
- Pair the black-and-white image with neutral tones like cream, beige, or soft gray to make the sonogram pop.
| Theme Element | Minimalist Approach | Modern Touch |
|---|---|---|
| Color Palette | Monochrome (Whites/Grays) | Muted Earth Tones |
| Main Prop | Single Baby Onesie | Wooden Heirloom Toy |
| Text | Simple Sans-Serif Card | Handwritten Calligraphy |
Technical Tips for the Perfect Overhead Shot
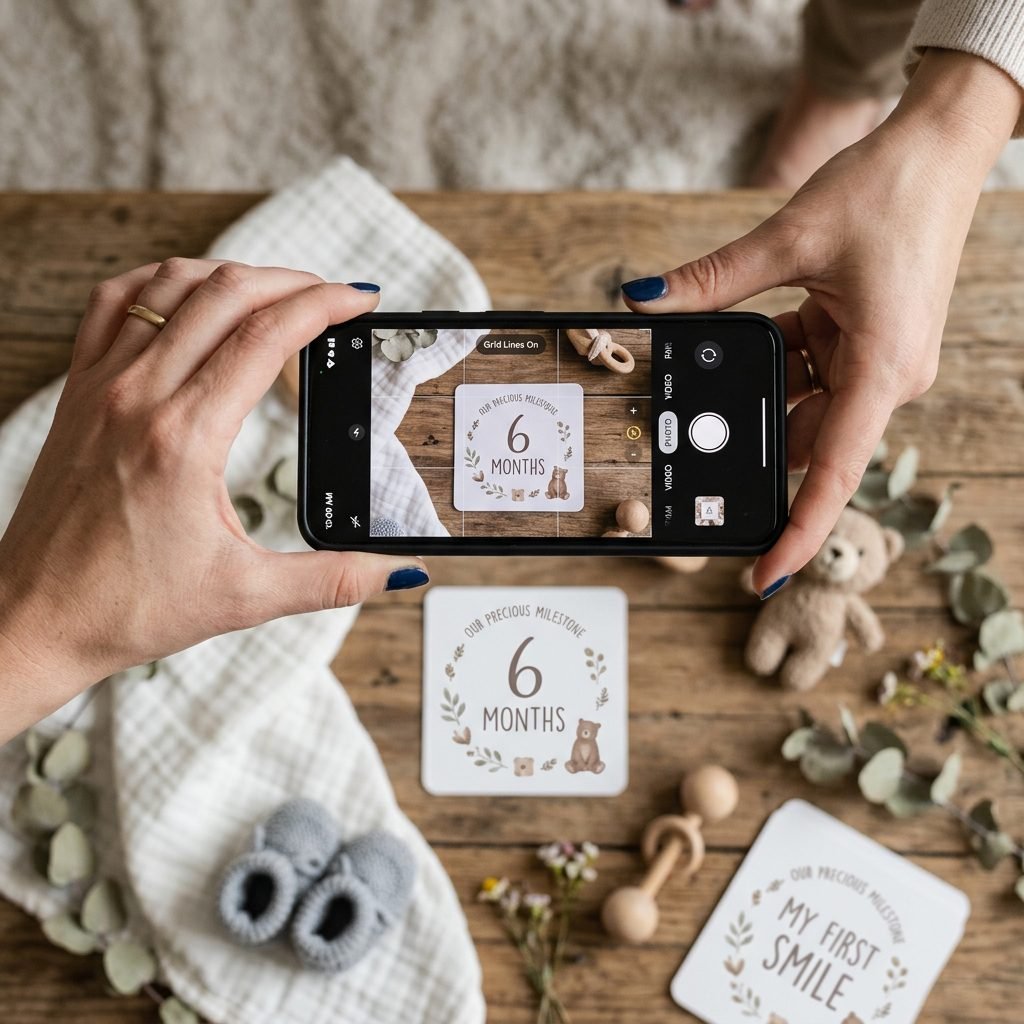
Getting that perfect ‘bird’s eye view’ can be tricky, especially when you have a growing belly in the way! Here are the practical steps to ensure your photos look professional and sharp every single time.
- Use a Tripod with an Overhead Arm: If you want to be truly hands-free, invest in a tripod that has a transverse (horizontal) center column. This allows the camera to hang directly over your setup.
- The Chair Method: If you don’t have a tripod, carefully stand on a sturdy step stool or chair. Safety first, mama! Always have your partner spot you, or simply place your flat lay on a lower surface like a coffee table or the floor so you can stand over it safely.
- Grid Lines are Key: Turn on the ‘Grid’ feature in your smartphone camera settings. This helps you line up the horizon and ensure your phone is perfectly level. When the center crosshair turns yellow (on many iPhones), you know you’re perfectly flat.
- Edit for Consistency: Use a simple app like Lightroom Mobile or Snapseed. Apply the same filter or ‘preset’ to every photo in your series. This ties the whole 40-week journey together visually, making it look like a cohesive collection.
As a doula, I always remind my clients to be kind to themselves. If you miss a week, don’t sweat it! Just pick back up the next week. This is about joy, not perfection.
Turning Pixels into Paper: Creating Your Maternity Keepsake
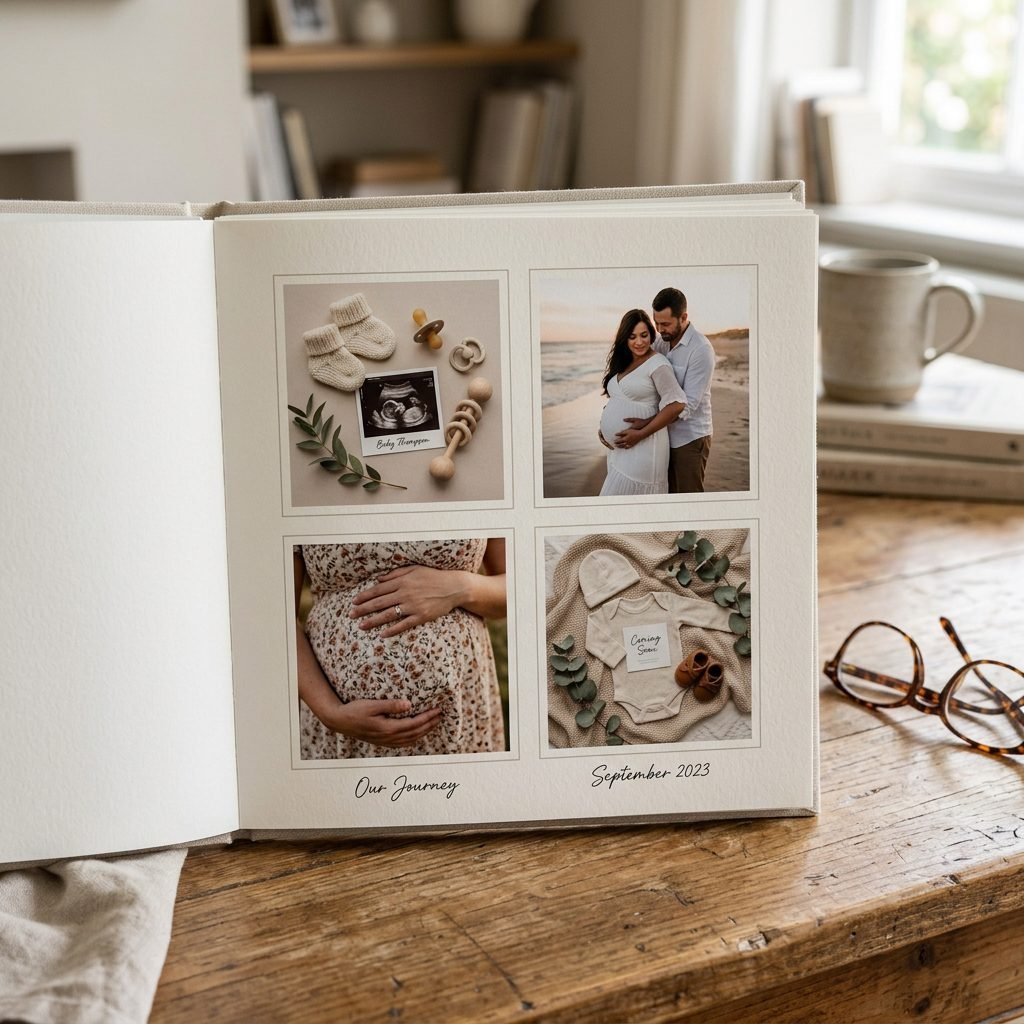
Once you’ve reached the finish line and your sweet babe is in your arms, what do you do with those 40 beautiful photos? Don’t let them just sit in your camera roll! There are so many creative ways to display your journey.
Digital Time-Lapse
Using a simple video editing app, you can string all your weekly flat lays together into a 30-second time-lapse. Watching the fruit grow or the outfits change in rapid succession is an emotional experience that is perfect for sharing with family or on social media.
The ‘Bump to Baby’ Photo Book
Create a dedicated photo book where each page features your weekly flat lay on one side and a short note to your baby on the other. Write about your cravings, your dreams for them, or how much they were kicking that week. This becomes a priceless heirloom for your child to read when they are older.
Gallery Wall Grid
Select your favorite 9 or 12 photos (perhaps one from each month) and print them in small squares. Frame them in a grid for a sophisticated and sentimental piece of nursery decor. It’s a beautiful reminder of the months you spent nesting and waiting for their arrival.
Affirmation: My body is a temporary home for my baby, and every change is a sign of my strength and love.
Conclusion
Documenting your pregnancy through weekly flat lays is more than just a social media trend; it is a way to pause and honor the incredible work your body is doing. Whether you choose the whimsical route of fruits and veggies or the sophisticated path of minimalist styling, the most important element is the love you pour into every frame. One day, you’ll look back at these photos—perhaps with that very same ‘baby’ now a toddler in your lap—and marvel at how quickly the time passed. You are doing a beautiful job, mama. Enjoy these quiet moments of creativity and anticipation. You’ve got this!