How to Use Natural Window Light for Stunning DIY Home Newborn Photos
Capturing the Magic of New Life in Your Own Home
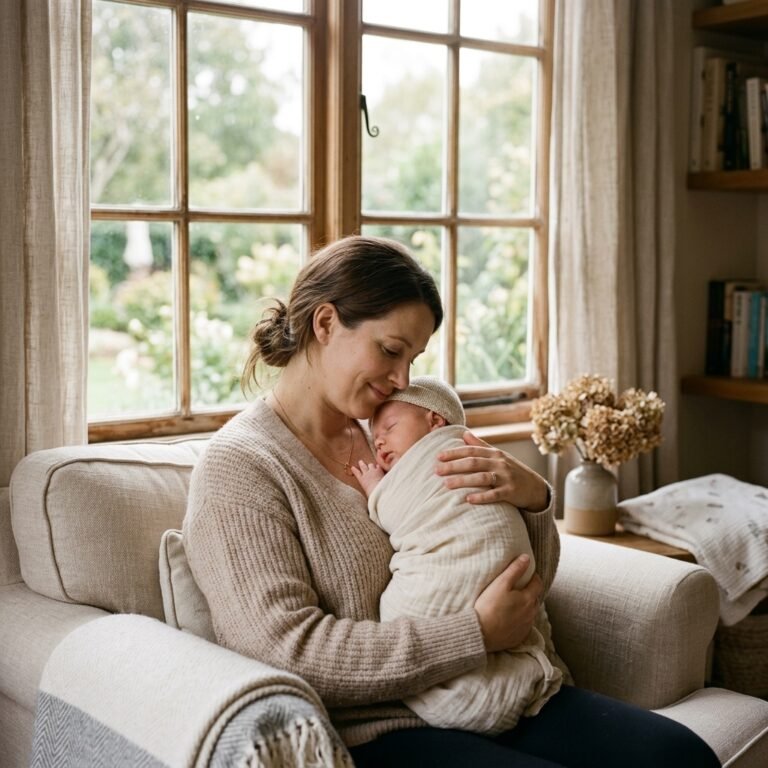
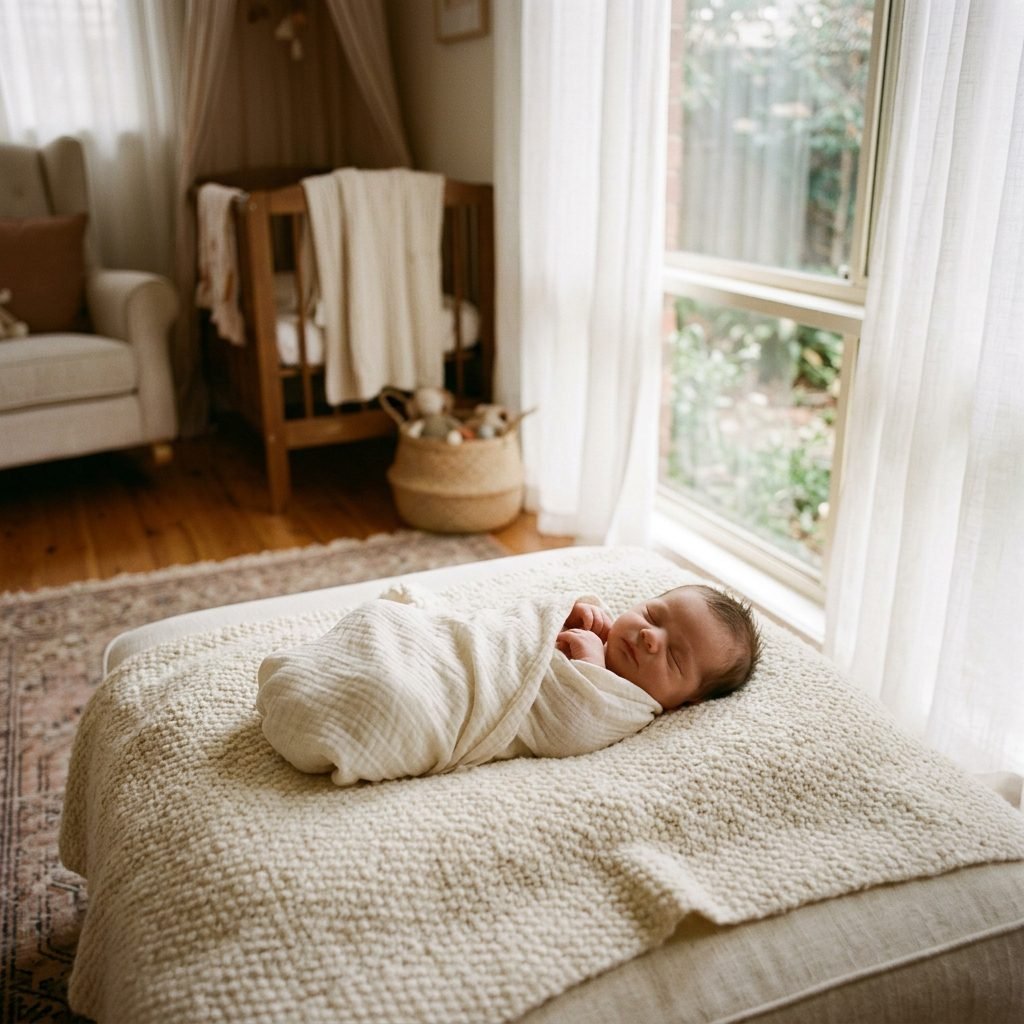
Oh, mama, I see you. You are in that beautiful, exhausting, milk-scented haze of the fourth trimester. Your little one is changing every single hour, and you want to freeze time, don’t you? You don’t need a high-priced studio or a trunk full of heavy lighting equipment to capture those tiny eyelashes, the peeling skin on those miniature toes, or that sweet, sleepy pout. All you truly need is the sun, a window, and the fierce love you have for your baby.
As a doula and a mama myself, I know that the thought of packing up a diaper bag and heading to a studio in those first two weeks feels like climbing Mount Everest. That is why DIY home photography is such a gift. It allows you to work around your baby’s rhythm—the feedings, the naps, and the snuggle sessions—without the pressure of a ticking clock. Natural light is not just a budget-friendly option; it is actually the most flattering, soft, and honest way to document your baby’s earliest days. In this guide, we are going to walk through exactly how to harness the power of the sun to create professional-looking portraits that feel as warm and gentle as a lullaby.
Finding the Perfect ‘Studio’ Window in Your Home
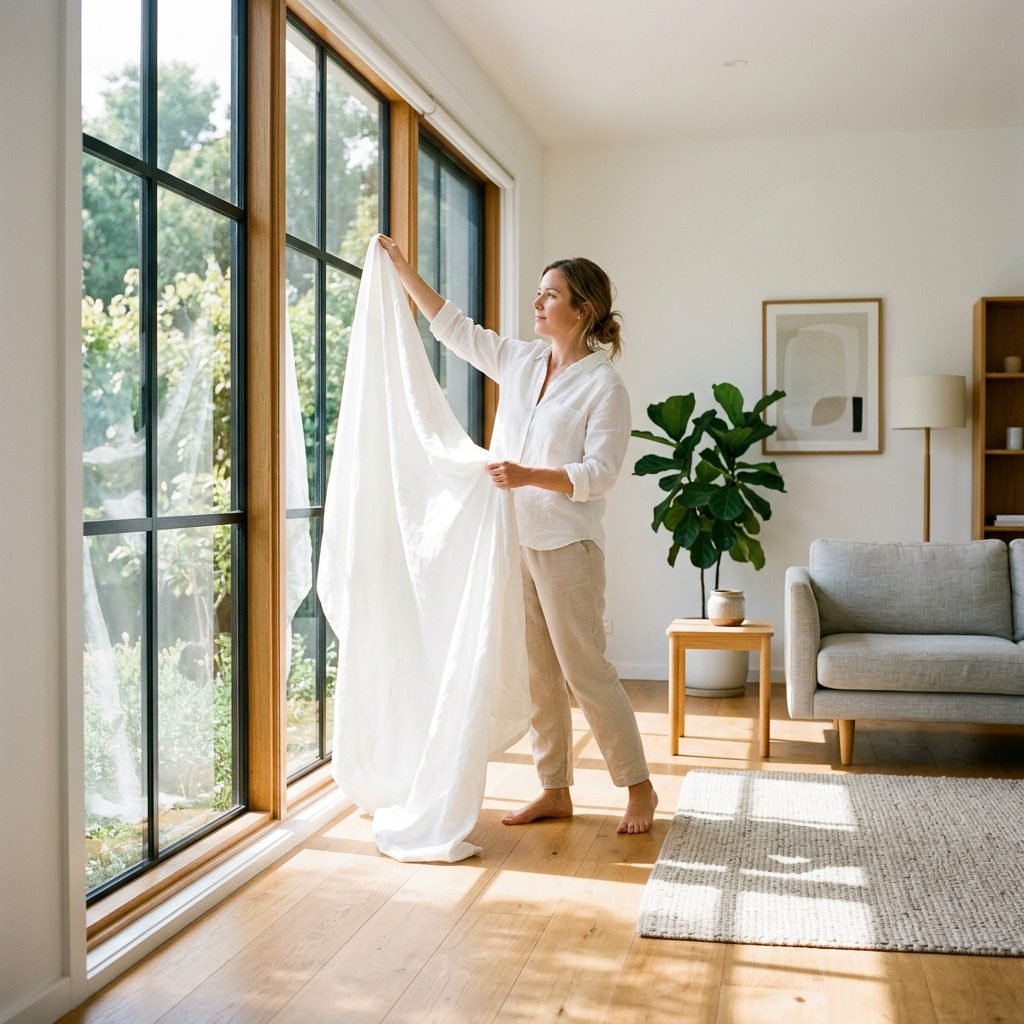
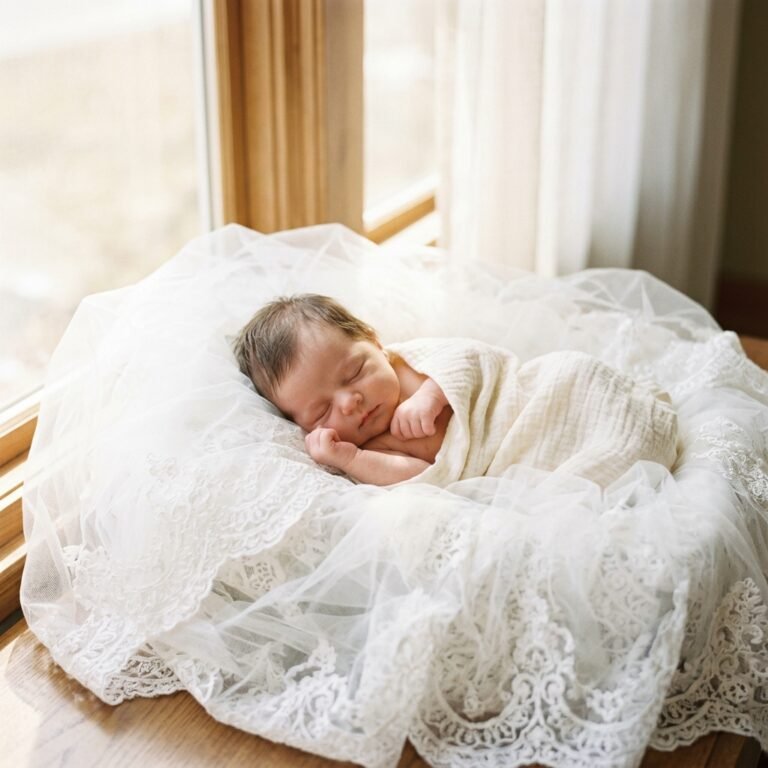
Not all windows are created equal when it comes to photography. The goal is to find soft, indirect light. Direct sunlight—the kind that creates harsh yellow squares on the floor—is actually your enemy here. It creates deep, dark shadows and can make your baby squint or feel too warm. Instead, we are looking for ‘North-facing’ or ‘South-facing’ light, or light that is filtered through clouds or sheer curtains.
Identifying Your Best Light Source
Take a walk through your home at different times of the day. Look for a window where the light feels even and ‘wrap-around.’ Usually, a large sliding glass door or a low-set bedroom window works beautifully because it allows the light to hit the baby at a lower angle, rather than coming from directly above like a ceiling light would.
- North-Facing Windows: These are the holy grail. They provide consistent, cool, and soft light all day long without any harsh sunbeams.
- South-Facing Windows: These provide bright, warm light. If the sun is coming in too strong, you will need to ‘scrim’ the window with a thin white bedsheet or a sheer curtain to soften the glow.
- East and West Windows: These are great in the morning (East) or late afternoon (West), but avoid them when the sun is directly hitting the glass.
Pro-Tip: Turn off every single overhead light and lamp in the room. Mixing ‘yellow’ light from bulbs with ‘blue’ light from the window creates strange skin tones that are very hard to fix later!
The 45-Degree Rule: Positioning for Depth and Detail
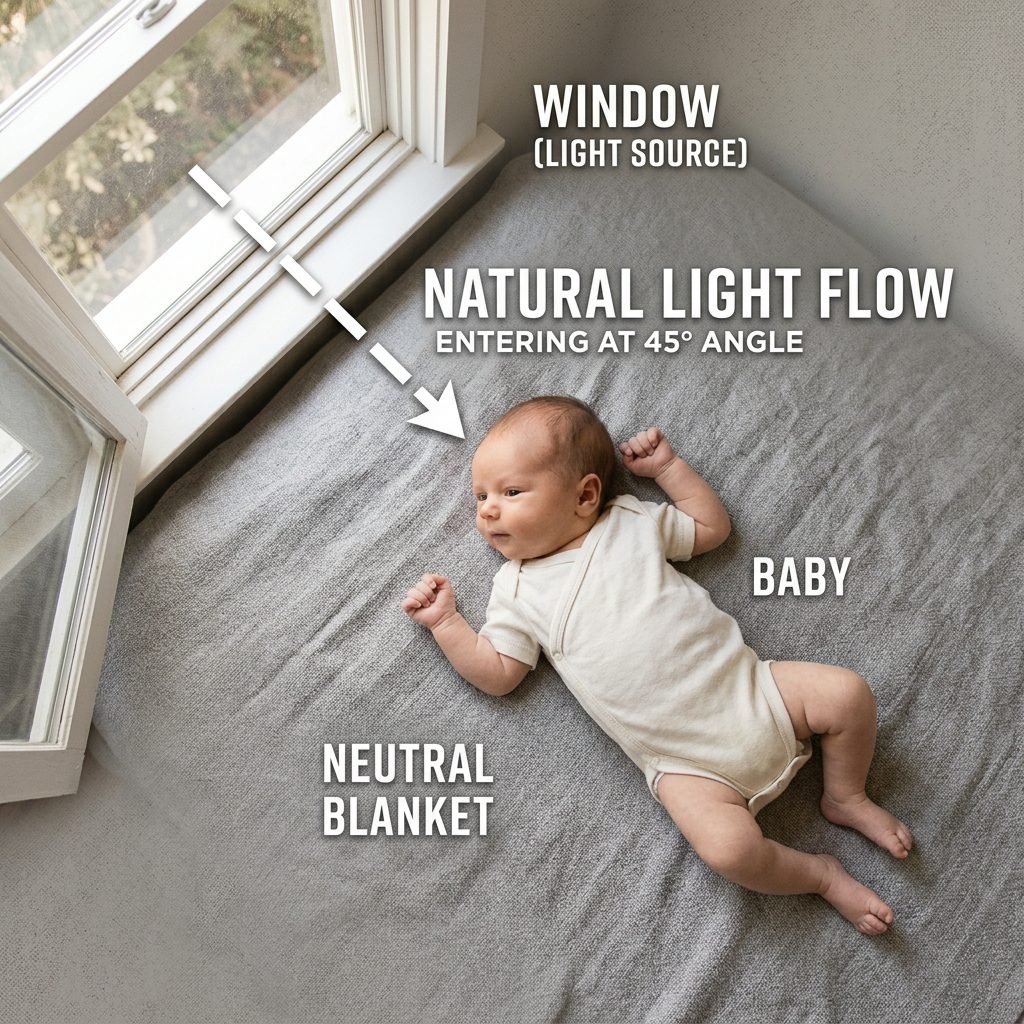
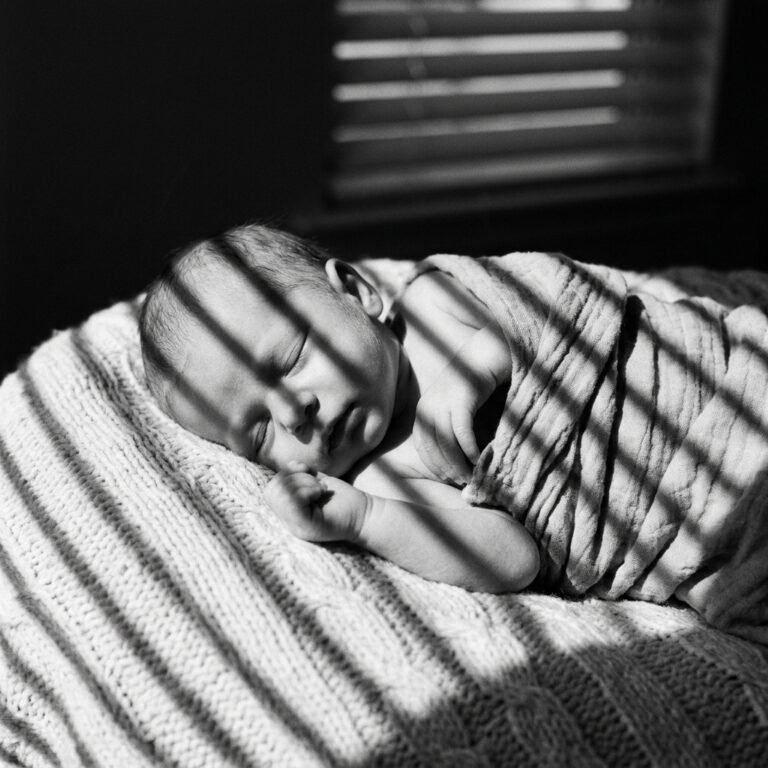
The biggest mistake DIY photographers make is placing the baby directly facing the window or with their feet toward the light. To get those professional, ‘painterly’ shadows that define a baby’s features, we use directional lighting. This is where we position the baby at a 45-degree angle to the window.
How to Set Up the ‘Shot Zone’
Imagine a clock on the floor. If the window is at 12 o’clock, you want the baby’s head to be pointing toward 10 o’clock or 2 o’clock. This allows the light to ‘roll’ over the baby’s forehead and down their nose, creating a soft shadow under the chin. This is called ‘Short Lighting,’ and it is incredibly flattering for newborn faces.
- Head Toward Light: Always ensure the light is flowing from the top of the baby’s head down toward their feet. Light coming from the feet up is known as ‘ghoul lighting’ and looks unnatural.
- Distance Matters: Place your setup about 2 to 4 feet away from the window. Too close, and the shadows are too dramatic. Too far, and the light becomes flat and dull.
- The Level: If you are using a bed or a ‘posie’ beanbag, make sure it is high enough to catch the best part of the window light.
DIY Modifiers: Using Household Items to Control the Glow
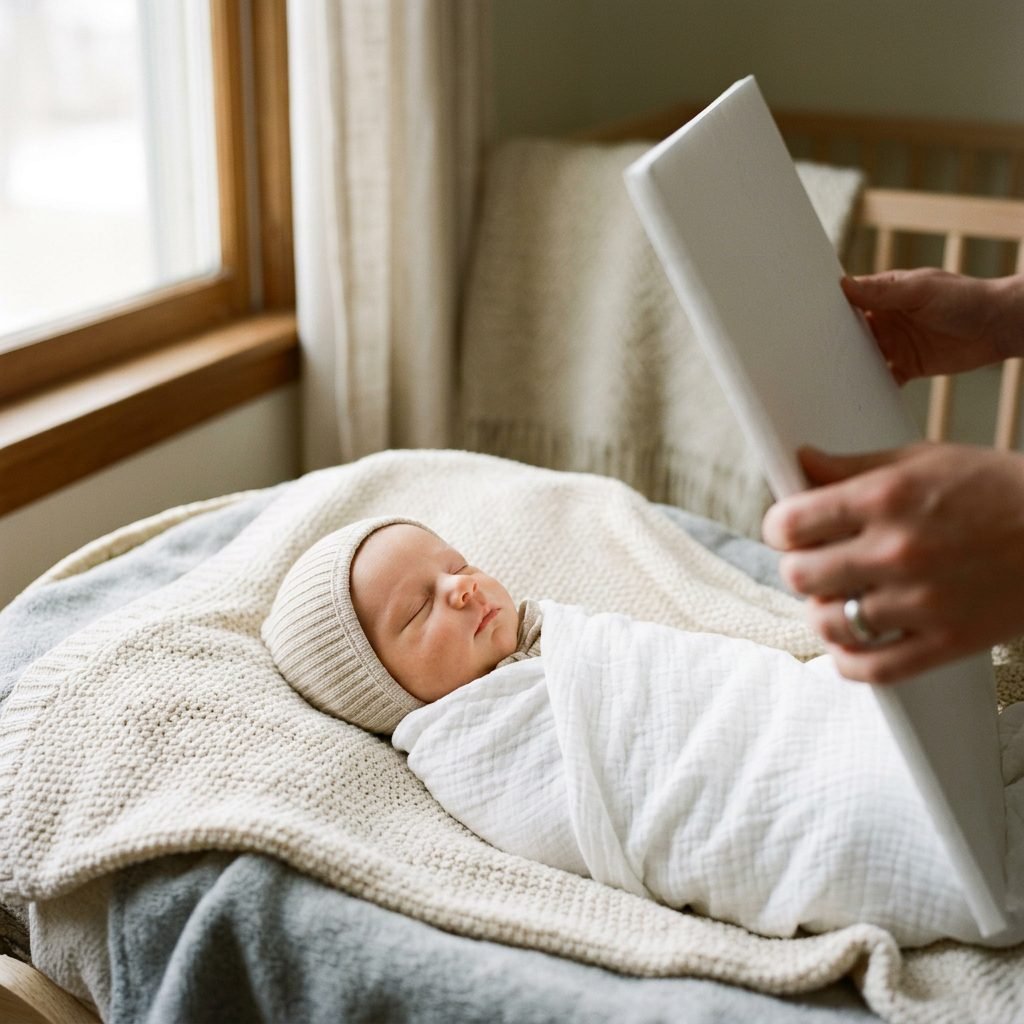
You don’t need to buy reflectors when you have a kitchen and a linen closet! Sometimes, the light from the window is a bit too ‘contrasty,’ meaning one side of the baby is very bright and the other side is very dark. To fix this, we ‘fill’ the shadows using a reflector.
Creating Your DIY Photography Kit
A simple piece of white foam board from the dollar store or even a large white towel can bounce light back onto the shadowed side of your baby’s face. This creates a more balanced, professional look. Below is a breakdown of what you need and how it helps.
| Tool | Purpose | Budget Cost |
|---|---|---|
| White Foam Board | Bounces light into shadows for an even glow. | $1 – $5 |
| Sheer White Curtain | Diffuses harsh, direct sunlight into a soft ‘softbox’ effect. | $5 – $15 |
| Clamps or Tape | Secures blankets and reflectors in place. | $2 – $4 |
| Neutral Muslin Swaddle | Provides a texture-rich, non-distracting background. | $10 – $20 |
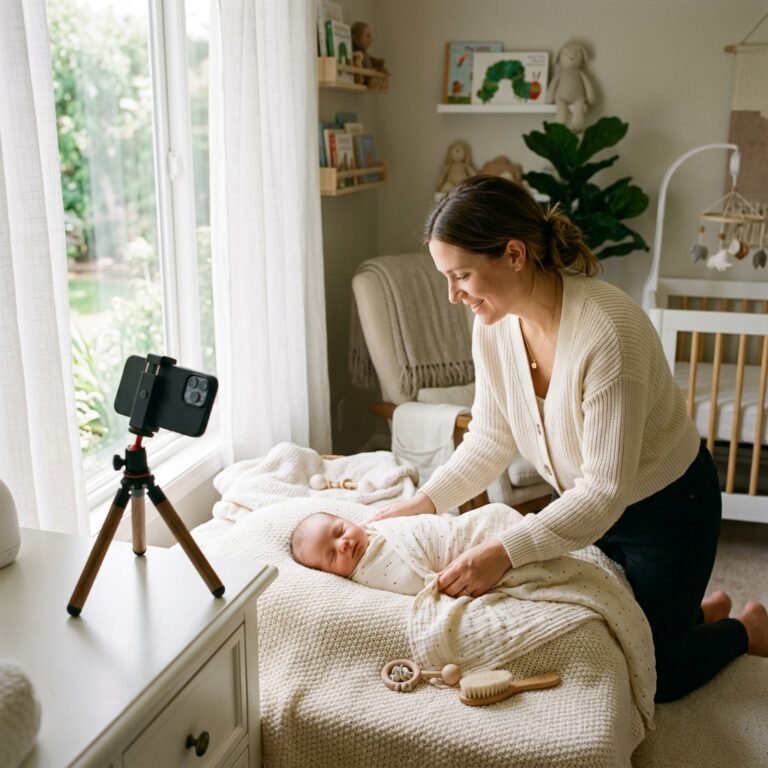
How to use the reflector: Have a partner (or use a chair) hold the white foam board on the side of the baby opposite the window. Move it closer or further away until you see the shadows on the baby’s cheek soften. It’s like magic!
Styling the ‘Nest’: Texture, Tones, and Comfort
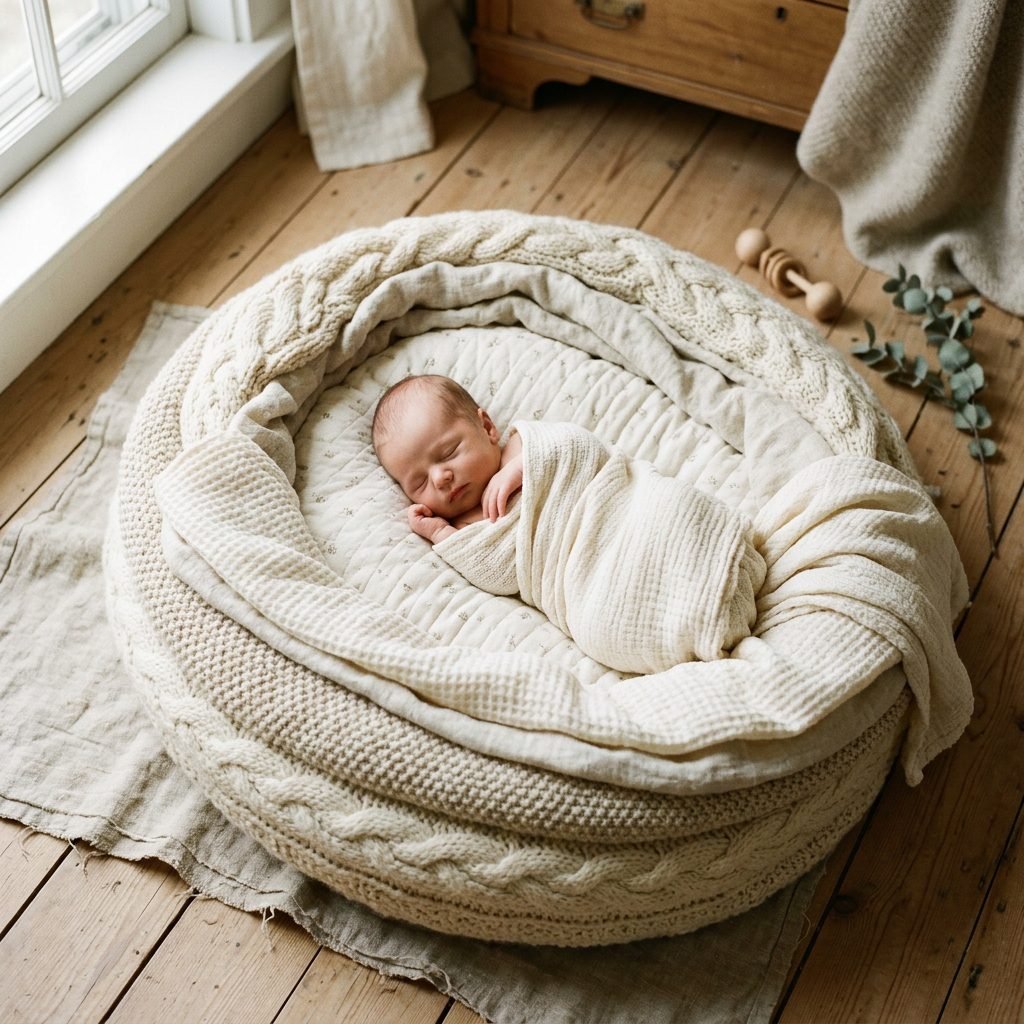
When it comes to newborn photography, less is always more. We want the focus to be on the baby’s brand-new skin and delicate features, not a busy pattern or a bright neon outfit. As a stylist, I always recommend a ‘monochromatic’ or ‘neutral’ palette.
Choosing Your Textures
Layering different textures in the same color family adds depth without distraction. Think a chunky knit blanket over a smooth cotton sheet, or a delicate lace wrap over a waffle-weave swaddle. Stick to ‘earth tones’ like cream, oatmeal, sage green, or dusty rose.
- Avoid Logos: Clothing with words or characters distracts from the baby’s face.
- Temperature is Key: A warm baby is a sleepy baby. Use a space heater (safely tucked away) to keep the ‘studio’ area around 75-80 degrees Fahrenheit.
- The ‘Snuggle Factor’: Use a ‘Boppy’ pillow or a rolled-up towel hidden under the top blanket to create a little ‘nest’ that supports the baby’s head and keeps them feeling secure.
Remember, Mama: Your baby’s safety is the only thing that matters. Never leave a baby unattended on a raised surface, and always have a ‘spotter’ (like Dad or a friend) within arm’s reach during the session.
Step-by-Step: The DIY Newborn Session Workflow
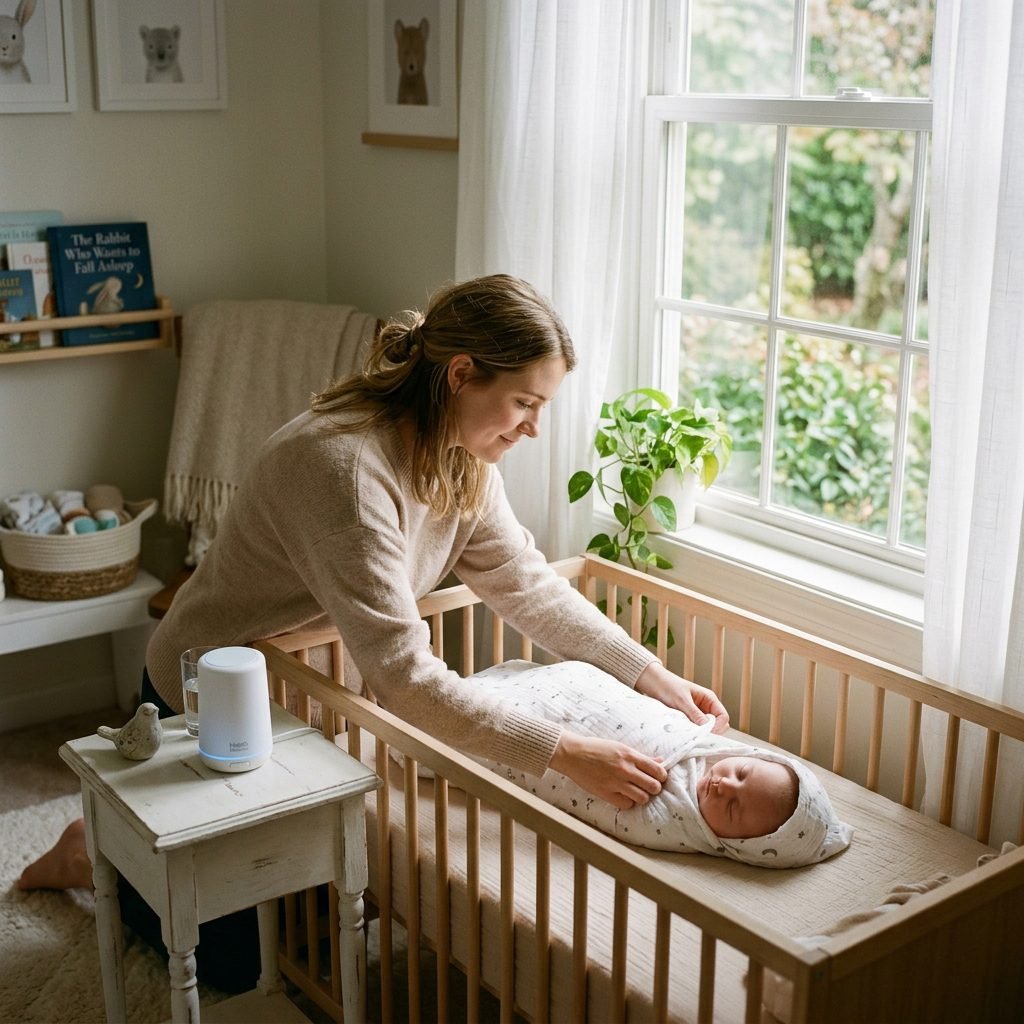
Success in newborn photography is 90% preparation and 10% actually clicking the shutter. Follow this workflow to ensure a calm environment for both you and your little one.
- The ‘Full Tummy’ Strategy: Feed the baby right before the session. A ‘milk-drunk’ baby is much easier to pose and less likely to startle.
- The Soundscape: Turn on a white noise machine. This mimics the sounds of the womb and helps the baby stay in a deep sleep even if you are moving around.
- The ‘Loosen Up’ Phase: If you plan on doing ‘naked’ or diaper-only shots, loosen the diaper 30 minutes prior to avoid red elastic marks on their skin.
- Start with the ‘Safe’ Shots: Begin with the baby swaddled. Most babies feel most secure when wrapped tightly. Once you get those shots, you can gently transition to ‘unswaddled’ poses if they stay asleep.
- Angle Your Body: When taking the photo, don’t just stand over them. Squat down so you are at eye level with the baby. This creates a more intimate and professional perspective.
Troubleshooting: If the baby wakes up or gets fussy, stop. Give them a snuggle, a pacifier, or a top-off feeding. There is no rush. Your calm energy is what will make these photos beautiful.
Conclusion
Preserving These Fleeting Moments
Mama, please remember that the ‘perfect’ photo isn’t the one where every hair is in place; it’s the one that captures the feeling of this moment. If the baby cries, if there’s a diaper blowout on your favorite cream blanket, or if you only get one single clear shot before everyone needs a nap—that is okay. These photos are for you. They are a love letter to your strength and your baby’s beginning.
By using the natural light already filling your home, you are documenting your baby in the place where they are most loved. You are doing an incredible job, and one day, when your ‘newborn’ is heading off to kindergarten, you will look back at these soft, sun-drenched photos and be so grateful you took the time to capture the light. You’ve got this!