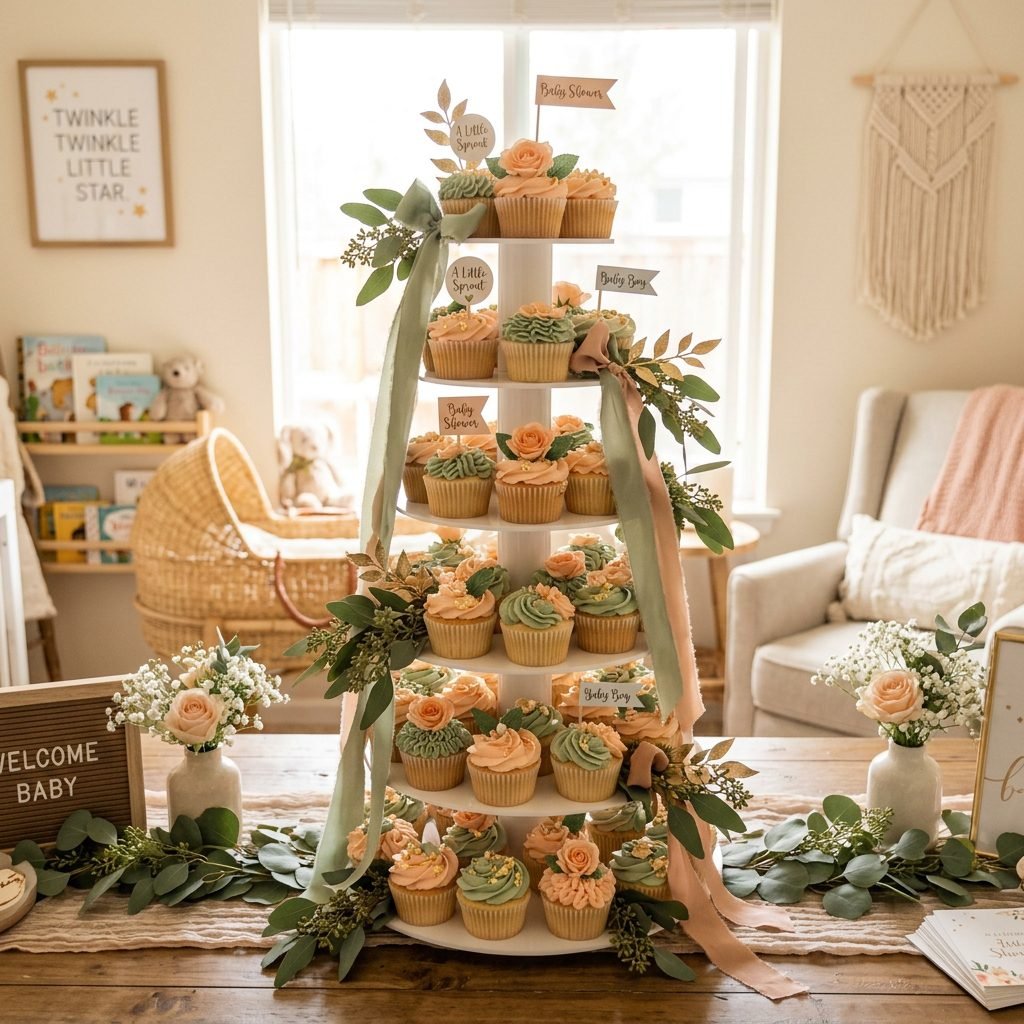
How to Build an Epic and Elegant Gourmet Cupcake Tower for Your Budget Baby Shower
Welcome to Your Sweetest Celebration, Mama!
Planning a baby shower is one of the most beautiful ways to honor the journey into motherhood, but let’s be honest: the costs can add up faster than a newborn’s laundry pile! As a doula and a fellow mama who loves a touch of luxury, I believe you shouldn’t have to choose between a ‘budget’ event and an ‘elegant’ one. You deserve a celebration that feels like a warm hug and looks like a Pinterest dream.
The centerpiece of any great shower is the dessert table. While a professional tiered cake can cost hundreds of dollars, an Epic and Elegant Gourmet Cupcake Tower offers a high-impact, low-stress alternative. It’s easier to serve, offers flavor variety for your guests, and—most importantly—is incredibly budget-friendly when you know the trade secrets. In this guide, I’m going to walk you through every step of building a show-stopping tower that will have your guests asking, ‘Who was your caterer?’
Remember, sweet friend: The beauty of this day isn’t found in how much you spend, but in the love and intention you pour into every little detail. You are building more than a tower; you are building a memory.
Vision & Theme: Setting the Stage for Elegance
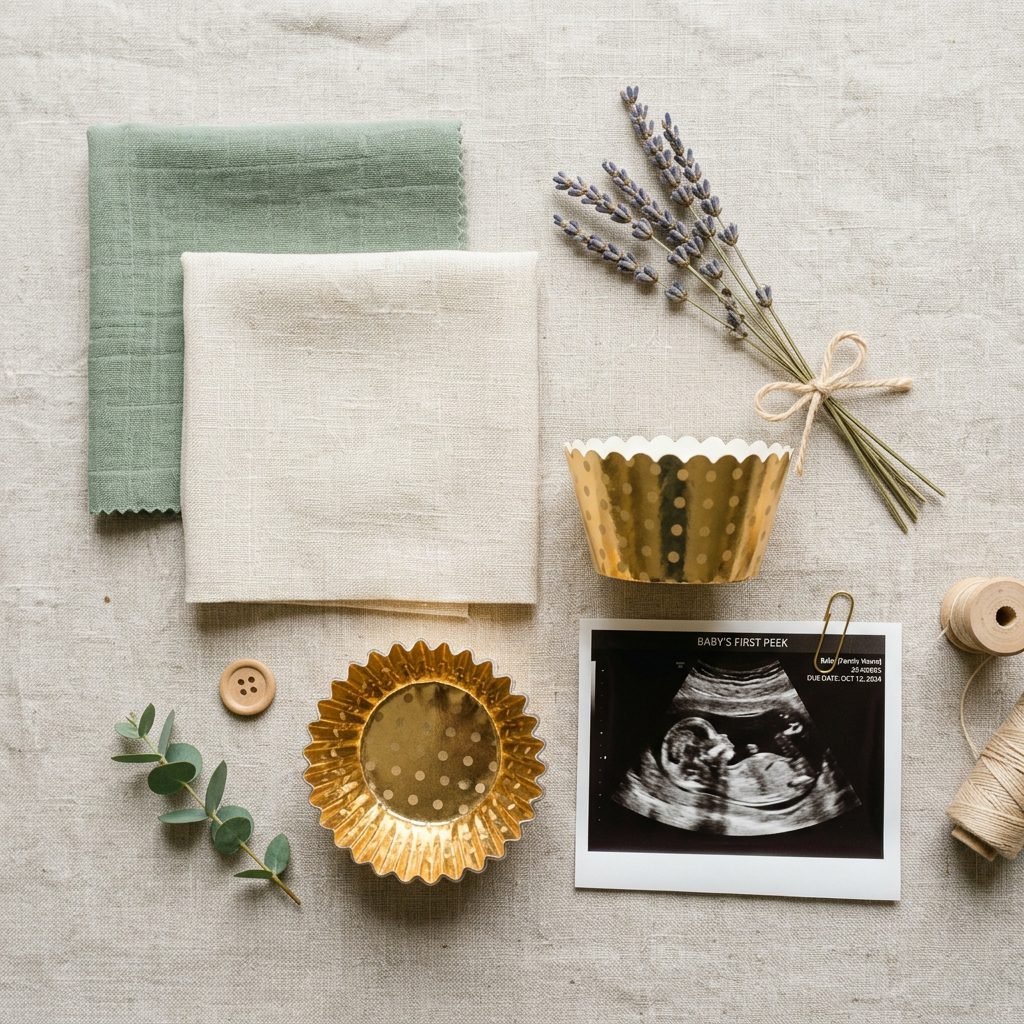
Before we touch a single whisk, we need to establish your visual ‘North Star.’ Elegance often comes from a cohesive color palette and a clear theme. Whether you are going for a ‘Boho Rainbow,’ ‘Vintage Storybook,’ or ‘Classic Eucalyptus’ vibe, your cupcakes should reflect that story.
When working on a budget, I always recommend choosing three main colors: two neutrals (like cream and sage) and one ‘pop’ (like dusty rose or soft gold). This keeps the look sophisticated rather than cluttered. Use the table below to find a theme that resonates with your heart:
| Theme Concept | Color Palette | Suggested Cupcake Flavor |
|---|---|---|
| Wildflower Meadow | Cream, Lavender, Soft Yellow | Lemon Zest with Honey Buttercream |
| Little Man Cave | Navy, Slate Gray, Copper | Dark Chocolate with Salted Caramel |
| Boho Sunbeam | Terracotta, Sand, Ochre | Spiced Chai with Vanilla Bean |
| Sweet Pea | Mint Green, White, Pearl | White Velvet with Raspberry Filling |
Once you have your theme, you can source inexpensive ribbons, cardstock for toppers, and even fresh herbs like rosemary or mint to tie the look together without spending a fortune at a specialty bakery supply store.
The Gourmet Secret: How to ‘Doctor’ a Budget Box Mix
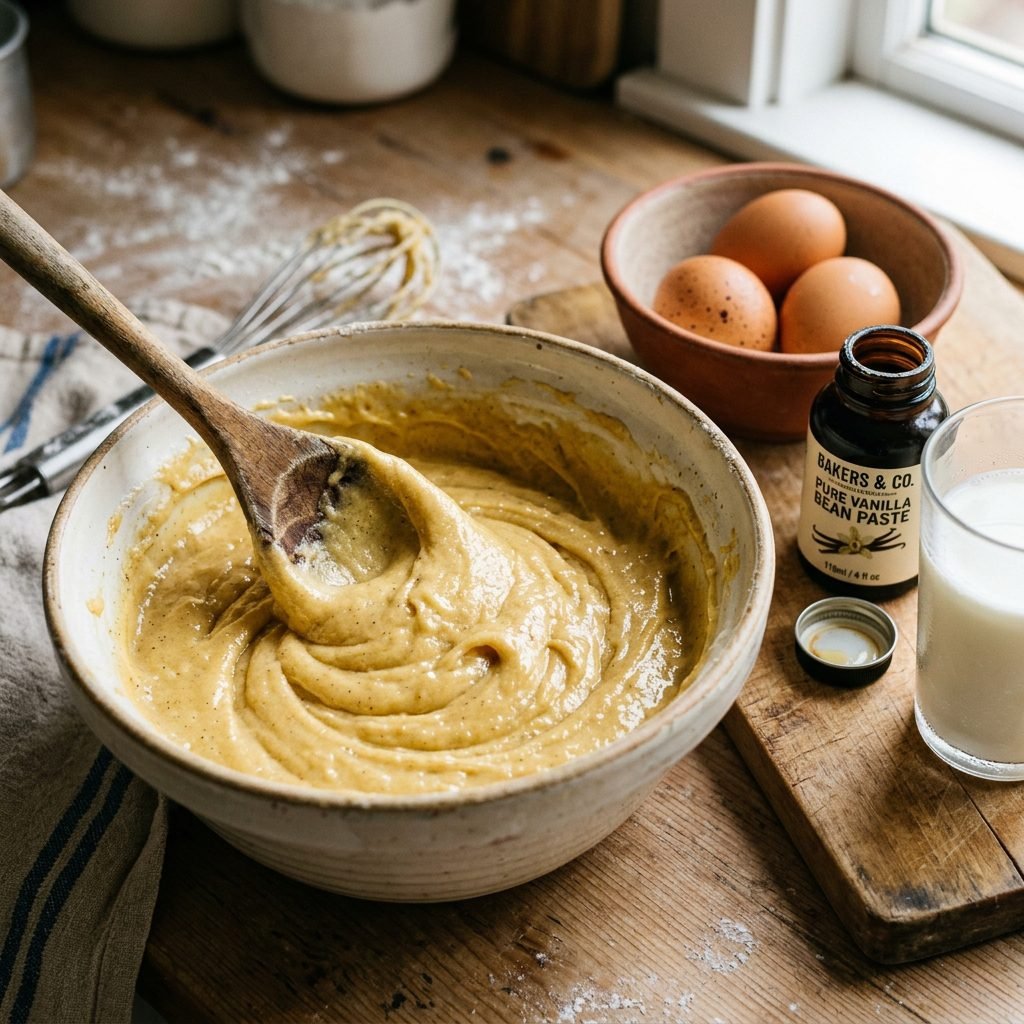
Mama, here is a secret that will save you 70% on your dessert budget: You do not need to bake from scratch to achieve a gourmet taste. High-end bakeries often use professional bases, and you can mimic this by ‘doctoring’ a standard supermarket box mix.
By swapping out the standard instructions for higher-fat and more flavorful alternatives, you create a crumb that is moist, dense, and deeply satisfying. Follow these simple substitutions for a ‘bakery-style’ result:
- Swap the Water: Use whole milk, buttermilk, or a dairy-free alternative like coconut milk for a richer flavor.
- Swap the Oil: Use melted unsalted butter. Double the amount if you want it extra decadent!
- Add an Extra Egg: If the box calls for three eggs, use four. This creates a more stable, ‘cakey’ texture perfect for high towers.
- The Flavor Boost: Always add 1 teaspoon of high-quality vanilla bean paste or pure almond extract.
If you really want to wow your guests, consider adding a ‘surprise center.’ Use a small paring knife to core the center of the cooled cupcake and fill it with store-bought lemon curd, raspberry jam, or even a dollop of Nutella. It’s a tiny step that screams ‘gourmet’!
Engineering Your Tower: The DIY Structural Guide
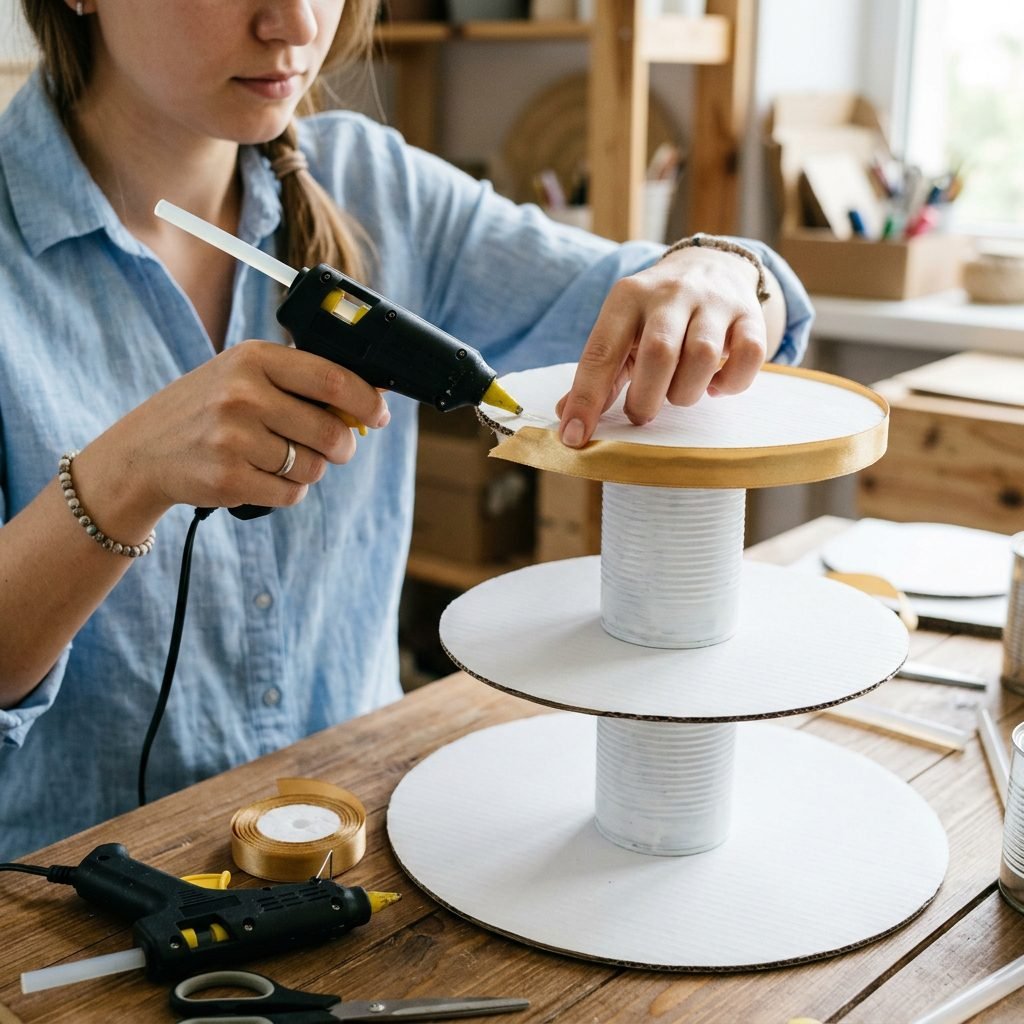
A tower is only as good as its foundation. While you can buy acrylic stands, they can be pricey and difficult to store later. For a budget shower, we can build a custom, sturdy tower using items from the dollar store or your own pantry.
Materials Needed:
- 3 to 5 sturdy cardboard cake boards (varying sizes: 12″, 10″, 8″, 6″)
- Empty, clean tin cans (from soup or beans) or sturdy glass jars
- Decorative wrapping paper or high-quality contact paper
- Hot glue gun and extra glue sticks
- Adhesive ribbon or lace trim
Step-by-Step Assembly:
- Cover the Bases: Wrap each cardboard cake board in your chosen paper. Secure the edges underneath with tape or glue so the top surface is perfectly smooth.
- Prep the Spacers: Wrap your tin cans or jars in matching paper or thick ribbon. These will act as the ‘pillars’ between your layers.
- Center and Glue: Apply a generous amount of hot glue to the top and bottom of your first ‘pillar’ (the largest can). Press it firmly into the center of the largest base.
- Stacking: Repeat the process, centering the next smallest board on top of the pillar. Continue until you reach the top tier.
- The Finish: Glue a delicate lace or silk ribbon around the edge of each cardboard tier to hide the corrugated edges. This adds an instant ’boutique’ touch!
The Art of the Swirl: Professional Frosting Techniques
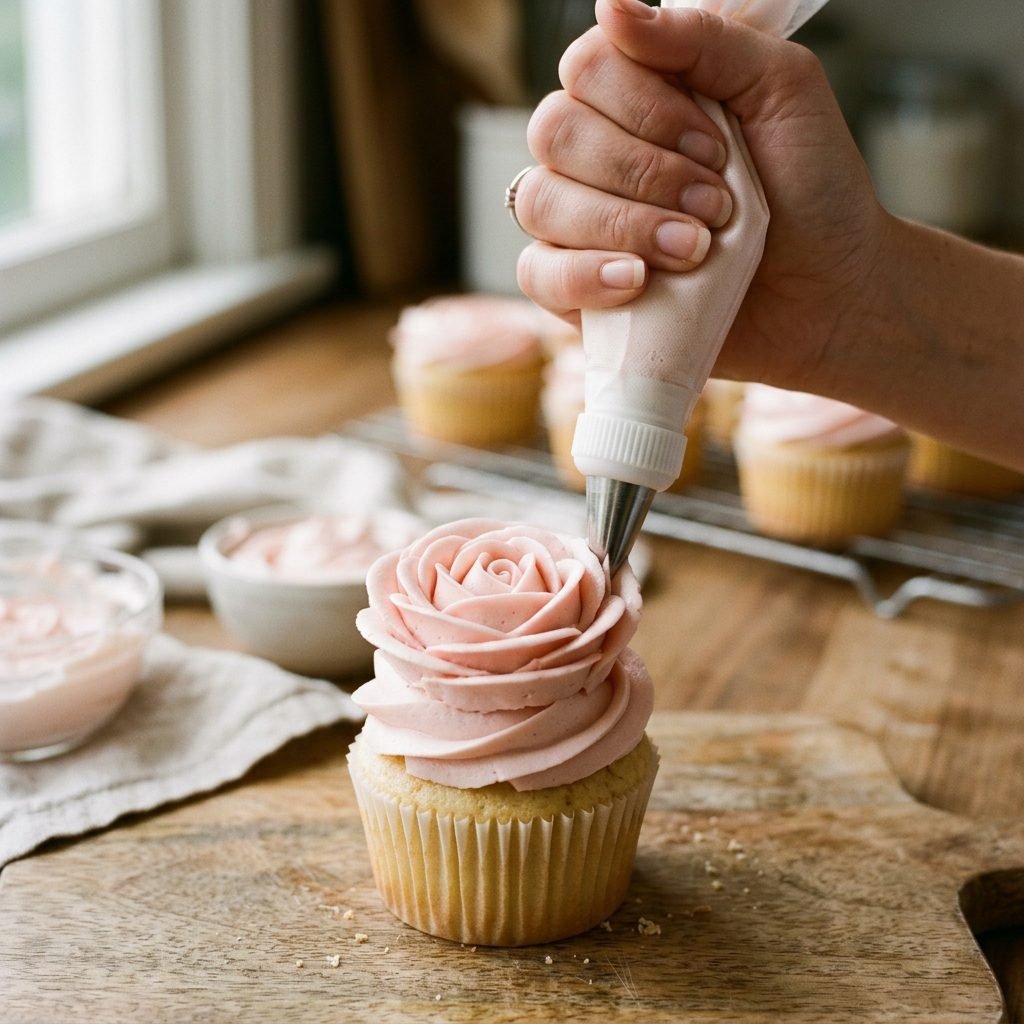
The difference between a ‘home-baked’ cupcake and an ‘elegant’ one usually lies in the frosting. To get that iconic gourmet look, you need a stiff buttercream and the right piping tip. I recommend a ‘1M’ or ‘2D’ star tip for those classic, rose-like swirls.
Even if you are using store-bought frosting, you can improve it! Whip it in a stand mixer for 5 minutes with a half-cup of powdered sugar to make it fluffier and more stable for display. Here is a quick guide to budget-friendly decorating:
| Decorating Method | Supplies Needed | Style Vibe |
|---|---|---|
| The Classic Rose | 1M Piping Tip + Star Swirl | Traditional & Elegant |
| The Naked Look | Small Spatula + Minimal Frosting | Rustic & Organic |
| The Herb Garnish | Sprigs of Thyme or Rosemary | Sophisticated & Earthy |
| The Fruit Crown | Fresh Raspberries or Blueberries | Fresh & Vibrant |
Pro Tip: If you are hosting the shower in a warm environment, keep the cupcakes in the fridge until 30 minutes before the guests arrive. This ensures the frosting stays perfectly sculpted and doesn’t ‘slump’ in the heat.
Budget Breakdown: Luxury for Less
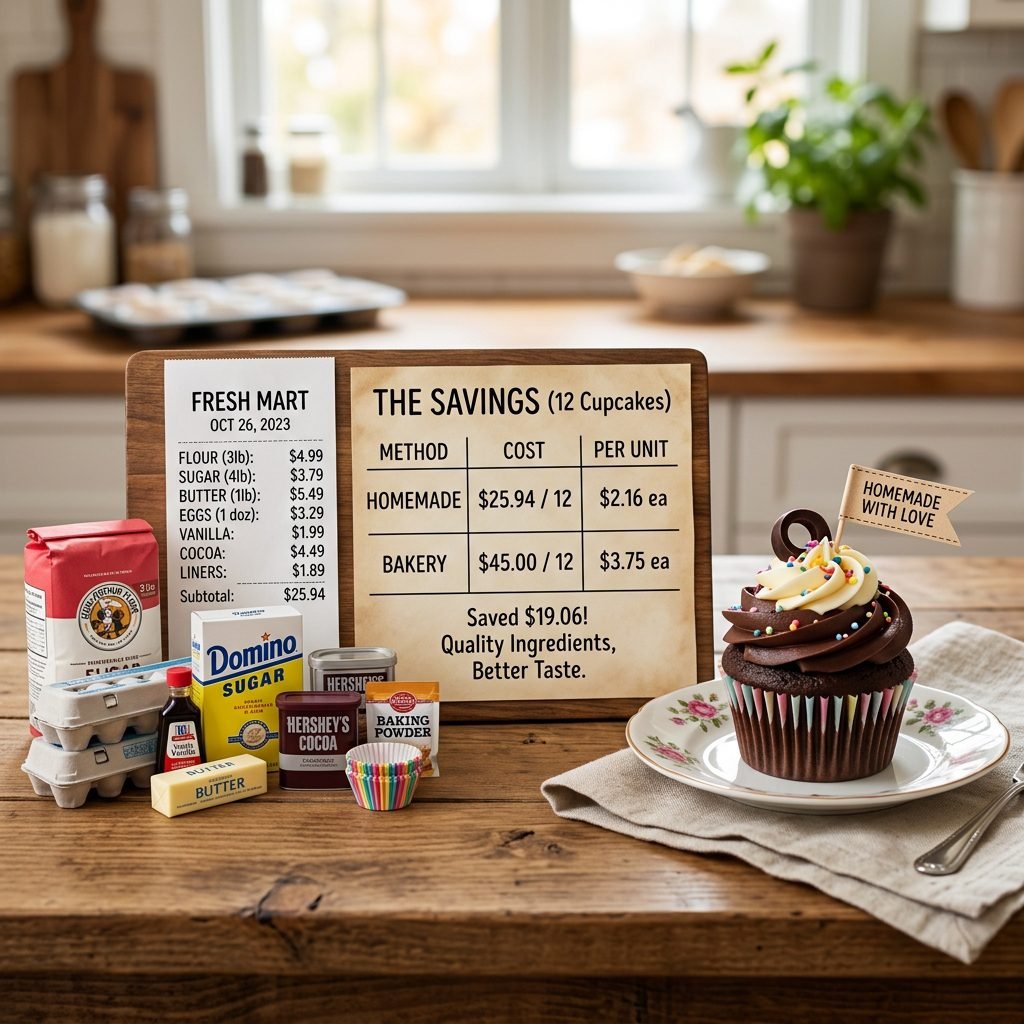
Let’s look at the numbers, Mama. When we plan with intention, we can save hundreds of dollars that can be better spent on a high-quality car seat or your postpartum recovery kit. Here is how the DIY Gourmet Tower compares to a professional bakery order:
| Expense Item | Professional Bakery (48 Cupcakes) | DIY Gourmet Method |
|---|---|---|
| Cupcakes/Cake | $150 – $250 | $15 (3 Boxes + Substitutions) |
| Frosting/Fillings | Included | $12 (Butter, Sugar, Jam) |
| Display Stand | $40 (Rental or Purchase) | $5 (DIY Materials) |
| Decorations/Toppers | $20 | $8 (Fresh Herbs/Ribbon) |
| Total Estimated Cost | $210 – $310 | $40 |
By taking the DIY route, you are saving roughly $170 to $270. That is an incredible win! You can use those savings to create a ‘Mom-to-Be Comfort Station’ with pillows and a footrest, or to buy a few extra items off your registry that you were worried about covering.
The Final Flourish: Styling Your Dessert Station
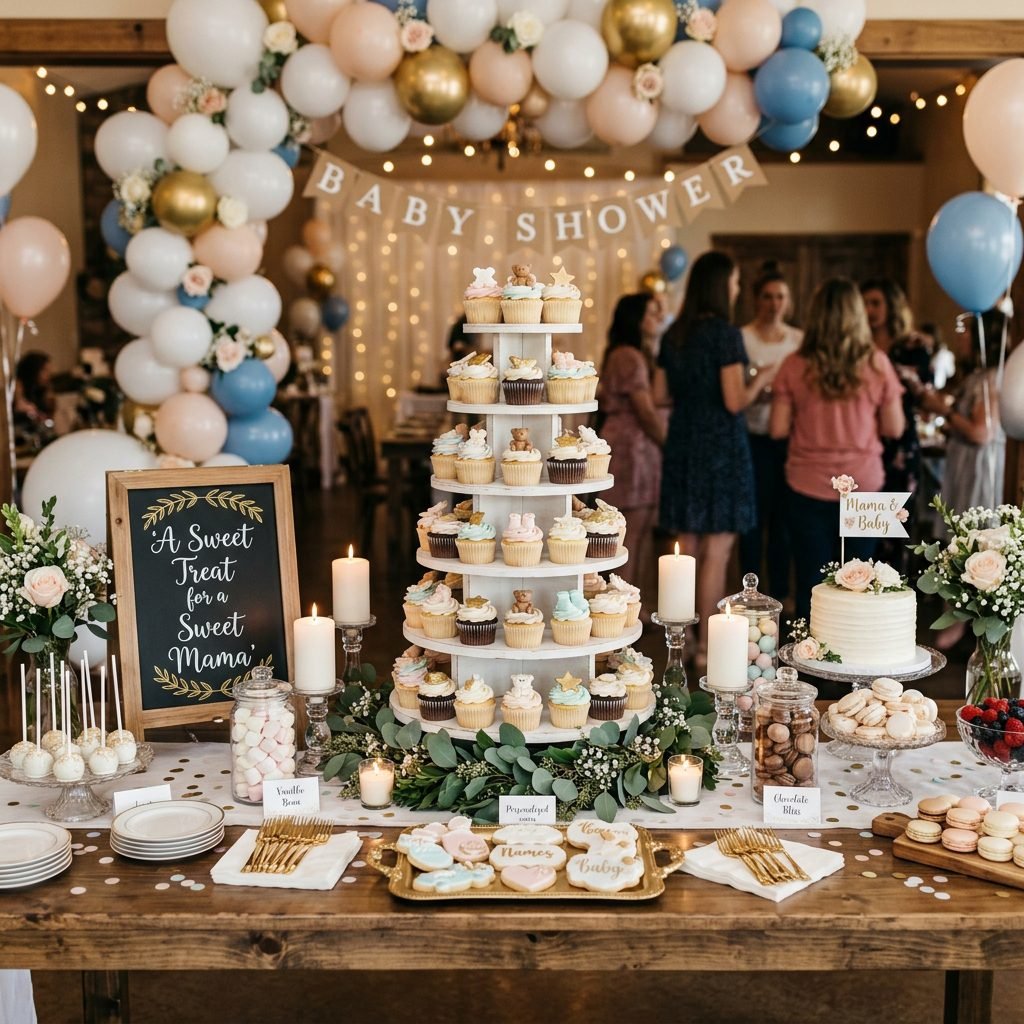
Now that your tower is built and your cupcakes are frosted, it’s time for the ‘Doula Touch’—creating an environment that feels calm, welcoming, and stylish. The area surrounding your tower is just as important as the tower itself.
- Vary the Heights: Place a few loose cupcakes on small wooden blocks or inverted bowls around the base of the tower to create a ‘cascading’ effect.
- Use Soft Lighting: Avoid harsh overhead lights. A few battery-operated fairy lights or unscented tea lights around the base of the tower create a magical glow.
- Add Greenery: Eucalyptus is the ‘secret weapon’ of budget styling. It’s inexpensive, smells divine (which can be very soothing for a pregnant mama’s nose!), and drapes beautifully around the tiers.
- Signage: Use a small chalkboard or a framed piece of cardstock to list the flavors. It makes the station feel professional and curated.
Most importantly, make sure the tower is at a height where the guest of honor can easily reach a cupcake without straining. As your ‘virtual doula,’ I’m reminding you to keep the mama-to-be’s comfort at the center of every design choice!
Conclusion
You’ve Created Something Truly Special
Building an epic cupcake tower isn’t just about the sugar and the flour; it’s about the celebration of new life and the community that surrounds it. By choosing to DIY this elegant centerpiece, you’ve shown that style and sentiment don’t require a massive price tag. You’ve curated a moment of sweetness that is both practical and breathtaking.
Take a deep breath and look at what you’ve accomplished. Whether you are the mama-to-be, a best friend, or a dedicated doula, your effort has made this day more beautiful. Now, grab a cupcake (you’ve earned it!), sit back, and enjoy the glow of a perfect, budget-friendly celebration. Cheers to you and the little one on the way!