How to Host a DIY Gourmet Grilled Cheese Bar Baby Shower on a Budget
Welcome to the Ultimate Comfort Celebration
Oh, sweet friend, there is something so profoundly nurturing about the scent of golden, buttery bread and the sight of gooey, melting cheese. As a doula, I often talk about the importance of ‘oxytocin-building’ environments, and let me tell you—nothing sparks joy and comfort quite like a gourmet grilled cheese bar. Whether you are planning this for your best friend, your sister, or perhaps you’re a crafty mama-to-be taking the reins of your own low-key celebration, this guide is designed to help you create a high-end, sensory-rich experience without the high-end price tag.
We live in a world of expensive catering and over-the-top registries, but the heart of a baby shower is the gathering of the village. By choosing a DIY food station, you’re not just saving money; you’re creating an interactive, cozy atmosphere where guests can mingle, laugh, and customize their own ‘hug on a plate.’ In this guide, we will walk through every step of the process, from selecting budget-friendly artisan ingredients to setting up a station that looks like it belongs in a luxury magazine.
Remember, mama: The best baby showers aren’t defined by the budget, but by the warmth of the welcome and the comfort of the food. You’ve got this!
Setting the Scene: Themes and Aesthetic Styling
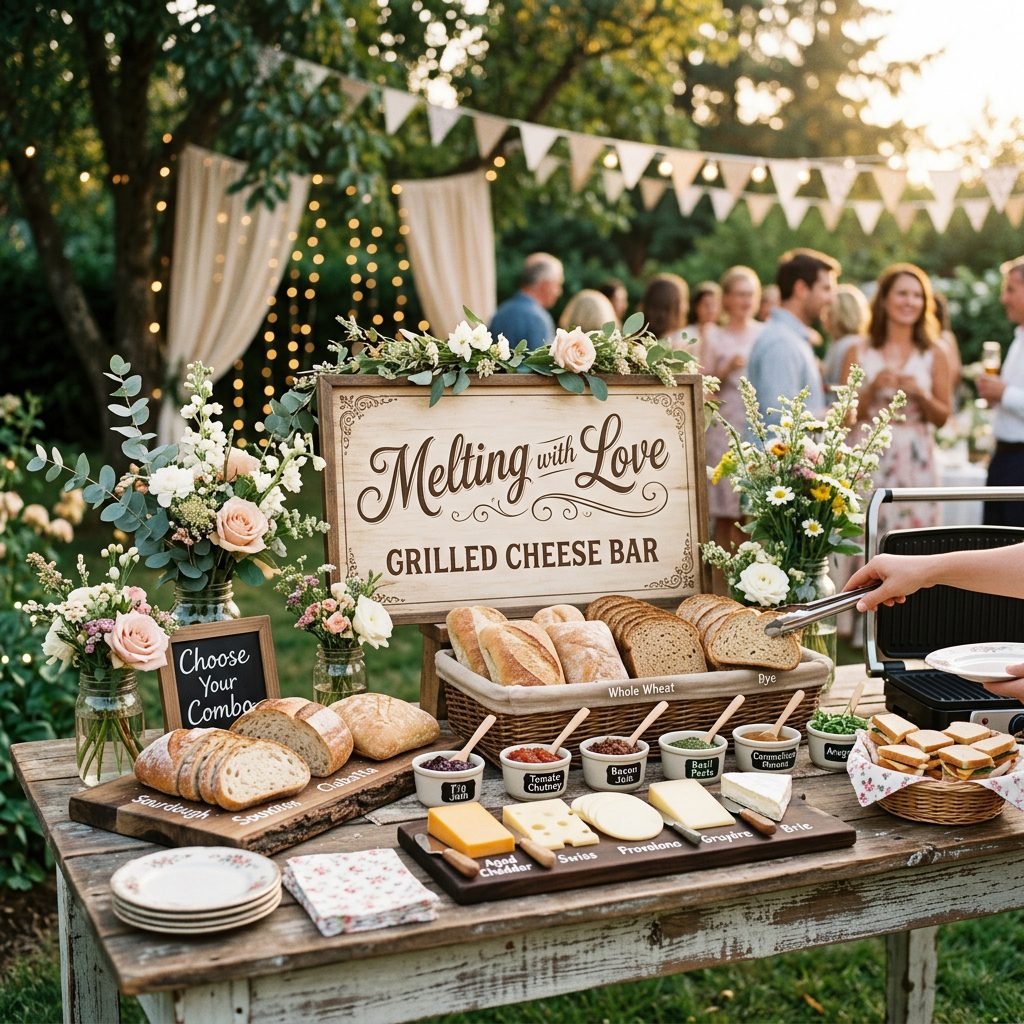
Before we even touch a loaf of sourdough, we need to decide on the ‘vibe.’ A grilled cheese bar lends itself beautifully to several budget-friendly themes that feel incredibly stylish.
Theme Ideas for Your Cheese Bar
- ‘Melting with Love’: A classic, romantic theme using soft pastels, lace runners, and floral arrangements.
- ‘The Big Cheese is Coming’: A playful, modern theme with bold yellows, chalkboard signs, and graphic patterns.
- ‘Comfort & Joy’: Perfect for fall or winter babies, featuring flannel textures, wooden crates, and warm amber lighting.
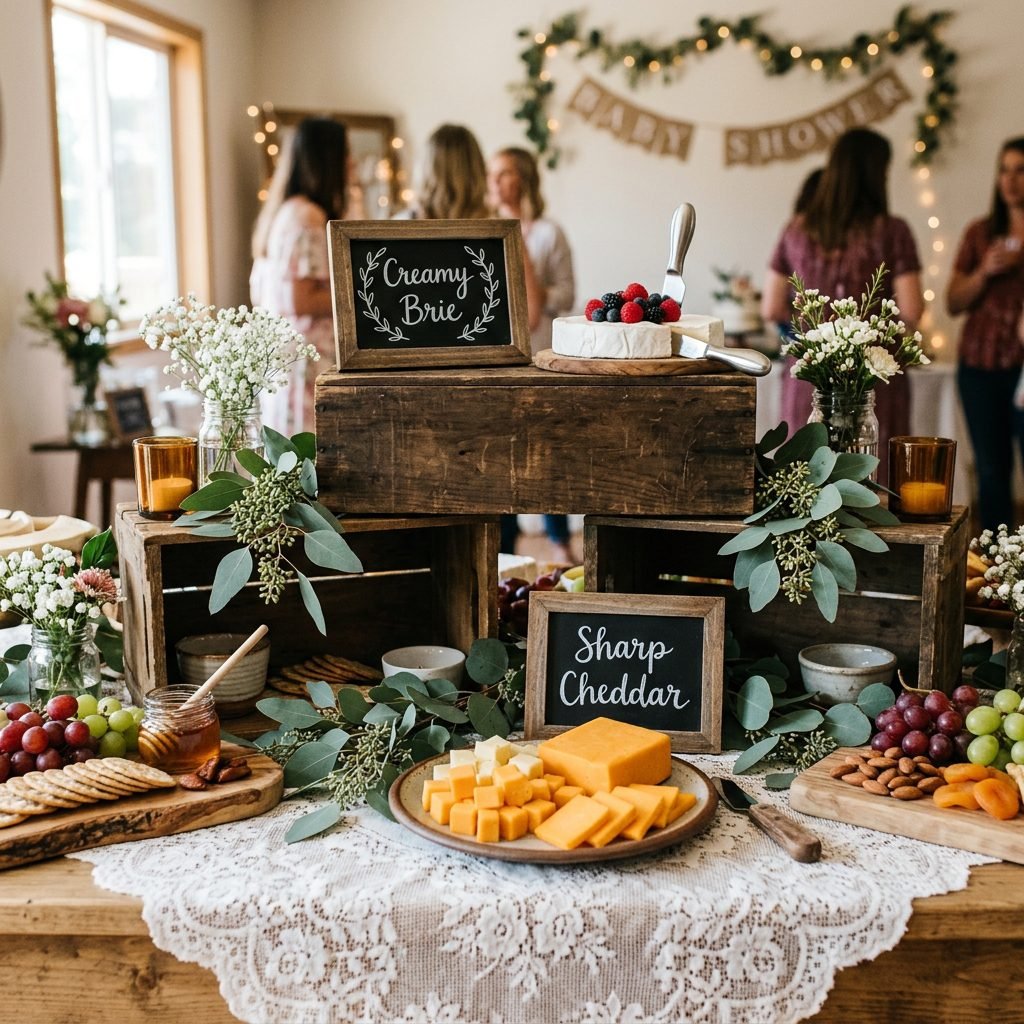
To keep costs low, look through your own kitchen or visit local thrift stores for wooden cutting boards, marble slabs, and mismatched ceramic bowls. Elevating your station is all about levels. Use sturdy cardboard boxes hidden under a tablecloth to create different heights for your bread baskets and cheese platters. This adds visual interest and makes the table feel ‘full’ even if you’re keeping the ingredient list simple.
Don’t forget the signage! Use small cardstock tents or mini chalkboards to label the cheeses. Pro-tip: Including a few ‘Suggested Pairings’ cards helps guests who might feel overwhelmed by the choices. It guides them toward a gourmet experience without requiring a professional chef on site.
The Budget-Friendly Gourmet Ingredient List
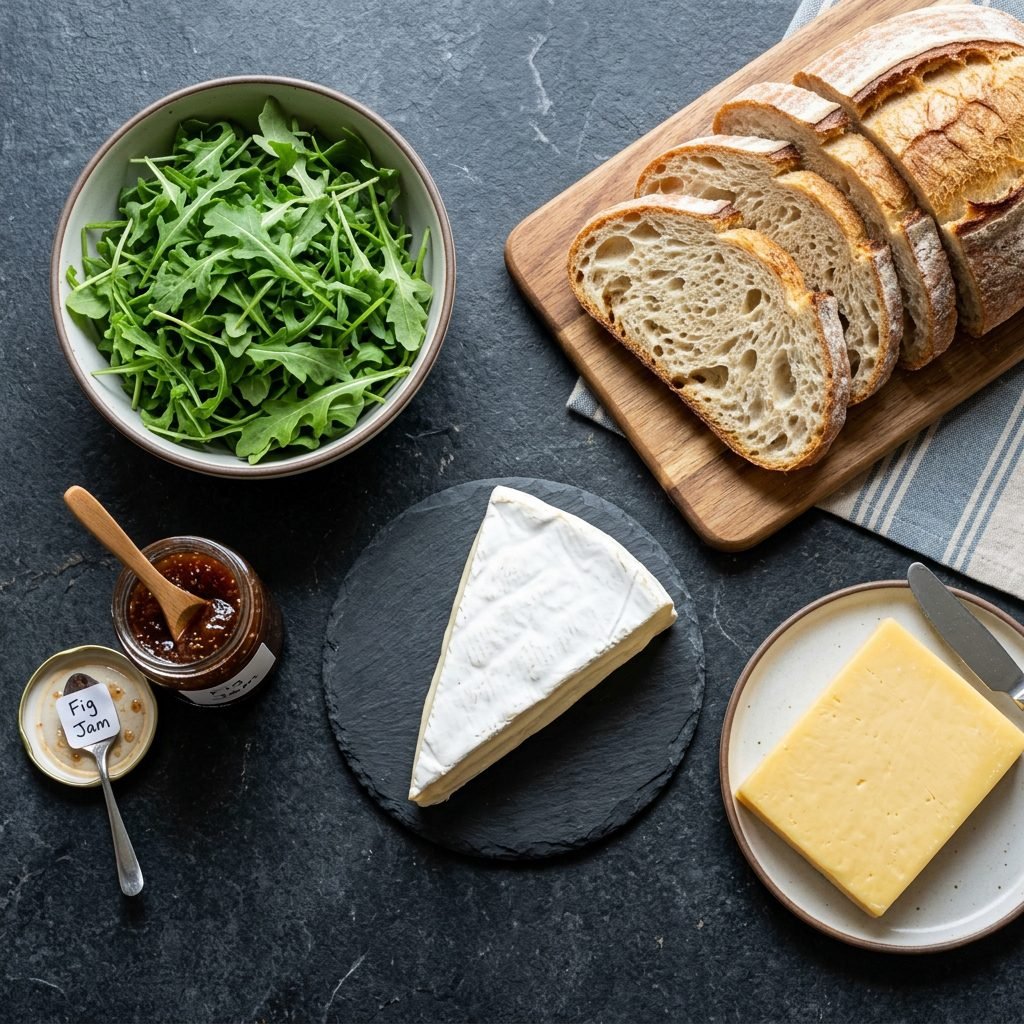
The secret to a ‘gourmet’ feel on a budget is strategic selection. You don’t need twenty types of cheese; you need four high-impact ones. You don’t need a bakery’s entire inventory; you need two distinct bread textures.
The Bread Foundation
Bread is the canvas of your masterpiece. Shop at discount grocers like Aldi or wait for ‘Buy One Get One’ sales at your local supermarket. Look for:
- Sourdough: The tangy, sturdy classic that holds up to heavy fillings.
- Brioche: For those who want a buttery, slightly sweet treat.
- Whole Grain or Seeded: Adds a lovely crunch and nutty flavor for health-conscious guests.
The Cheese Selection (The Stars of the Show)
When buying cheese, buy in blocks and shred or slice it yourself. Pre-shredded cheese is coated in potato starch to prevent clumping, which interferes with that perfect ‘cheese pull’ we all love. Aim for a mix of textures:
| Cheese Category | Budget-Friendly Option | Why It Works |
|---|---|---|
| The Melter | Medium Cheddar or Monterey Jack | Provides the classic gooey base everyone loves. |
| The Creamy | Cream Cheese or Goat Cheese | Spreads easily and adds a tangy, luxurious mouthfeel. |
| The Sharp | Aged Swiss or Provolone | Adds depth of flavor without being too expensive. |
| The ‘Gourmet’ Kick | Brie or Gorgonzola | A little goes a long way; use small amounts for high impact. |
Gourmet Fillings & Spreads
This is where the ‘DIY’ becomes ‘Gourmet.’ Small jars of honey, fig jam, or caramelized onions (which you can make at home for pennies!) elevate a simple sandwich to a culinary event. Fresh herbs like basil or arugula can be bought in bulk and add a pop of color and freshness.
The Setup: Equipment and Flow
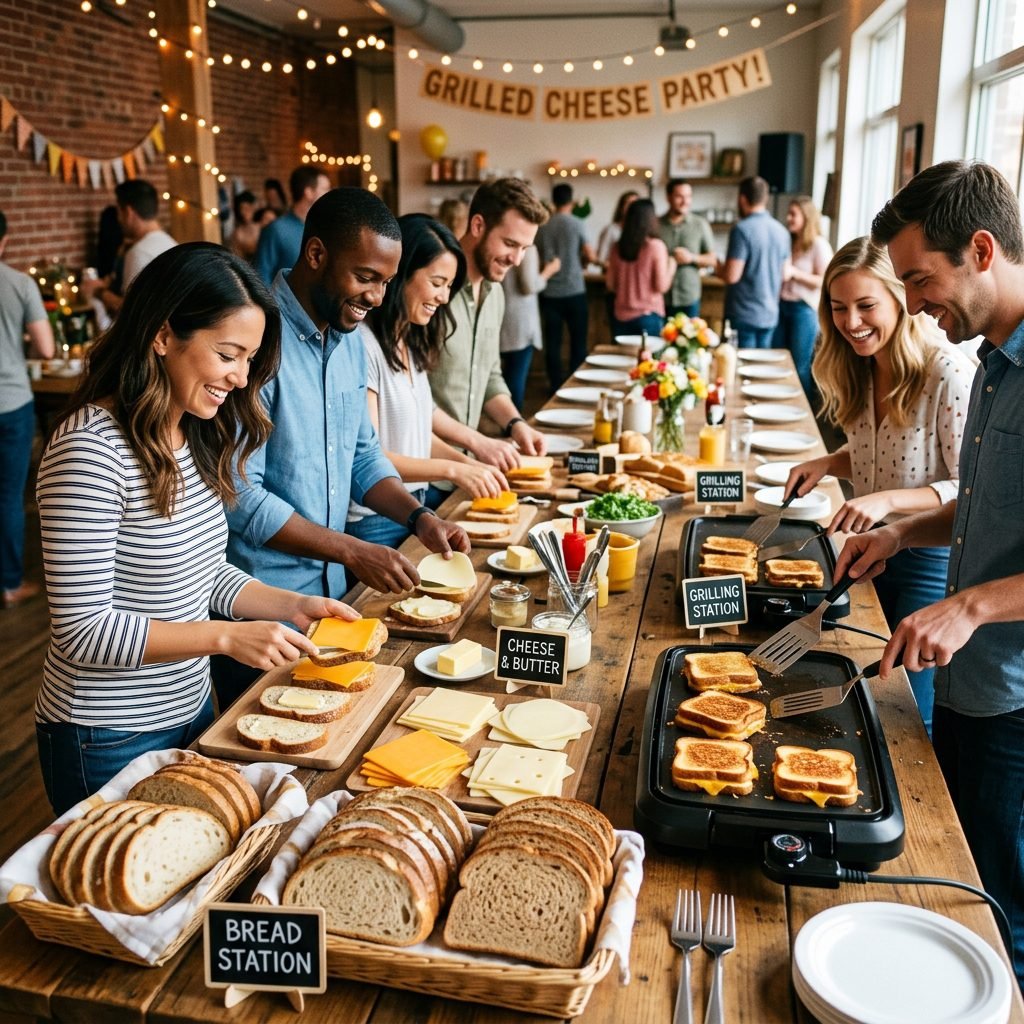
How do you serve grilled cheese to 20 or 30 guests without standing over a stove the whole time? The answer is in the equipment and the ‘assembly line’ flow. You want to empower your guests to be their own chefs while keeping the process safe and tidy.
Essential Equipment Checklist
- Electric Griddles: Borrow these from friends! Having 2-3 griddles allows multiple guests to cook at once.
- Panini Presses: Great for getting those professional grill marks.
- Toaster Ovens: Useful for ‘open-faced’ melting or warming.
- Butter Spreaders: Have several small bowls of softened butter or mayo (the secret to a golden crust!) with spreaders ready.
- Tongs and Spatulas: Ensure there are plenty of utensils so guests aren’t waiting.
The Assembly Line Strategy
- Station 1: The Bread & Butter. Guests choose their slices and apply the fat (butter or mayo) to the outside.
- Station 2: The Cheese & Fillings. Guests layer their cheeses, meats (like prosciutto or ham), and veggies.
- Station 3: The Heat. Guests place their creations on the griddles. Safety Tip: If there are many children present, consider having a designated ‘Grill Master’ (a helpful auntie or friend) to handle the actual cooking.
- Station 4: The Finishing Touches. A spot for honey drizzles, balsamic glaze, or a pinch of sea salt.
Sisterly Advice: If you’re worried about smoke or smell, set up the cooking station near a window or on a covered patio. The aroma is delicious, but in a small space, it can become overwhelming for a pregnant mama’s sensitive nose!
Gourmet Pairing Recipes to Inspire Your Guests
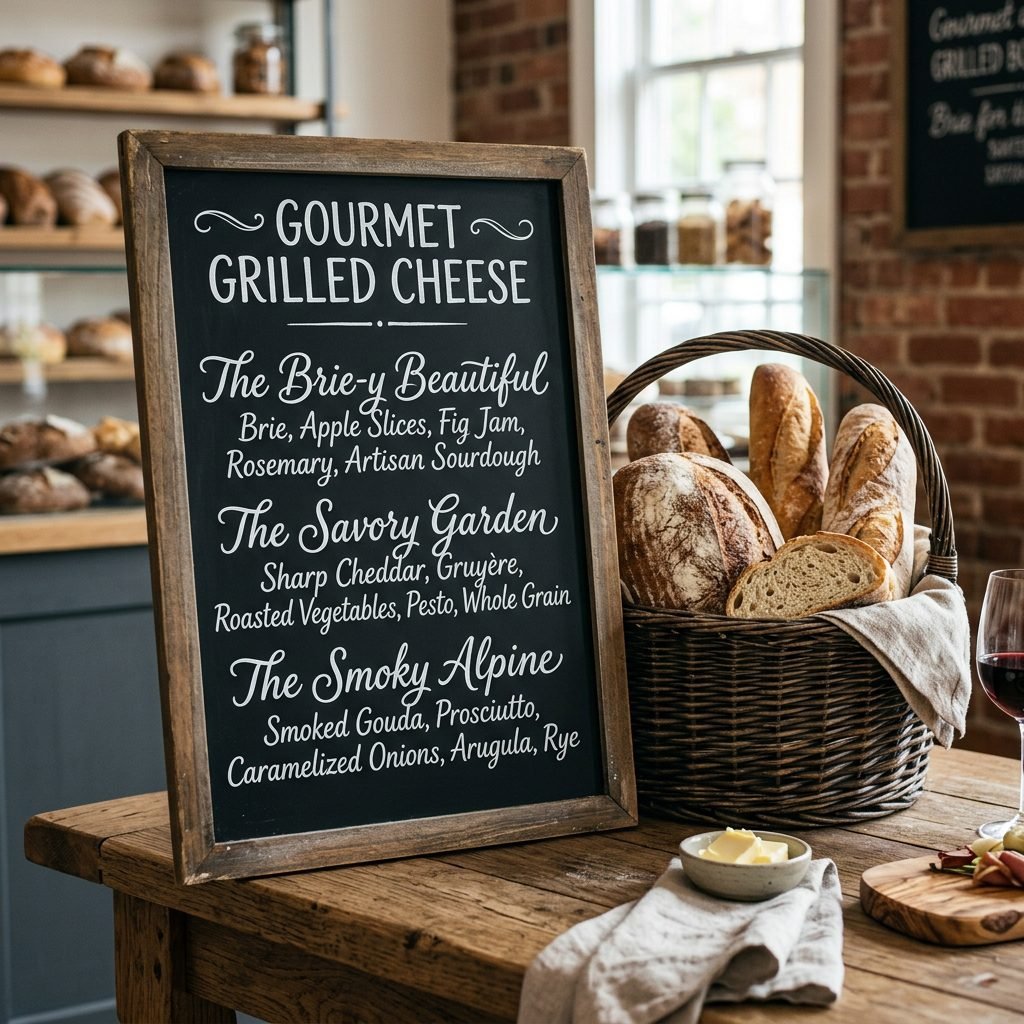
Sometimes guests need a little inspiration to move beyond the classic American cheese. Display a ‘Menu’ board with these budget-friendly but fancy combinations:
The ‘Brie-y’ Beautiful
- Ingredients: Sourdough, Brie, Thinly sliced apples (Granny Smith), and a drizzle of Honey.
- The Vibe: Sweet, tart, and incredibly sophisticated.
The Savory Garden
- Ingredients: Whole grain bread, Provolone, Fresh Spinach, and Pesto (store-bought is fine!).
- The Vibe: Earthy, rich, and feels ‘healthy-ish.’
The ‘Mama’s Classic’ with a Twist
- Ingredients: Brioche, Sharp Cheddar, and Caramelized Onions.
- The Vibe: The ultimate comfort food with a deep, sweet flavor profile.
To make this even more budget-friendly, buy fruit in season. Apples and pears are cheap in the fall; tomatoes and basil are affordable in the summer. Use what the earth is giving you to keep your costs down while maximizing flavor.
Budget Breakdown and Timeline
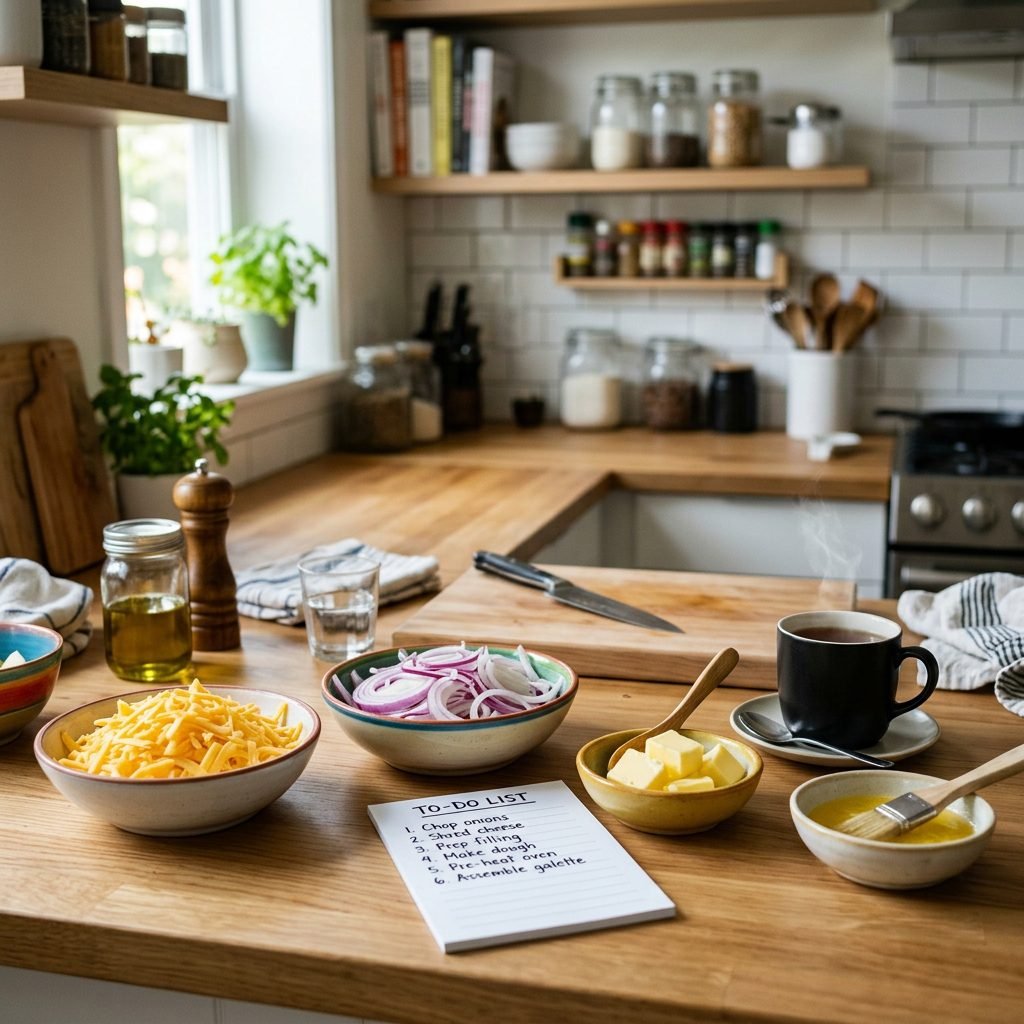
Planning a shower can be stressful, but a clear timeline keeps the ‘hostess-jitters’ at bay. This grilled cheese bar is remarkably affordable when compared to traditional catering which can cost $20-$50 per person.
| Item | Estimated Cost (for 20 guests) | Savings Tip |
|---|---|---|
| Assorted Breads | $15 – $20 | Buy at a bakery outlet or use grocery store coupons. |
| Cheeses (Blocks) | $30 – $40 | Buy bulk sizes at Costco or Sam’s Club. |
| Fillings (Fruit/Veg) | $10 – $15 | Stick to seasonal produce. |
| Spreads/Condiments | $10 – $15 | Use what you have in your pantry first! |
| Decor/Signage | $5 – $10 | Print your own signs and use natural elements like pinecones or wildflowers. |
| TOTAL | $70 – $100 | Only $3.50 – $5.00 per person! |
The Hosting Timeline
- 2 Weeks Before: Finalize the guest list and borrow any extra griddles or panini presses.
- 1 Week Before: Purchase non-perishable spreads (jams, honey, pesto) and decor.
- 2 Days Before: Grocery shop for breads, cheeses, and fresh produce.
- 1 Day Before: Shred the cheeses (store in airtight bags), caramelize the onions, and wash/slice the fruit.
- Morning of the Shower: Slice the bread (if not pre-sliced) and set up the ‘non-food’ part of the station.
- 1 Hour Before: Set out the food and pre-heat the griddles 10 minutes before guests arrive.
Inclusivity: Dietary Needs and Pregnancy Safety
As a doula, I always want to ensure the guest of honor—and all her friends—feel safe and cared for. When hosting a cheese-centric event, there are a few medical and dietary considerations to keep in mind.
Pregnancy-Safe Cheese 101
Most cheeses sold in US grocery stores are pasteurized, but it is always vital to check. Avoid unpasteurized soft cheeses (like some imported Bries or Fetas) as they carry a risk of Listeria. Ensure all cheese labels clearly state ‘Made with Pasteurized Milk.’
Accommodating All Guests
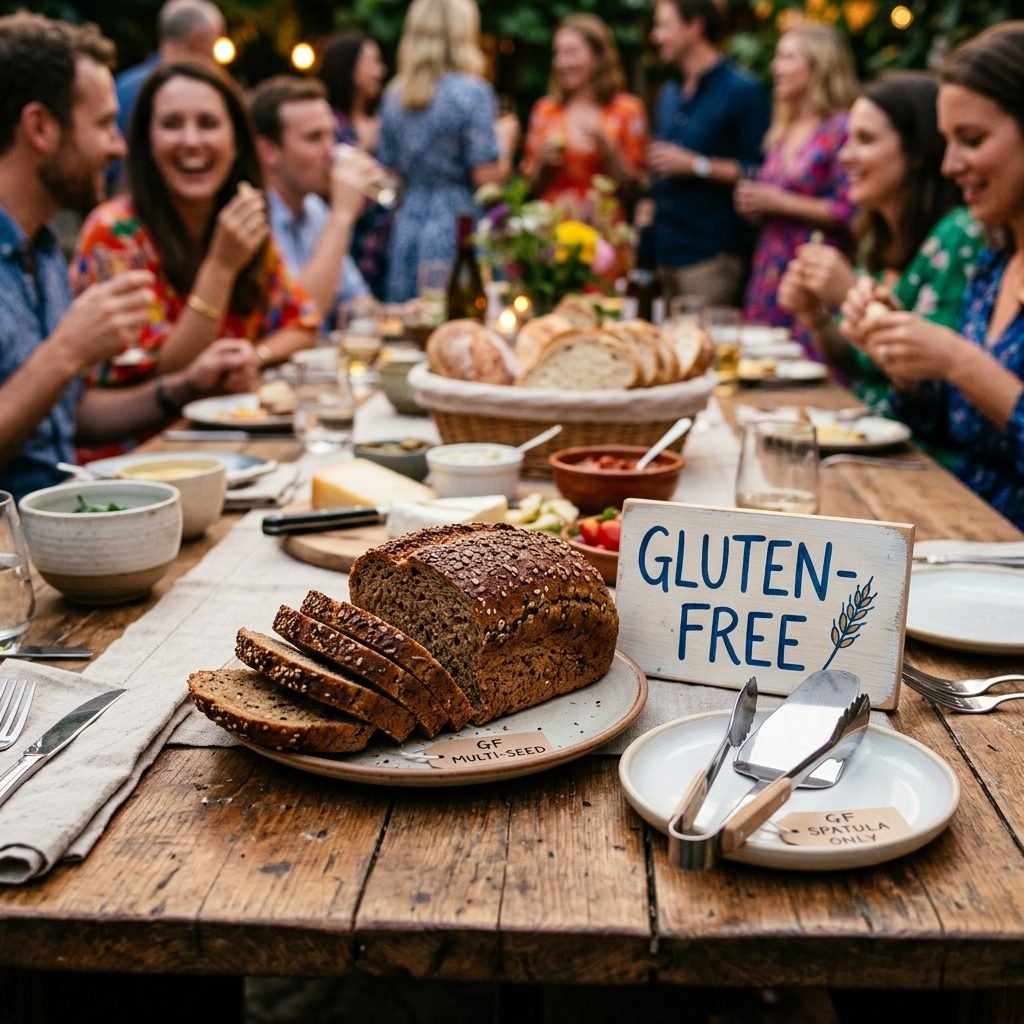
- Gluten-Free: Keep one loaf of gluten-free bread on a separate plate and designate one griddle (or use a piece of parchment paper) to prevent cross-contamination.
- Vegan Options: Vegan cheese has come a long way! Having one dairy-free cheese option and using vegan butter ensures everyone can participate in the fun.
- The ‘Morning Sickness’ Friendly Option: For mamas struggling with aversions, keep a ‘Plain Jane’ option available—just white bread and mild cheddar. Sometimes simple is best!
By providing these options, you are showing your guests that you see them and you care for their unique needs. That is the true essence of hospitality.
Conclusion
A Toast to the Mama-to-Be
Hosting a DIY gourmet grilled cheese bar is more than just a clever way to save money—it’s a way to create a ‘home-cooked’ feeling for a woman who is about to embark on the most transformative journey of her life. By focusing on quality ingredients, thoughtful styling, and inclusive options, you’ve created a space where she feels celebrated and nourished.
As the party winds down and the last crumbs of sourdough are cleared away, remember that the memories made over shared food are the ones that stick. You’ve provided comfort, joy, and a delicious experience that guests will be talking about long after the baby arrives. Cheers to you, hostess! You’ve done a beautiful job.