How to Shoot Candid, Cozy Kitchen Lifestyle Maternity Photos at Home
Embracing the Beauty of the Everyday Bump
Hello, beautiful mama. If you are reading this, you are likely in the thick of growing a tiny human, and first of all: I am so incredibly proud of you. Between the endless doctor appointments, the nursery prep, and navigating the wild waves of pregnancy hormones, stopping to document this fleeting season can feel like just another chore on an endless to-do list. But let me gently remind you of something important: your body is doing something miraculous right now, and you deserve to have this chapter captured, not just in perfectly posed studio shots, but in the raw, messy, beautiful reality of your own home.
Why the kitchen? Because, sweet friend, the kitchen is the heartbeat of your home. It is where you tiptoe for those midnight pregnancy cravings. It is where you and your partner sip coffee and dream about who this baby will be. It is where you will soon be washing tiny bottles and warming milk in the quiet hours of the night. A kitchen lifestyle maternity photoshoot strips away the pressure of stiff poses and elaborate locations. It invites you to be exactly who you are, where you are, wrapped in comfort and authentic joy.
“You do not need a perfect house or a couture gown to take breathtaking maternity photos. You just need a window, a comfortable outfit, and a moment of connection with the life growing inside you.”
In this comprehensive guide, we are going to walk through exactly how to set up, style, and shoot candid, cozy kitchen maternity photos yourself. Whether you are a first-time mom wanting to remember the quiet anticipation, or a third-time mama squeezing in a DIY shoot during nap time, I have got you covered. From manipulating natural light to choosing the perfect comfort-first wardrobe, let’s turn your kitchen into the ultimate lifestyle studio.
Setting the Scene: Prepping Your Kitchen for That Effortless Glow
Creating a Canvas of Cozy
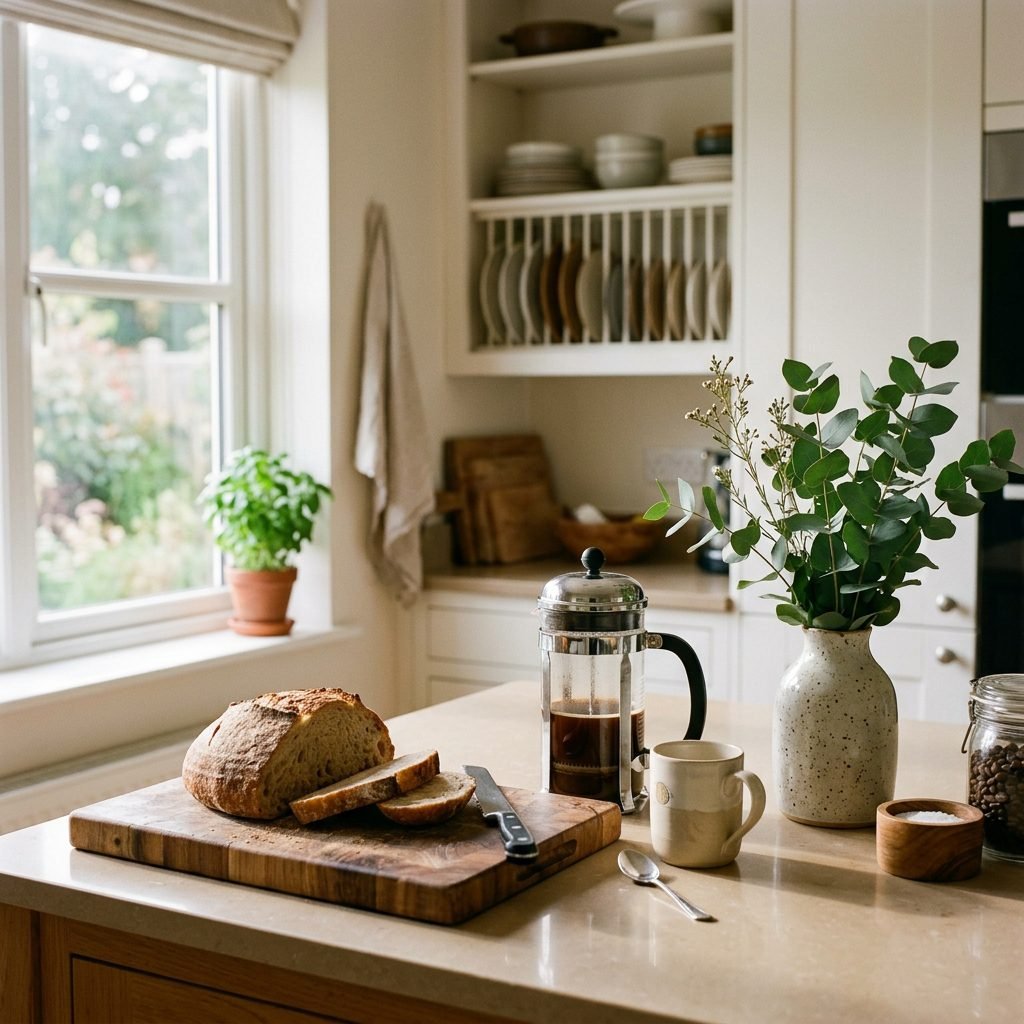
The secret to a stunning “candid” lifestyle photo is that the environment is actually very intentionally curated to *look* effortless. We want your kitchen to feel lived-in, warm, and inviting, without being distracting. The goal is to draw the eye directly to you and your beautiful baby bump, using your kitchen’s natural elements as a framing device.
Step 1: The Strategic Declutter
Before you even touch a camera, we need to clear the visual noise. Everyday items can quickly clutter a photograph and steal focus. But remember, we aren’t aiming for a sterile, empty showroom—we want a cozy home.
- Hide the utility items: Put away dish soap, sponges, paper towel rolls, and drying racks.
- Clear the mail and cords: Remove any stacks of paper, mail, and unplug unnecessary appliances like toasters or blenders with dangling black cords.
- Keep the aesthetic elements: Leave out pretty wooden cutting boards, a ceramic fruit bowl, a French press, or a vase with fresh greenery or neutral florals.
Step 2: Chasing the Light
Lighting is the make-or-break element of any DIY photoshoot. For that soft, ethereal, doula-approved glowing look, we are going strictly with natural light. Turn off every single artificial light in your kitchen—no overhead lights, no stove lights, no under-cabinet LEDs. Mixing artificial yellow light with natural window light creates harsh shadows and unnatural skin tones.
Find the largest window in your kitchen and plan to shoot during the “golden hour” (shortly after sunrise or before sunset) for warm light, or mid-morning for bright, clean, diffused light. If the sun is beaming directly into the window creating harsh lines, wait an hour until the light softens, or hang a sheer white curtain to diffuse it.
| Lighting Scenario | How to Shoot It |
|---|---|
| Direct Sunlight | Wait for a cloud, use a sheer curtain, or position yourself so the light hits your back (backlighting). |
| Soft, Cloudy Day | Perfect! Face the window directly for beautiful, even illumination on your face and bump. |
| Small Windows / Low Light | Shoot mid-day when the sun is highest. Move as close to the window as safely possible. |
What to Wear: Comfort-First Styling for the Mama-to-Be
Dressing the Bump with Love and Texture
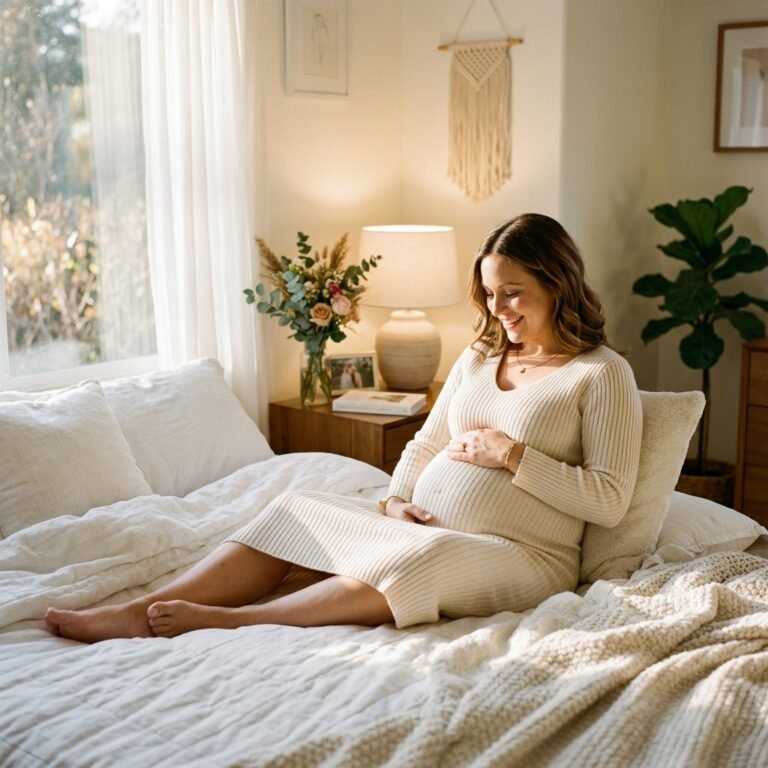
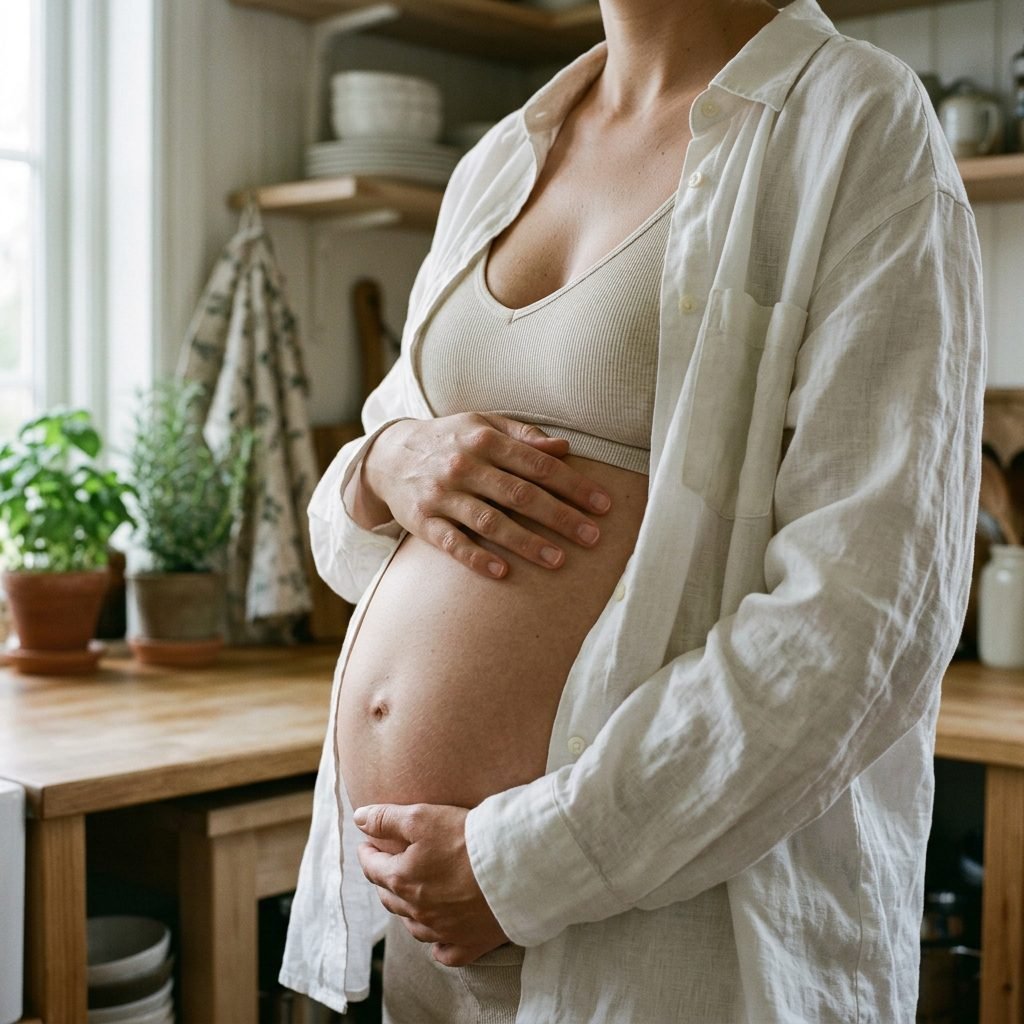
When it comes to maternity fashion, especially for an intimate at-home session, comfort is your best friend. As a maternal fashion stylist, my number one rule is: if you feel restricted, you will look stiff in your photos. We want to embrace a “stylish & comfort-first” philosophy. Think soft textures, breathable fabrics, and pieces that easily expose your belly if you want to show some skin.
Texture Over Pattern
In a kitchen environment, there are already plenty of lines and shapes (cabinets, tiles, appliances). To stand out without clashing, avoid loud prints, tiny stripes, or neon colors. Instead, lean heavily into textures. Chunky knits, ribbed cotton, soft linen, and waffle-knit fabrics photograph beautifully and add a tactile, cozy element to the images.
The Unbuttoned Look
One of the most classic, empowering lifestyle maternity looks is the unbuttoned approach. It feels incredibly natural and celebrates your changing body.
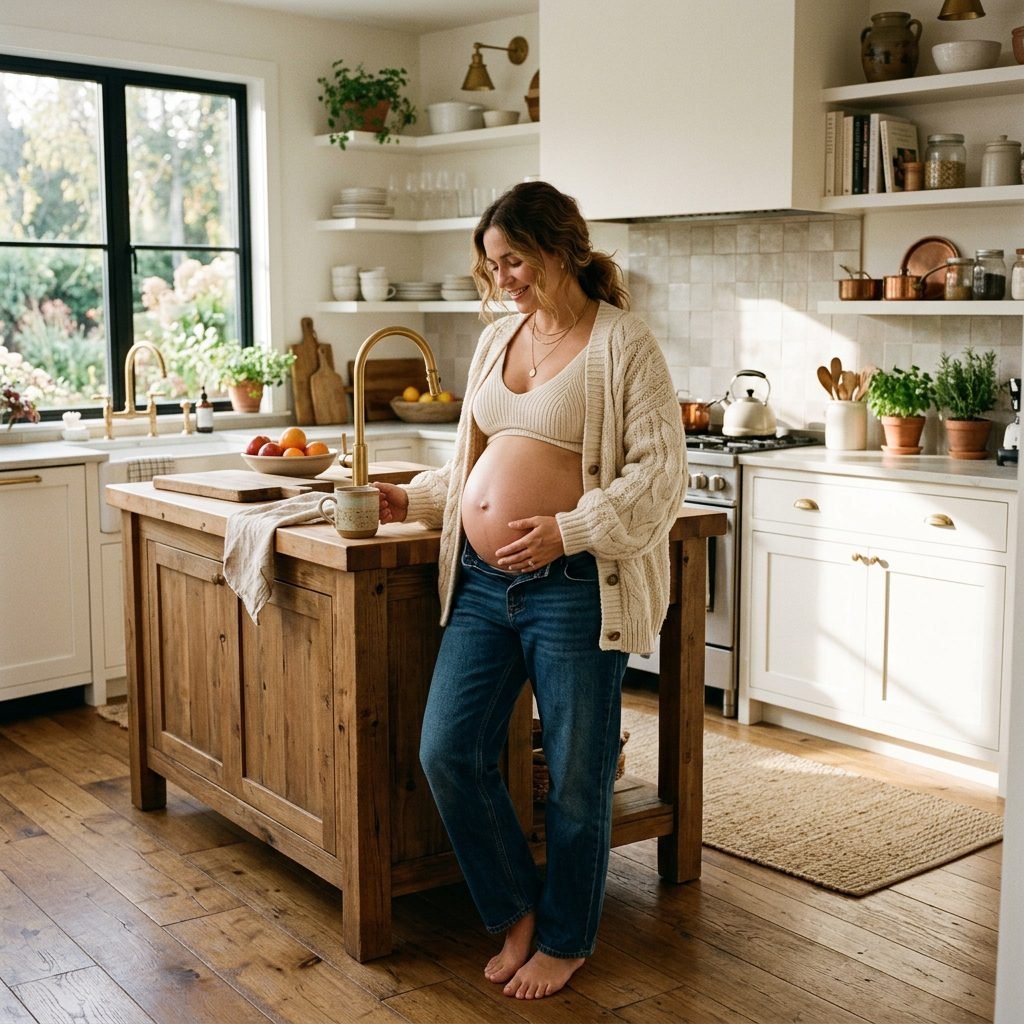
- The Oversized Cardigan: Wear a chunky knit cardigan draped off one shoulder, paired with a seamless neutral bralette and soft lounge pants worn below the bump.
- The Linen Button-Down: Borrow your partner’s oversized linen or cotton button-down shirt. Leave the bottom half unbuttoned to frame your belly.
- Maternity Overalls: Unhook one strap of a pair of relaxed linen or denim overalls, pairing it with a fitted ribbed tank top underneath.
| Outfit Vibe | Key Pieces to Mix & Match |
|---|---|
| The Sunday Morning | Oversized waffle robe + seamless nursing bra + loose cotton shorts. |
| The Casual Baker | Boyfriend jeans (unbuttoned) + fitted ribbed tank top + bare feet. |
| The Cozy Minimalist | Matching ribbed knit lounge set in oatmeal or sage green + chunky socks. |
“Your body is doing the hardest work right now. Dress it in fabrics that feel like a hug. The more comfortable you feel, the more radiant you will look on camera.”
Posing & Prompts: How to Look Natural and Candid
Moving Beyond the ‘Stand and Smile’
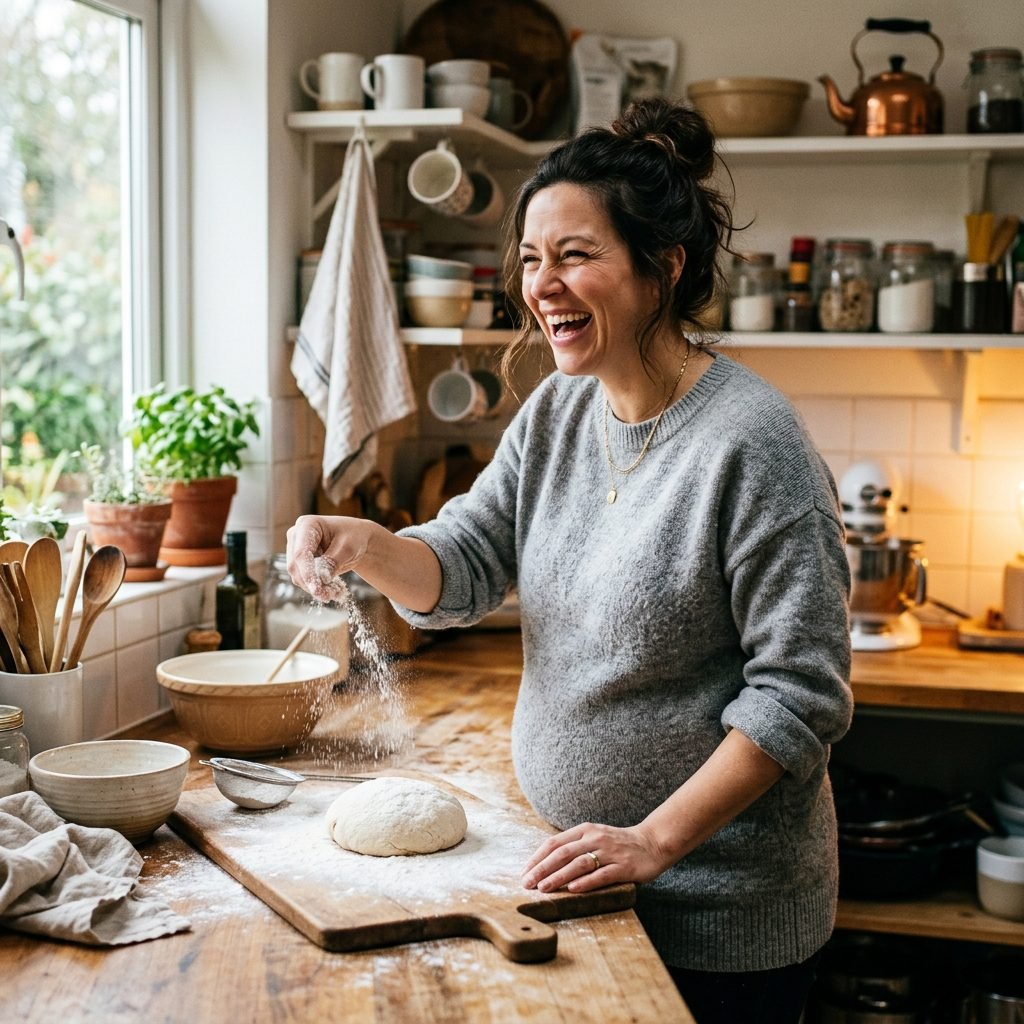
The biggest hurdle in DIY photography is feeling awkward in front of the camera. When you are just standing there waiting for the self-timer to go off, you naturally stiffen up. The secret to “candid” lifestyle photography is to give yourself an activity. By focusing on a task, your body relaxes, your posture becomes natural, and your facial expressions soften.
Action-Based Posing Ideas
- The Coffee Pour: Stand at the counter and slowly pour hot water into a French press or tea into a mug. Look down at what you are doing, smiling softly. This naturally angles your face beautifully toward the counter.
- The Bump Cradle: Lean your hips gently against the kitchen counter. Hold a mug in one hand and place your other hand underneath your belly. Look out the window, taking a deep, relaxing breath.
- The Cravings Bite: Sit on the floor in front of the open fridge (if your fridge is clean!), or sit on a barstool with a bowl of your current pregnancy craving—whether that’s fresh strawberries or a giant chocolate chip cookie. Laugh at the reality of pregnancy hunger!
- The Baking Mess: Dust a little flour on the counter. Knead some dough or mix a bowl of batter. This is especially adorable if you have an older toddler joining the shoot.
Where to Look
To achieve that documentary, fly-on-the-wall feeling, avoid looking directly into the camera lens for every shot. Look at your hands, look out the window, look at your partner, or simply close your eyes and focus on the feeling of your baby kicking.
Camera & Lighting Hacks for DIY Photographers
Mastering the Self-Timer and Smartphone Magic
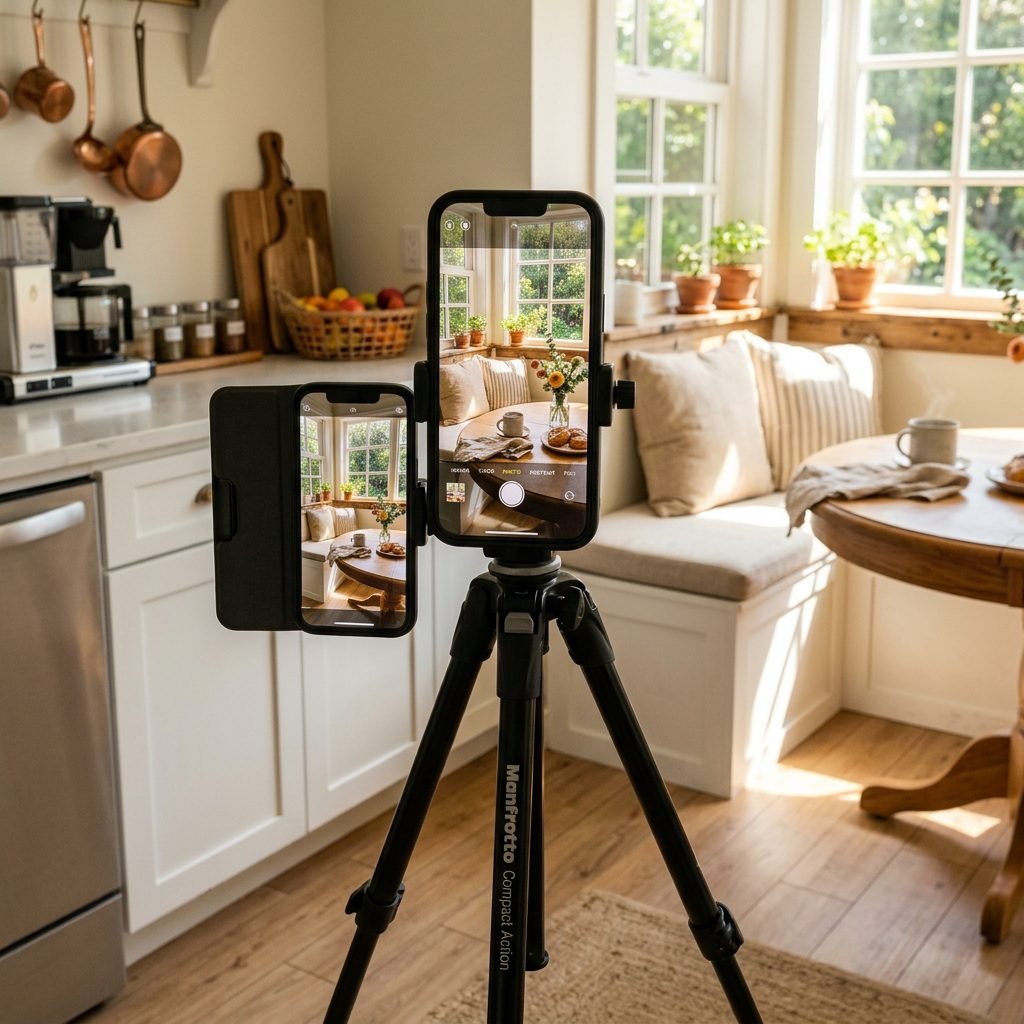
You do not need a $3,000 DSLR camera to take breathtaking maternity photos. Today’s smartphones are incredibly powerful, and with a few simple tweaks, you can capture professional-level images.
The Essential Gear Setup
- A Sturdy Tripod: This is non-negotiable for sharp, well-framed self-portraits. Invest in a tripod with a smartphone mount that can extend to at least 60 inches.
- A Bluetooth Remote: A cheap Bluetooth clicker saves you from running back and forth to the camera every 10 seconds. You can easily hide the tiny remote in your hand or behind a mug.
Smartphone Camera Settings for Success
If you are using an iPhone or Android, do not just point and shoot. Take control of your exposure to get that bright, airy look.
- Clean your lens: Seriously, wipe it with a microfiber cloth. A greasy lens causes blurry, glowing streaks.
- Lock the Focus and Exposure (AE/AF Lock): Tap and hold the screen on your face until “AE/AF Lock” appears. This stops the camera from constantly refocusing as you move.
- Adjust the Exposure: Once locked, a little sun icon will appear. Slide it slightly UP to brighten the image and give it that professional, airy feel.
- Use Burst Mode or Video: If you are doing an activity (like pouring tea or laughing with your partner), use the burst mode, or record a high-quality 4K video and screenshot the best frames later.
| Camera Tool | Why You Need It | Pro Tip |
|---|---|---|
| Portrait Mode | Blurs the background (bokeh) to make you stand out. | Keep the f-stop around f/2.8 or f/4.5 so it doesn’t look overly fake. |
| Grid Lines | Helps keep your cabinets and countertops perfectly straight. | Turn this on in your phone’s camera settings for better composition. |
| Self-Timer | Gives you time to get into position. | Set it to 10 seconds, not 3, so you aren’t rushing and looking stressed. |
Involving Your Partner (and Pets!): Capturing Authentic Connection
Documenting Your Growing Family
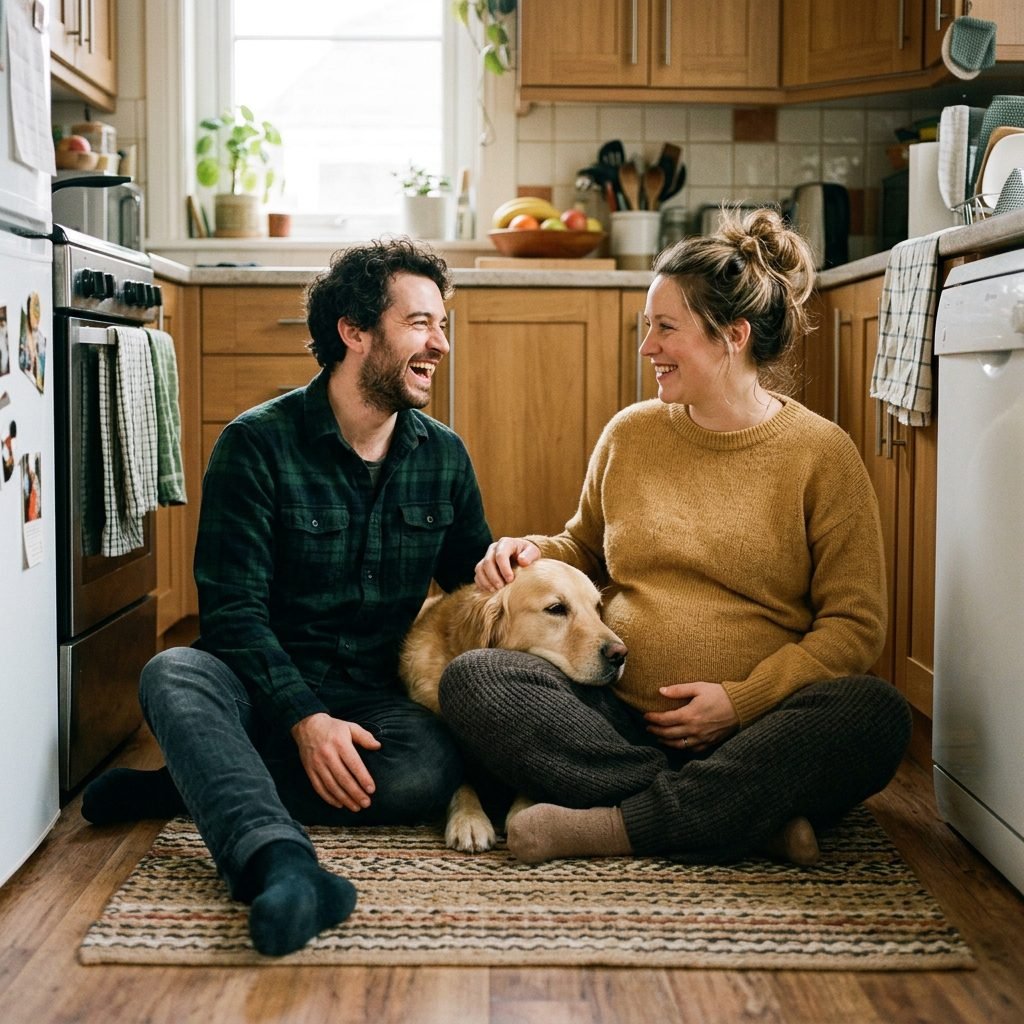
Pregnancy is a transition for the whole family. Bringing your partner, your older children, or your furry firstborns into the frame adds layers of emotion and storytelling to your photos. But getting partners and pets to look natural can sometimes be a challenge. The trick is to give them prompts rather than poses.
Prompts for Your Partner
Instead of saying “stand here and smile,” use these connection-building prompts to elicit genuine emotion and natural body language:
“Wrap your arms around her waist from behind, bury your face in her neck, and whisper the absolute weirdest baby name you can think of into her ear.”
“Stand facing each other. Try to bump bellies. Now, trace the outline of her bump with your fingertips while looking into her eyes.”
“Sit on the floor together. Partner, lean down and talk directly to the baby. Tell them what we are having for dinner tonight.”
Integrating Pets and Toddlers
If you have a dog, a cat, or a toddler, the kitchen is usually their favorite place anyway! Let them wander into the frame naturally.
- For Toddlers: Put them on the counter (safely) and let them “help” you mix a bowl of dry oats. Focus on capturing the messy, chaotic joy. Have them kiss the baby bump or listen for the baby through your belly button.
- For Pets: Keep a bag of treats right next to the camera lens to get them to look forward, or simply let them lay at your feet while you sip your tea. The juxtaposition of a loyal dog resting next to a pregnant belly is always a tear-jerker.
The Final Polish: Easy Editing for a Film-Like Aesthetic
Bringing the Magic to Life
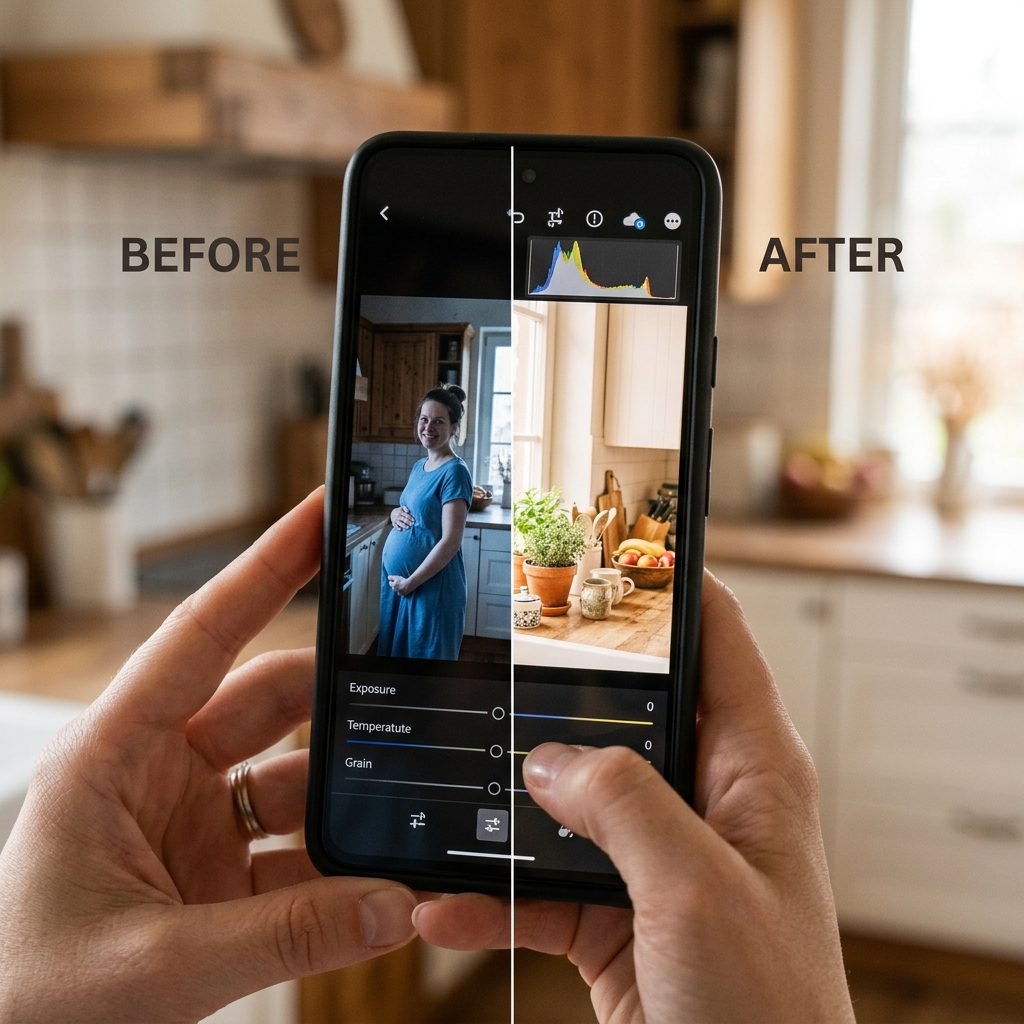
Once you have captured your beautiful, messy, candid moments, a little bit of editing can elevate your photos from “snapshot” to “framed art.” You do not need to be a Photoshop wizard. We want to enhance the warmth of the kitchen and the natural glow of your skin, keeping it entirely authentic.
Top Free Apps for Editing
Download a free app like Lightroom Mobile or Tezza. These apps offer incredible control over lighting and color without degrading the quality of your image.
The Cozy Kitchen Editing Formula
- Warm it up: Kitchens look best when they feel warm. Increase the “Temperature” slider slightly toward the yellow/orange side to enhance the cozy, golden hour feel.
- Lift the Shadows: If the corners of your kitchen look dark, gently raise the “Shadows” slider. This brightens the image without blowing out the highlights on your face.
- Lower the Contrast: For a soft, film-like, romantic aesthetic, lower the contrast slightly. This makes the transition between light and dark areas much softer on your skin.
- Add a Touch of Grain: Real film has grain. Adding a tiny bit of grain (around 15-20%) in your editing app hides minor imperfections, reduces smartphone over-sharpening, and gives the photo a nostalgic, timeless feel.
| Editing Slider | Adjustment | What It Does |
|---|---|---|
| Exposure | + 0.20 to + 0.50 | Brightens the overall image for an airy look. |
| Highlights | – 15 to – 30 | Recovers details if the window light is too bright. |
| Vibrance | + 10 | Makes skin tones pop without making the kitchen look neon. |
Conclusion
Embrace the Imperfect Magic
Mama, as you set up your tripod and pour that cup of tea, remember that the goal here is not perfection. If there are a few dishes in the background that you forgot to move, or if your hair is in a messy bun because you were too exhausted to curl it—let it be. These photos are a time capsule of your real life, right now, in all its beautiful, chaotic, exhausting glory.
Pregnancy is fleeting. The days feel incredibly long, but the months are astonishingly short. By taking an hour to capture these candid, cozy kitchen lifestyle maternity photos, you are giving your future self, and your future child, a priceless gift. You are documenting the quiet anticipation, the love shared between you and your partner, and the sacred space where your family is growing. So take a deep breath, put on your coziest sweater, hit that self-timer, and just be. You are doing a beautiful job.