The Tear-Free Guide to Cutting Tiny Newborn Fingernails
Welcome to the beautiful, bewildering world of new parenthood! Among the myriad joys and challenges, one task often looms large with a surprising amount of apprehension: trimming those tiny, razor-sharp newborn fingernails. It’s a common source of anxiety for new dads and parents alike, conjuring images of accidental nicks and tearful babies. Rest assured, you are not alone in this feeling. As a certified Doula and Maternal Health Educator, I’ve guided countless families through this exact concern, and I’m here to tell you that it can be a tear-free, calm, and even bonding experience.
Newborns’ nails grow surprisingly fast and can be incredibly sharp. This isn’t just a cosmetic issue; long, sharp nails pose a real risk of your baby scratching their delicate skin, eyes, or even your own. While many parents instinctively reach for mittens, these are a temporary solution. Learning to safely and confidently trim your baby’s nails is an essential skill that will serve you well through infancy and beyond. This comprehensive guide is designed to equip you with the knowledge, tools, and confidence to tackle this task with ease, ensuring both you and your little one remain calm and comfortable throughout the process.
We’ll delve into understanding why nail care is so important, explore the best tools for the job, establish the ideal environment, and walk through a detailed, step-by-step method that prioritizes safety and minimizes fuss. You’ll also find empathetic advice for common concerns and practical tips to build your confidence. Let’s transform this daunting task into another opportunity for gentle, loving care for your precious newborn.
Understanding Newborn Nails: Why Trimming is Essential
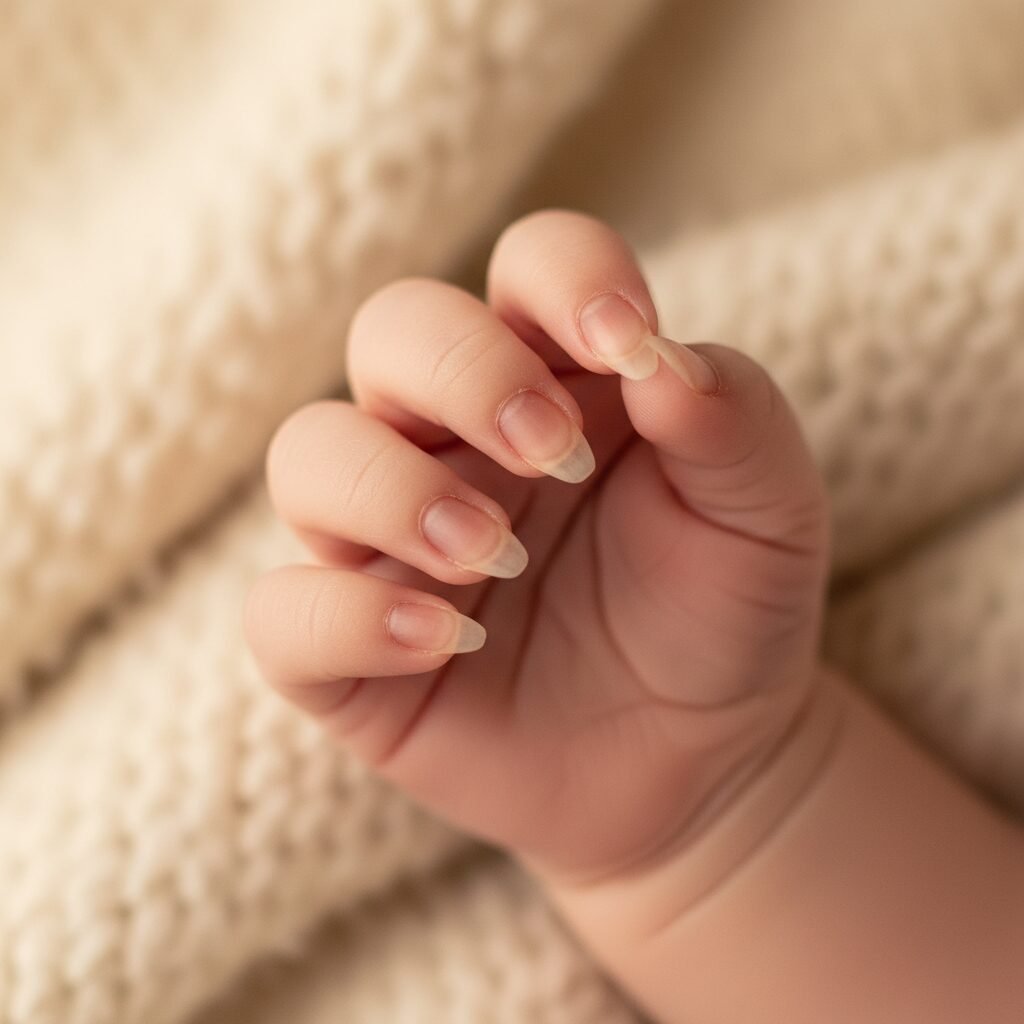
Newborns enter the world with surprisingly long and often sharp fingernails. While they are soft and pliable, their delicate edges can easily scratch your baby’s incredibly thin skin, especially during those early weeks when their movements are still quite uncontrolled and jerky. These accidental scratches can lead to minor skin irritations, and in more serious cases, could potentially damage their eyes or other sensitive areas.
Many parents initially opt for baby mittens to prevent scratching. While mittens can offer a temporary solution, they are not ideal for long-term use. Mittens can restrict your baby’s ability to explore their hands and fingers, which is a crucial part of their early sensory development and self-discovery. Babies learn about their world by touching, grasping, and bringing their hands to their mouths. Constantly covering their hands can hinder these important developmental milestones.
“Regular nail care for newborns isn’t just about aesthetics; it’s a fundamental aspect of infant safety and hygiene. Preventing scratches protects their delicate skin and allows for unimpeded sensory exploration.” – Certified Doula & Maternal Health Educator
Beyond preventing scratches, maintaining clean and trimmed nails is also a matter of hygiene. Tiny hands often explore everything, and debris or germs can accumulate under longer nails, which can then be transferred to their mouths or eyes. Keeping nails short and clean reduces the risk of infection.
It’s important to remember that a baby’s fingernails grow remarkably quickly, often requiring trimming multiple times a week. Toenails grow at a slower pace and typically require less frequent attention. Understanding this natural growth pattern will help you integrate nail care into your regular baby grooming routine, making it a predictable and less stressful activity for everyone involved. By embracing regular, gentle nail trimming, you are actively contributing to your baby’s comfort, safety, and healthy development.
Gathering Your Tools: The Right Equipment for Success
Before you begin, assembling the right tools is paramount. Using adult nail clippers or scissors is strongly discouraged due to their size and sharpness, which can easily lead to injury on such delicate digits. Investing in baby-specific nail care tools will significantly reduce your anxiety and increase the safety of the process.
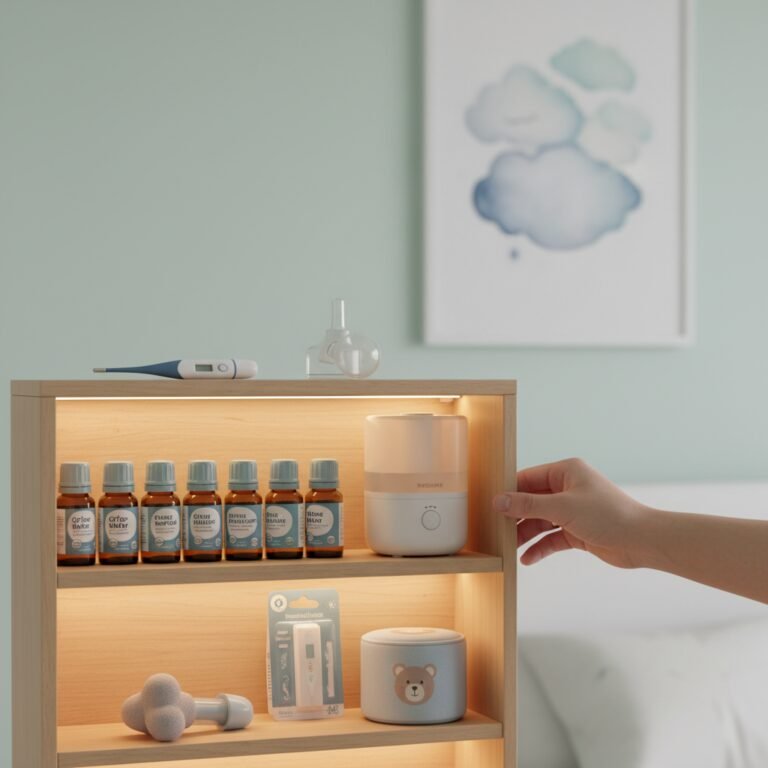
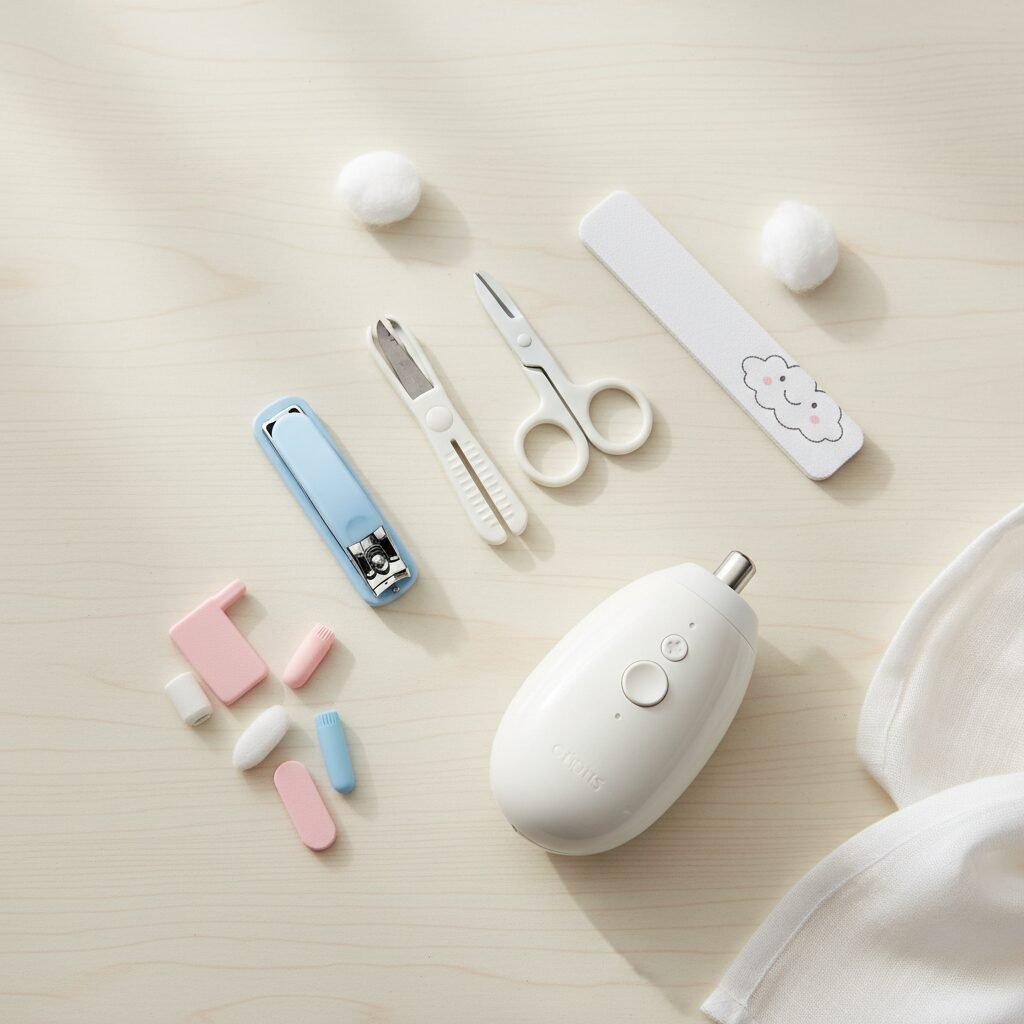
Essential Baby Nail Care Tools:
- Baby Nail Clippers: These are specifically designed with smaller blades and often a rounded, ergonomic handle for a secure grip. Some feature a safety guard to prevent cutting too deeply. Look for ones with a good reputation for sharpness and durability.
- Baby Nail Scissors: Another popular option, baby nail scissors have blunt tips and curved blades, making them safer for navigating around tiny fingers. Many parents find these easier to control than clippers, especially for very small hands.
- Soft Emery Board/Glass Nail File: A fine-grit emery board or a gentle glass nail file is indispensable for smoothing any sharp edges left after clipping or for simply filing down nails without cutting. This is often the safest option for newborns and can be used regularly to maintain nail length without the need for clippers.
Optional but Helpful Tools:
- Magnifying Clippers: Some baby clippers come with an attached magnifying glass, which can be incredibly helpful for parents with vision challenges or those who simply want an extra layer of precision when dealing with tiny nails.
- Electric Baby Nail Trimmer/Buffer: These battery-operated devices use a rotating, cushioned pad to gently file down nails. They are often considered the safest and most ‘tear-free’ option, especially for very nervous parents or squirmy babies, as they eliminate the risk of cutting the skin.
- A Small, Soft Towel or Blanket: To wrap your baby for comfort and to gently secure their hands, if needed.
When choosing your tools, prioritize safety features, ease of grip, and the comfort level you feel with each option. Many parents find they prefer one type of tool over another, so don’t hesitate to try a couple of different options to see what works best for you and your baby. Always ensure your tools are clean and in good condition before use. With the right equipment in hand, you’re already halfway to a successful, tear-free nail trimming experience.
Setting the Scene: When and How to Prepare for Nail Trimming

Timing and environment are crucial for a calm and successful nail trimming session. Rushing or attempting to trim nails when your baby is fussy, hungry, or overly alert can quickly turn a simple task into a stressful ordeal for everyone involved. Thoughtful preparation can make all the difference.
The Best Time to Trim Nails:
- While Baby is Asleep: This is often the golden window for many parents. When your newborn is in a deep sleep, their hands are relaxed, and they are less likely to squirm or protest. You can gently lift their hand and proceed with minimal disruption.
- Immediately After a Bath: Warm water softens your baby’s nails, making them easier to cut and less prone to splitting. The bath also often has a calming effect, so your baby might be more relaxed and cooperative afterward.
- During a Feeding Session: If your baby is calm and focused on feeding (breast or bottle), their hands might be still enough for you to quickly trim one or two nails. This requires a bit of multitasking but can be effective, especially with a partner’s help.
Avoid trimming nails when your baby is wide awake, actively playing, or clearly agitated. A calm baby equals a calm parent, which leads to a calmer experience.
Creating a Calm Environment:
- Good Lighting: Ensure you have excellent lighting, preferably natural daylight. This allows you to clearly see the nail, the quick (the pink part under the nail bed), and the delicate skin around it. If natural light isn’t available, use a well-lit room or a focused lamp.
- Comfortable Positioning: Sit in a comfortable chair where you can support your baby securely. You might hold them in your lap, or if they are asleep, position them on a bed or changing table with good visibility. Some parents find it easier to have their baby lying down, while others prefer holding them upright.
- Distraction (for older babies): While less necessary for newborns, as they get a bit older, a small toy or a gentle song can provide a useful distraction. For newborns, simply your calm presence and soothing voice are usually enough.
- Enlist a Partner: If you have a partner, their help can be invaluable. One parent can gently hold and distract the baby, while the other focuses on the trimming. This can significantly reduce stress and increase efficiency.
By thoughtfully preparing the environment and choosing the opportune moment, you transform nail care from a potential battle into a peaceful routine, fostering a sense of security and trust with your little one.
The Step-by-Step Tear-Free Method
With your tools ready and your baby calm, it’s time to approach the actual trimming. Remember, gentleness and patience are your best allies. Here’s a detailed, step-by-step guide to ensure a tear-free experience:
- Wash Your Hands and Gather Tools: Always start with clean hands. Have your chosen clippers, scissors, or file within easy reach. If using clippers or scissors, consider having an emery board nearby for smoothing.
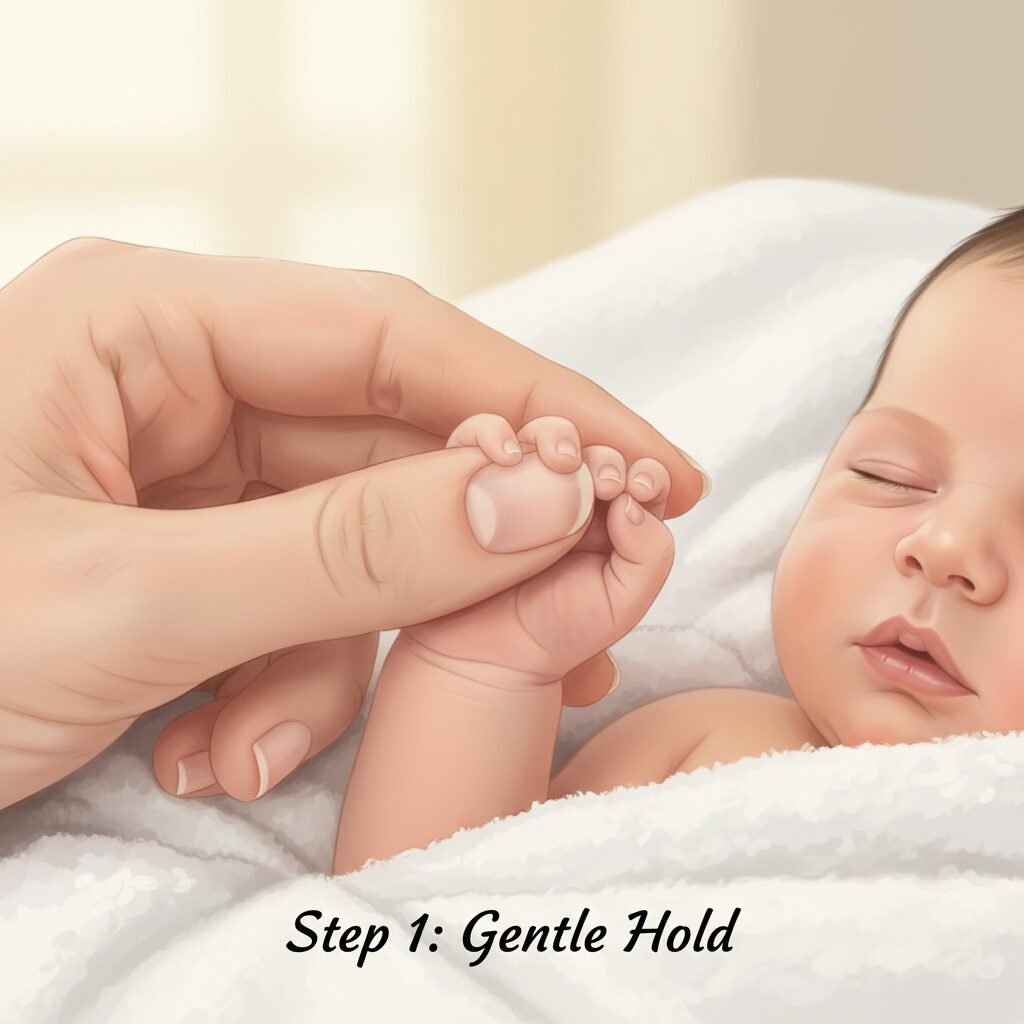
- Secure Your Baby (Gently): If your baby is awake, wrap them snugly in a swaddle, leaving one hand free. This prevents sudden movements. If they are asleep, gently hold their hand. A partner can help by holding the baby or gently distracting them.
- Isolate One Finger: Gently take one of your baby’s tiny fingers. Use your thumb and forefinger to hold it securely but without squeezing.
- Push Back the Fingertip Pad: This is a crucial safety step. With your thumb, gently push down the fleshy pad of the fingertip, away from the nail. This creates a clear space between the nail and the skin, significantly reducing the risk of nicks.
- Position Your Tool:
- For Clippers: Position the clipper blades parallel to the natural curve of the nail.
- For Scissors: Angle the scissors slightly to follow the curve.
- For Files: Hold the file at a slight angle against the nail.
- Trim or File Carefully:
- With Clippers/Scissors: Make small, precise cuts, following the natural curve of the nail. Avoid cutting straight across, as this can lead to ingrown nails. Aim to leave a tiny bit of white nail visible, rather than cutting too close to the quick.
- With a File: Gently file in one direction, from the side to the center, until the desired length and smoothness are achieved. This method is slower but virtually eliminates the risk of nicks.
- Check for Sharp Edges: After each trim or filing, gently run your finger over the baby’s nail to check for any sharp points or rough edges. Use an emery board to gently smooth these away. This prevents new scratches.
- Repeat for Each Finger and Thumb: Take your time and repeat the process for each nail. Don’t feel pressured to do all nails in one sitting. If your baby gets fussy, take a break and try again later.
- Toenails (Less Frequent): Toenails are generally thicker and grow slower. When trimming, cut them straight across to prevent ingrown toenails. They often require less frequent attention than fingernails.
Remember, practice makes perfect. The first few times might feel awkward, but with each attempt, you’ll gain confidence and develop a rhythm that works for you and your baby. Your calm demeanor will reassure your little one, making this a routine act of loving care.
Common Concerns and Troubleshooting

Even with the best intentions and techniques, sometimes things don’t go exactly as planned. It’s completely normal to feel a surge of panic if you accidentally nick your baby’s delicate skin. Rest assured, minor incidents happen to almost every parent, and knowing how to respond calmly is key.
“Oh No, I Nicked the Skin!” – What to Do:
- Don’t Panic: First and foremost, stay calm. A tiny nick will bleed a little, but it’s rarely serious. Your baby’s blood clotting is efficient.
- Apply Gentle Pressure: Use a clean, soft cloth or a sterile gauze pad to apply very gentle pressure to the affected area. Hold it for a minute or two until the bleeding stops.
- Avoid Adhesives: Do not use bandages or adhesive plasters on a newborn’s tiny fingers or toes. They pose a choking hazard if they come loose and can irritate delicate skin.
- Cleanse (Optional): After the bleeding has stopped, you can gently clean the area with mild soap and water or a baby-safe antiseptic wipe.
- Monitor: Keep an eye on the area for any signs of redness, swelling, or pus, which could indicate infection. If you notice these, or if the bleeding doesn’t stop, contact your pediatrician.
Dealing with a Squirmy Baby:
Some babies are naturally more active or simply dislike having their hands held still. If your baby is squirming:
- Re-evaluate Timing: Are they tired? Hungry? Overstimulated? Try again when they are calmer.
- Swaddle for Security: A snug swaddle can work wonders in limiting arm movements while allowing you access to their hands.
- Enlist a Partner: Having one person gently hold and soothe the baby while the other trims can make a huge difference.
- Distraction: For slightly older babies, a fascinating toy or a gentle song can divert their attention.
- Try the Electric File: If traditional clippers or scissors are too challenging, an electric baby nail file offers a gentler, less invasive way to shorten nails without the risk of nicks.
What if Baby Hates It?
If your baby consistently protests nail trimming, try to make it a positive experience:
- Positive Reinforcement: Use soothing words, gentle touches, and praise before, during, and after.
- Short Sessions: Don’t try to do all ten nails at once. Do one or two at a time, and take breaks.
- Consistency: The more consistently you incorporate it into a routine, the more familiar and less frightening it will become.
Remember, every baby is different. What works for one might not work for another. Be patient with yourself and your baby, and don’t hesitate to seek advice from your pediatrician or a maternal health professional if you have ongoing concerns.
Nail Care Myths and What to Avoid
In the realm of newborn care, misinformation can sometimes circulate, leading to practices that are less than ideal or even harmful. As authoritative caregivers, it’s crucial to distinguish fact from fiction when it comes to your baby’s nail care.
Common Myths Debunked:
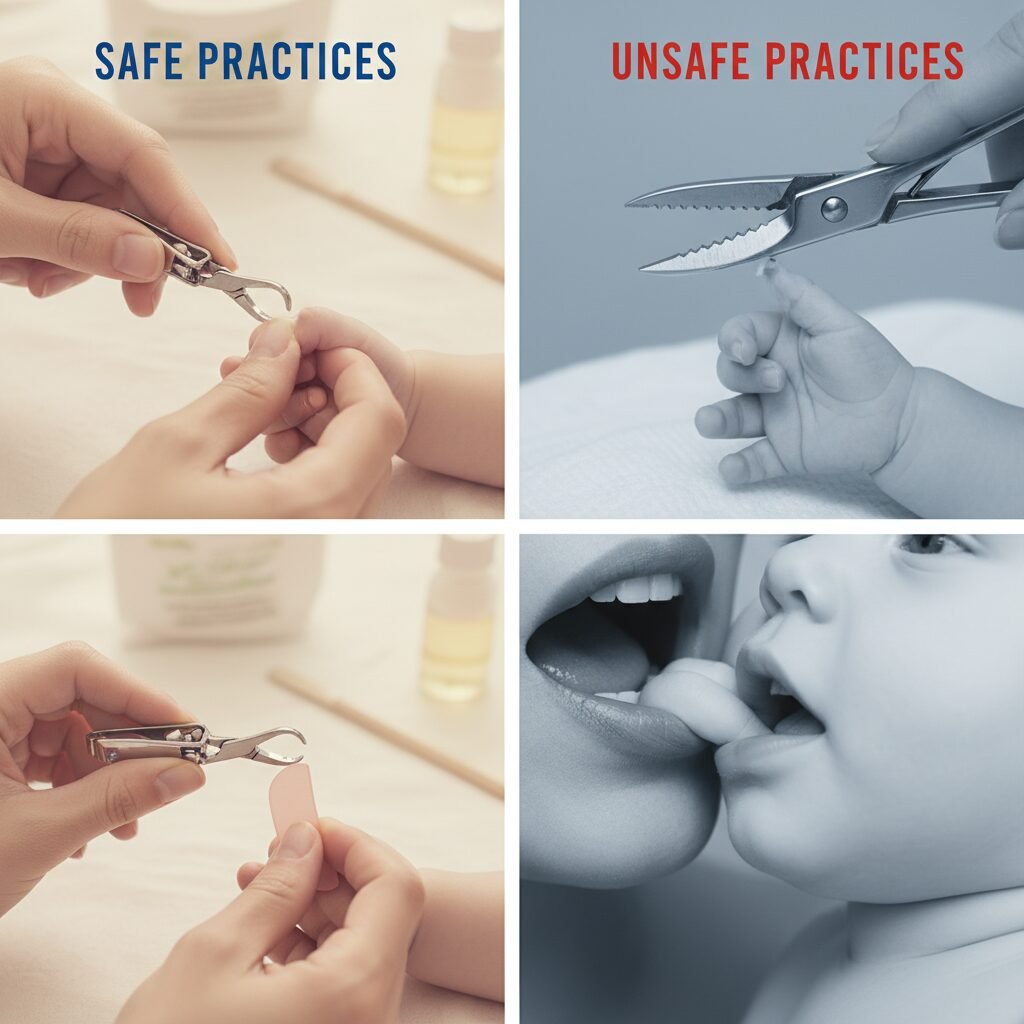
- Myth: You can bite your baby’s nails.
Fact: While some parents might be tempted to bite their baby’s nails due to their tiny size, this practice is strongly discouraged. Your mouth harbors numerous bacteria that can easily be transferred to your baby’s delicate skin, potentially leading to infection. Furthermore, it’s difficult to get a clean, even trim with your teeth, increasing the risk of tearing or leaving jagged edges. - Myth: Newborns don’t need their nails trimmed; mittens are enough.
Fact: As discussed, mittens are a temporary solution. They can hinder sensory development and don’t address the underlying need for nail hygiene. Regular trimming is essential for safety and healthy development. - Myth: It’s okay to rip or peel off hangnails.
Fact: Never rip or peel off hangnails or any part of your baby’s nail. This can cause pain, tear the skin further, and create an open wound susceptible to infection. Always use appropriate tools to carefully trim hangnails.
What to Absolutely Avoid:
- Adult Nail Clippers or Scissors: These are far too large and sharp for a newborn’s tiny, delicate nails and fingers. Using them significantly increases the risk of accidental cuts and injury.
- Cutting Too Close to the Quick: The ‘quick’ is the pinkish area under the nail that contains blood vessels and nerves. Cutting into the quick is painful for your baby and will cause bleeding. Always aim to leave a tiny bit of the white nail visible.
- Rounded Cuts on Toenails: Unlike fingernails, toenails should be cut straight across, not rounded. Cutting toenails in a rounded fashion can increase the risk of painful ingrown toenails.
- Distraction with Unsafe Items: While distraction can be helpful for older babies, never use toys or items that could pose a choking hazard if your baby were to grab them during nail care.
- Forcing the Issue: If your baby is highly agitated or resisting strongly, do not force the trimming. This can create a negative association with nail care and make future attempts even harder. Take a break and try again when they are calmer.
By being informed and avoiding these common pitfalls, you can ensure your baby’s nail care routine remains safe, hygienic, and stress-free. Trust your instincts, but always rely on professional guidance and best practices for your newborn’s well-being.
Conclusion
Congratulations! You’ve navigated the tear-free guide to cutting tiny newborn fingernails. Hopefully, this comprehensive overview has demystified the process and replaced any apprehension with confidence and a clear plan of action. Remember, every aspect of newborn care, from feeding to diaper changes to nail trimming, is a learning curve for both you and your baby. There will be moments of triumph and moments of minor setbacks, and that’s perfectly normal.
Embrace patience, trust in the tools you’ve chosen, and most importantly, trust in your innate ability as a parent to care for your little one with love and gentleness. The act of trimming your baby’s nails, once a source of worry, can become a quiet, tender moment of connection. It’s another small but significant way you provide comfort, safety, and care for your precious child.
If you ever feel overwhelmed or have persistent concerns, please do not hesitate to reach out to your pediatrician, a trusted maternal health professional, or your support network. You are doing an incredible job, and with each small step, you are becoming more adept and assured in your parenting journey. Keep nurturing, keep learning, and keep celebrating the small victories!