Skip The Plastic: How To Make Stunning Montessori Mobiles For Your Newborn
As you prepare to welcome your newborn, the desire to create a nurturing, beautiful, and stimulating environment is paramount. The market is flooded with brightly colored, noisy plastic toys, but there is a gentler, more purposeful alternative rooted in decades of child development research: the Montessori mobile series. These are not mere decorations; they are the first educational materials your baby will interact with, designed specifically to support their developing visual skills, concentration, and understanding of the world.
This guide moves beyond theory and empowers you to create these stunning developmental tools yourself. By choosing natural, sustainable materials, you not only skip the plastic but also infuse your baby’s first environment with love and intention. We will walk you through the philosophy behind the four classic visual mobiles and provide detailed, step-by-step instructions to craft each one, ensuring a safe, beautiful, and profoundly beneficial addition to your nursery.
The Gentle Genius of Montessori Mobiles: More Than Just Decoration

The Gentle Genius of Montessori Mobiles: More Than Just Decoration
Before we begin crafting, it’s essential to understand why these specific mobiles are so powerful. Unlike typical crib mobiles designed to distract or lull a baby to sleep with jarring sounds and chaotic movement, Montessori mobiles are tools for work. For a newborn, this ‘work’ is the monumental task of understanding the world, starting with their sense of sight. Dr. Maria Montessori observed that infants are capable of intense concentration when presented with stimuli appropriate for their developmental stage.
The visual mobile series follows a precise progression, mirroring the natural development of a baby’s eyesight:
- Focus on One Sense at a Time: These are purely visual mobiles. They are silent, allowing the baby to concentrate solely on the act of seeing without being overwhelmed by auditory input.
- Developing Vision: A newborn’s vision is initially blurry and lacks color perception. The series starts with high-contrast black and white (the Munari) and gradually introduces primary colors (the Octahedron), shades of one color (the Gobbi), and finally, dynamic, light-reflecting movement (the Dancers).
- Encouraging Concentration: The slow, gentle movement of the mobiles, often powered by natural air currents, captivates a baby’s attention. This ability to focus for sustained periods is the foundation for all future learning.
- Grounded in Reality: The mobiles use geometric shapes and graded colors, presenting concepts of form, dimension, and color theory in their purest state. This provides a clear, uncluttered view of reality for the developing mind.
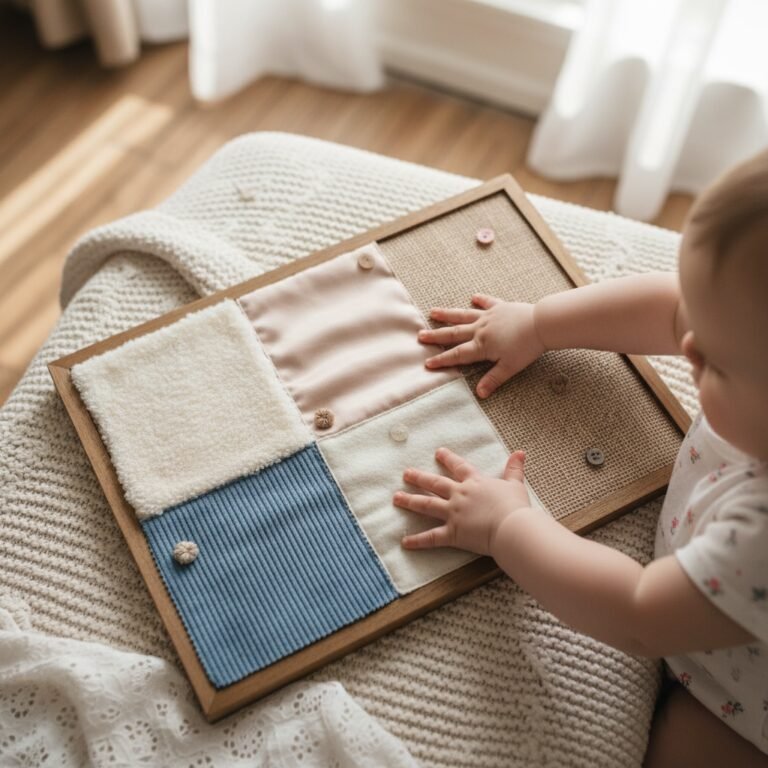
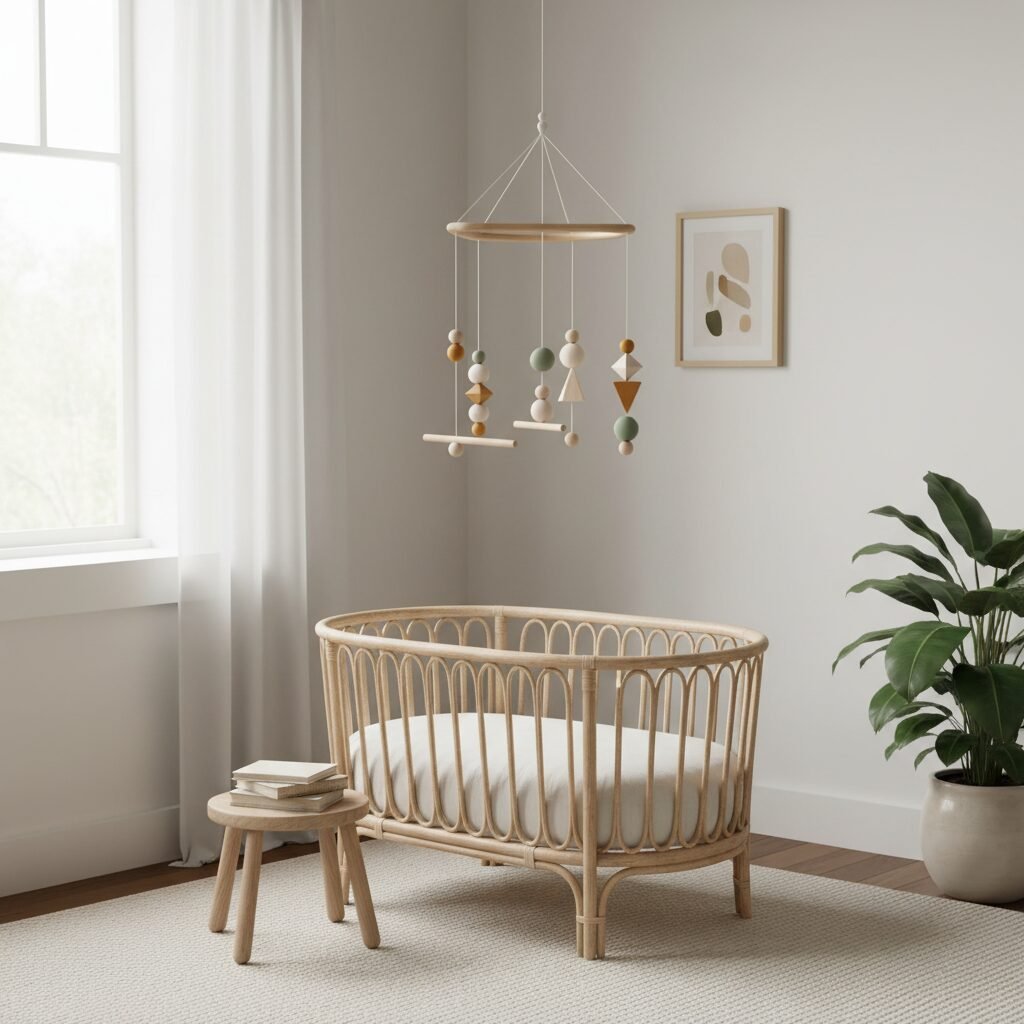
These mobiles should be hung in the baby’s waking space, such as over a floor mat or play gym, not over their crib. This creates a clear distinction between a space for work and concentration and a space for rest.
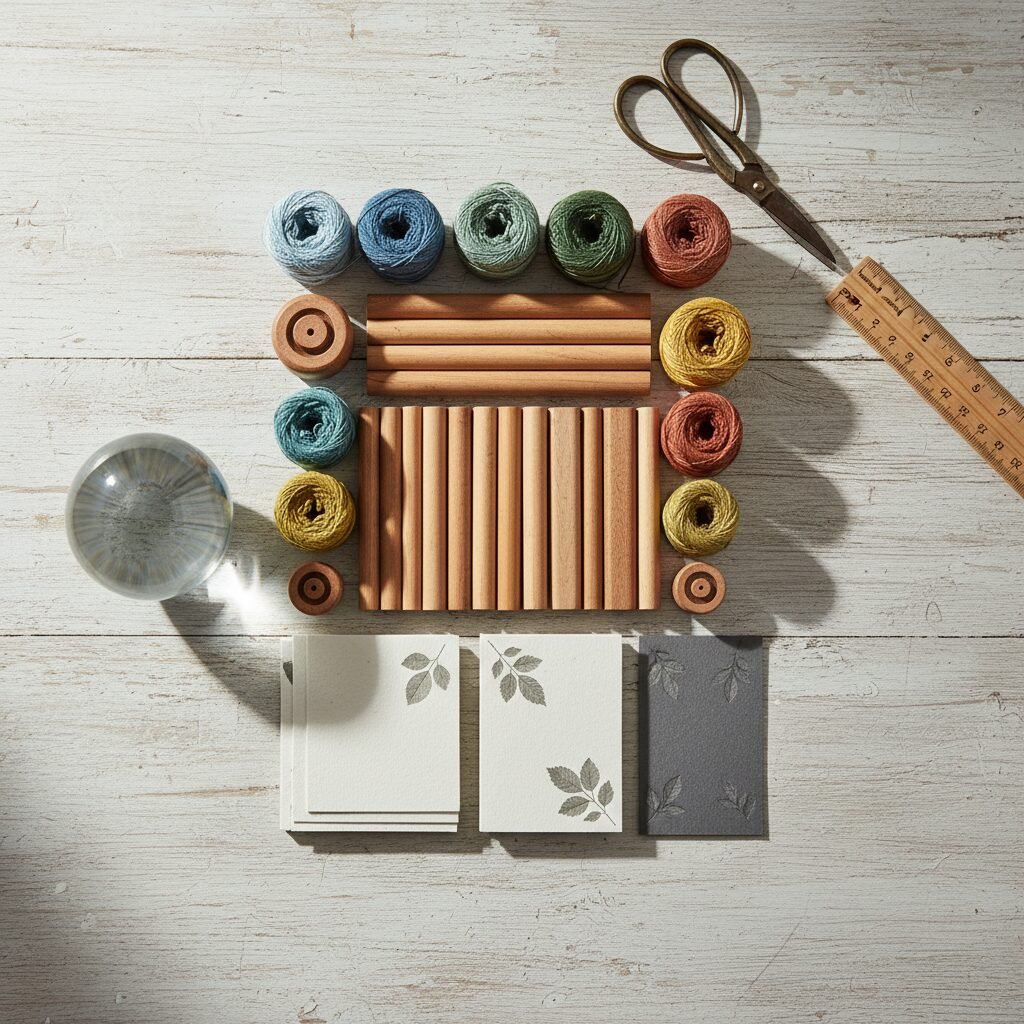
Your Sustainable Toolkit: Gathering Materials for Your DIY Mobiles
Your Sustainable Toolkit: Gathering Materials for Your DIY Mobiles
One of the most rewarding aspects of making these mobiles is the ability to choose beautiful, natural, and non-toxic materials. You’ll find that many of the core components are used across multiple mobiles. Here is a general list of what you’ll need, with specifics broken down in each mobile’s section.
General Supplies:
- Wooden Dowels: Several thin dowels of varying lengths (e.g., 12″, 10″, 8″). Bamboo or birch are excellent choices.
- Thread: Strong, natural thread like organic cotton or silk embroidery floss. White or transparent thread works best.
- Ruler and Pencil: For precise measurements.
- Scissors and/or Craft Knife: For cutting paper and thread.
- Non-Toxic Glue: A clear-drying craft glue.
- Needle: A long, thin needle to help with threading.
- Ceiling Hook: A secure hook for safe hanging.
Mobile-Specific Materials:
- The Munari: Black and white cardstock (heavyweight), one clear glass or plastic sphere (approx. 2″ diameter).
- The Octahedron: Cardstock in primary colors: red, yellow, and blue.
- The Gobbi: Five lightweight spheres (e.g., foam or spun cotton balls, approx. 2″ diameter), embroidery floss in five graded shades of a single color (e.g., five shades of blue from darkest to lightest).
- The Dancers: Holographic or metallic paper, which is lightweight and reflects light beautifully.
Choosing materials with care is your first act of love in this project. Opt for FSC-certified wood, recycled paper, and organic threads whenever possible to create a truly healthy and sustainable piece for your child.
Step-by-Step Guide 1: Crafting the Munari Mobile (Birth to 6 Weeks)

Step-by-Step Guide 1: Crafting the Munari Mobile (Birth to 6 Weeks)
The Munari is the first mobile in the series, designed for the earliest days when a baby’s vision is still developing. The high-contrast black and white geometric shapes are easiest for them to see and track, while the transparent sphere catches the light, offering a different visual experience.
- Prepare Your Shapes: Using your black and white cardstock, create your geometric shapes. You can find printable templates online or draw them yourself. A common combination includes a black circle, a white circle with a black stripe, and several black-and-white striped rectangles. Make sure the shapes are two-sided by gluing identical cutouts back-to-back.
- Assemble the Hanger: You will need three wooden dowels. A typical arrangement is a 12-inch main dowel, a 10-inch dowel hanging from one side, and a 6-inch dowel hanging from the other. Tie them together securely with thread, leaving a small notch in the wood to prevent slipping if needed.
- Attach the Sphere: Tie a length of thread to the glass sphere. Hang it from one end of the shortest (6-inch) dowel. This will be your heaviest element, so you will balance everything against it.
- Attach the Geometric Shapes: Pierce a small hole in the top of each paper shape. Tie a length of thread through each one.
- Balance the Mobile: This is the most crucial step. Start by hanging the largest shape from the end of the 10-inch dowel. Hang another shape from the opposite end of the 12-inch main dowel. Now, begin the process of balancing. Slide the threads along the dowels until they hang perfectly level. It is a process of patience and small adjustments. The goal is a mobile that is perfectly horizontal when at rest. Each element should have space to rotate freely without touching another.
- Secure Everything: Once you have achieved perfect balance, add a tiny drop of clear glue to each knot on the dowels to secure the threads in place. Let it dry completely.
Step-by-Step Guide 2: Assembling the Octahedron Mobile (5 to 8 Weeks)
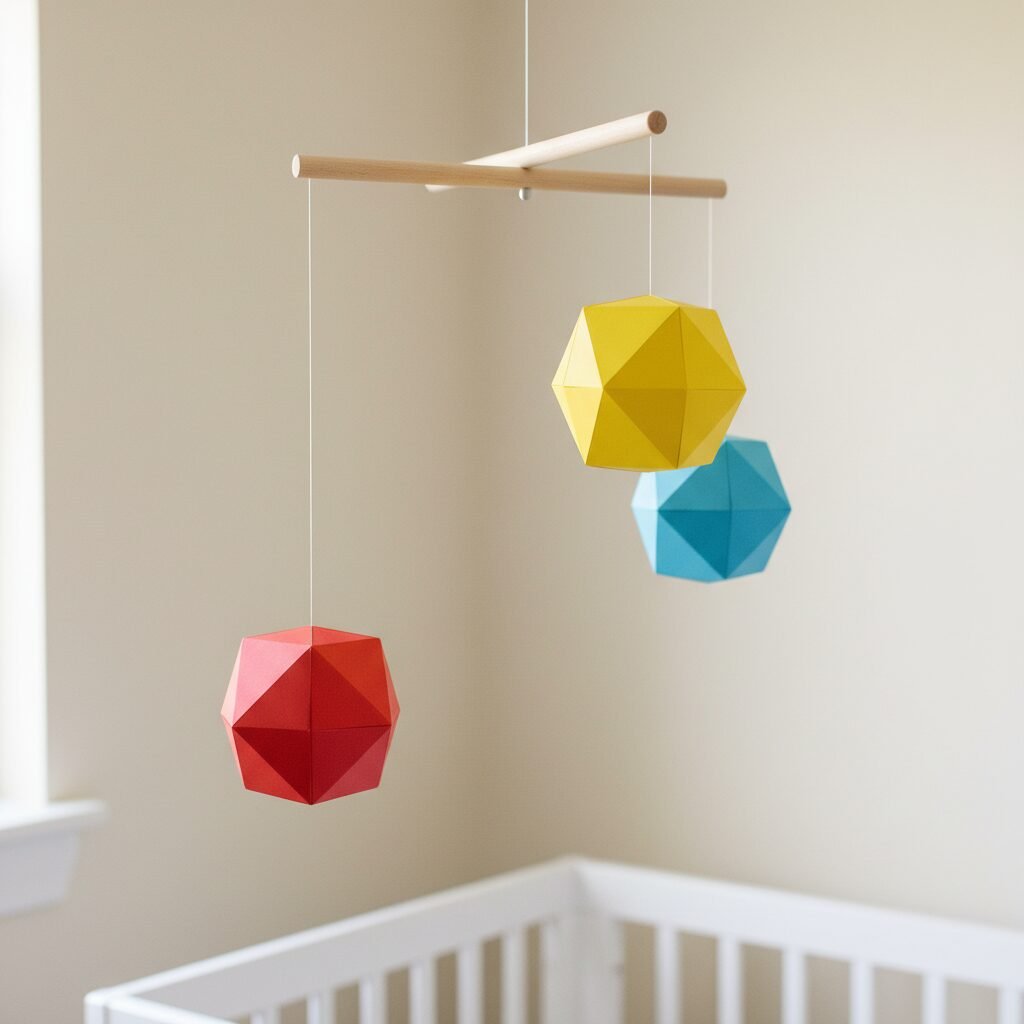
Step-by-Step Guide 2: Assembling the Octahedron Mobile (5 to 8 Weeks)
As your baby’s vision matures, they begin to perceive color. The Octahedron mobile introduces the three primary colors—red, yellow, and blue—in a simple, three-dimensional form. The octahedron shape is fascinating for a baby to observe from below.
- Create the Octahedrons: Find a printable template for an octahedron online. Print it and trace it onto your red, yellow, and blue cardstock. You will need one of each color. Carefully cut out the shapes along the solid lines and score them along the fold lines.
- Fold and Glue: Gently fold along all the scored lines. Apply a small amount of glue to the tabs and carefully assemble each of the three octahedrons. Let them dry completely until they are solid.
- Prepare for Hanging: Using a needle, pass a length of thread through the top and bottom points of each octahedron. Tie a knot on the inside at the top point to secure it, or tie the thread around a small bead inside the shape before gluing the last flap shut.
- Arrange by Size and Color: The traditional arrangement hangs the octahedrons in order of size or visual weight. The yellow octahedron is the lightest and smallest, often hung highest. The blue is the heaviest and largest, hung lowest, with the red in the middle. This creates a pleasing visual cascade.
- Balance on a Dowel: Tie the three threads to a single wooden dowel (around 12 inches long). Adjust their positions along the dowel and the length of the threads until the dowel hangs level and the octahedrons are at their desired heights. They should be close enough to be seen as a group but far enough apart to move independently.
- Secure and Hang: Once balanced, secure the knots with a drop of glue. Your vibrant Octahedron mobile is ready to introduce the world of color.
Step-by-Step Guide 3: Creating the Elegant Gobbi Mobile (8 to 12 Weeks)

Step-by-Step Guide 3: Creating the Elegant Gobbi Mobile (8 to 12 Weeks)
Developed by Gianna Gobbi, a collaborator of Maria Montessori, this mobile helps an infant refine their chromatic sense by discriminating between shades of a single color. The visual effect is subtle, beautiful, and deeply engaging for a baby who is mastering their sense of sight.
- Choose Your Color: Select five distinct, graded shades of one color of embroidery floss. Blue is a classic choice, as it is a calming color, but green or pink also work beautifully. Arrange them from darkest to lightest.
- Wrap the Spheres: This is the most time-consuming, yet meditative, part of the process. Secure the end of the darkest floss to one of the spheres with a tiny dab of glue. Begin wrapping the sphere, covering its entire surface. The wrapping should be tight and neat. When the sphere is fully covered, snip the thread and secure the end with another tiny, hidden dab of glue.
- Repeat for All Shades: Repeat the wrapping process for all five spheres, using one shade of floss per sphere. You will now have five spheres in a beautiful, graded color sequence.
- Prepare for Hanging: Using a needle, thread a long piece of string through the center of each sphere. Tie a knot at the bottom to secure it.
- Arrange in Gradation: The spheres are hung from a single dowel in a diagonal, ascending line. Tie the darkest sphere to the dowel with the shortest thread. Tie the next lightest sphere with a slightly longer thread, and so on, until the lightest sphere hangs on the longest thread.
- Balance and Secure: Adjust the spacing of the spheres along the dowel to ensure they don’t touch and that the dowel hangs perfectly level. This may require some minor adjustments to the hanging points. Once you are satisfied, secure the knots with glue.
Step-by-Step Guide 4: Making the Dynamic Dancers Mobile (12 to 16 Weeks)

Step-by-Step Guide 4: Making the Dynamic Dancers Mobile (12 to 16 Weeks)
The final mobile in the visual series, the Dancers, is the most dynamic. Made from light-reflecting paper, these stylized human forms seem to dance and shimmer in the slightest air current. This mobile helps the baby track more complex movements and introduces the beauty of the human form in motion.
- Create the Dancer Shapes: Find a template for the ‘Dancer’ figures online. They are stylized shapes representing a human body with a head, torso, arms, and legs. You will need four identical figures.
- Trace and Cut: Trace the template onto your holographic or metallic paper. You will need to trace it eight times, as each of the four figures is two-sided. Carefully cut out all eight shapes.
- Assemble the Dancers: Glue the identical shapes back-to-back, so each of your four dancers is holographic on both sides. Be precise to ensure the edges line up perfectly.
- Assemble the Hanger: This mobile uses a series of three dowels to create more complex movement. A common structure is one main dowel (approx. 12 inches) with two smaller dowels (approx. 6 inches) hanging from it.
- Attach and Balance: Pierce a small hole in the head of each dancer figure. Tie a thread to each one. Hang two dancers from each of the smaller dowels. Balance these small dowels first. Then, hang the two balanced mini-mobiles from the ends of the main dowel and balance the entire structure. The goal is for the figures to float and spin freely, catching the light as they move.
- Secure and Admire: Once the entire mobile is perfectly balanced, secure all the knots with glue. Hang it and watch how the figures come to life, twirling and reflecting light around the room.
Safety First: How to Properly Hang and Use Your Montessori Mobiles
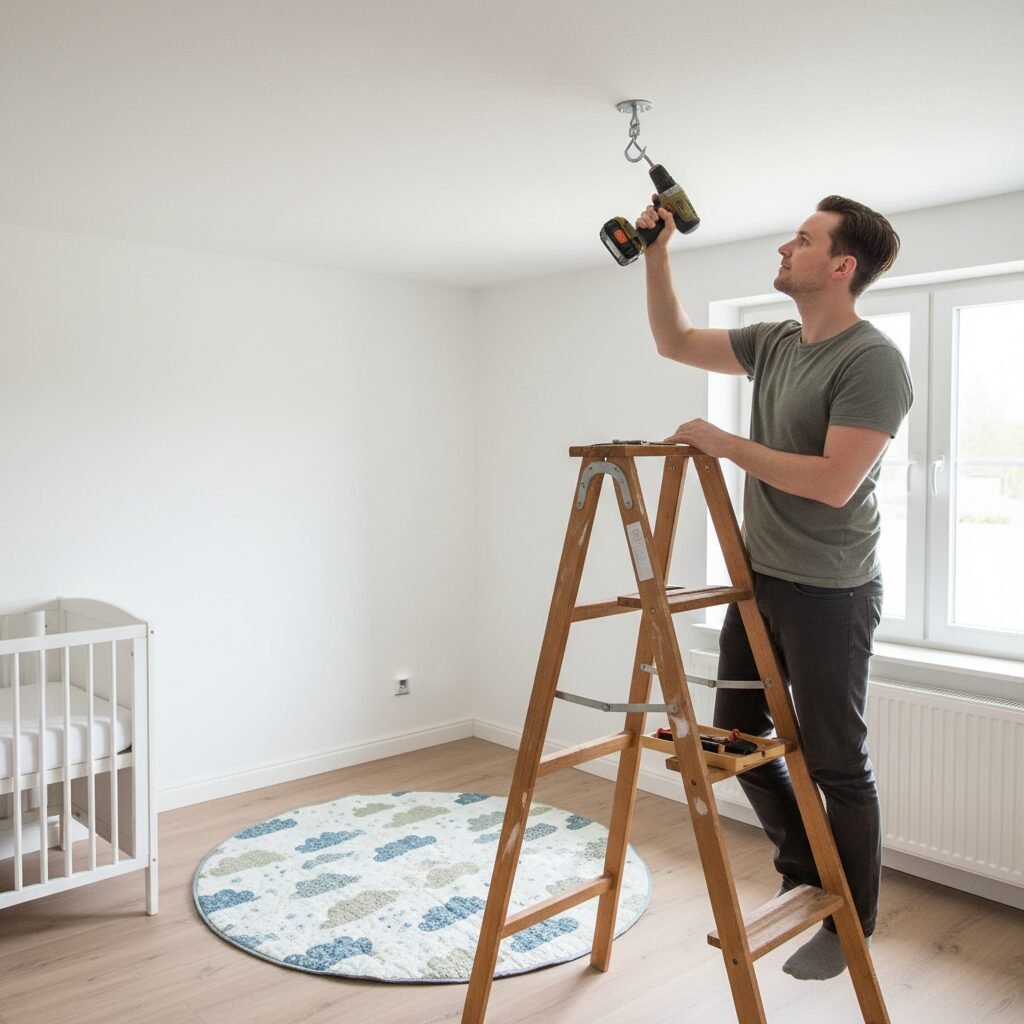
Safety First: How to Properly Hang and Use Your Montessori Mobiles
Creating these mobiles is an act of love, and ensuring they are used safely is the final, most important step. Your baby’s safety is the absolute priority. Please adhere to these guidelines strictly.
- Hang Securely from the Ceiling: The safest way to hang a mobile is from a securely installed hook in the ceiling. This allows you to place it at the correct height and position. Avoid using ‘crib arms’ that attach to the crib itself, as they can pose a risk if they fall and may not allow for proper placement.
- Position in a Waking Area: Montessori mobiles are for engagement and concentration, not sleep. Hang them over your baby’s play mat or ‘movement area,’ not directly over their bassinet or crib. This helps them associate the mobile with active ‘work’ and their sleep space with rest.
- Maintain a Safe Distance: The mobile should be hung approximately 12 inches from your baby’s face. They should be able to see it clearly but never be able to reach or touch it. As your baby grows and begins to push up or reach, you must raise the mobile accordingly or remove it.
- Always Supervise: Mobile time is supervised time. Never leave your baby unattended with a mobile.
- Regularly Inspect Your Work: Periodically check all knots, threads, and components of your handmade mobiles to ensure everything is still secure. Make sure no parts have loosened over time.
By following these safety precautions, you can provide your baby with a rich, engaging, and completely safe visual experience that will lay the foundation for a lifetime of learning.
Conclusion
You have now journeyed through the beautiful, purposeful world of Montessori visual mobiles. By taking the time to craft these pieces with your own hands, you have done more than just decorate a room; you have built the first learning tools your child will ever use. You have chosen intention over distraction, natural materials over plastic, and developmental support over empty entertainment.
Watching your newborn gaze in quiet concentration at the mobile you created is a profoundly rewarding experience. It is a testament to their incredible innate capacity for learning and your power to provide a thoughtful, nurturing environment. Cherish these quiet moments of ‘work’ and discovery. You are not just a parent; you are your child’s first and most important guide, and you have already started this journey beautifully.