Preserve The Bump: Stunning Pregnancy Scrapbook Ideas You Can DIY
The nine months of pregnancy can feel like a lifetime and a heartbeat all at once. It’s a period of profound transformation, filled with quiet moments of wonder, bursts of excitement, and a love so deep it takes your breath away. But as any new parent will tell you, these precious moments are fleeting. In the beautiful chaos of preparing for a new arrival, it’s easy for the details to blur. That’s why creating a pregnancy scrapbook is more than just a craft project; it’s an act of love. It’s a way to pause, reflect, and intentionally preserve the story of your journey to parenthood.
For both expectant mothers and their partners, a scrapbook becomes a tangible chronicle of anticipation and joy. It’s a place to capture the first ultrasound image that made it all real, the funny cravings that struck at midnight, the feeling of that first tiny kick, and the loving words you penned before you even met your little one. This guide is designed to provide you with not just ideas, but the supportive and practical advice you need to create a stunning, heartfelt keepsake you and your child will treasure for a lifetime. Whether you’re a seasoned crafter or a complete novice, we’ll walk you through everything from gathering supplies to designing pages that beautifully tell your unique story.
The Heart of the Matter: Why Create a Pregnancy Scrapbook?
Before we dive into the ‘how,’ let’s talk about the ‘why.’ In our digital age, with thousands of photos stored on our phones, the act of physically curating memories can feel incredibly grounding and meaningful. A pregnancy scrapbook offers a unique space to document this chapter in a way that a social media feed simply cannot. It’s a private, intimate narrative created by you, for you and your family.
A Tool for Connection and Reflection
The process of scrapbooking encourages you to be present. As you select photos, write journal entries, and arrange mementos, you’re actively reliving and processing the experience. This can be an incredibly therapeutic practice, helping you to navigate the emotional highs and lows of pregnancy. It’s also a powerful bonding tool for couples. Working on the scrapbook together provides a dedicated time to share feelings, memories, and dreams for the future, strengthening your connection as you prepare to become parents.
A Bridge for Your Child to Their Beginning
Imagine, years from now, sitting with your child and turning the pages of this book. You can show them their first ‘photo’ from the ultrasound, read them the letters you wrote filled with hope, and tell them the story of how excited you were to meet them. This book becomes more than just a collection of memories; it becomes a foundational piece of their personal history. It’s a tangible demonstration of how loved and wanted they were from the very beginning.
Benefits of Creating a Pregnancy Scrapbook:
- Emotional Processing: Provides a creative outlet to document and understand the complex emotions of pregnancy.
- Partner Bonding: Creates a shared activity that fosters communication and teamwork between expectant parents.
- A Tangible Heirloom: Becomes a priceless family treasure to be passed down through generations.
- Preserves ‘Lost’ Details: Captures the small, everyday moments and feelings that are often forgotten over time.
- Inclusive for the Whole Family: Offers a way for partners, grandparents, and siblings to contribute their own messages and memories.
Gathering Your Memory-Making Toolkit
Starting a new project is always most exciting when you have the right tools. The key to a lasting scrapbook is using archival-quality materials, which are acid-free and lignin-free. This ensures your precious photos and mementos won’t fade or deteriorate over time. Here’s a breakdown of what you’ll need to get started.
The Foundation: Choosing Your Album
The album itself is the vessel for your story. Consider the style and functionality that best suits you:
- Ring-Binder Albums: Highly flexible, allowing you to easily add, remove, and rearrange pages. They come in various sizes, with 12×12 inches being the most common.
- Post-Bound Albums: These have a very clean, book-like appearance. Pages are held in by screw posts, which can be extended to add more pages, though it’s a bit more cumbersome than a ring binder.
- Digital Photo Books: For those who prefer a tech-savvy approach, services like Shutterfly or Mixbook allow you to design your book online and have it professionally printed. This is a great option if you’re short on time or prefer a sleek, modern look.
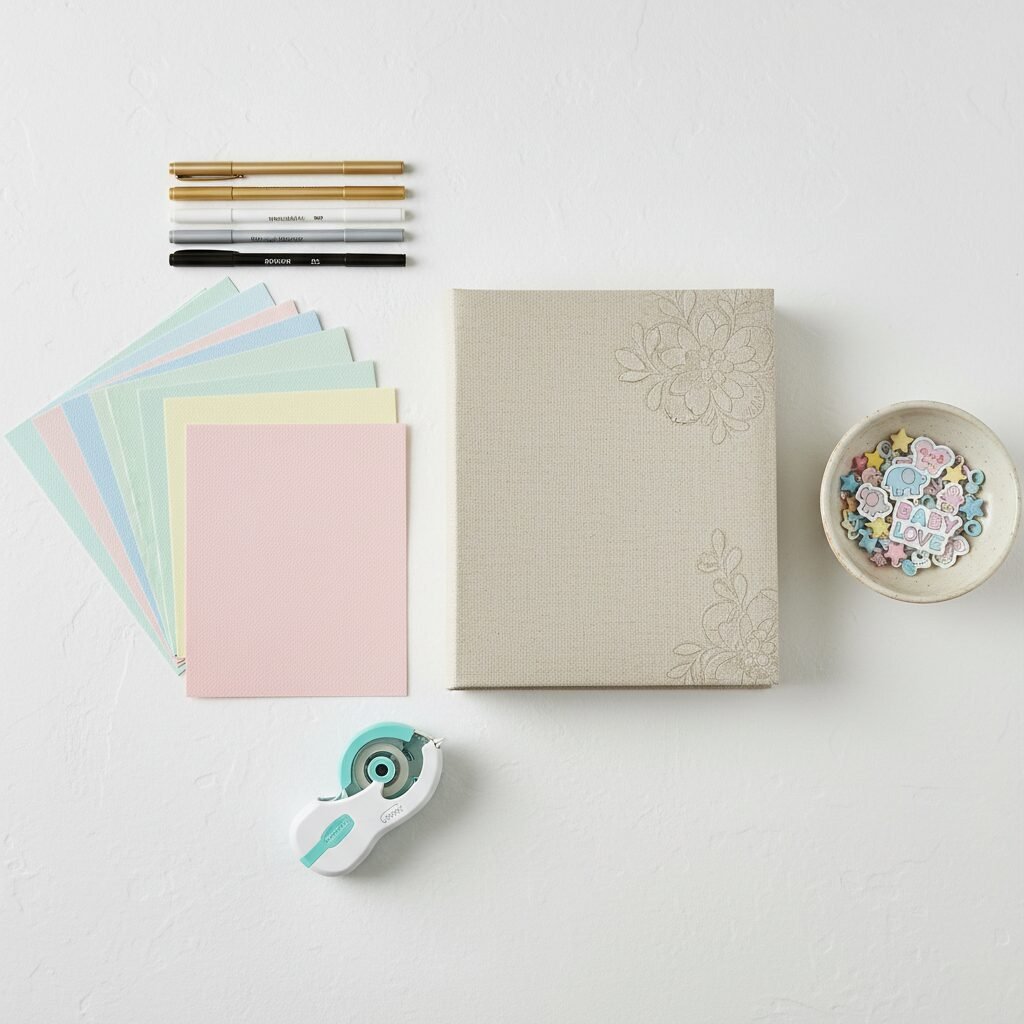
The Essentials: Paper, Adhesives, and Pens
These are the core components of every page. Always look for the ‘archival safe’ or ‘acid-free’ label.
- Cardstock & Patterned Paper: A mix of solid-colored cardstock for backgrounds and patterned paper for accents will give your pages depth and personality. Choose a color palette that you love.
- Adhesives: You’ll need a photo-safe adhesive. Options include double-sided tape, a tape runner, glue dots, or photo corners. A liquid glue pen with a fine tip is also great for small embellishments.
- Pens: Use archival-quality pens that won’t bleed or fade. Gel pens or fine-tipped permanent markers in various colors are perfect for journaling.
To help you prioritize, here’s a look at essential versus optional supplies:
| Essential Supplies (The Must-Haves) | Optional Supplies (The Fun Extras) |
|---|---|
| Acid-free album (12×12 or 8.5×11) | Decorative scissors with patterned edges |
| Archival-quality page protectors | Stamps (baby themes, alphabet) and ink pads |
| Acid-free cardstock and paper | Washi tape in various colors and patterns |
| Photo-safe adhesive (tape runner or photo corners) | Stickers and die-cut shapes (ephemera) |
| Archival-quality journaling pens | Embossing tools and powders |
| A good pair of sharp scissors or a paper trimmer | Pocket page inserts for holding small items |
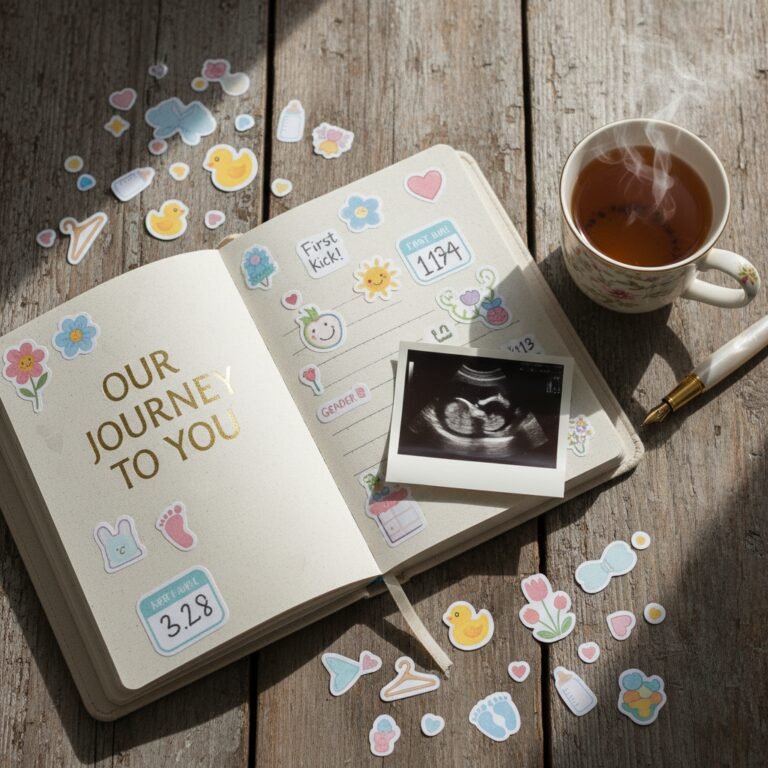
Chronicle the Journey: Page-by-Page Inspiration
Now for the fun part: filling the pages! Your scrapbook should tell your story, so feel free to arrange it in a way that feels right. A chronological approach is often the easiest and most popular. Here are some ideas to inspire you, from before the bump to the final countdown.
Before the Bump: The Beginning of Our Story
For many, the journey to parenthood begins long before a positive test. If you are comfortable, dedicating a page to this time can be very powerful.
- Include a photo of you as a couple before you started trying.
- Write a journal entry about your hopes and dreams for starting a family.
- If your journey included fertility treatments, you might consider documenting a small, symbolic part of that process that represents your strength and perseverance.
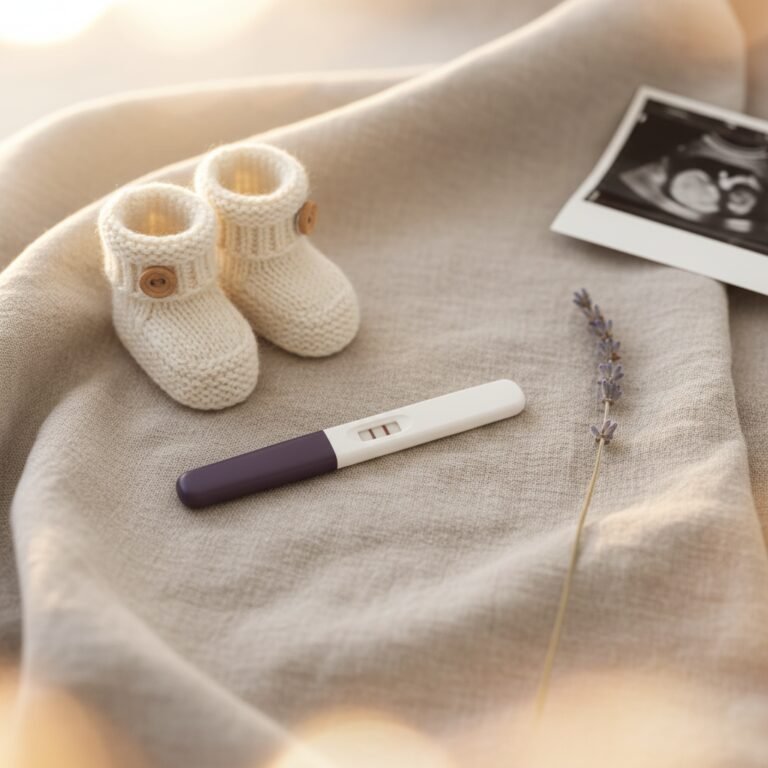
The Big Fat Positive: The Moment We Knew
This is a core memory! Create a page dedicated entirely to the day you found out.
- Include a photo of the positive pregnancy test.
- Document the date, time, and where you were.
- Write down your immediate reactions. Who did you tell first? How did your partner react?
The First Trimester: Secrets, Sonograms, and Survival
This early stage is full of big changes and often kept under wraps. Document the secret excitement.
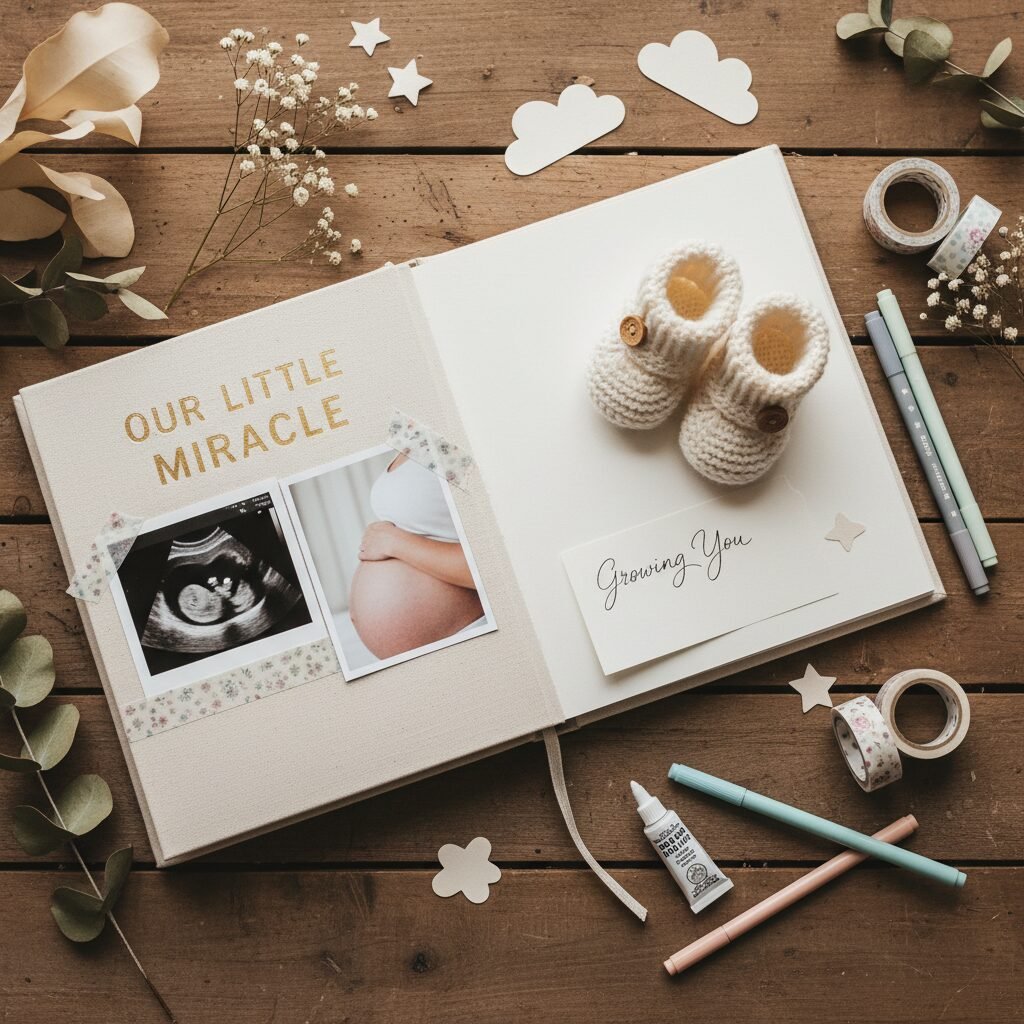
- Ultrasound Photos: Dedicate a full page to the first sonogram pictures. Label them with the date and gestational age.
- Symptom Tracker: Create a humorous page about morning sickness, strange cravings, and overwhelming fatigue.
- The Big Announcement: How did you tell your family and friends? Include photos of their reactions if you have them, or a copy of your announcement card.
The Second Trimester: Flutters, Bumps, and Big Reveals
Often called the ‘honeymoon’ phase of pregnancy, this is when many people start to feel better and the bump makes its debut.
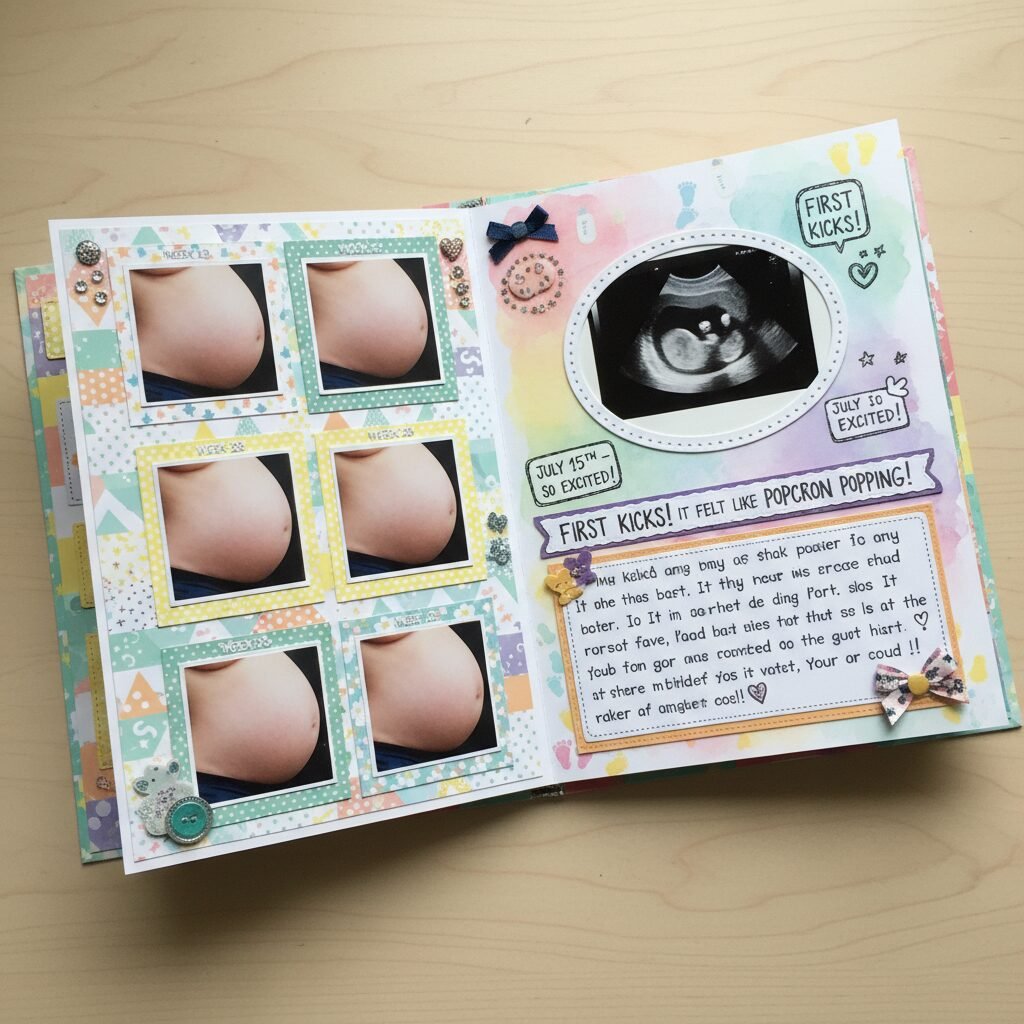
- Bump Progression: Create a layout with weekly or monthly photos of your growing belly. It’s a powerful visual of your baby’s growth.
- First Kicks: Make a page about the first time you felt the baby move. Note the date and what it felt like. This is a great page for a partner to contribute to, writing about the first time they felt a kick.
- Gender Reveal: If you found out the baby’s sex, document the reveal party, the ultrasound photo, or the moment you opened the results.
- Food Cravings: List all the weird and wonderful foods you craved. You could even include a funny photo of a particular craving combination.
The Third Trimester: Nesting and Nervous Excitement
The final stretch! Capture the flurry of preparations and the sweet anticipation.
- Nursery Tour: Include photos of the finished nursery—the crib, the rocking chair, the tiny clothes.
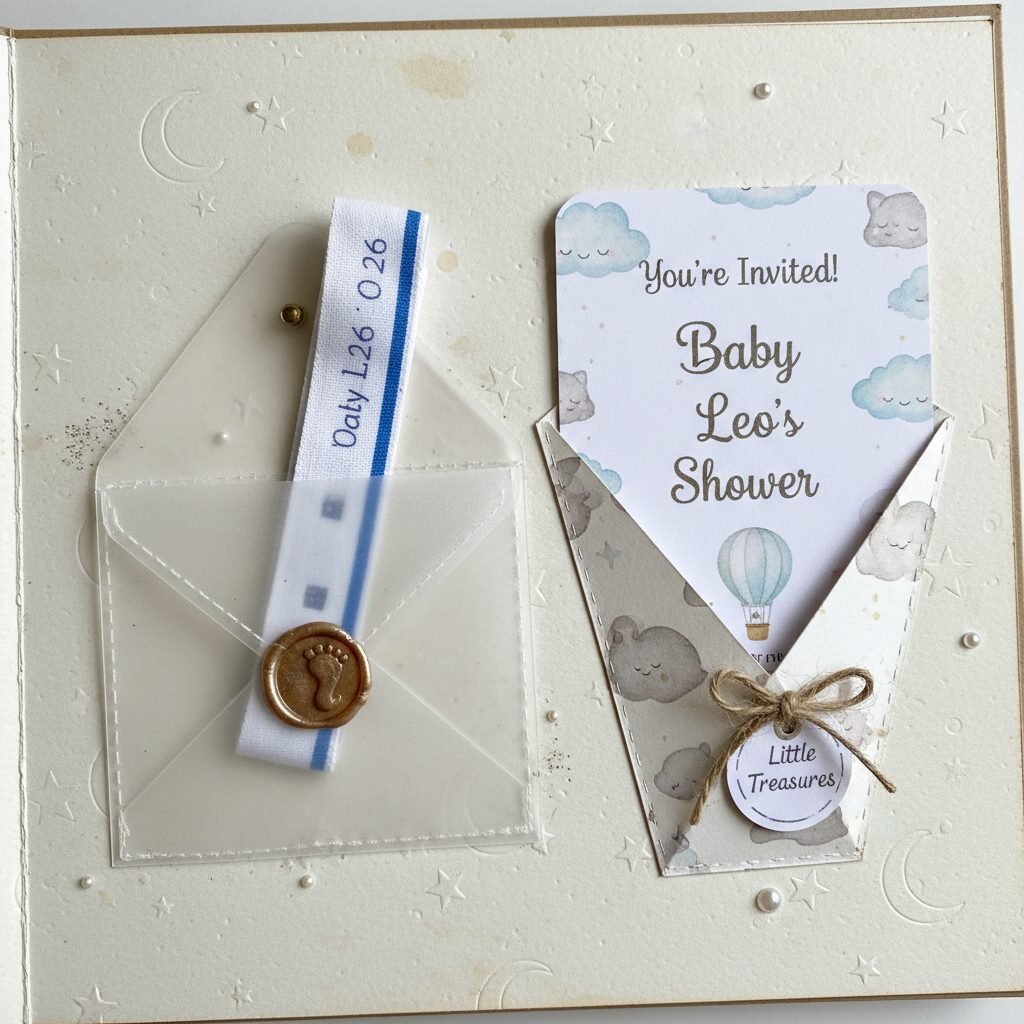
- Baby Shower: Dedicate a few pages to your baby shower. Include the invitation, photos of guests, and a list of gifts received.
- Packing the Hospital Bag: A funny, checklist-style page about what you packed.
- Letters to Baby: This is a must. Each parent should write a heartfelt letter to the baby, to be read in the future. You can talk about your hopes, your love, and your excitement to finally meet them. This is a perfect final page before the birth story.
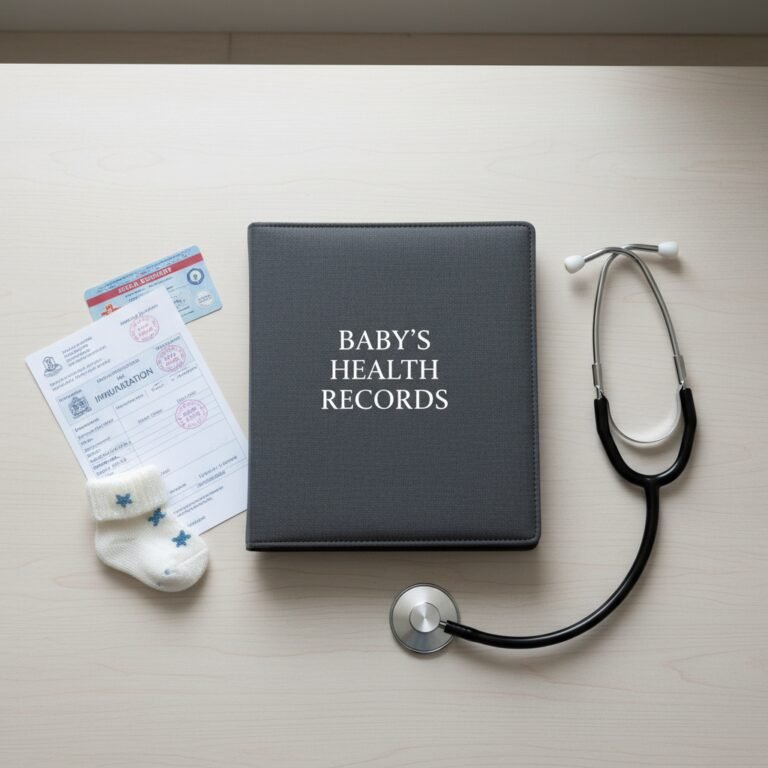
Beyond the Photos: Incorporating Meaningful Mementos
A truly special scrapbook incorporates more than just photographs. It includes tangible pieces of your pregnancy journey, adding texture and depth to your story. These little extras are what make the album a true time capsule. Think about the small items that hold big meaning.
What to Include:
- Paper Items: Appointment cards from your OB-GYN, the baby shower invitation, congratulatory cards, receipts from a special purchase (like the first baby outfit).
- Fabric Scraps: A small swatch from the fabric you used for the nursery curtains or a piece of ribbon from a baby shower gift.
- Small Objects: While you can’t include anything too bulky, special pocket pages or small, sturdy envelopes can hold items like your hospital bracelet, the baby’s hospital bracelet, or a tag from a special maternity outfit.
- Natural Elements: A pressed flower from a bouquet you received or a leaf from a walk you took on a particularly memorable day.
How to Safely Add Mementos:
You don’t want items falling out or damaging your photos. Here’s how to secure them:
- Create Pockets: Use an extra piece of cardstock to create a pocket. Cut the cardstock to the desired size, apply adhesive to three sides, and press it onto your scrapbook page, leaving the top open.
- Use Envelopes: Small, acid-free glassine or vellum envelopes are perfect for holding tiny items like a lock of hair or hospital bracelets. They are semi-transparent, so you can still see what’s inside.
- Try Pocket Page Protectors: Many scrapbooking brands sell page protectors with built-in pockets of various sizes. These are fantastic for things like announcement cards or sonogram printouts.
- Lamination for Fragile Items: For very fragile paper items like a newspaper clipping from the day the baby was born, consider laminating it before attaching it to the page.
Remember, every little piece tells a part of the story. Don’t be afraid to include the things that feel significant to you, no matter how small.
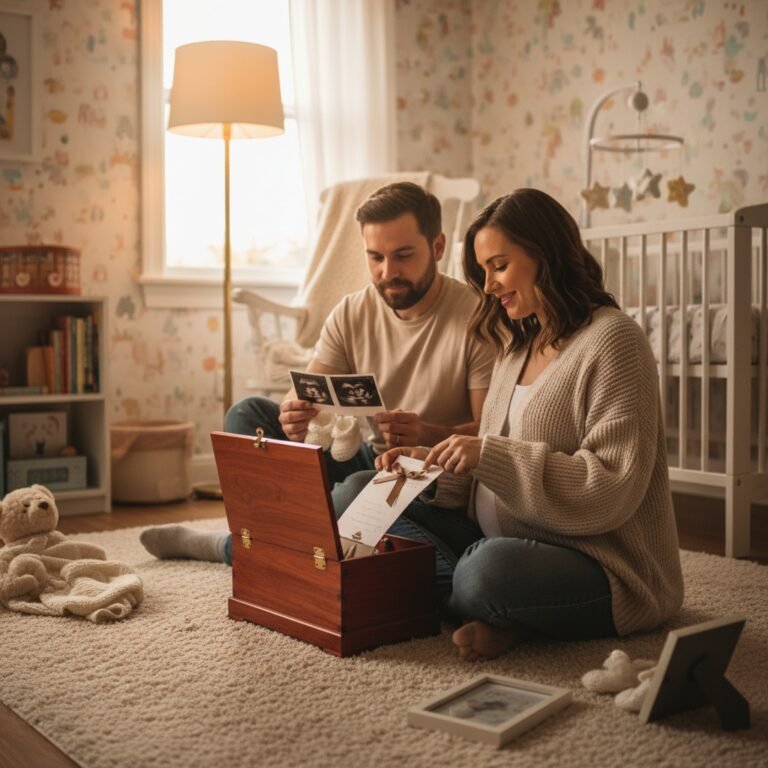
A Partner’s Perspective: Making it a Team Project

Pregnancy is a shared journey, and the scrapbook should reflect that. Inviting the non-carrying parent to be an active participant is crucial for creating a complete and balanced story. For new dads and partners, this can be a wonderful way to feel more deeply connected to the pregnancy and to express their own unique experiences and emotions.
Why Partner Involvement Matters
Often, the focus of pregnancy is on the person carrying the child. While understandable, this can sometimes leave partners feeling like spectators. The scrapbook is a perfect opportunity to shift that dynamic. It validates their role, their feelings, and their importance in the story. It gives them a voice and a tangible way to contribute to the family narrative right from the start.
Ideas for Partner-Led Pages:
- A Letter from Dad/Partner: Just like the carrying parent, the partner should write their own letter to the baby. They can share their feelings about becoming a parent, what they admire about their partner during pregnancy, and their dreams for their child.
- ‘My View of the Bump’: A photo collage page curated by the partner, featuring their favorite photos of the bump or of the expectant mother during her pregnancy.
- ‘Building Our Nest’: A page dedicated to the projects the partner took the lead on, whether it was painting the nursery, assembling the crib, or installing the car seat. Photos of the process can be both humorous and heartfelt.
- ‘My Sympathy Symptoms’: A lighthearted page where the partner can journal about any ‘couvade syndrome’ symptoms they experienced, from food cravings to backaches.
To the dads and partners: Your perspective is not just an addition; it is essential. Your journey of becoming a parent is happening right now, too. Your words, your photos, and your feelings are a priceless part of this story. Don’t hesitate to claim your space in these pages.
Set aside specific ‘scrapbooking dates’ where you both work on it together. Put on some music, talk about the memories you’re preserving, and make it a cherished ritual. This shared project will not only result in a beautiful book but will also create lasting memories of your teamwork and love during this incredible time.
Conclusion
As you close the cover on your completed pregnancy scrapbook, you’re holding so much more than paper and photos. You’re holding a story—a testament to a period of incredible change, growth, and boundless love. Each page is a marker of a moment that led you to your child. This book is a celebration of your family’s beginning, a tangible piece of history that captures the laughter, the tears, the cravings, and the quiet moments of connection.
There is no right or wrong way to create your scrapbook. Whether it’s perfectly polished or beautifully imperfect, what matters most is that it is authentically yours. Let it be a reflection of your unique journey. As your child grows, this book will become one of their most treasured possessions—a timeless reminder of the love and excitement that welcomed them into the world. Congratulations on this beautiful adventure; may you cherish every moment, both on the page and off.