
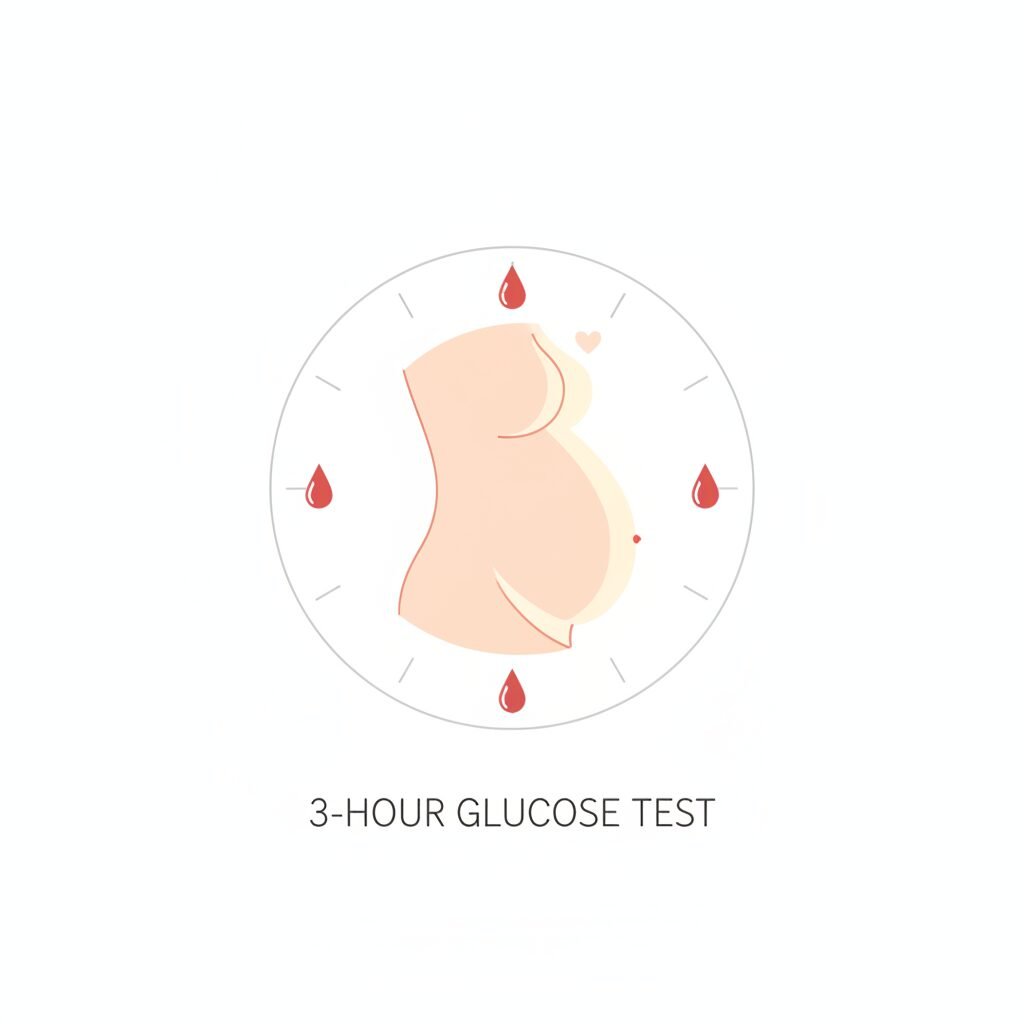
How To Survive The 3-Hour Glucose Test Without Throwing Up
The mere mention of the 3-hour glucose test can send a wave of dread through any expectant parent. You’ve likely heard the stories from friends or in online forums: the sickly sweet drink, the long wait, and the overwhelming nausea. The fear of not being able to keep the drink down—and having to repeat the entire process—is completely valid. As a doula and maternal health educator, I’ve sat with countless clients as they’ve prepared for this day, and I want to assure you of two things: your feelings are normal, and you can get through this.
This test, formally known as the Oral Glucose Tolerance Test (OGTT), is a critical tool for diagnosing gestational diabetes, a condition that can affect both your health and your baby’s. Understanding its importance is the first step, but knowing how to navigate it physically and mentally is the key to success. This guide is your step-by-step plan, filled with practical, evidence-based strategies to help you prepare your body, manage the challenge, and recover gracefully. Let’s walk through this together, so you can face test day with confidence and calm.
Why This Test Matters: A Quick Look at the 3-Hour OGTT
Understanding the Purpose Behind the Process
Before we dive into the ‘how-to,’ let’s briefly touch on the ‘why.’ Gestational Diabetes Mellitus (GDM) is a type of diabetes that develops during pregnancy in individuals who did not have diabetes before. It occurs when your body cannot produce enough insulin to meet the extra needs of pregnancy, leading to high blood sugar levels. If left unmanaged, GDM can increase the risk of complications such as high birth weight, preterm birth, and the need for a C-section. For the birthing parent, it can increase the risk of high blood pressure during pregnancy and developing type 2 diabetes later in life.
The 3-hour OGTT is the gold standard for diagnosing GDM. The process is straightforward, though lengthy:
- Fasting: You’ll be required to fast (no food or drink other than water) for 8-10 hours before your appointment.
- Baseline Blood Draw: Upon arrival, a lab technician will take an initial blood sample to measure your fasting blood glucose level.
- The Glucose Drink: You’ll then drink a concentrated glucose solution, often called ‘glucola.’ It typically contains 100 grams of sugar and must be consumed within about 5 minutes.
- The Waiting Game: This is the marathon part. You will remain at the lab or clinic, and a technician will draw your blood three more times—at the one-hour, two-hour, and three-hour marks after you finish the drink.
Seeing the process laid out can help demystify it and reduce anxiety. It’s a temporary inconvenience for a vital piece of information about your health and your baby’s well-being.
Your Pre-Test Game Plan: How to Prepare 24-48 Hours in Advance
Setting Yourself Up for Success Before You Arrive
Your preparation in the days leading up to the test can significantly impact how you feel on the day. The goal is to keep your blood sugar stable and your body well-nourished, so it isn’t shocked by the fasting and subsequent sugar load.
Dietary Adjustments
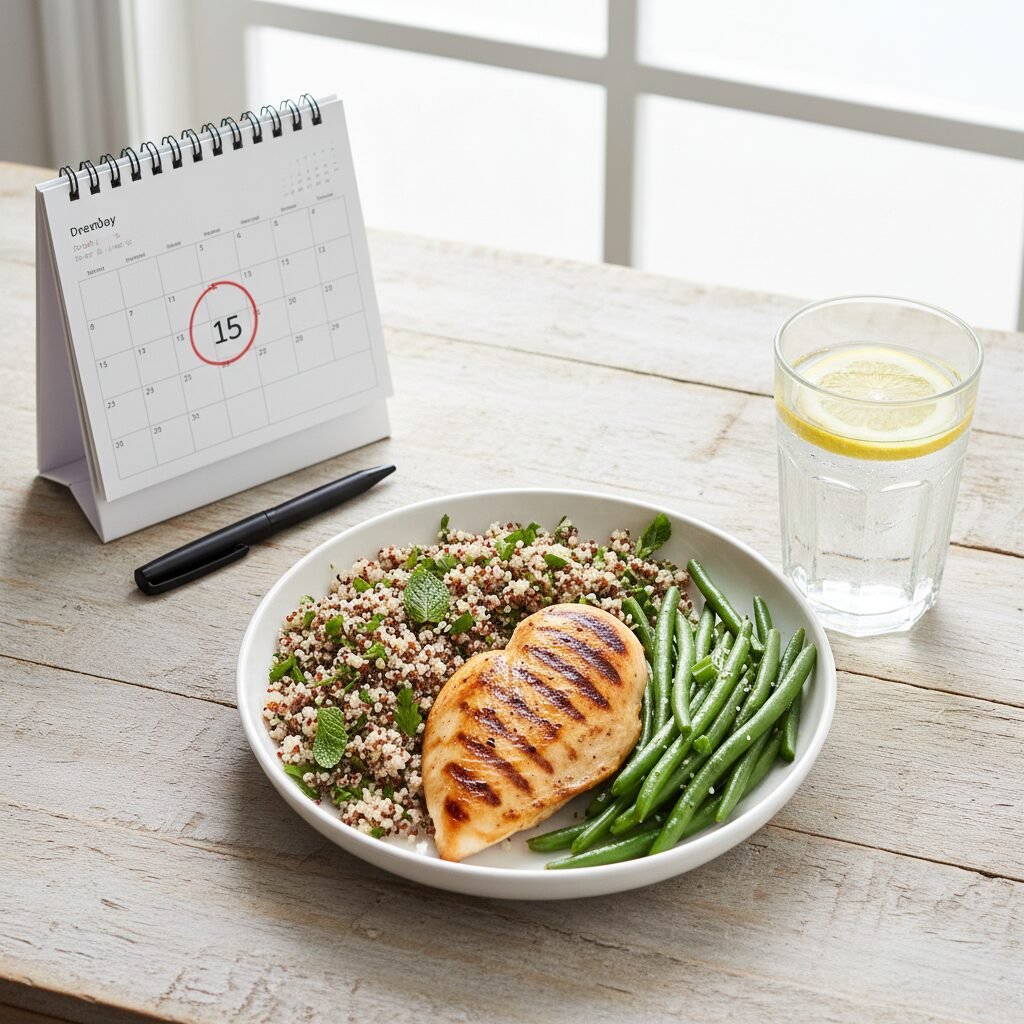
In the 2-3 days before your test, focus on a balanced diet. Do not try to ‘trick’ the test by severely restricting carbs; this can backfire and lead to inaccurate results. Instead, concentrate on whole foods:
- Lean Proteins: Chicken, fish, tofu, beans, and lentils.
- Healthy Fats: Avocado, nuts, seeds, and olive oil.
- Complex Carbohydrates: Quinoa, brown rice, whole-wheat bread, and sweet potatoes.
- Plenty of Fiber: Load up on non-starchy vegetables like broccoli, spinach, bell peppers, and leafy greens.
Avoid binging on sugary snacks, desserts, white bread, and sugary drinks. A steady, balanced intake is your best strategy.
Hydration is Key
Drink plenty of water in the days before your test. Proper hydration helps your veins be more accessible for the blood draws and can help your body process the glucose drink more efficiently. Follow your provider’s specific instructions for the fasting period; most will allow you to sip water right up until the test begins.
Fasting Instructions Decoded
The fasting period is non-negotiable. If your appointment is at 8 AM, you should stop eating and drinking anything other than water around 10 PM the night before. This includes gum, mints, and coffee. A true fast ensures your baseline blood draw is accurate. Eating a balanced dinner with protein, fat, and fiber the night before can help you feel more satiated during the fast.
Test Day Survival Guide: Managing Nausea and Boredom

Strategies for the 3-Hour Marathon
This is it. You’ve prepared, you’ve fasted, and you’re at the lab. Here’s how to manage the most challenging part of the experience.
Tackling the Glucola Drink
The glucose beverage is notoriously unpleasant for many. The intense sweetness on an empty stomach is often the primary trigger for nausea. Here are the most effective tips for keeping it down:
- Ask for It Chilled: Most labs will have the drinks refrigerated, but always ask. A very cold beverage is significantly easier to tolerate than a room-temperature one. The cold numbs your taste buds slightly.
- Use a Straw: A straw can help you bypass some of the taste buds on the front of your tongue, delivering the liquid further back and reducing the overwhelming sweetness.
- Sip, Don’t Chug: You have about five minutes to finish the drink. Find a steady, rhythmic pace. Taking small, continuous sips is often better than chugging a large amount at once, which can shock your system.
- Choose Your Flavor (If Possible): Some labs offer different flavors like orange, lemon-lime, or fruit punch. Many people find the citrus flavors (lemon-lime or orange) to be less cloying than the fruit punch.
Fighting Off Nausea During the Wait
Once the drink is down, your next goal is to stay calm and still. Movement can agitate your stomach and increase feelings of nausea.
- Find Your Spot and Stay Put: Pick a comfortable chair in the waiting room and settle in. Avoid walking around unless absolutely necessary.
- Distraction is Your Best Friend: The three-hour wait can feel endless. Come prepared. Pack a ‘distraction kit’ with a fully charged phone, a power bank, headphones, a captivating book, a tablet with downloaded movies or shows, or even some light work on a laptop. Engaging your brain can take the focus off your body.
- Practice Deep Breathing: If you feel a wave of nausea, close your eyes and focus on your breath. Inhale slowly through your nose for four counts, hold for four counts, and exhale slowly through your mouth for six counts. This calms the nervous system and can quell nausea.
- Sniff Peppermint or Ginger: Some people find sniffing a peppermint essential oil or a piece of crystallized ginger can help alleviate nausea. Check with your provider first, but this is often a safe and helpful trick.
You Did It! How to Recover and Rebalance After the Test

Nourishing Your Body After the Final Blood Draw
Once that final vile of blood is drawn, you are free to go. But how you break your fast is just as important as how you prepared for it. You may feel shaky, tired, or have a headache from the sugar spike and subsequent drop.
Remember to be gentle with yourself. You’ve just put your body through a significant stress test, and it’s okay to need time to recover.
Your First Post-Test Meal
Do not reach for something sugary or carb-heavy. This will only prolong the blood sugar rollercoaster. Instead, have a protein-packed snack or meal ready to go. Pack it in a cooler bag in your car so you can eat it immediately.
Excellent choices include:
- A handful of almonds and a cheese stick
- Greek yogurt (plain) with a few berries
- Two hard-boiled eggs
- A protein bar with low sugar content
- Scrambled eggs with avocado and spinach
This will help stabilize your blood sugar, restore your energy, and prevent a ‘crash.’
Listen to Your Body
Plan for a low-key rest of the day. If you can, take the day off work or arrange for childcare. A nap can do wonders for helping your body reset. Pay attention to how you feel and don’t push yourself to jump back into a busy schedule.
Hydrate, Hydrate, Hydrate
Continue drinking water throughout the day. This helps your kidneys flush out the concentrated sugar and aids in your overall recovery.
What If I Can’t Keep It Down? Understanding Next Steps

When Nausea Wins: It’s Okay, There Are Alternatives
Even with the best preparation, some people simply cannot tolerate the glucose drink. If you do throw up during the test, please know this is not a personal failure. It happens, and your healthcare team is used to it.
If you vomit, the test becomes invalid because there’s no way to know how much sugar your body absorbed. You must inform the lab staff immediately. In most cases, you will need to stop the test and reschedule it for another day.
However, this doesn’t mean you’re doomed to repeat the same experience. If you have severe nausea or hyperemesis gravidarum, talk to your doctor or midwife about alternative screening methods. Depending on their protocols, these might include:
- At-Home Glucose Monitoring: Your provider may have you monitor your blood sugar with a glucometer at home. This typically involves pricking your finger to test your blood four times a day (fasting, and after each meal) for one to two weeks.
- The Jelly Bean Test: Some providers may allow an alternative ‘challenge’ using a specific number of jelly beans that equate to the required grams of glucose. This is not universally accepted, so it’s highly dependent on your provider’s policy.
- A Specific Meal Challenge: Another alternative is eating a specific high-carbohydrate breakfast provided by your doctor’s office, followed by a blood draw after a set amount of time.
The key is open communication. If you are extremely concerned about nausea, discuss it with your provider well before your scheduled test so you can explore all available options together.
Conclusion
Navigating the 3-hour glucose test is a mental and physical challenge, but it is a manageable one. By preparing your body with balanced nutrition, arming yourself with strategies to combat nausea and boredom, and planning for a gentle recovery, you can transform this dreaded appointment into an empowering experience. You are taking a proactive, crucial step to ensure a healthy pregnancy and a safe start for your baby.
Remember every strategy we’ve discussed: prepare ahead, ask for the cold drink, use a straw, distract your mind, and have a protein-rich meal ready. And if it doesn’t go as planned, give yourself grace and talk to your provider about the next steps. You are strong, capable, and you are doing a great job advocating for your health and the health of your little one.
Medical Disclaimer: The information provided in this article is for educational and informational purposes only and is not intended as medical advice. It is not a substitute for professional medical advice, diagnosis, or treatment. Always seek the advice of your physician or other qualified health provider with any questions you may have regarding a medical condition.