How to Make a Magical Pregnancy Time Capsule for Your Baby to Open at 18
Imagine this: It’s your child’s 18th birthday. Amidst the celebrations and thoughts of the future, you present them with a gift unlike any other—not something bought, but something built. A treasure chest sealed years ago, filled with the love, hopes, and dreams you had for them before you even met. This is the magic of a pregnancy time capsule. It’s more than just a collection of mementos; it’s a tangible piece of your history, a story of anticipation, and the first chapter of their life, written by you.
Creating a time capsule is a profoundly beautiful and grounding activity for expectant parents. It’s an opportunity to pause and reflect on the incredible journey of pregnancy, to connect with your partner, and to channel all your love for this new person into a lasting legacy. It’s a project that transforms fleeting moments into permanent heirlooms. This guide will walk you through every step of creating a truly magical time capsule, from choosing the perfect container to selecting items that will tell your unique story. Let’s create a gift that will bridge the years and connect your child to their very beginnings.
Choosing the Perfect Vessel: More Than Just a Box
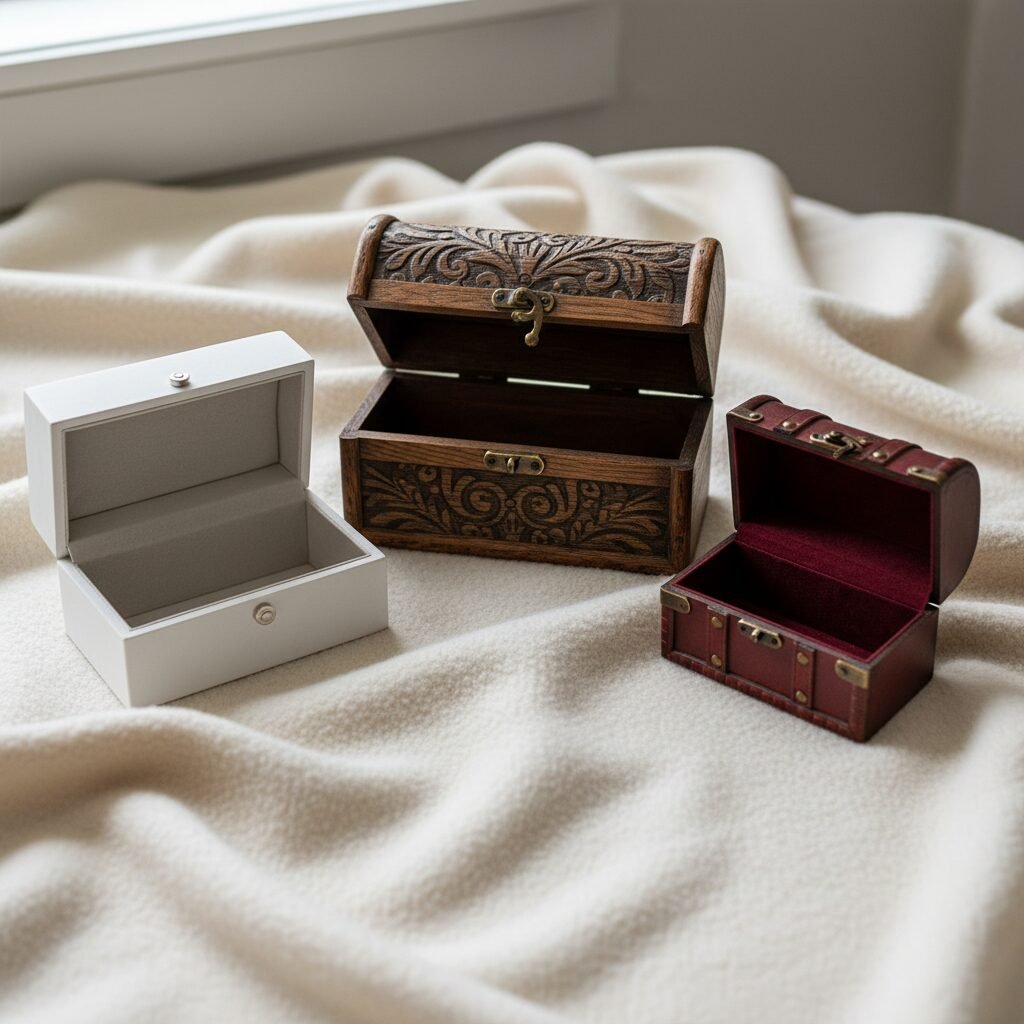
The container for your time capsule is the guardian of your precious memories, so choosing the right one is the first important step. You need something that is not only beautiful but also durable enough to protect its contents for nearly two decades. Think beyond a simple cardboard box and consider a vessel that feels as special as the items it will hold.
Options for Your Time Capsule Container:
- Wooden Keepsake Boxes: A classic and popular choice. Look for boxes made from solid wood like cedar, which has natural preservation qualities, or pine. Many can be personalized with an engraved name, birthdate, or a special message.
- Metal Tins or Trunks: Vintage-style trunks or sturdy metal boxes offer excellent protection against pests and environmental changes. Ensure they have a secure latch.
- Archival-Quality Boxes: For ultimate preservation, you can purchase acid-free, lignin-free archival boxes from specialty stores. While less decorative, they offer the best protection for paper and photographs.
- Waterproof and Fireproof Document Safes: If your primary concern is protecting the items from any potential disaster, a small document safe is a practical and secure option.
Whatever you choose, make sure it’s large enough to comfortably hold all your chosen items without crushing them. The act of selecting the vessel is the first step in this ritual. It’s the physical representation of the safe and loving space you are creating for your child, both in the world and within this capsule.
Gathering Your Treasures: What to Include in Your Time Capsule
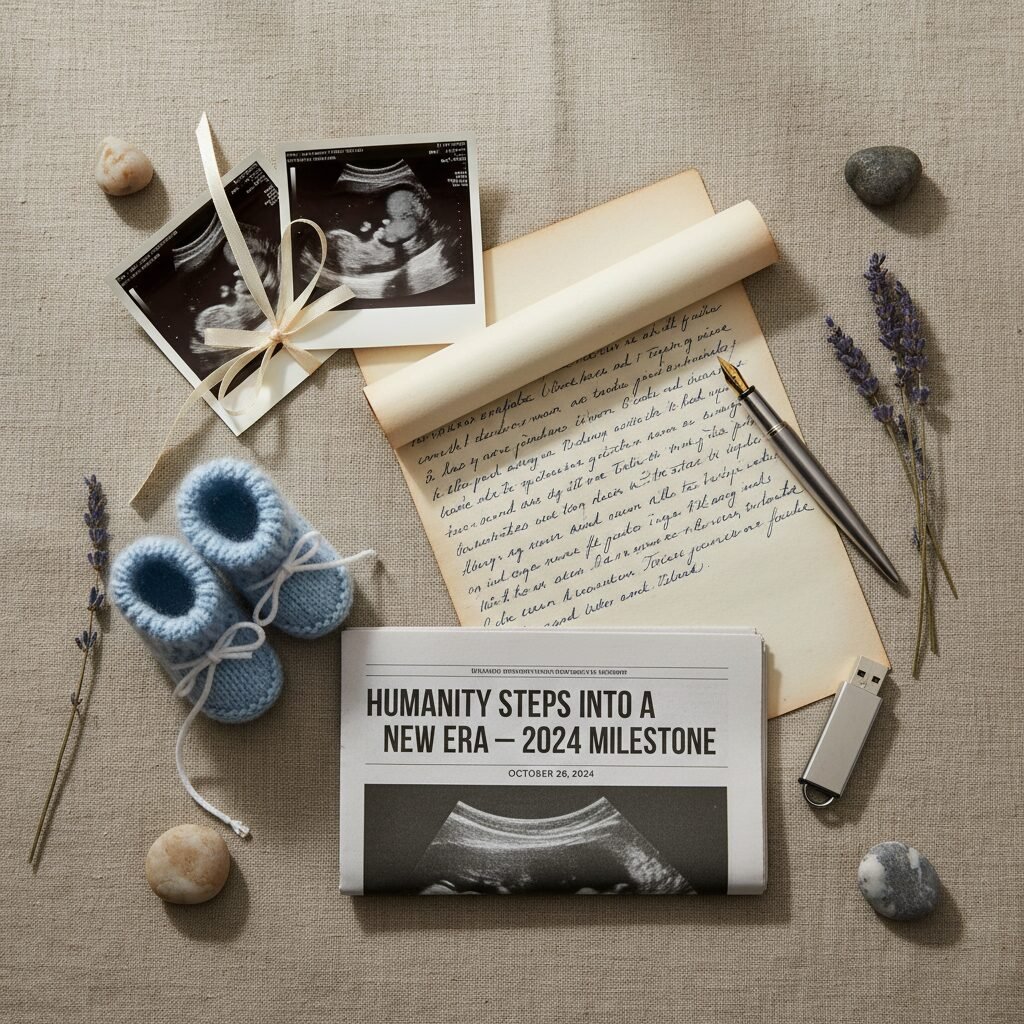
This is the heart of your project. The items you choose will paint a picture of this unique moment in time and your feelings during pregnancy. It’s a wonderful activity to do with your partner, allowing you both to contribute items that are meaningful to you. Think about capturing the world as it is now, and your personal journey within it.
From the Parents-to-Be
These are the most personal items, speaking directly to your future child.
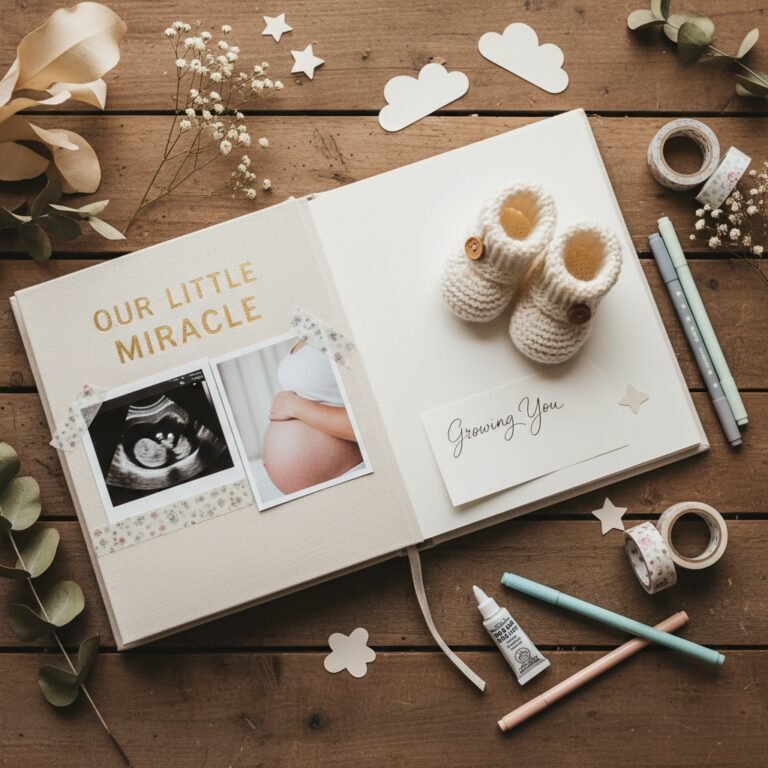
- Handwritten Letters: The most important inclusion. Each parent should write a separate letter. Share your hopes, your dreams for them, what you’re feeling during the pregnancy, stories about how you met, and what you love about each other. Don’t be afraid to be vulnerable.
- Ultrasound Photos: Include a few key images from your scans, labeled with the date and gestational week.
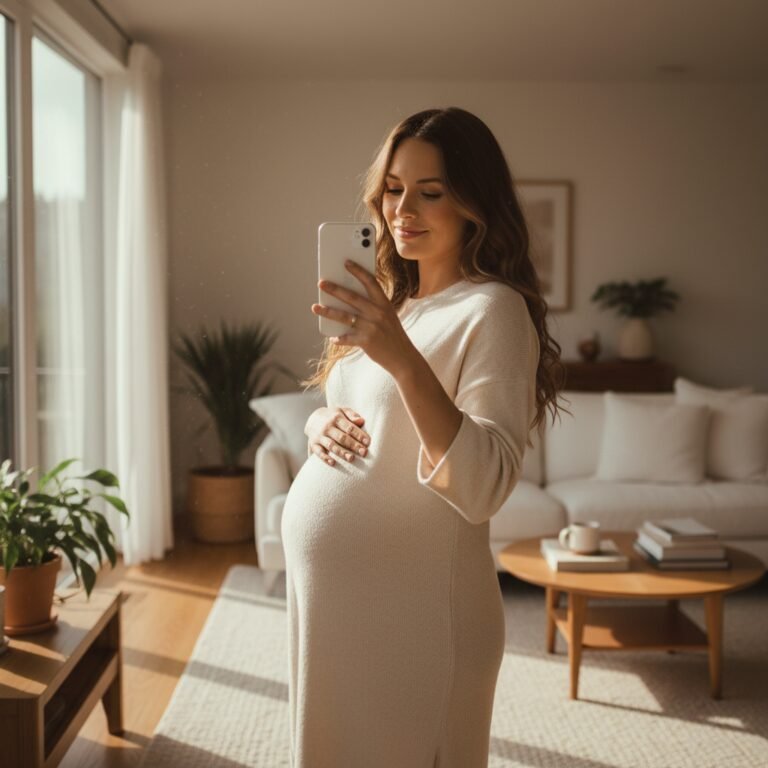
- Photos of You: A collection of photos of you and your partner during the pregnancy, photos of the nursery, and pictures of your home and pets.
- The Positive Pregnancy Test: Sealed in a small, clear bag, this is the artifact that started it all.
Capturing the World in 2024
Give them a snapshot of the world they were about to enter.
- A Major Newspaper: Choose one from the day you found out you were pregnant or the day your baby was born.
- Current Currency: A few coins and a crisp bill.
- A List of ‘Currents’: Create a list of the current prices of everyday items (gas, milk, a movie ticket), the #1 song and movie, popular fashion trends, and major world headlines.
- A USB Drive: Load it with a playlist of your favorite songs from the pregnancy, a digital photo album, and maybe even a short video message to your 18-year-old.
| Category | Item Idea | Why It’s Special |
|---|---|---|
| Personal & Emotional | Handwritten Letters from Each Parent | The most direct and heartfelt connection to your thoughts and feelings. |
| Pregnancy Milestones | Ultrasound Photos & Positive Test | Tangible proof of the very beginning of their life’s journey. |
| A Snapshot in Time | Newspaper & List of Current Prices/Events | Provides context of the world they were born into. |
| Family Life | Photos of Home, Pets, and Family | Shows them the loving environment that awaited them. |
| For the Senses | Small vial of perfume or a fabric swatch | Connects memory to scent and touch in a powerful way. |
The Art of Preservation: Ensuring Your Memories Last
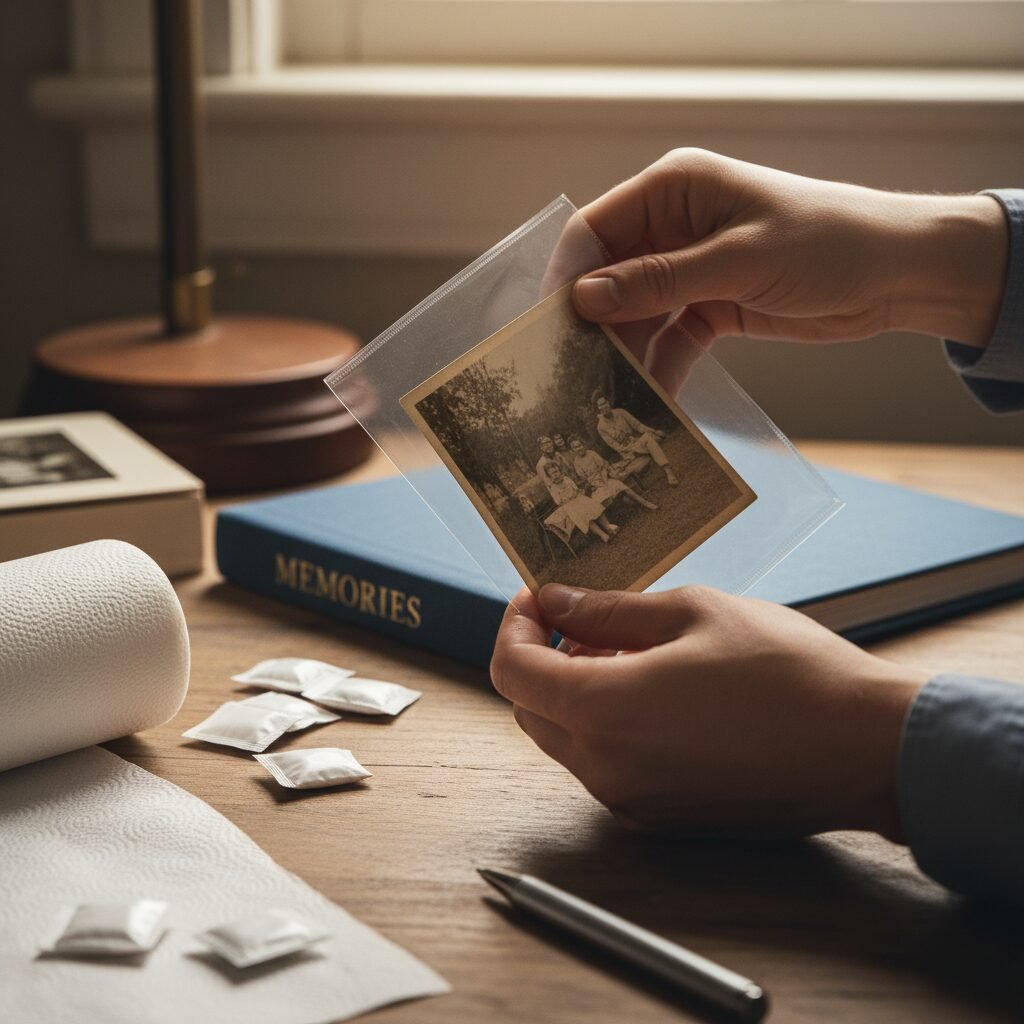
To ensure your treasures survive 18 years intact, a little bit of preservation science is necessary. Time can be harsh on delicate items like photos and paper, but with a few simple steps, you can protect them for the grand reveal.
Key Preservation Techniques:
- Go Acid-Free: Standard paper and cardboard contain acids that cause them to yellow and deteriorate over time, and they can damage items they touch. Use acid-free paper for your letters and lists, and place acid-free tissue paper between items to cushion them.
- Protect Your Photos: Do not let photos touch each other or other items directly. Place them in archival-safe plastic sleeves (made of polyester, polypropylene, or polyethylene). Avoid PVC plastics. Label the back of photos with a special photo-safe pen.
- Manage Moisture: Moisture is the enemy of preservation. Include a few silica gel packets (the kind you find in new shoe boxes or electronics) in the capsule to absorb any ambient moisture and prevent mold or mildew.
- Bag Small Items: Place small or delicate items, like the pregnancy test or a lock of hair, in small, sealed archival bags to keep them safe and contained.
- Consider Digital Backups: For digital media like a USB drive, technology will change. In your letter, you might even joke about the ‘ancient’ USB technology. The physical photos and letters are your primary artifacts, but the USB is a wonderful bonus. Make sure you have a backup of these files stored elsewhere, just in case.
“Taking these small, careful steps ensures that the memories you’re saving will be as vivid and cherished in eighteen years as they are today. It’s an act of love for the future.”
For the Dads: Your Unique Role in This Legacy Project
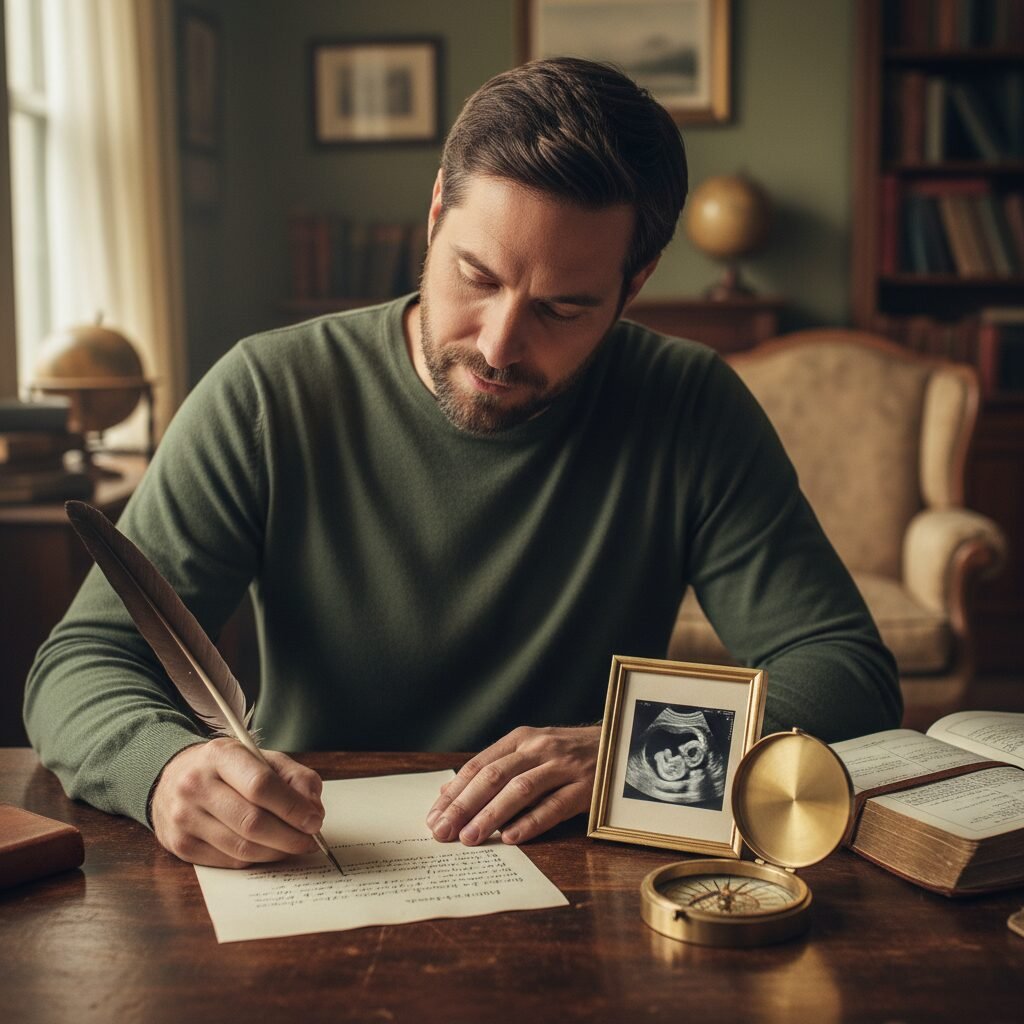
This project is a powerful bonding experience for both parents, and a father’s perspective is an invaluable part of the story. While pregnancy is physically experienced by the mother, the emotional journey belongs to you both. Dads, this is your chance to share your side of the story, your unique emotions, and your hopes for the child who will carry your legacy.
How Dads Can Make Their Mark:
- Write Your Own Letter: This is crucial. Don’t just co-sign a letter. Write your own, from your perspective. What were your first thoughts when you found out you were going to be a dad? What are your fears and excitements? What life lessons do you hope to teach your son or daughter? What qualities do you admire in their mother that you hope they inherit?
- Include a Memento of Your Own: What represents you at this moment in your life? It could be a ticket stub from a game you attended while mom was pregnant, a favorite guitar pick, a small, meaningful tool, or a copy of your favorite book that you hope to read with them one day.
- Share Your Hopes for Your Relationship: Write about the things you can’t wait to do with them. Teaching them to ride a bike, coaching their team, sharing a hobby, or simply having long talks. This paints a picture of the father you aspire to be.
- Record a Message: Use the USB drive to record a solo video message. Speak directly to your future 18-year-old. Let them see the look on your face and hear the emotion in your voice as you anticipate their arrival.
Your contribution ensures that your child receives a complete picture of the love and excitement that surrounded their impending arrival. It’s a testament to the fact that they were eagerly awaited and deeply loved by two people who were building a family together.
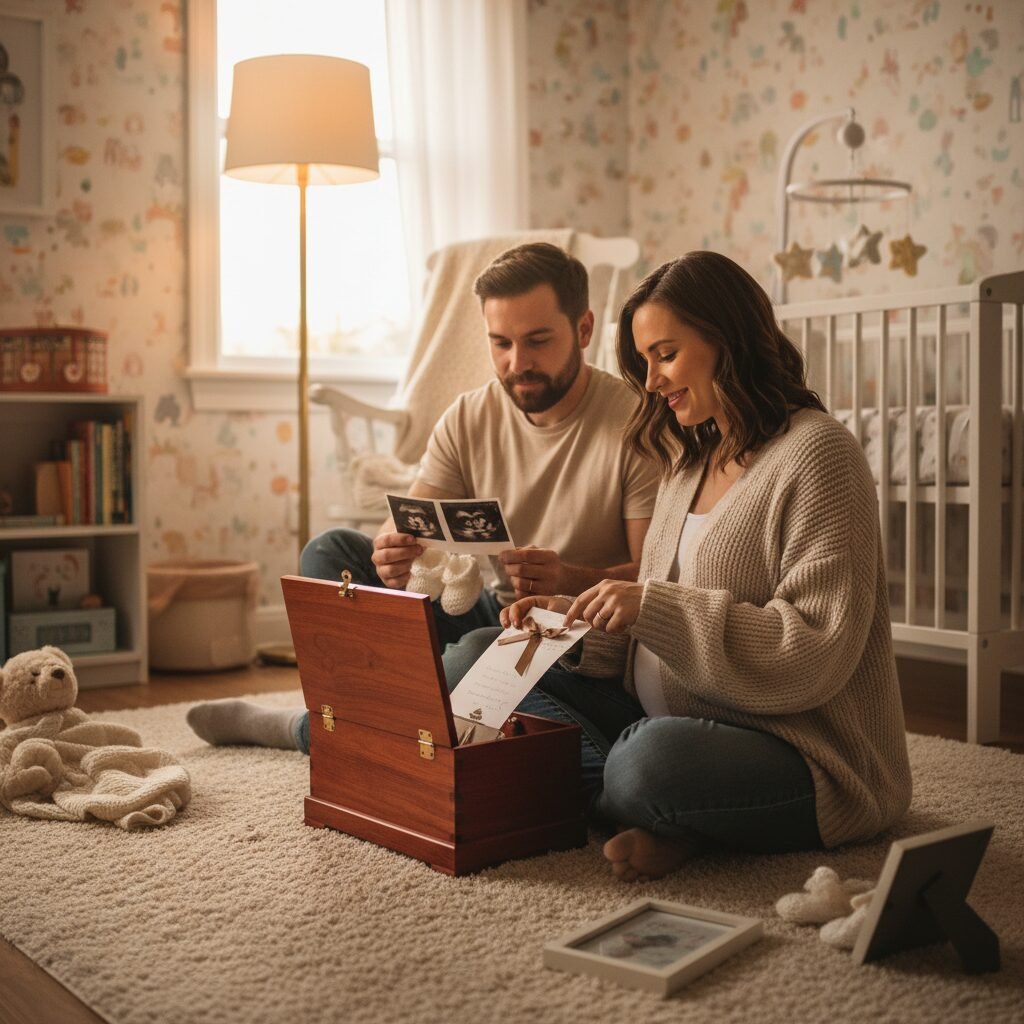
Sealing the Capsule: A Ceremony of Love and Hope
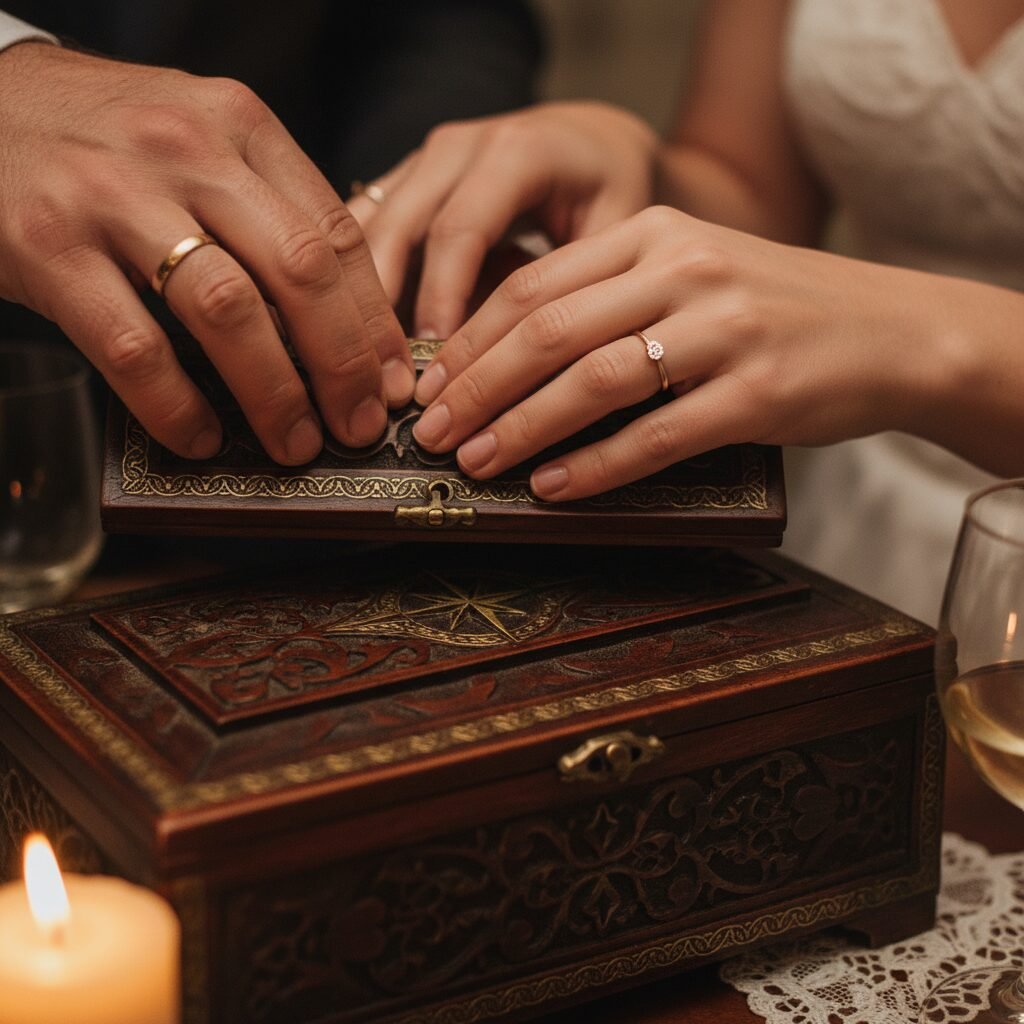
The final step of this project should be as meaningful as the creation process. Don’t just pack the box and put it away. Turn the sealing of your time capsule into a small, private ceremony for you and your partner. This ritual solidifies the intention and love you’ve poured into this project.
Creating Your Sealing Ceremony:
- Set the Scene: Choose a quiet evening. You might want to light a candle, play some of the music you’ve enjoyed during the pregnancy, or sit together in the nearly-finished nursery. The goal is to create a calm and intimate atmosphere.
- One Final Review: Go through the items one last time together. Share why you chose each piece and what it means to you. This is a beautiful moment to reconnect and share your feelings.
- Read a Piece of Your Letters Aloud: You don’t have to read the entire letter, but sharing a favorite line or a key hope you wrote down can be a very powerful experience for you both.
- Place the Items Inside: Carefully and lovingly arrange each item in the box, cushioning them with the acid-free tissue paper. This is the final act of tucking these memories in for their long sleep.
- Seal the Box: Close the lid together. If it’s a box that latches or locks, secure it. If you wish, you can add a wax seal or tie it with a special ribbon that you will cut together in 18 years.
- Label and Store: Affix a clear, durable label to the outside. It should read:
To: [Baby’s Chosen or Placeholder Name]
To Be Opened On: [Your Child’s 18th Birthday Date]Store the capsule in a safe, climate-controlled place where it won’t be forgotten but also won’t be disturbed. A high shelf in a closet or a secure spot in your attic is ideal.
This ceremony isn’t just about closing a box; it’s about closing a chapter of anticipation and opening your hearts to the new chapter of parenthood, knowing you’ve preserved the magic of the beginning.
Conclusion
You have now created more than just a box of old things. You have crafted a bridge through time, a tangible ‘I love you’ that will resonate with your child on the cusp of their own adulthood. This time capsule is a testament to the fact that their story didn’t begin on the day they were born, but in the hearts and hopes of their parents long before. It is a powerful reminder that they were, and always will be, cherished, anticipated, and deeply loved.
As you move forward into the beautiful chaos of parenthood, this sealed box will be a quiet symbol of your journey’s beginning. And one day, when you watch your 18-year-old child open it, you will get to relive these moments with them, sharing the story of how their family began. You aren’t just preserving memories; you’re creating a future moment of connection, understanding, and overwhelming love. That is the true magic of this project.