Don’t Toss Those Onesies! Turn Them Into a Forever Quilt
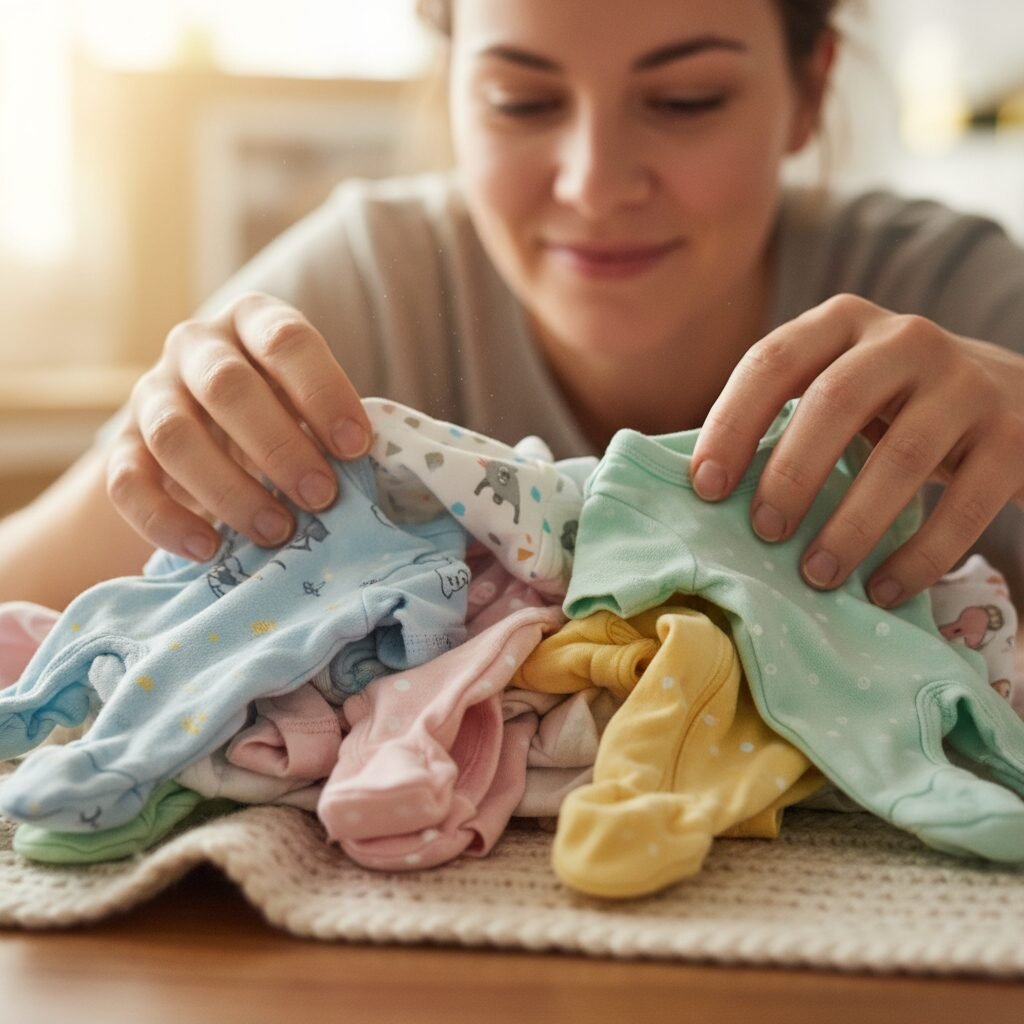
The moment you realize your baby has outgrown their first onesie is a bittersweet milestone. One day it fits perfectly, and the next, those little snaps are a distant memory. The drawers and closets begin to overflow with tiny garments, each one holding a precious memory: the coming-home outfit, the sleeper they wore for weeks, the tiny shirt from their first holiday. Tossing them feels unthinkable, but storing them in a box in the attic feels like hiding away treasure. What if you could transform that pile of cherished fabric into a beautiful, functional heirloom? A memory quilt is more than just a blanket; it’s a tapestry of your baby’s first year, a tangible story you can wrap yourself and your child in for years to come. As a doula and maternal health educator, I’ve seen countless parents navigate the powerful emotions of these early years. Creating something with your hands can be incredibly therapeutic and grounding. This guide will walk you through every step of turning those beloved onesies into a forever quilt, a project of love that preserves your most treasured memories.
Why a Memory Quilt is More Than Just a Blanket
Before we dive into the nuts and bolts of cutting and sewing, let’s take a moment to appreciate the profound significance of this project. In a world of digital photos and fleeting social media posts, a memory quilt is a deeply personal and enduring artifact. It’s a physical manifestation of love and a chronicle of growth.
A Tangible Tapestry of Memories
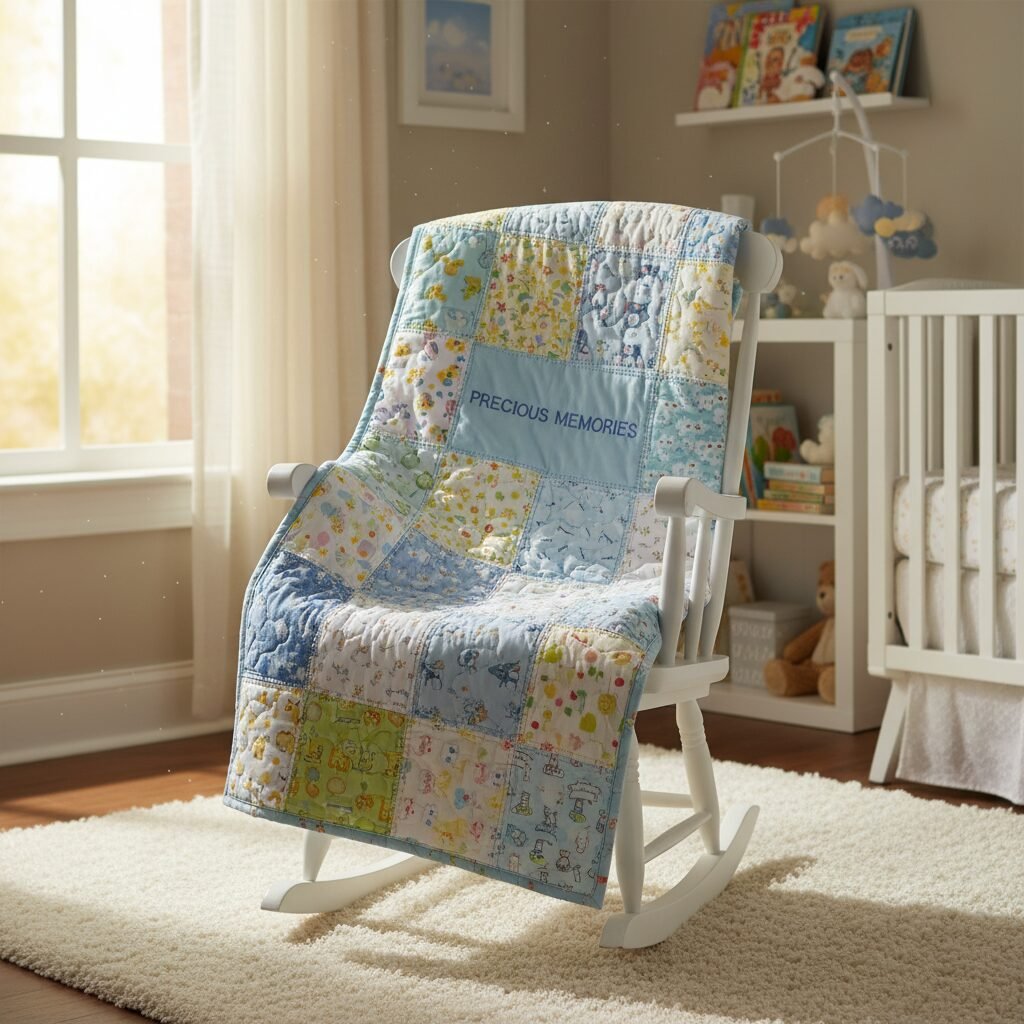
Each square of the quilt tells a story. You’ll look at a patch of blue-striped fabric and remember the day your baby first smiled while wearing it. A piece from a tiny floral sleeper will transport you back to those quiet, 3 a.m. feedings. Unlike a photo album, a quilt engages multiple senses. You can feel the soft, worn cotton, see the vibrant colors and patterns, and wrap your child in the warmth of their own history. It’s a powerful tool for storytelling, allowing you to share memories with your child as they grow older.
A Commitment to Sustainability
In an age of fast fashion and disposable goods, upcycling your baby’s clothes is a beautiful act of sustainability. Instead of contributing to textile waste, you are giving these garments a new, elevated purpose. It’s a wonderful lesson to model for your children about resourcefulness and valuing the things we own. You are not just preserving memories; you are making a conscious choice to reduce your environmental footprint.
Creating a Future Heirloom
Imagine your child, years from now, heading off to college or starting their own family. This quilt can be a source of comfort and a connection to home. It has the potential to become a cherished family heirloom, passed down through generations, with each thread holding the love and care you poured into its creation. It’s a gift that transcends time, a legacy of your family’s beginning.
This isn’t just a craft project; it’s an act of archiving love. You are stitching together moments, milestones, and the very fabric of your baby’s first year.
Gathering Your Supplies: The Ultimate Checklist
A successful project begins with proper preparation. Taking the time to gather the right tools will make the entire process smoother and more enjoyable. Think of this as setting up your creative sanctuary. Here’s a comprehensive list of what you’ll need to get started.
- Baby Clothes: The star of the show! Gather a variety of onesies, sleepers, t-shirts, and even soft bibs or hats. Aim for around 20-30 garments for a good-sized lap quilt. Ensure they are all clean and stain-treated.
- Fusible Interfacing: This is a non-negotiable item. Most baby clothes are made from stretchy knit fabric. Interfacing is an iron-on stabilizer that prevents the fabric from stretching and warping as you cut and sew, giving you clean, professional-looking quilt blocks. Look for a lightweight, woven fusible interfacing.
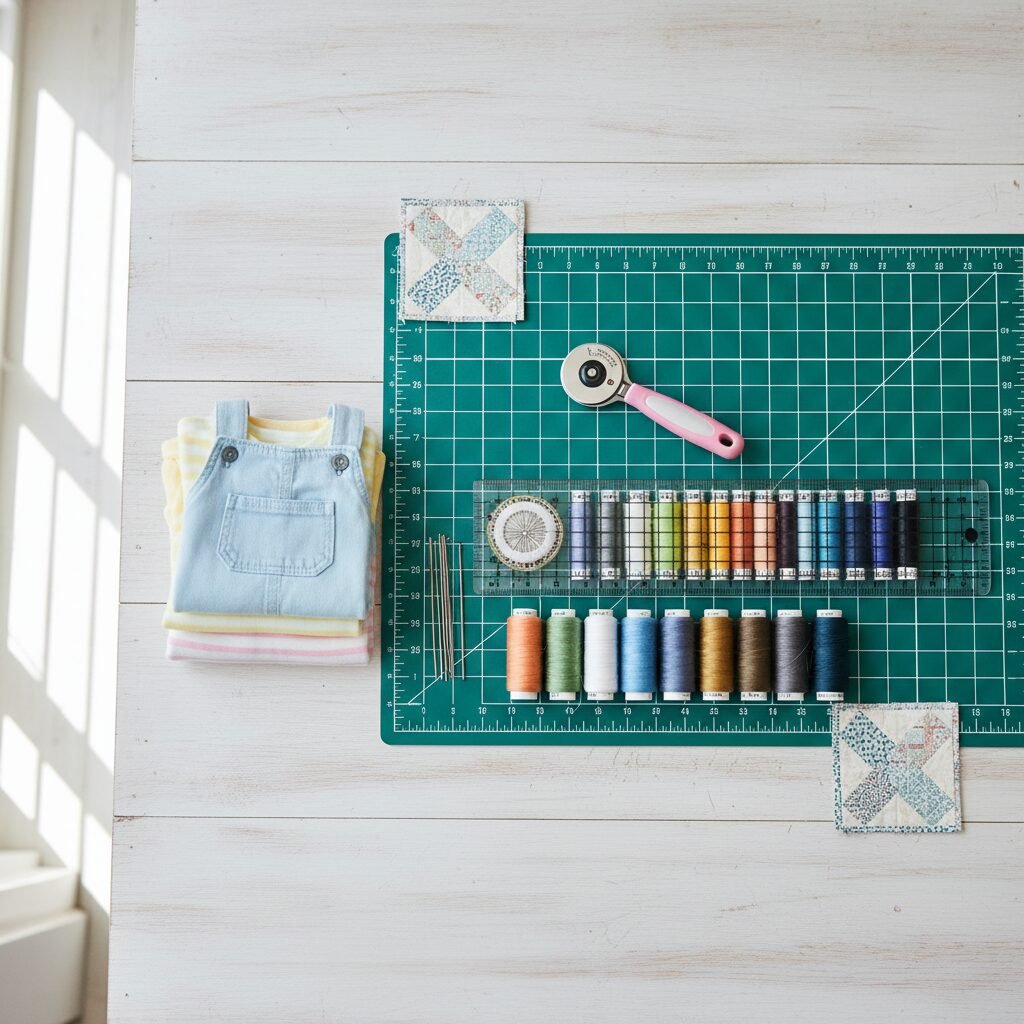
- Sharp Fabric Scissors or a Rotary Cutter & Mat: While scissors work, a rotary cutter, self-healing cutting mat, and a quilting ruler will give you perfectly straight, precise cuts with much less effort. This trio is a worthy investment for this project.
- Quilting Ruler: A clear acrylic ruler, typically 6×24 inches or a square version, is essential for accurately cutting your blocks.
- Sewing Machine: Any basic sewing machine that can produce a straight stitch will work perfectly. Make sure you have a fresh needle (a size 80/12 universal needle is a good start).
- Quality Thread: Choose a good quality, 100% cotton thread in a neutral color like white, grey, or cream. This will blend well with all the different fabrics in your quilt.
- Quilt Batting: This is the fluffy middle layer that gives the quilt its warmth and weight. Cotton or a cotton/poly blend are excellent, breathable choices for a baby quilt.
- Backing Fabric: You’ll need a single large piece of fabric for the back of the quilt. Soft flannel, minky, or a quality quilting cotton are popular choices. Choose a coordinating color or pattern.
- Iron and Ironing Board: You will be doing a lot of pressing, both when applying interfacing and pressing your seams.
- Straight Pins or Sewing Clips: To hold your fabric pieces together accurately as you sew.
Step-by-Step Guide: From Onesie to Heirloom
This is where the magic happens. Take a deep breath, put on some calming music, and enjoy the process. Remember, this is a journey of love, not a race to the finish line. Work in manageable sessions to avoid feeling overwhelmed.
-
Step 1: Prepare Your Precious Fabrics
Start by deconstructing the clothing. Carefully cut along the seams of each onesie or sleeper to separate the front and back pieces. Your goal is to get the largest flat piece of fabric possible from each garment, focusing on any graphics, logos, or patterns you want to feature. Wash and dry all these fabric pieces to ensure they are clean and pre-shrunk. Press them flat with a hot iron.
-
Step 2: Apply the Interfacing
This is the most critical step for success. Cut a piece of fusible interfacing slightly larger than your fabric piece. Place the fabric piece face down on your ironing board. Place the interfacing on top, with the bumpy (adhesive) side facing down onto the fabric. Following the manufacturer’s instructions, press with a hot, dry iron. Do not glide the iron; press and hold for 10-15 seconds in each spot until the entire piece is fused. This stabilizes the fabric, making it behave like non-stretchy cotton.
-
Step 3: Cut Your Quilt Squares
Decide on a uniform size for your squares. A 5-inch or 6-inch square (which will finish at 4.5 or 5.5 inches after sewing) is a great, manageable size. Using your rotary cutter, mat, and ruler, carefully cut your interfaced fabric into perfect squares. Precision here is key to a quilt that fits together neatly.
-
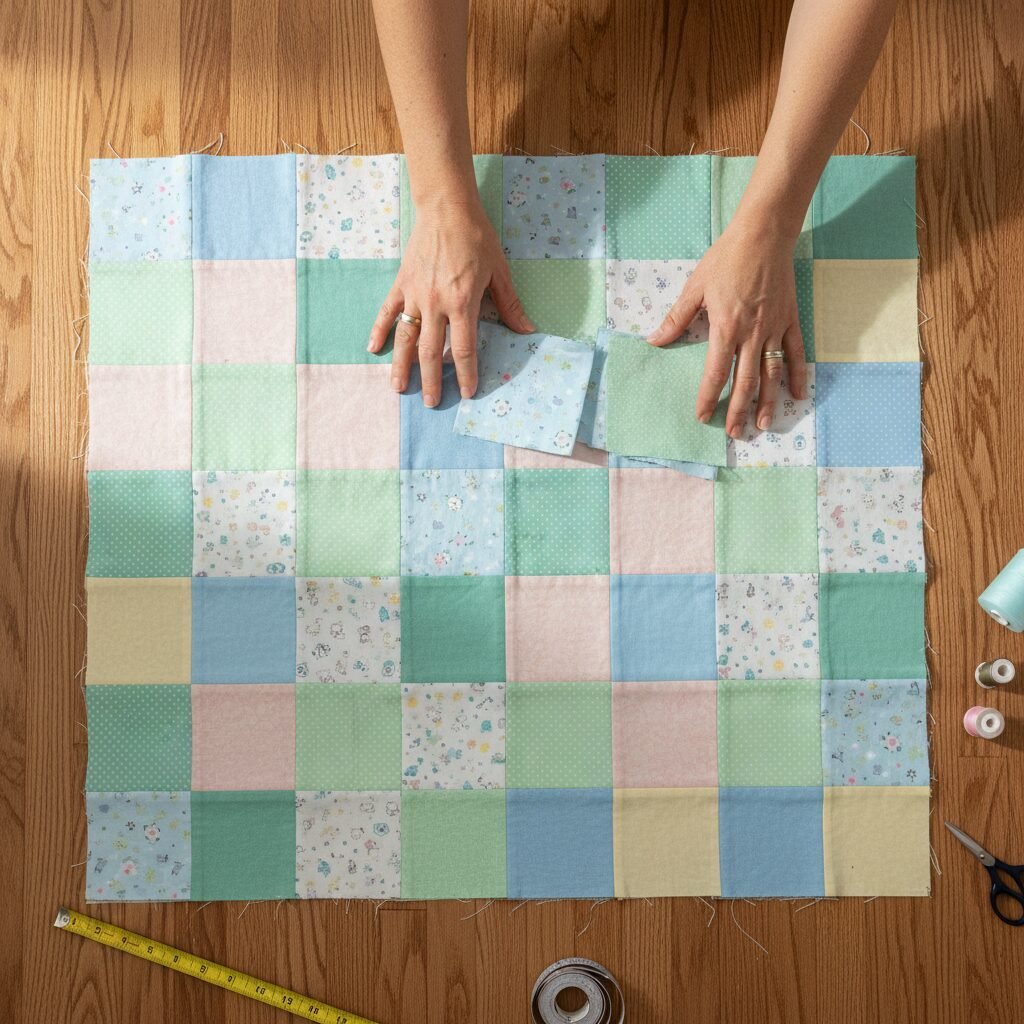
Step 4: Design Your Layout
This is the fun, creative part! Clear a large space on the floor and begin arranging your cut squares. Play with the layout until you find a pleasing balance of colors, patterns, and textures. Consider alternating busy patterns with solid colors. Take a photo with your phone once you have a layout you love, so you don’t forget the arrangement.
-
Step 5: Sew the Rows
Now, you’ll sew the squares into rows. Working one row at a time, place two adjacent squares right-sides together. Pin or clip them and sew along one edge using a consistent 1/4-inch seam allowance. Continue adding squares until the row is complete. Press the seams open or to one side. Repeat for all rows.
-
Step 6: Assemble the Quilt Top
With your rows complete, it’s time to join them. Place two rows right-sides together, carefully nesting the seams to ensure your corners line up perfectly. Pin securely and sew along the long edge. Continue adding rows until your entire quilt top is assembled. Give the whole top a final, gentle press.
-
Step 7: Create the Quilt ‘Sandwich’
Lay your backing fabric on the floor, wrong side up, and smooth it out. Next, lay your batting on top, smoothing it out. Finally, place your completed quilt top on the very top, right side up. This three-layer ‘sandwich’ is what makes a quilt. Baste the layers together using safety pins, a temporary spray adhesive, or long hand stitches to prevent them from shifting.
-
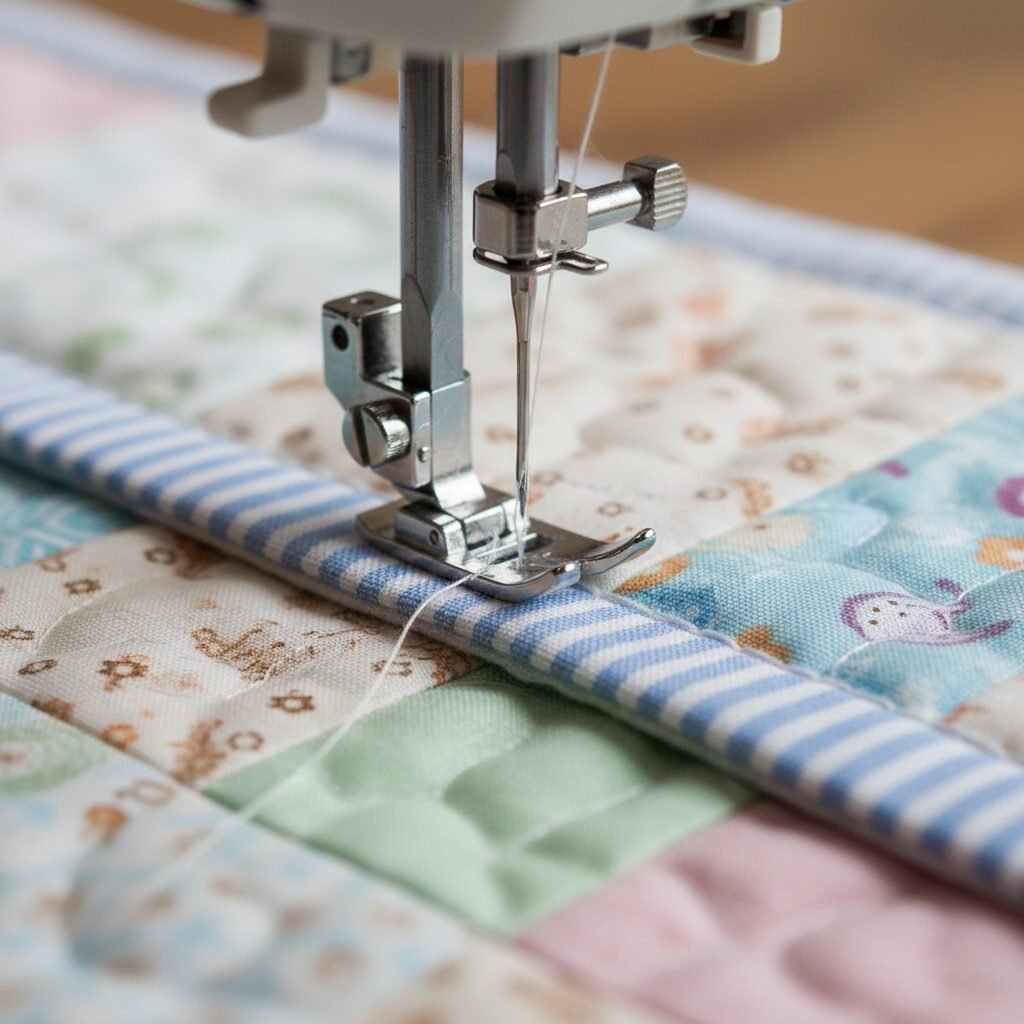
Step 8: Quilting and Binding
Quilting is the stitching that goes through all three layers, holding them together and adding texture. You can do simple straight lines ‘in the ditch’ (along your seam lines) or diagonal lines across the quilt. Once quilted, trim the excess batting and backing fabric to be even with your quilt top. The final step is binding—sewing a strip of fabric around the raw edges of the quilt to give it a clean, durable finish. There are many excellent online tutorials for machine-binding a quilt.
Pro Tips for a Professional-Looking Finish
Want to elevate your quilt from homemade to handmade-with-love? Here are a few tips from experienced quilters that can make a significant difference in the final product.
- Consider Sashing: Sashing is a border of fabric, typically a solid color, that you can sew around each quilt block before joining them into rows. This can create a beautiful grid effect, make your quilt larger, and help busy patterns stand out without clashing.
- Incorporate Special Elements: Don’t be afraid to think outside the square. You can carefully cut around a special pocket from a pair of pants, the ruffles from a dress sleeve, or the feet from a sleeper and appliqué them onto a solid block for added texture and interest.
- Choose Your Batting Wisely: The type of batting you choose affects the final look and feel. 100% cotton batting provides a traditional, flat look that gets softer with each wash. A wool or polyester batting will be puffier and warmer. For a baby quilt, a breathable, washable material like cotton is often the best choice.
- ‘Stitch in the Ditch’: For a clean, minimalist quilting effect, use your sewing machine to stitch directly in the seam lines (‘the ditch’) that join your blocks. This secures the layers without distracting from the patterns of the onesies themselves.
- Don’t Fear Imperfection: This is perhaps the most important tip. Your quilt will not be perfect, and that is what makes it uniquely yours. A slightly mismatched corner or a wobbly stitch is a sign that it was made by human hands, with love. Embrace the imperfections as part of its story.
- When to Call for Backup: If the final quilting and binding steps feel too intimidating, consider taking your finished quilt top, batting, and backing to a local quilt shop. Many offer professional long-arm quilting services for a reasonable fee. They can finish your quilt beautifully, saving you time and stress.
Conclusion
As you take that final stitch and fold your completed quilt, take a moment to honor the journey. You have created more than a blanket. You have woven together a story of sleepless nights, gummy smiles, tiny kicks, and boundless love. This quilt is a testament to that fleeting, beautiful first year—a soft, warm place for your child to land, a tangible reminder of where they began. It will be there for story time, for building forts, for comforting them when they are sick, and for reminding them they are, and always have been, cherished. The clothes may be outgrown, but the love they represent is now stitched into every fiber of this heirloom, ready to provide warmth and comfort for a lifetime.