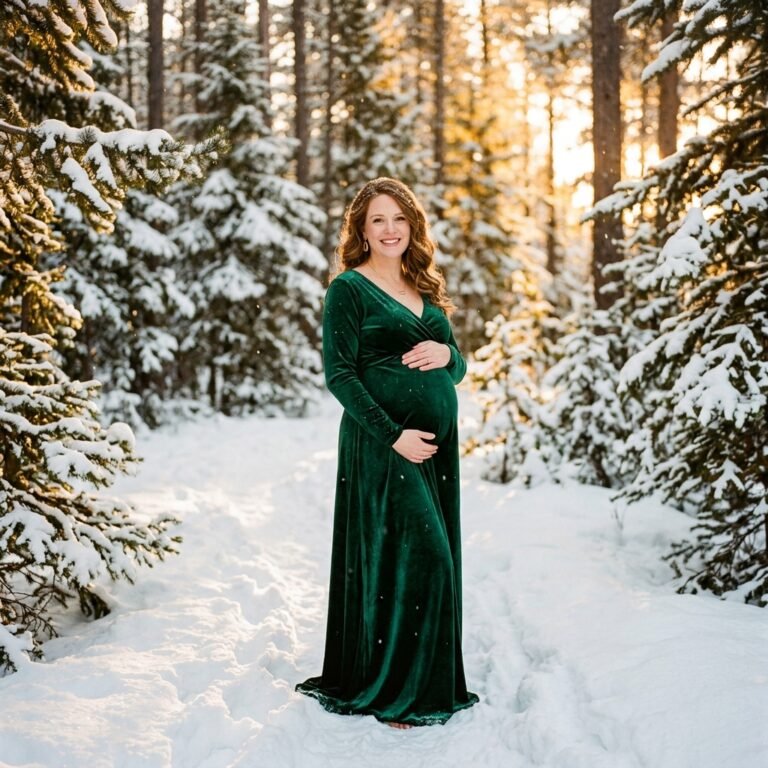
Sunset Silhouette: Step-by-Step Guide to Outdoor Maternity Silhouette Photos
Embracing the Glow of Motherhood
Oh, sweet mama, there is something truly magical about the way your body transforms to carry life. As a doula and a fellow mother, I know that these nine months can feel like a lifetime and a heartbeat all at once. You are in a season of incredible transition, and capturing that beauty shouldn’t feel like a chore or a source of stress. Sunset silhouette photography is one of the most powerful ways to document this journey. Unlike traditional portraits, silhouettes strip away the distractions of patterns and colors, focusing entirely on the magnificent curve of your bump and the strength of your spirit.
This guide is designed to be your sisterly companion, walking you through every step of the process—from the exact minute you should step outside to the way you should angle your toes. We aren’t just looking for a ‘pretty picture’; we are looking to create a piece of art that reminds you of your power. Whether you are using a professional DSLR or the smartphone in your pocket, you can achieve a gallery-worthy result. Let’s dive into the warmth of the golden hour and learn how to paint with light and shadow.
“Your body is not just a body; it is a sacred vessel, a first home, and a masterpiece in progress. Let the light celebrate you.”
The Magic of the Golden Hour: Timing Your Moment

In the world of photography, timing isn’t just a detail—it is the entire foundation. To achieve that crisp, dark silhouette against a fiery sky, you must work with the Golden Hour. This is the period shortly before sunset when the sun is low on the horizon, casting a soft, warm glow that minimizes harsh shadows and maximizes color saturation.
Understanding the Window
The ideal window for a silhouette is actually the last 20 to 30 minutes before the sun dips below the horizon. During this time, the light is coming from directly behind you (backlighting), which is the secret ingredient for a silhouette. If you try too early, the sun is too high and will illuminate your front; if you wait too late, you lose the vibrant colors of the sky.
| Time Relative to Sunset | Light Quality | Best For… |
|---|---|---|
| 60 Minutes Before | Warm & Bright | Traditional backlit portraits |
| 30 Minutes Before | Deep Gold & Soft | Beginning your silhouette setup |
| 10-15 Minutes Before | Vibrant Oranges/Pinks | Peak Silhouette Power |
| 5 Minutes After | Twilight Blue/Purple | Moody, soft-focus outlines |
Doula Tip: Pregnancy can make us feel tired quickly. Plan to arrive at your location 45 minutes early so you can rest, hydrate, and get into the headspace of the shoot without rushing. Stress shows in the shoulders, even in a silhouette!
Scouting the Perfect Horizon: Location and Safety

When you are shooting a silhouette, your background is just as important as your foreground. You need a location where the horizon is unobstructed. If there are too many trees, buildings, or fences behind you, they will ‘bleed’ into your silhouette, making your shape look cluttered rather than clean.
What to Look For
- Wide Open Fields: These provide a clean line where the earth meets the sky.
- Beach Fronts: The reflection of the sunset on the water adds a double layer of magic.
- Hilltops: Standing at the crest of a hill allows the photographer to shoot from a lower angle, placing your bump entirely against the sky.
- Quiet Parks: Look for areas with a clear view of the west.
Safety is paramount, especially in the third trimester. Avoid locations that require heavy hiking or have unstable terrain. Always bring a ‘support person’—whether it’s your partner, a friend, or your doula—to help you navigate uneven ground and carry your water bottle.
| Location Type | Pros | Cons |
|---|---|---|
| Beach | Reflective light, flat horizon | Sand can be difficult to walk on |
| Hilltop | Clean sky background | Windy, requires a climb |
| Open Field | Easy access, soft textures | Possible bugs or tall grass obscuring feet |
The Silhouette Wardrobe: Styling for the Bump
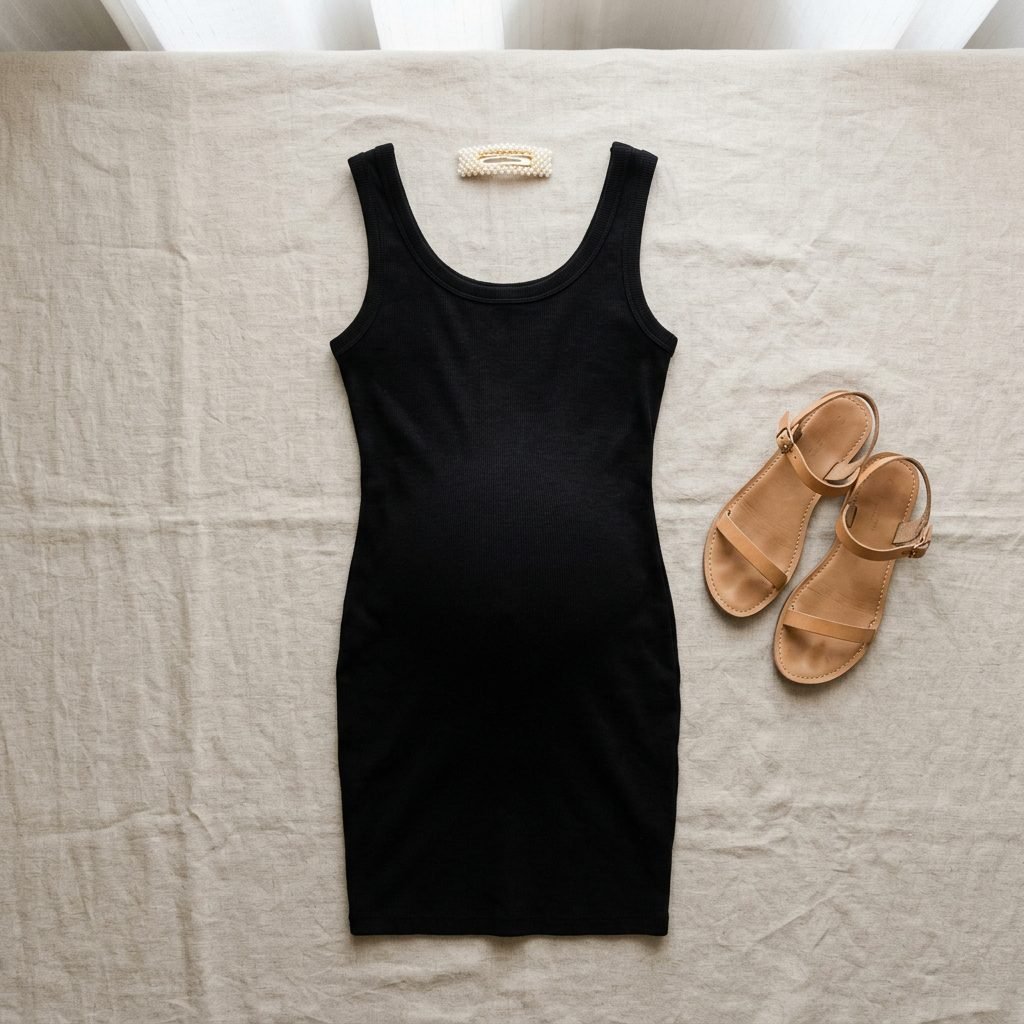
This is the one time where I will tell you to ditch the flowy, boho dresses (unless they are very sheer!). For a silhouette, we need to see the definition of your body. If you wear a loose-fitting maternity gown, the camera will only see a large rectangular shape rather than the beautiful curve of your belly and back.
Best Fabric Choices
Look for form-fitting fabrics like jersey knit, spandex blends, or bodycon maternity dresses. If you want a more artistic, ‘goddess’ look, consider a sheer lace robe or even a simple set of matching maternity intimates. The goal is to create a clear ‘S’ curve from your chest to your hips.
- Avoid: Heavy denim, chunky sweaters, and stiff fabrics.
- Embrace: Sleeveless tops (to show arm definition), high-waisted leggings, and side-profile slits.
- Hair Styling: Wear your hair up or swept to one side. If your hair covers your neck and shoulders in a silhouette, it can make the head look merged with the torso.
Pro Styling Formula: A tight maternity tank top + a form-fitting midi skirt = The perfect silhouette silhouette. It’s comfortable for you and provides a 100% clear bump outline for the camera.
Technical Mastery: Capturing Shadow and Light

You don’t need to be a professional photographer to get this right, but you do need to understand Exposure Compensation. In a normal photo, the camera tries to make everything bright. For a silhouette, we want to ‘trick’ the camera into making the subject (you!) dark.
Step-by-Step for Smartphone Users
- Position the Sun: Ensure the sun is directly behind the mama.
- Focus on the Sky: Tap the brightest part of the sky on your phone screen. This tells the phone to adjust for the light, which will naturally darken the person in the foreground.
- Lower the Exposure: On an iPhone or Android, after tapping the sky, a sun icon or slider will appear. Slide it downwards until the mama becomes a dark shadow and the sky colors pop.
- Turn Off Flash: This is vital! A flash will ruin the silhouette by illuminating the front of the body.
Step-by-Step for DSLR/Mirrorless Users
- Manual Mode: Set your ISO to 100 or 200 to keep the image crisp.
- Aperture: Use a mid-range aperture like f/8 to ensure the horizon and the bump are both relatively sharp.
- Metering: Use ‘Spot Metering’ on the bright sky to force the subject into underexposure.
| Setting | Smartphone Adjustment | DSLR Adjustment |
|---|---|---|
| Focus | Tap the sky | Manual focus on bump edge |
| Brightness | Slide sun icon down | Increase Shutter Speed |
| Flash | OFF | OFF |
The Art of the Pose: Celebrating Your Changing Shape
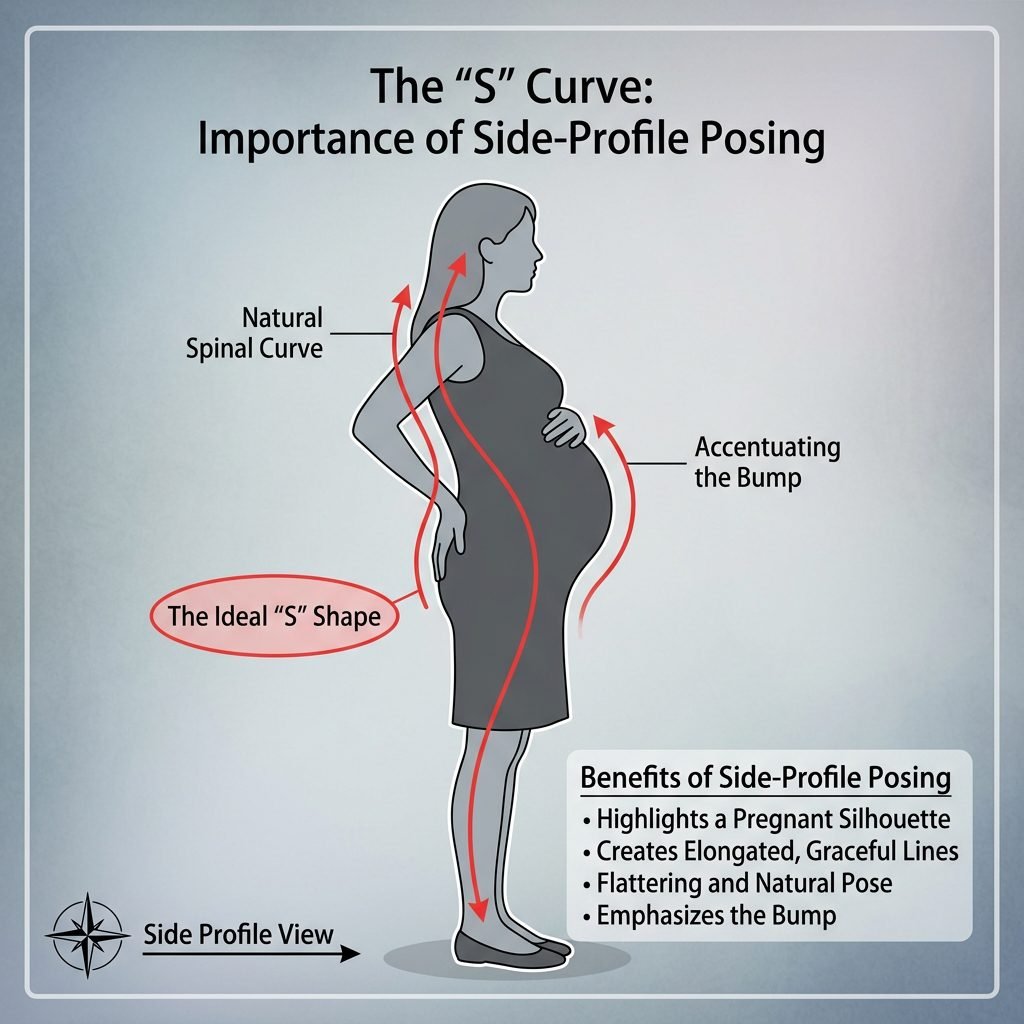
In a silhouette, negative space is your best friend. Negative space is the area between your limbs and your body. If your arms are pressed against your sides, you will look like one solid block. To create a beautiful image, we need to create ‘windows’ of light.
The Signature Poses
- The ‘K’ Pose: Stand sideways. Bend the leg closest to the camera slightly at the knee. Place one hand on top of your bump and one hand underneath. This creates a clear definition of the belly.
- The Gentle Lean: Tilt your head back slightly toward the sun. This highlights your jawline and neck, preventing your head from looking ‘attached’ to your shoulders.
- The Partner Connection: If your partner is joining, have them stand behind you and place their hands on your bump, or stand face-to-face with a small gap between your bodies so the light can shine through.
“Breathe deep, mama. Feel the ground beneath your feet and the life within your womb. You are a bridge between heaven and earth.”
Movement Tip: Don’t just stand still! Slow, intentional movements—like running your hand through your hair or looking down at your belly—can result in the most candid and emotional shots. Always shoot from a side profile; a front-facing silhouette will not show the bump!
Post-Shoot Care & Preservation
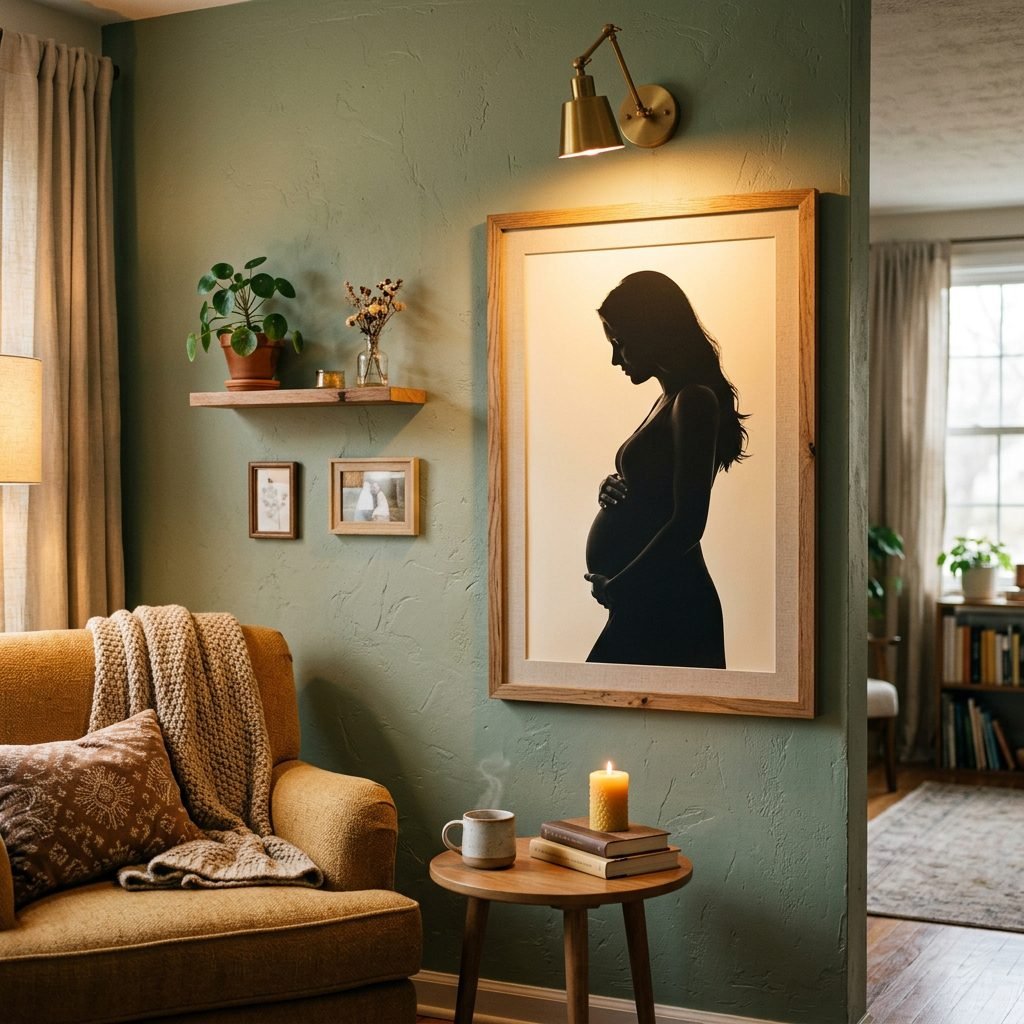
Once the sun has set and you’ve captured your masterpieces, it’s time for a little bit of ‘digital polish.’ Even the best silhouettes usually need a tiny bit of editing to truly shine. You don’t need Photoshop; free apps like Lightroom Mobile or Snapseed are perfect.
Editing Secrets
- Contrast: Crank up the contrast. This makes the blacks blacker and the colors more vivid.
- Shadows: Pull the ‘Shadows’ slider all the way to the left to ensure there is no detail visible on your clothing—just a pure black shape.
- Saturation/Vibrance: Slightly increase these to make that sunset look as magical as it felt in person.
After editing, don’t let these photos live only on your phone! These are the images your child will look at one day to see where their story began. Consider printing them on metallic paper or acrylic blocks, which handle high-contrast silhouette images beautifully, making the colors look like they are glowing from within.
| App Recommendation | Best Feature | Price |
|---|---|---|
| Lightroom Mobile | Selective Masking | Free / Subscription |
| Snapseed | ‘Selective’ tool for brightness | Free |
| Canva | Easy for making birth announcements | Free / Pro |
Conclusion
You Are the Masterpiece
Mama, as you look back on these photos in the weeks, months, and years to come, I hope you don’t just see a sunset. I hope you see the strength it took to grow a human being. I hope you see the patience you practiced during those long third-trimester days. And I hope you see the beauty that everyone else sees in you right now. Silhouette photography is a tribute to the form and the function of the maternal body—a celebration of the quiet, powerful work you are doing every single day.
Remember, the ‘perfect’ photo isn’t the one with the best lighting or the most expensive camera; it’s the one that makes you feel connected to your baby. So take the breath, catch the light, and treasure this moment. You are doing an amazing job.