The Balloon Box Fail-Proof Guide for the Perfect Gender Reveal Photo
The moment you decide to share your baby’s gender with the world is filled with a unique kind of magic. It’s a milestone buzzing with anticipation, joy, and the love of family and friends. Among the many creative ways to make this announcement, the balloon box reveal remains a timeless classic for a reason: it’s visually stunning, full of suspense, and creates an absolutely unforgettable photograph. But the pressure to get that ‘perfect shot’ can sometimes feel overwhelming, turning a joyful occasion into a stressful one. We understand.
As a doula and maternal health educator, I’ve supported countless families through these precious milestones. I know you want this day to be flawless, a memory you can look back on with pure happiness. That’s why we’ve created this fail-proof guide. Think of this as your supportive friend walking you through every single step, from the first piece of tape on the box to the final, triumphant click of the camera. We’ll cover everything you need to know to eliminate the guesswork, avoid common pitfalls, and focus on what truly matters: celebrating the wonderful new life you are bringing into the world. Let’s create a moment that is not only picture-perfect but also perfectly you.
Pre-Reveal Prep: Gathering Your Supplies & Setting the Scene
The secret to a seamless and stress-free gender reveal is all in the preparation. Getting everything organized beforehand allows you to be present and soak in the joy on the big day. Think of this as creating the perfect stage for your magical moment. Let’s start with the essentials.
Your Essential Supply Checklist
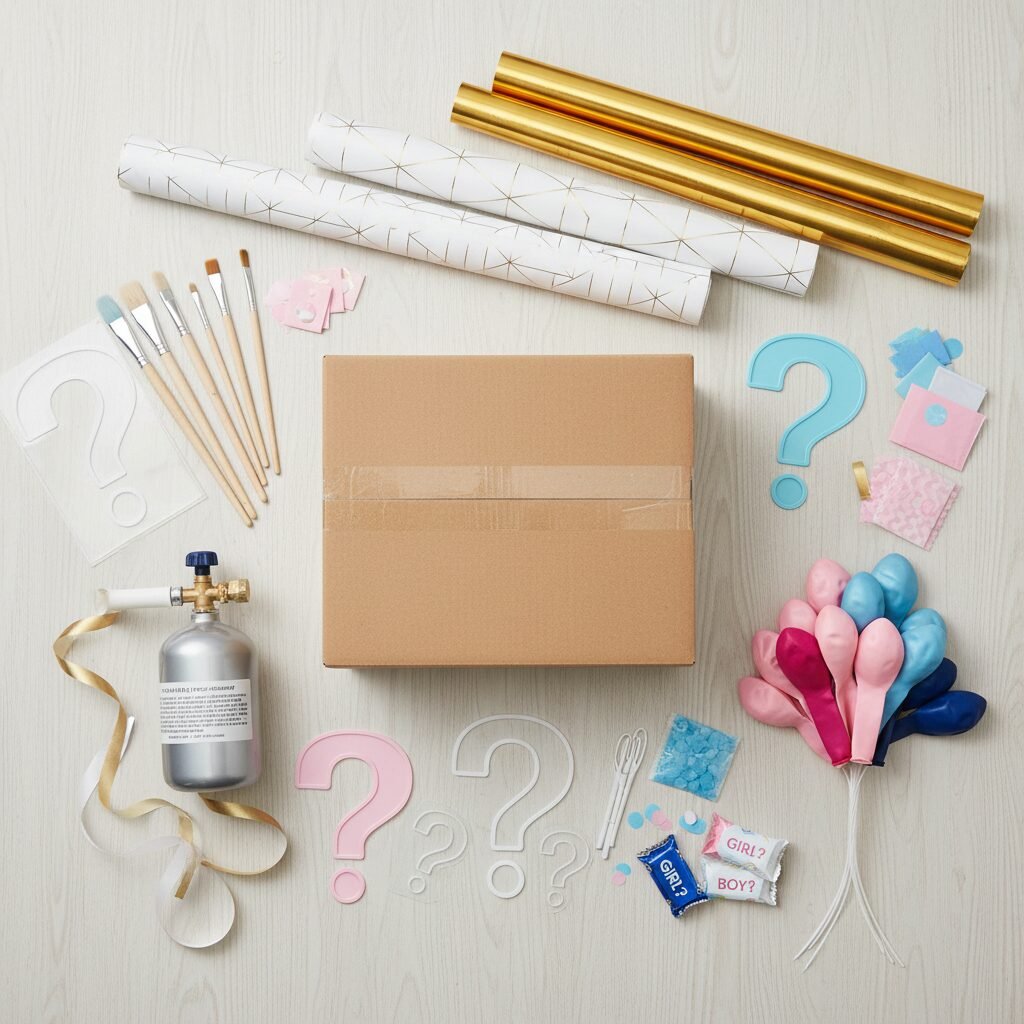
Ticking off a list is one of the most satisfying ways to calm pre-event jitters. Here’s exactly what you’ll need:
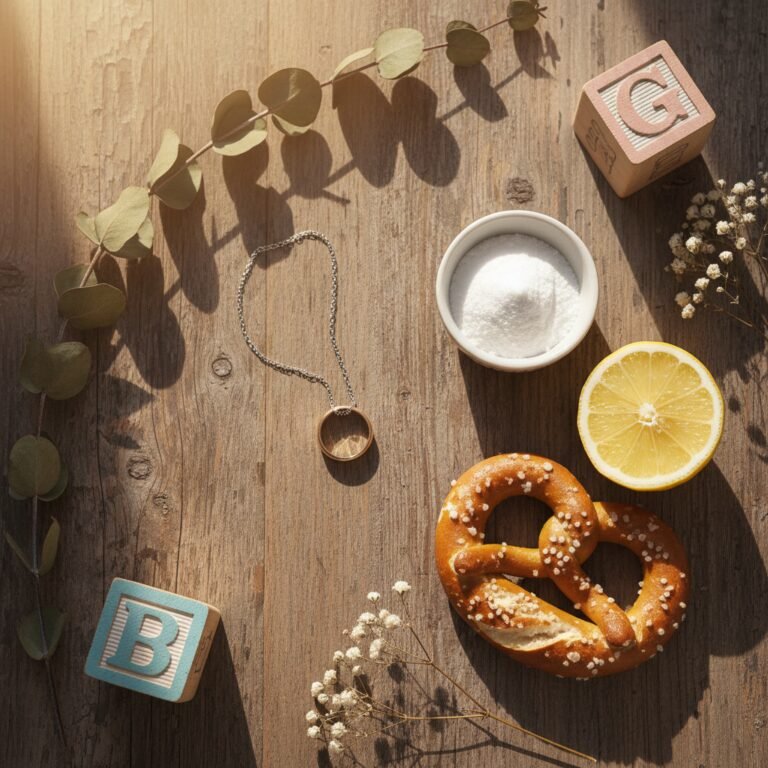
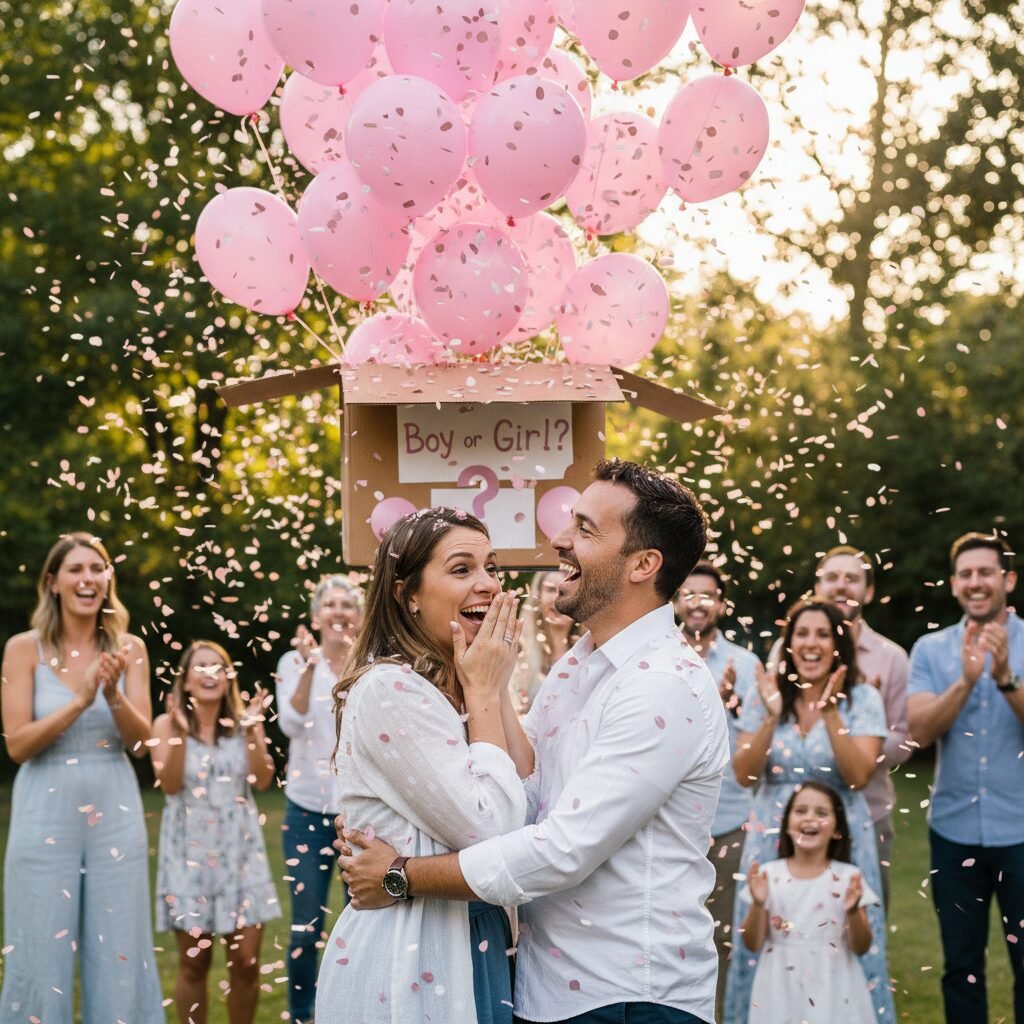
- A Large Cardboard Box: A moving box from a home improvement store (around 24x24x24 inches) is ideal. It needs to be big enough to hold the balloons without squishing them. Make sure it has flaps that open easily from the top.
- Decorations for the Box: This is where your personality shines! Think wrapping paper, spray paint, craft paint, stencils, or large vinyl stickers. Popular phrases include “Oh Baby!”, “He or She? Open to See!”, or simply question marks.
- Helium-Filled Balloons: You’ll want about 6-10 standard-sized (11-12 inch) latex balloons in either pink or blue. We’ll discuss how to order these discreetly in the next section.
- A Helium Tank (Optional): If you prefer a full DIY approach, a personal helium tank allows you to inflate the balloons yourself right before the reveal.
- Confetti or Smaller Balloons (Optional): For extra visual flair, consider adding a sprinkle of coordinating confetti or a few smaller, air-filled balloons to tumble out when the box is opened.
- Packing Tape & Scissors: For assembling and decorating your box.
- A Designated Camera Person or Tripod: You do not want to be fumbling with a selfie stick. Ask a trusted friend to be the photographer or set up a sturdy tripod with a remote shutter or timer.
Choosing the Perfect Location and Time
Your backdrop is almost as important as the reveal itself. Consider these factors for a photo that wows:
- Lighting is Everything: The ‘golden hour’—the hour right after sunrise or before sunset—provides soft, flattering light that makes everything look magical. If that’s not possible, aim for a spot with open shade (like under a large tree) to avoid harsh shadows and squinting faces.
- Uncluttered Background: Look for a simple, beautiful background. A green park, a rustic brick wall, or a serene beach works much better than a busy street or a cluttered backyard. A simple background ensures that you are the focus of the photo.
- Consider the Wind: If you live in a windy area, try to find a spot with a natural windbreak. A strong gust can send your balloons scattering sideways before they have a chance to float up majestically.
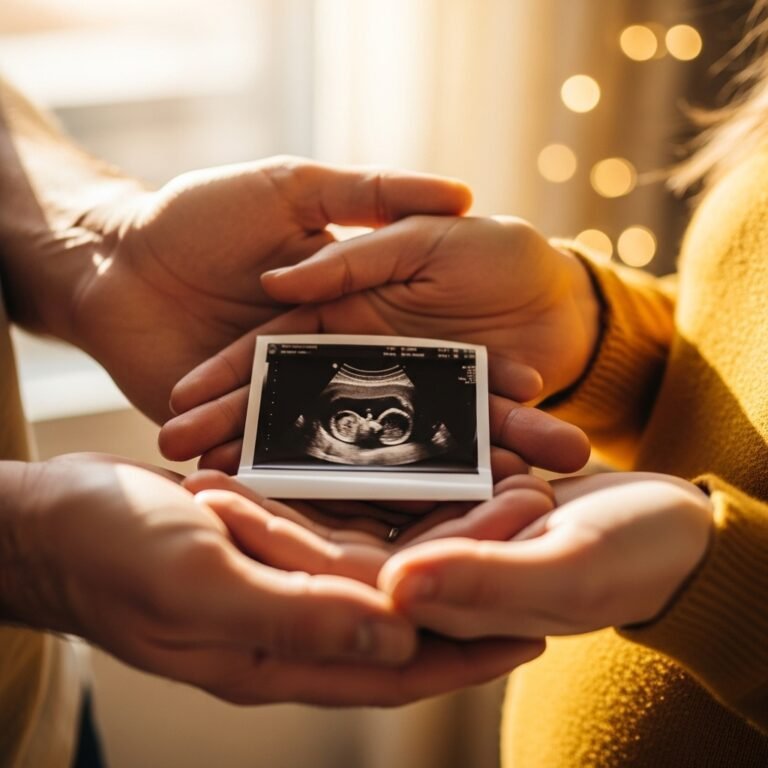
The Secret Keeper’s Crucial Role: How to Coordinate with Your Confidant

Unless you’re planning on being surprised alongside your guests, one of the most critical elements is entrusting the secret to a confidant. This could be the ultrasound technician, a trusted friend, or a family member. Clear and simple communication is the key to preventing any accidental spoilers.
Instructions for Your Ultrasound Appointment
If you want to be surprised, be direct with your ultrasound tech. When it’s time to determine the gender, simply say: “We’re doing a gender reveal and want to be surprised. Could you please write ‘boy’ or ‘girl’ on a piece of paper and seal it in this envelope for us?” Bring a designated envelope with you to the appointment. This little bit of preparation makes the process smooth and official.
Working with a Friend or Family Member
Your designated ‘secret keeper’ has an important job. Make it easy for them by providing clear instructions. Here’s a template you can text or email to them:
“Hi [Friend’s Name]! Thank you so much for helping with our gender reveal! Here’s what we need you to do:
1. Please take the sealed envelope to [Name of Party Store].
2. Go to the balloon counter and ask for 8 helium-filled latex balloons in the gender written inside the envelope.
3. Please ask them to place the balloons in a large, opaque bag so we can’t see the color.
4. You’ll be our hero! We’ll coordinate a time to pick up the bag from you before the reveal. Thank you again!”
The DIY Filling Option
If your secret keeper is filling the box themselves, the process is similar. They will be the one to open the envelope, inflate the correct color balloons using a helium tank, and carefully place them inside the decorated box. The most important step here is to do this as close to the reveal time as possible—ideally within 1-2 hours—as helium balloons can begin to lose their lift over time, especially in hot or cold weather.
| Method | Pros | Cons |
|---|---|---|
| Party Store Fill | Professionally inflated; saves you time and effort; balloons are often higher quality (Hi-Float). | Requires coordination; you must trust the store employees to be discreet. |
| DIY Fill by Confidant | More personal; can be done right before the event for maximum float. | Requires purchasing a helium tank; your confidant is responsible for the entire setup. |
Assembling the Perfect Box: A Step-by-Step Guide
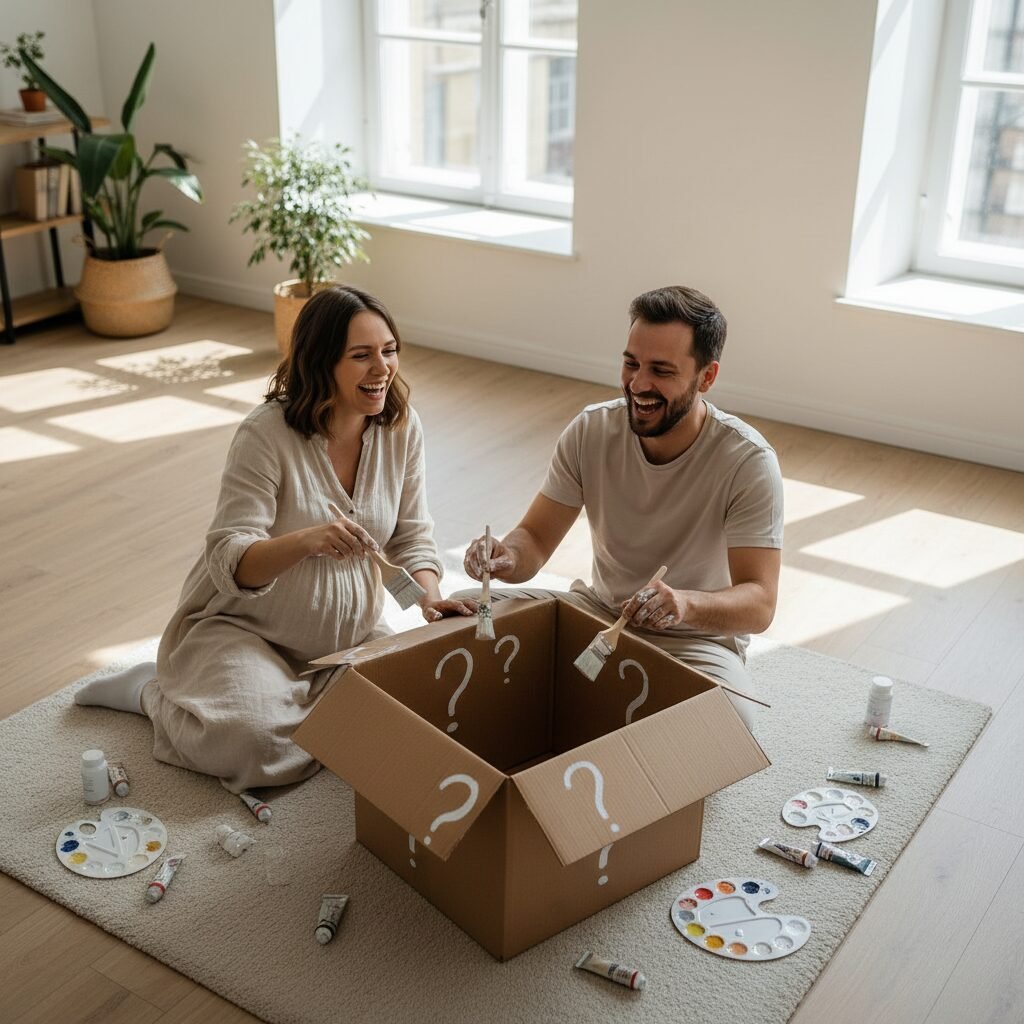
Now for the fun, hands-on part! Assembling your box is a wonderful activity to do together as a couple. Put on some music, pour some sparkling cider, and enjoy this creative step in your journey to parenthood. Here’s how to build a box that’s both beautiful and functional.
- Reinforce the Bottom: Before you do anything else, use packing tape to securely seal the bottom flaps of the box. The last thing you want is for the box to fall apart at the crucial moment.
- Decorate, Decorate, Decorate: This is your canvas. Wrap the box in beautiful paper, as you would a gift. Or, get artistic with paint. A simple, elegant design often photographs best. Consider a solid color (like white, gold, or kraft brown) with a stenciled message on the front-facing side. Let it dry completely before moving to the next step.
- Prepare the Top Flaps: This is a pro tip for a flawless opening. You want the flaps to open easily without sticking or tearing. Don’t tape them shut completely. Instead, you can use a few small pieces of double-sided tape or a bit of non-permanent adhesive to hold them lightly closed. Another popular method is to attach a beautiful ribbon that can be pulled to release the flaps.
- The Filling Process: This step should happen no more than 1-2 hours before the reveal. Have your secret keeper (or one of you, if you already know) bring the bagged balloons. Gently place them into the box one by one. If you’re adding confetti, sprinkle it in between the balloons.
- Arrangement for ‘The Pop’: For the best visual effect, don’t just stuff the balloons in. Gently push them down slightly as you place them in the box. This creates a little tension, so when the flaps are opened, they will ‘pop’ up and out with more energy.
- The Final Seal: Once everything is inside, close the top flaps using your prepared light adhesive or ribbon. Your box is now armed and ready for the grand reveal!
Capturing the Moment: Camera Settings & Poses for a Flawless Photo
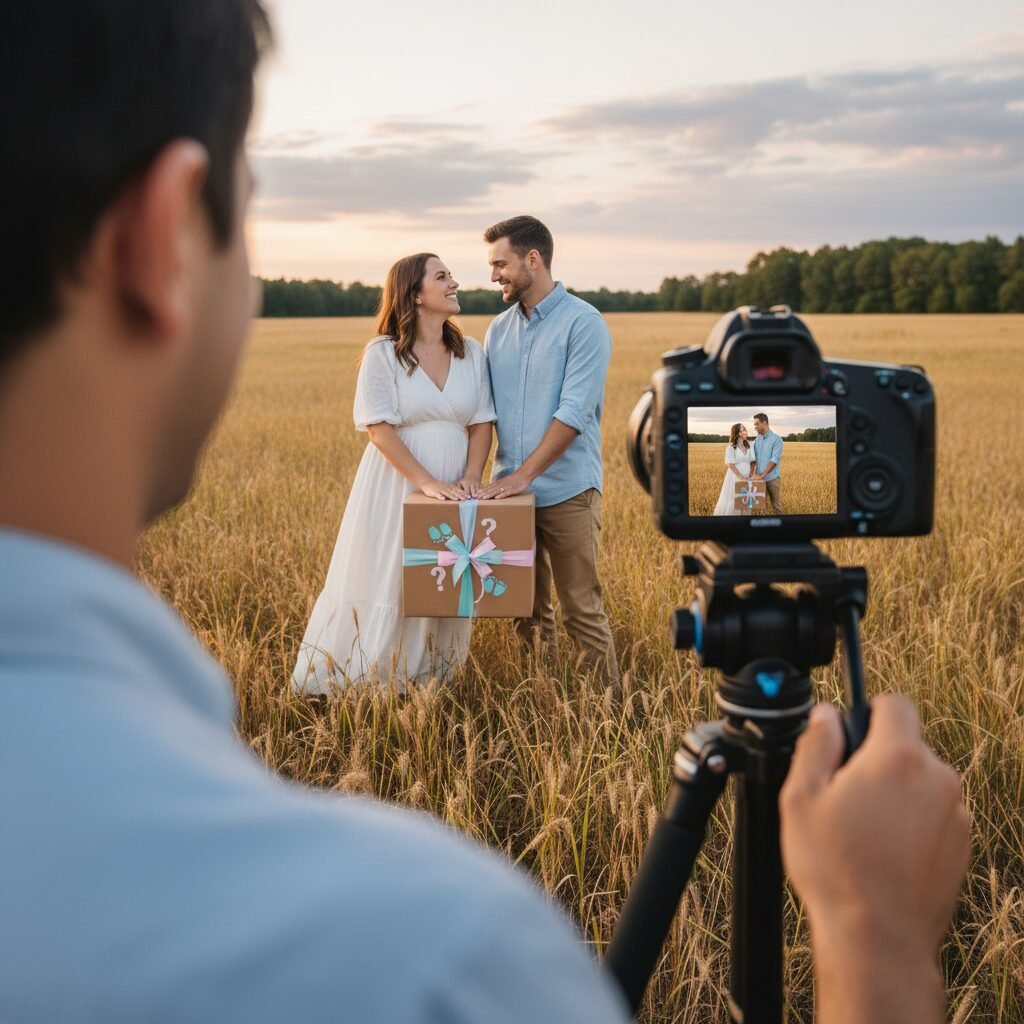
You’ve done all the prep work, and now it’s time to ensure you capture the memory beautifully. You don’t need to be a professional photographer, but a few simple tricks can make a world of difference between a good photo and a breathtaking one.
Essential Camera Settings (for DSLR & Smartphones)
- Use Burst Mode: This is the single most important tip. The peak reaction of surprise and joy lasts only a fraction of a second. Burst mode (holding down the shutter button) takes a rapid series of photos, guaranteeing you’ll capture that perfect expression.
- Turn Off the Flash: Unless you are in a very dark, indoor setting, turn off the automatic flash. Natural light is much more flattering and a sudden flash can create harsh shadows and red-eye.
- Focus and Lock: Before the countdown begins, have your photographer tap on your faces on the screen (for a smartphone) or half-press the shutter (on a DSLR) to lock the focus on you, not the box or the background.
- For DSLR Users: If you’re comfortable with manual settings, aim for a fast shutter speed (like 1/500s or faster) to freeze the motion of the balloons and confetti. Use a wider aperture (like f/2.8 to f/4) to create a soft, blurry background that makes you stand out.
Positioning & Posing for the Perfect Reveal
How you stand and where you place the box matters. Follow this simple setup for a dynamic and emotional shot.
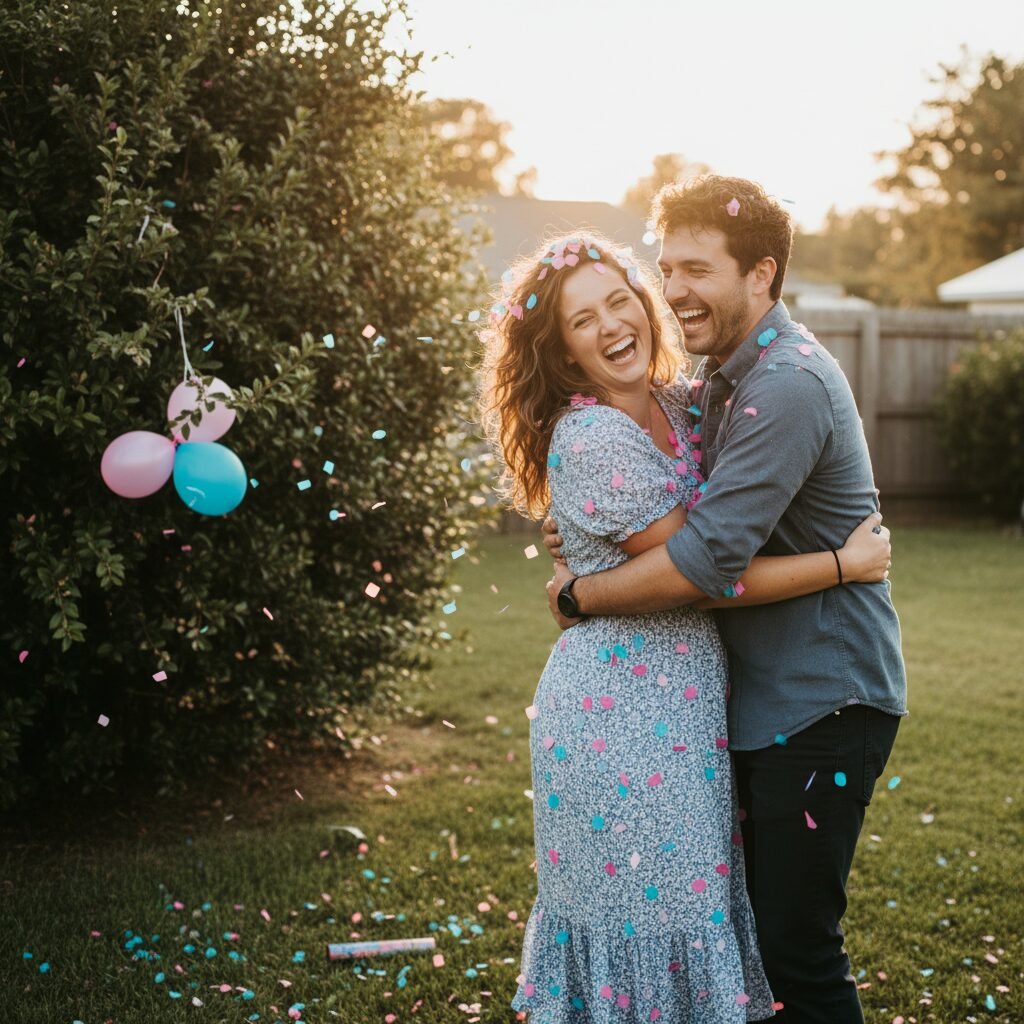
- Stand Close Together: This is a photo about connection. Stand side-by-side or with one partner slightly behind the other, with arms wrapped around. Physical touch conveys intimacy and joy.
- Place the Box in Front: Position the box on the ground or on a small stool directly in front of you.
- Hands on the Flaps: Both of you should place your hands on the top flaps of the box, ready to open them together. This builds visual anticipation in the photo.
- Look at Each Other First: Before the countdown, take one deep breath and look at each other. This creates a beautiful, intimate ‘before’ shot. Then, for the reveal itself, you can either continue looking at each other or look towards the box.
- Open Up and Out: When you open the box, pull the flaps outwards and upwards with energy! Your body language should be open and celebratory.
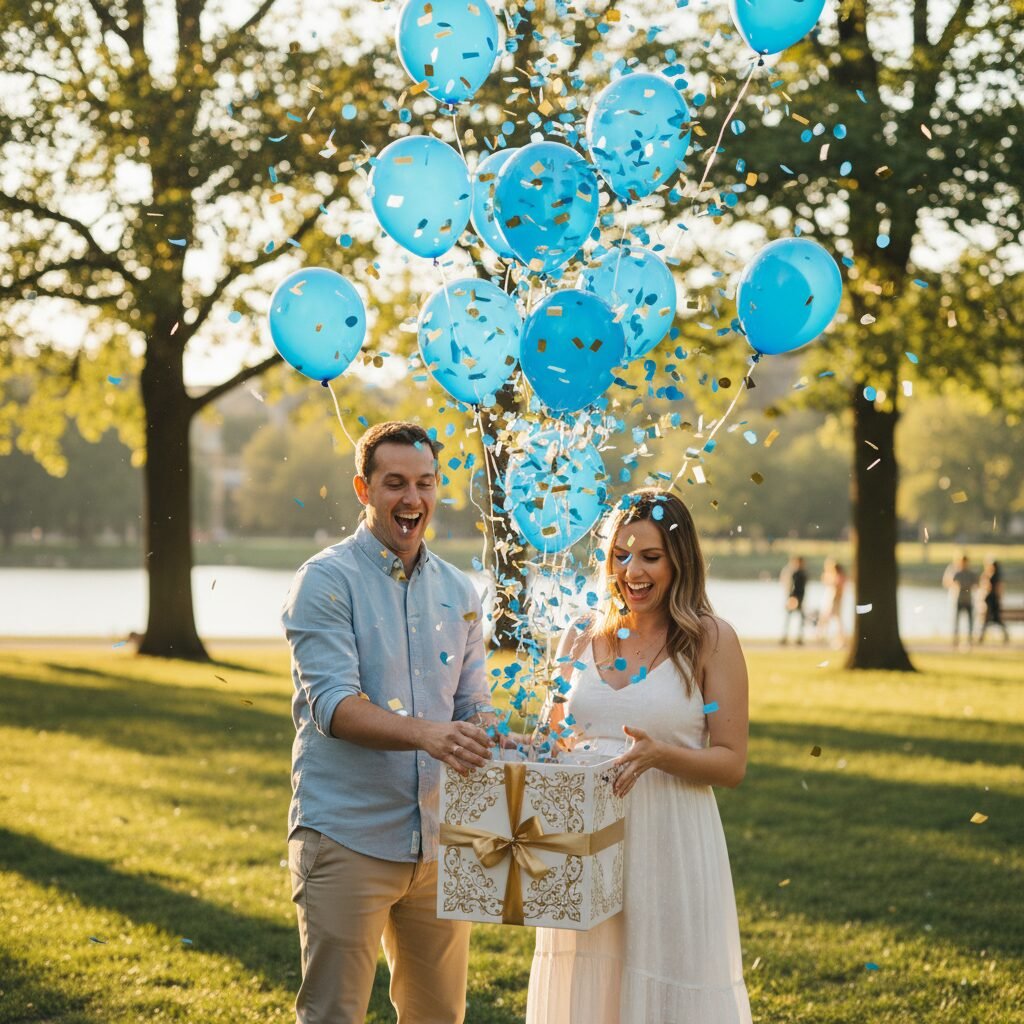
- Hold the Reaction: Don’t immediately look at the camera. Stay in the moment! Hug, laugh, cry, and look up at the balloons. The candid shots of your immediate, authentic reactions are often the most precious. The photographer should keep shooting in burst mode for a full 10-15 seconds after the box opens.
The Grand Reveal: Your Countdown to the Big Moment
The box is ready. The camera is set. Your loved ones are watching (in person or online). This is it. The whirlwind of planning has led to this singular, beautiful point in time. It’s completely normal to feel a rush of nervous excitement. The best advice I can give you now is to slow down and be present.
Before you begin, close your eyes for just a second. Take one deep, collective breath together. Feel your partner’s hand in yours. This moment isn’t just for a photograph; it’s for you. It’s a celebration of your journey and the incredible adventure that lies ahead. Let go of the need for perfection and simply allow yourself to feel the pure, unfiltered joy of the surprise.
When you’re ready, have a friend or family member lead a countdown from five.
“Five… four… three… two… one!”
As you open the box, let your reaction be genuine. If you want to scream, scream! If you want to cry, let the happy tears flow. If you’re speechless, that’s beautiful too. This is your story, your reaction, your memory. Embrace it fully.
Affirmation for the Moment: “Whatever happens in the next few seconds is perfect, because it is ours. We are ready for this joy.”
After the initial burst of balloons and emotion, hold each other. Look up at the sky. Look at your partner. These are the moments that matter far more than any picture. Let your photographer continue to capture these quiet, post-reveal interactions, as they are often filled with the most profound love and emotion.
Beyond the Photo: What to Do When Things Don’t Go ‘Perfectly’
In a world of curated social media feeds, it’s easy to believe that everyone else’s special moments are flawless. But life, especially life with children, is beautifully imperfect. So, what happens if the wind snatches your balloons sideways, the box sticks for a second, or it starts to drizzle? You embrace it.
Please hear this: A ‘botched’ gender reveal does not diminish your joy or the love for your baby. In fact, these unexpected moments often become the best stories, the ones you’ll laugh about for years to come. The goal is not an Instagram-perfect photo; the goal is a joy-filled memory.
How to Handle Common Mishaps:
- The Wind Woes: If a gust of wind blows your balloons away before you get the perfect shot, just laugh! Grab your partner, look at the camera with a playful shrug, and take a photo anyway. The story behind it will be priceless.
- A Stubborn Box: If the box doesn’t open smoothly, the photo of you both struggling with it for a second before the big reveal can be incredibly endearing and funny. It’s real life!
- Camera Malfunction: If the camera fails, put it down. Let go of the need to document and simply live in the moment. Ask your friends to take a few snaps with their phones, but prioritize your experience over the technology.
- Feeling Underwhelmed (or Overwhelmed): Your feelings are valid. Not every reaction is a Hollywood movie scene. If you feel quiet, thoughtful, or even a little overwhelmed, that is okay. The photos that capture your true, authentic emotions are the most beautiful ones of all.
Remember, the true ‘perfection’ of this day lies in the shared excitement and the celebration of the new life you’re creating together. The mishaps, the goofy faces, the imperfect moments—they are all part of your unique and beautiful story.
Conclusion
There you have it—your complete guide to a beautiful, memorable, and stress-free balloon box gender reveal. By preparing your supplies, coordinating with your secret keeper, and setting up your shot with intention, you create the space for a truly magical moment to unfold. We’ve walked through the practical steps of assembly and the technical tips for photography, but our deepest hope is that you’ll remember the most important part: this celebration is about love, connection, and the incredible journey you are on together.
Whether every balloon flies perfectly skyward or a few go astray, the most cherished photograph will be the one that captures your genuine joy. Congratulations on this wonderful milestone. Take a deep breath, hold each other close, and enjoy every second of your grand reveal. The best is yet to come.