How to Build a Drop-Dead Gorgeous Baby Shower Charcuterie Board on a Budget
Welcome to the Art of Affordable Elegance, Mama!
Oh, sweet friend, I am so glad you’re here. Whether you are the glowing mama-to-be planning your own ‘sprinkle,’ a dedicated sister-in-law, or a doula-turned-party-planner, I know exactly what’s on your heart. You want to create a celebration that feels magical, sophisticated, and deeply nourishing, but you’re also looking at the price of strollers and diapers and thinking, ‘Does a cheese board really need to cost a hundred dollars?’
As someone who has walked through countless postpartum recoveries and helped style dozens of nurseries, I’ve learned that beauty doesn’t require a massive budget—it requires intention. A charcuterie board is the ultimate baby shower centerpiece because it’s interactive, visually stunning, and caters to everyone’s cravings. But when we’re hosting for an expectant mother, we have a special responsibility. We need to ensure every bite is pregnancy-safe while keeping our spending in check so there’s more left over for that organic crib mattress.
In this guide, we are going to walk hand-in-hand through the process of building a ‘drop-dead gorgeous’ board. We’ll cover the safety basics (no unpasteurized soft cheeses here!), the ‘secret’ budget-friendly shopping lists, and the styling techniques that make a $40 grocery haul look like a $150 artisanal spread. Let’s roll up our sleeves and create something beautiful for this new little soul’s arrival.
The Thrifty Foundation: Choosing Your Board Without the Boutique Price Tag
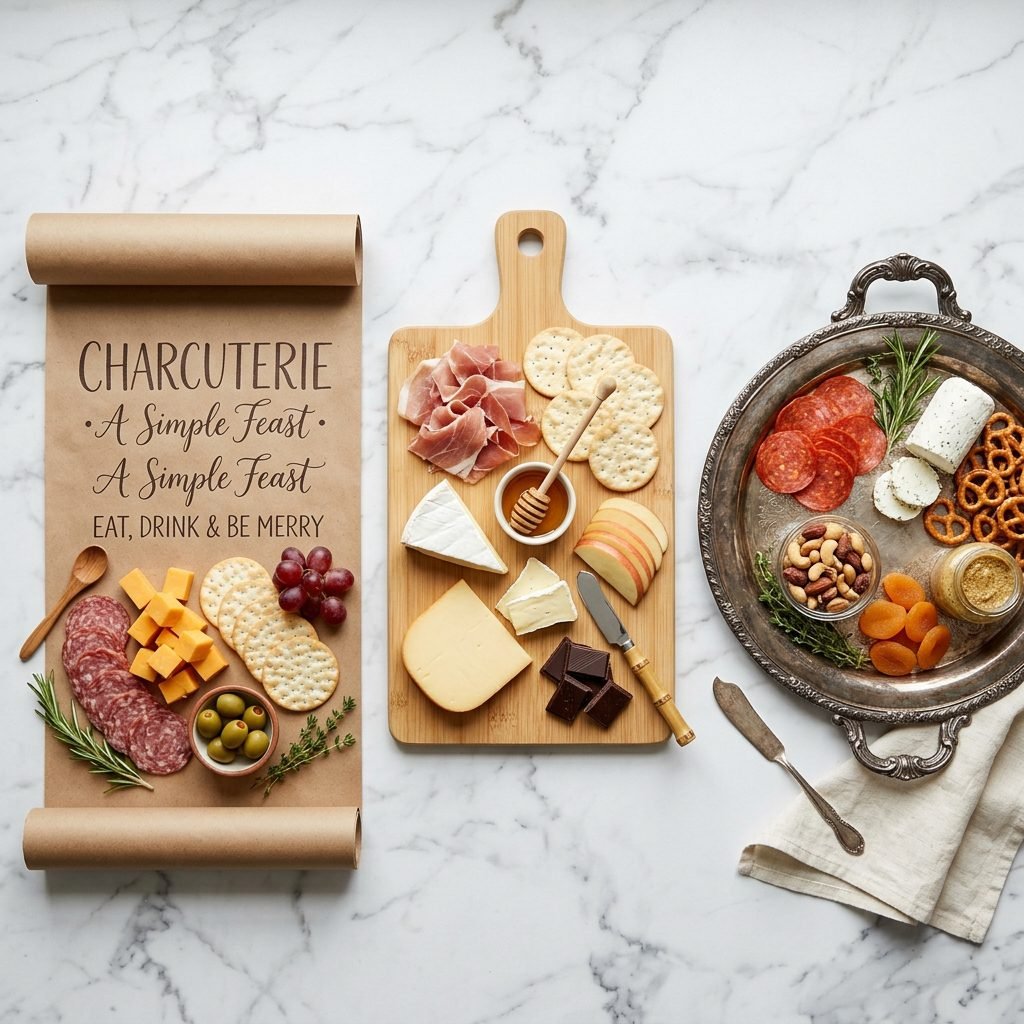
Before we even touch a block of cheddar, we need to talk about the ‘canvas.’ You might see those massive, hundred-dollar live-edge walnut boards on social media and think you can’t compete. Stop right there, mama! Some of the most beautiful boards I’ve ever seen weren’t even boards at all.
Creative & Low-Cost Bases
- The Kraft Paper Runner: This is my absolute favorite ‘hack’ for large showers. Instead of one board, cover your entire kitchen island or a long table in food-safe brown kraft paper. You can write the names of the cheeses directly on the paper with a gold sharpie!
- The Thrift Store Find: Check your local second-hand shops for large wooden cutting boards or even silver-plated trays. A good scrub and a coat of food-grade mineral oil will make a $5 thrifted board look like a family heirloom.
- The IKEA Hack: The ‘Aptitlig’ bamboo boards from IKEA are incredibly affordable (often under $15) and provide a clean, modern aesthetic that fits any nursery theme.
Remember, the goal is to cover about 80% of the surface with food, so the board itself is just a support act. Don’t stress if it has a few scratches; the grapes will cover them up!
| Board Type | Estimated Cost | Best For… |
|---|---|---|
| Kraft Paper Roll | $10 – $15 | Large crowds & easy cleanup |
| Bamboo Cutting Board | $12 – $20 | Modern, clean aesthetic |
| Thrifted Wood/Silver | $5 – $10 | Vintage or Boho themes |
| Inverted Baking Sheet | $0 (Own) | Industrial or ‘Rustic’ look |
The ‘Safety First’ Protein & Cheese Guide for Expectant Mamas
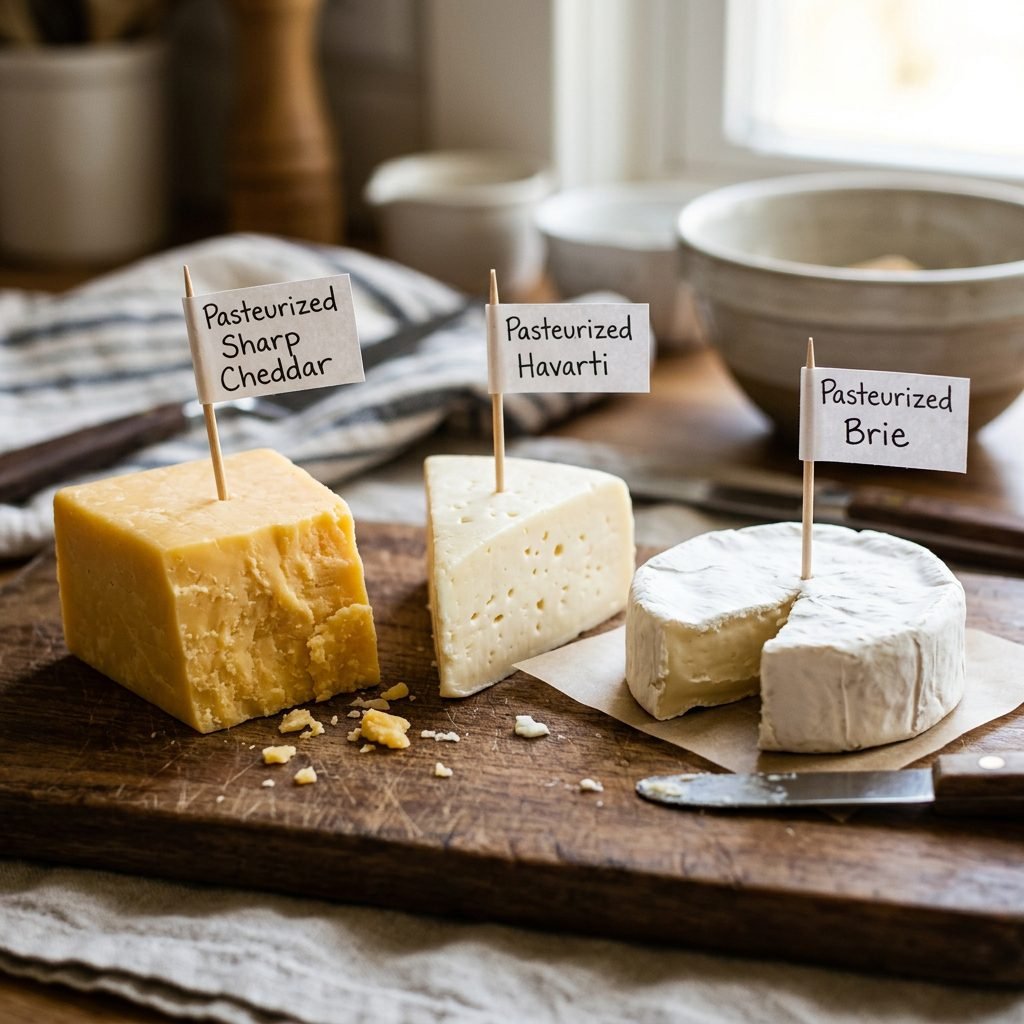
As a doula, I have to be the ‘safety sister’ for a moment. When we’re building a board for a baby shower, the guest of honor’s health is our top priority. We want her to graze with total peace of mind. Traditional charcuterie often features raw-milk cheeses and cold deli meats, which can carry a small risk of Listeria—something we strictly avoid during pregnancy.
Safe & Savory Selections
The key is to look for the word ‘Pasteurized’ on every label. Most mass-market cheeses in the US are pasteurized, but always double-check. Focus on hard cheeses, which are naturally safer and often cheaper when bought in bulk blocks rather than pre-sliced.
- Hard Cheeses: Sharp Cheddar, Manchego, Gouda, and Havarti. These are crowd-pleasers and hold their shape well at room temperature.
- Safe ‘Soft’ Cheeses: You can still have Brie! Just ensure the label says ‘made with pasteurized milk.’ If you want to be extra safe, serve a Baked Brie—heating it until bubbly kills any potential bacteria and feels incredibly luxurious.
- The Meat Dilemma: Traditional prosciutto and salami are technically ‘raw.’ For a budget-friendly and pregnancy-safe alternative, I recommend fully cooked options. Think high-quality smoked turkey roll-ups, or skip the meat entirely and go ‘Plant-Forward’ to save even more money!
“Mama, you deserve to eat without worry. When in doubt, stick to the hard cheeses and the cooked delights. Your peace of mind is the best appetizer.”
| Cheese Type | Pregnancy Safety Status | Budget Tip |
|---|---|---|
| Aged Cheddar | Safe | Buy the 2lb block and hand-cut into cubes |
| Pasteurized Brie | Safe (if pasteurized) | Buy at ALDI or Lidl for under $5 |
| Gorgonzola/Blue | Avoid (unless cooked) | Swap for a creamy Goat Cheese (pasteurized) |
| Feta | Safe (if pasteurized) | Buy in brine for better flavor retention |
The Art of the ‘Cheap Fill’: Bulking Your Board with High-Volume Essentials
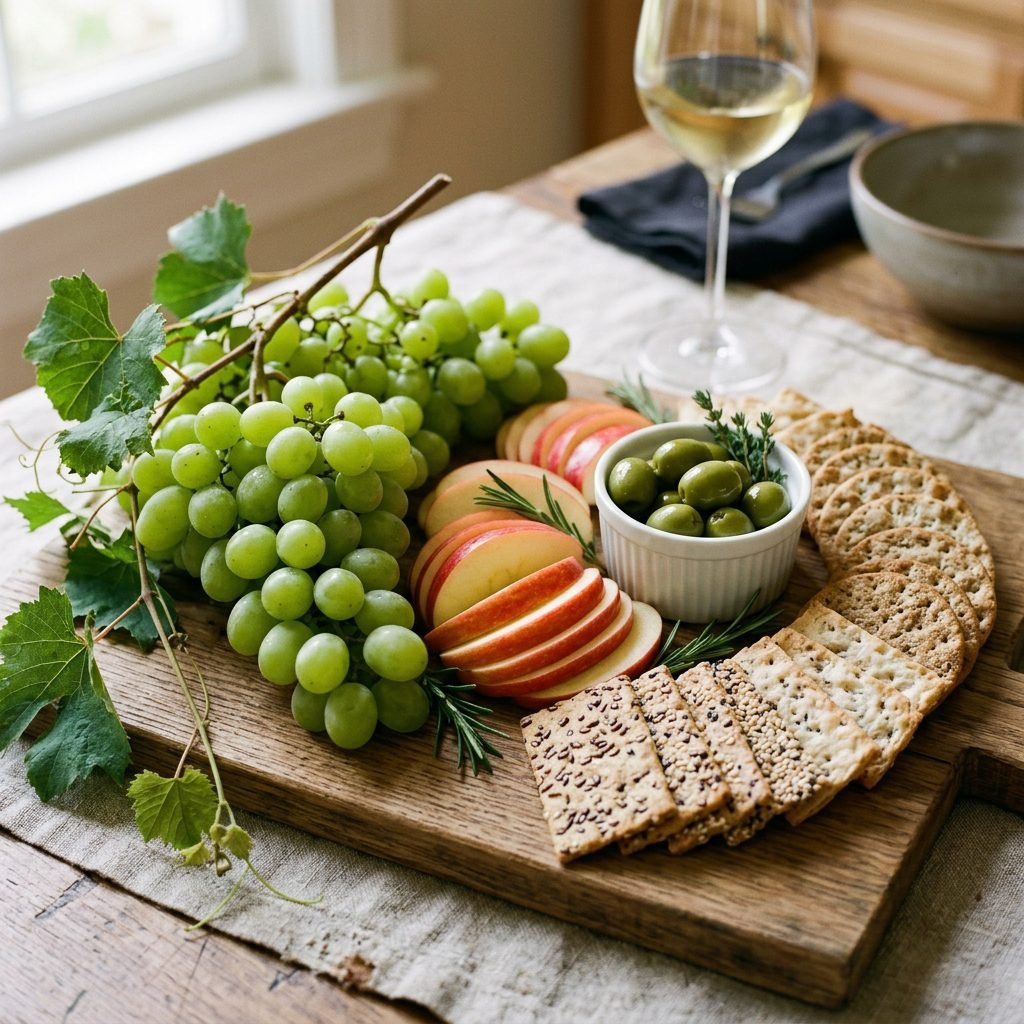
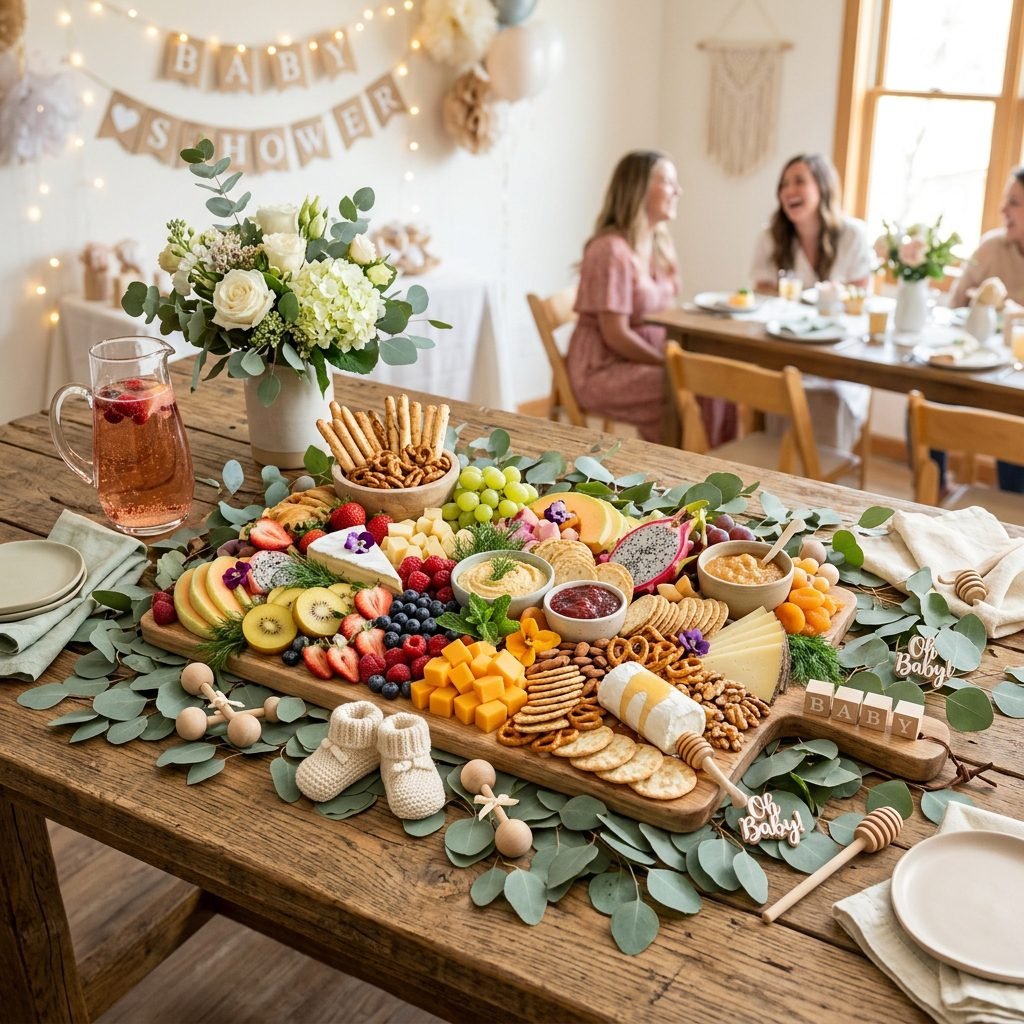
Here is the secret to a ‘drop-dead gorgeous’ board: it’s not the expensive truffles; it’s the abundance. A sparse board looks cheap; a crowded board looks like a feast. To achieve this on a budget, we use ‘High-Volume Fillers.’
1. Seasonal Fruit (The Color Pop)
Fruits are the jewelry of your board. Instead of out-of-season raspberries that cost $6 for a tiny pint, go for what’s abundant. In summer, use peaches and plums. In winter, use citrus segments and pears. Grapes are the ultimate budget filler—keep them on the vine and drape them over the edges of the board for a ‘bountiful’ look.
2. The Cracker Multi-Pack
Don’t buy four different boxes of artisanal crackers. Buy one ‘Entertainment Crackers’ variety pack. It usually contains 4-6 different shapes and textures for the price of two individual boxes. Pro tip: Add some toasted baguette slices; a single $1.50 loaf goes a long way!
3. Briny & Crunchy Add-Ons
- Olives & Pickles: Visit the bulk bar at your grocery store. You only need a small scoop of 3-4 types of olives to add a gourmet feel for about $4.
- Nuts: Avoid expensive macadamias. Go for roasted almonds or walnuts. If you want to elevate them, toss them in a pan with a little honey and rosemary from your garden!
- Dried Fruits: Dried apricots and cranberries add a chewy texture and a pop of color that stays fresh throughout the entire party.
The ‘River’ Technique: Styling Your Board for Maximum ‘Wow’ Factor
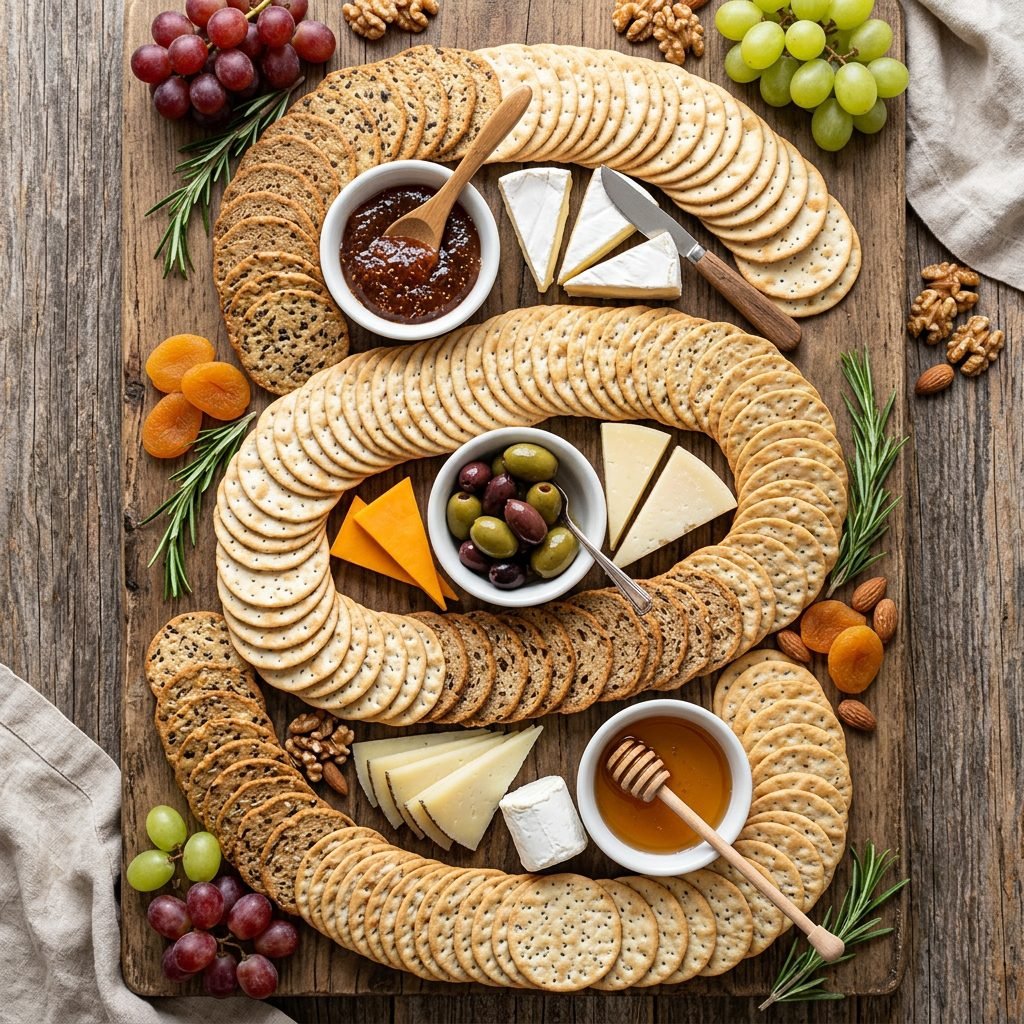
Now, let’s get into the ‘stylist’ part of my brain. You don’t need to be an artist to build a beautiful board; you just need to follow a specific order of operations. We call this the ‘River’ technique because it creates a sense of flow that guides the guest’s eye.
Step-by-Step Assembly
- Place Your ‘Anchors’ First: Start with your small bowls (for olives, honey, or jams). Place them off-center in a triangle formation. These are your anchors.
- The Cheese ‘Rivers’: Place your cheeses next. Don’t just put them in a pile. Slice some into triangles, crumble some, and leave one wedge whole. Create a ‘river’ of cheese that curves across the board.
- The ‘Salami Rose’ (Optional/Safe Version): If you’re using a safe, cooked ham or turkey, fold the slices in half and then half again, tucking them tightly next to each other to create a ruffled look.
- The Cracker Fan: Follow the curve of your cheese ‘rivers’ with your crackers. Fan them out so they look like they are flowing across the board.
- Fill the ‘Gaps’: This is where the magic happens. Take your grapes, nuts, and dried fruits and tuck them into every single empty space. You shouldn’t see the bottom of the board when you’re done!
- The Garnish: Add a few sprigs of fresh rosemary or eucalyptus (ensure it’s cleaned and non-toxic). This adds a $20 ‘floral’ look for pennies.
“Don’t aim for perfection, mama. Aim for ‘lush.’ If a nut falls out of place, let it stay. The best boards look like they were gathered from a garden, not a factory.”
Sweet Additions & Tiny Details: Customizing for the Baby Theme
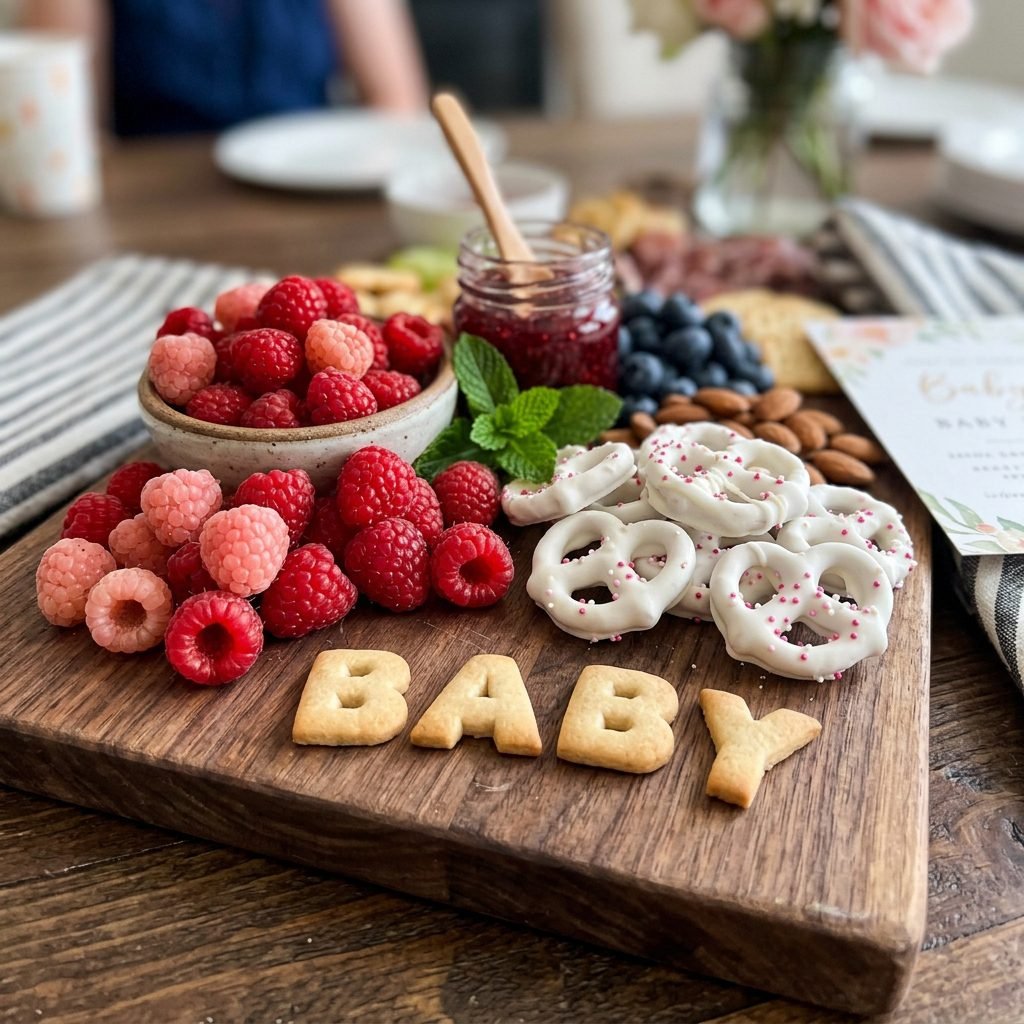
Since this is a Baby Shower, we want to infuse a little bit of that nursery magic into the savory spread. Mixing sweet and savory is not only trendy, but it’s also a budget-saver because ‘sweet’ fillers like popcorn or marshmallows are incredibly inexpensive.
The ‘Gender’ Pop (Or Gender Neutral!)
- Blue/Pink Accents: If you know the baby’s sex, use natural foods to signal it. For ‘Team Blue,’ use blueberries, blackberries, and purple grapes. For ‘Team Pink,’ use strawberries, raspberries, and pink grapefruit segments.
- The ‘Baby’ Elements: Buy a pack of $2 alphabet crackers and spell out the baby’s name or ‘BABY’ across a section of the board. It’s a tiny detail that guests always photograph!
- Chocolate Touches: A few broken pieces of a dark chocolate bar or some yogurt-covered pretzels add a ‘dessert’ element that pairs beautifully with sharp cheeses and salty nuts.
By including these sweet items, you’re essentially combining your charcuterie board and your dessert table, which is a huge win for your budget. You can skip the expensive custom cake and just provide high-quality grazing options!
The Stress-Free Hostess Timeline: Prep, Storage, and Serving
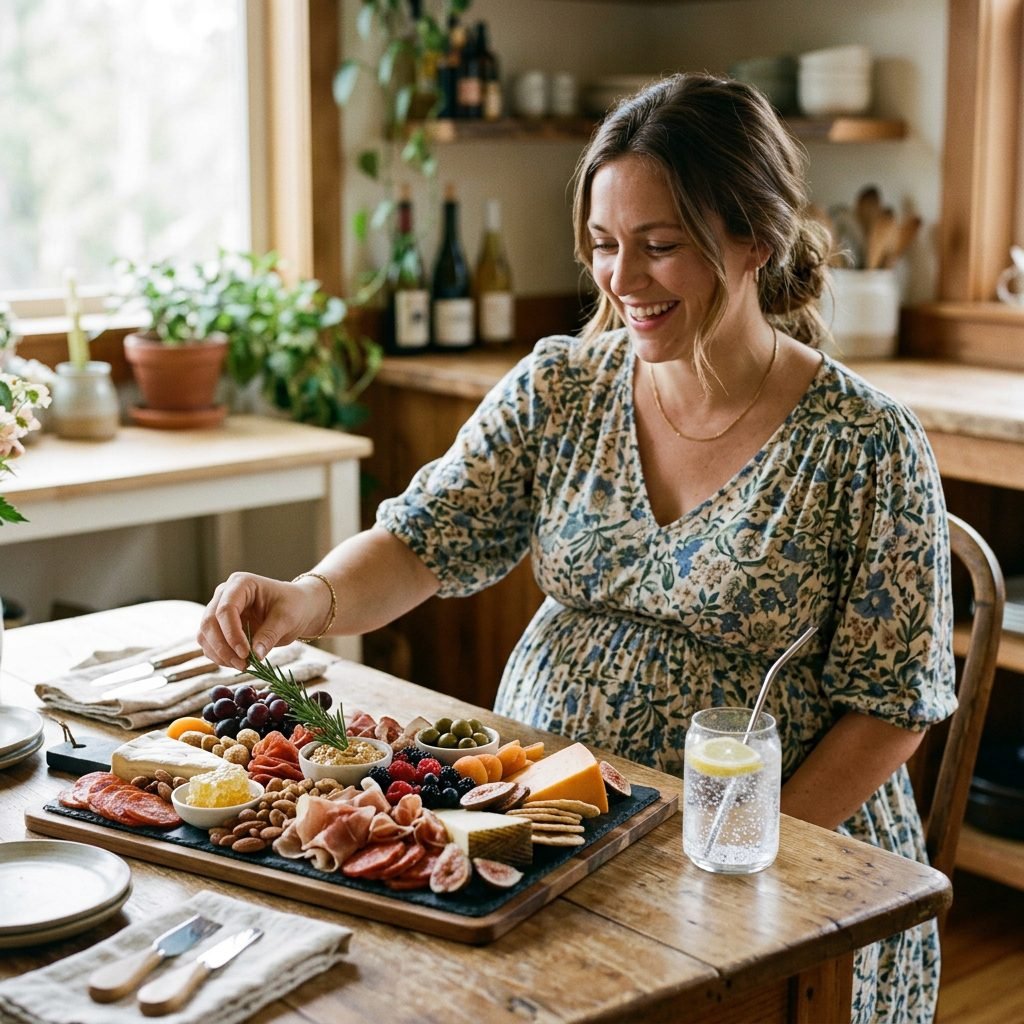
As a doula, I’m all about conserving your energy. If you’re the one hosting, you shouldn’t be sweating in the kitchen while the guests are arriving. The beauty of a charcuterie board is that almost all of it can be prepped in advance.
Your Prep Schedule
Follow this timeline to ensure you are sitting down with your feet up (and a mocktail in hand) when the doorbell rings.
| Timeframe | Task | Notes |
|---|---|---|
| 2 Days Before | Shopping & Washing | Wash and dry all fruit thoroughly. Store in paper-towel-lined containers. |
| 1 Day Before | Cheese Prep | Slice and cube your cheeses. Store in airtight bags. |
| Day Of (Morning) | The ‘Dry’ Build | Place your bowls and ‘dry’ items (crackers, nuts) on the board. Cover with plastic wrap. |
| 1 Hour Before | The ‘Fresh’ Build | Add the cheeses, fruits, and any meats. Garnish with fresh herbs. |
| Party Time! | Serve & Enjoy | Keep the board in a cool spot away from direct sunlight. |
Storage Tip: If you have leftovers (though you probably won’t!), have some small ‘to-go’ containers ready. You can send guests home with a ‘mini-charcuterie’ snack, which doubles as a party favor!
Conclusion
You’ve Created Something Truly Special
There you have it, mama! A drop-dead gorgeous baby shower charcuterie board that honors your budget as much as it honors the new life you’re celebrating. By focusing on pasteurized safety, high-volume fillers, and the ‘river’ styling technique, you’ve created a centerpiece that guests will be talking about long after the diapers are changed.
Remember, the most important ‘ingredient’ at any baby shower isn’t the expensive brie or the fancy crackers—it’s the warmth, love, and support you’re pouring into the room. This board is just a beautiful way to nourish the people who will form the ‘village’ for this new little one. So, take a deep breath, admire your handiwork, and enjoy this beautiful moment. You are doing an amazing job!